
Overview
The Microsoft Dynamics 365 Finance integration allows you to sync data from Deel directly to your accounting software. This integration automates the transfer of vendor information, invoices, payments, and documents, ensuring your General Ledger (GL) remains accurate and up-to-date. It is designed for users who want to streamline their accounting processes and reduce manual data entry errors.
Supported worker types
This integration facilitates automated data flow for the following:
- Independent Contractors (ICs)
- Employer of Record (EOR)
- Global Payroll (GP)
In this article
Here’s what you’ll find in this article:
- Before you begin
- Setting up credentials
- Configuring Dynamics 365 Finance Parameters
- Connecting Deel and Microsoft Dynamics 365 Finance
- Connection Confirmation
- Plugins
Before you begin
You must have:
- A Deel account and be logged in.
- Deel Organization Admin or IT Developer permissions, including access to Apps & Automation and the App Store.
- Administrative access to the Microsoft Entra tenant (formerly Azure Active Directory), with permission to view and register applications and manage credentials and API permissions.
- An active Dynamics 365 Finance environment with access to General ledger and Accounts payable setup.
Microsoft Entra admin center and Dynamics 365 Finance are separate applications from Deel. Complete the Microsoft Entra and Dynamics configuration steps in their respective environments.
Setting up credentials
Before connecting to Deel, you must obtain specific credentials from Microsoft Entra ID. You will need the following values:
- Tenant ID (Directory ID)
- Client ID (Application ID)
- Client Secret
- Base URL (Finance environment URL)
Follow the steps below to retrieve the values and set up your credentials:
Step 1: Retrieve the Tenant ID
- Open the Microsoft Entra admin center.
- Sign in and complete any required verification.
- If prompted, select the directory for the Dynamics 365 Finance integration.
- In the left navigation, select Microsoft Entra ID.
- Select Overview.
- Locate and copy the value next to Tenant ID.
Confirm that the Microsoft Entra ID > Overview page displays a value for Tenant ID.
Step 2: Register an application
- In the Microsoft Entra admin center, select Microsoft Entra ID.
- Select App registrations.
- Select New registration.
- Enter the following values:
- Name: Deel – Dynamics 365 Finance Integration (example)
- Supported account types: Single tenant
- Redirect URI (optional): Leave blank unless your organization requires a redirect URI.
- Select Register.
- On the registered app’s overview or details page, copy the Application (client) ID.
Use the Application (client) ID as the Client ID in Deel.
Step 3: Create a client secret
- From the details page of the registered app, select Certificates & secrets.
- Under Client secrets, select New client secret.
- Enter a description and select an expiration period that meets your organization’s security requirements.
- Select Add.
- Copy the secret Value immediately and store it securely.
Step 4: Configure API permissions
- From the details page for the registered app, select API permissions.
- Select Add a permission.
- Search for and select Dynamics ERP.
- Select Delegated permissions.
- Select
Odata.FullAccess, then select Add permissions. - Grant admin consent when required by your organization.
Confirm that the app’s API permissions page lists the required Dynamics ERP permission.
Step 5: Assign Security Roles to the Service Principal
After registering the app and configuring API permissions in Entra ID, you must assign security roles to the app user in your Dynamics 365 Finance environment. This grants the service principal access to the accounting data entities required for GL sync.
- In your Dynamics 365 Finance environment, navigate to System Administration > Security > Assign users to roles.
- Search for the Azure AD application user matching your registered app name (example: "Deel – Dynamics 365 Finance Integration").
- Select the user and click Assign roles.
- Assign one of the following:
- Accounting Manager (recommended standard role), OR
- A custom role with duty Maintain financial dimensions and View financial dimensions
- Confirm the role assignment has been applied.
Without the correct security roles assigned, GL sync credential validation will fail. Ensure the service principal user has read access to all tracking category entities (Cost Centers, Business Units, Financial Dimensions, etc.). Refer to the Troubleshooting section in the Overview if sync fails after role assignment.
Step 6: Retrieve the Finance base URL
The Base URL is the URL of your Dynamics 365 Finance web application.
- Sign in to the intended Dynamics 365 Finance environment in your browser.
- Copy the environment URL from the address bar.
- Keep only the domain portion of the URL.
Configuring Dynamics 365 Finance Parameters
Before Deel can communicate with your environment, you must prepare the internal containers and numbering rules. Dynamics 365 is a highly structured system; it will reject any data that does not arrive with a valid ID or a designated destination. These steps ensure that when Deel sends an invoice, the system accurately labels it and stores it in the correct location.
Step 7: Create journal names
Microsoft Dynamics 365 Finance operates on a structured Journal system. It will not allow financial data to enter the database as un-indexed entries; instead, every transaction must be housed within a specific journal name that acts as a secure container.
During the configuration process in Deel, the integration will read your Dynamics environment and ask you to select a destination for each data type. If these names are not pre-configured in Dynamics, Deel will have no valid target to sync your information.
You must create three different journal names that match the ones used by Deel to guarantee a smooth sync. Each journal name corresponds to a specific type of financial data flowing from Deel:
- DEELINV (Invoice Sync): Matches Accounts Payable data. This creates individual bills in Dynamics so you can track debt and liability for specific contractors.
- DEELPAY (Payment Sync): Matches Disbursement data. This records the actual movement of money out of your accounts to settle outstanding bills.
- PROLL (General Ledger Sync): Matches Payroll Journal data. This provides a high-level summary of total payroll costs (salaries, taxes, benefits) for your Profit & Loss statements.
Follow the steps below to set up each journal name:
- Select the hamburger menu in the upper-left corner to open the Modules menu, then select General ledger.
- Under the Journal Setup, select Journal Names.
- Click + New to create a new record.
-
Set a Name, a journal type, and a voucher series. These are required fields.
The voucher series is the specific number sequence you select to act as the ID generator for a journal. The journal type tells Dynamics 365 exactly what kind of financial data the journal is allowed to process.
Set the following journal types for the corresponding journal names:
Journal name Journal type DEELINV Vendor invoice recording DEELPAY Vendor disbursement PROLL Daily
Click Save to create the journal.
Repeat the process for the other required Journal names.
Step 8: Configure Number Sequences
In Dynamics 365, a Continuous number sequence ensures that every transaction is assigned a strictly sequential ID without any gaps in the numbering.
When Deel pushes a sync, it targets the specific journal names you create. The journal looks at its assigned voucher series to generate a unique name tag for each entry. By using a continuous sequence, the journal can automatically name every invoice and payment without requiring a human to manually type an ID.
Vendor Account Number Sequence
Before configuring journal sequences, you must first set up the Vendor Account number sequence. This is a critical step—without it, Deel will not be able to create new vendors in your system.
- Select the hamburger menu in the upper-left corner to open the Modules menu, then select Accounts payable.
- Under the Setup menu, select Accounts Payable parameters.
- Select the Number sequences tab.
- Locate the row labeled Vendor Account and click to open it.
- Unfold the General FastTab.
- Ensure Manual is disabled and Continuous is enabled.
- Click Save.
Journal Voucher Sequences
Next, configure the number sequences for your journal vouchers:
- Return to Accounts Payable parameters > Number sequences tab.
- Locate the Invoice voucher reference and open it.
- In the General FastTab, ensure Manual is disabled and Continuous is enabled.
- Click Save.
- Repeat this process for any other voucher sequences your journals require.
This ensures that every bill and payment synced from Deel receives a unique transaction ID automatically.
Step 9: Define Account Structures
The Account Structure acts as the validation framework for your journals. It defines which pieces of information (like Department or Project) must be attached to an expense for it to be considered valid. By setting this up, you enable Deel to order your payroll data with the correct tracking categories so your reports stay organized.
- Select the hamburger menu in the upper-left corner to open the Modules menu, then select General ledger.
- Under the Ledger Setup, select Ledger.
- Select Configure account segments under Account structure.
- Click +New, set a name for the account structure, then click Create to confirm. to create one for each of the main accounts you intend to use with Deel.
- Add segments to define the dimensions you want to track, such as department, costcenter, or project.
- Activate the structure.
- Return to the Ledger dashboard and click +Add to include the account structure you just created.
- Repeat the process to create an account structure for each of the main accounts you intend to use with Deel.
Connecting Deel and Microsoft Dynamics 365 Finance
Step 10: Navigate to apps
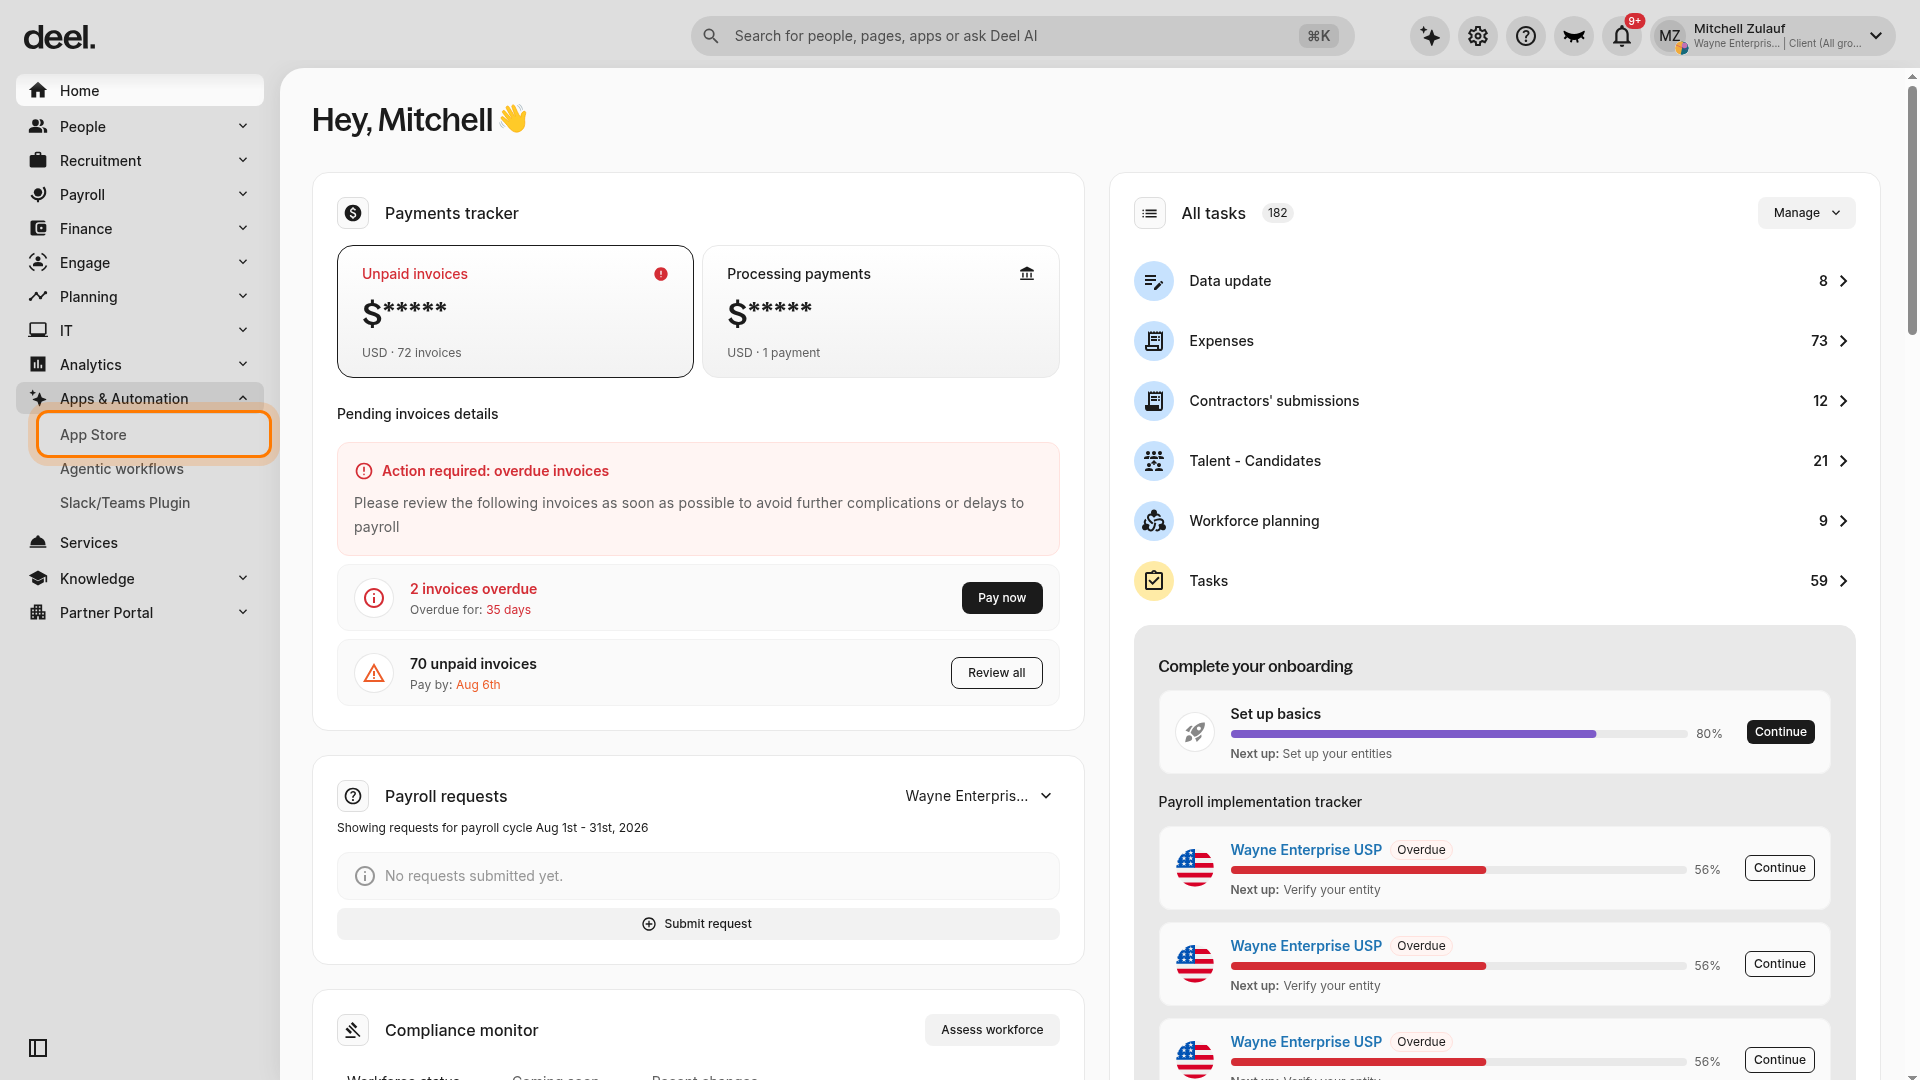
- Go to your Deel account dashboard.
- In the left sidebar, select Apps & Automation to expand its submenu.
- Select App Store.
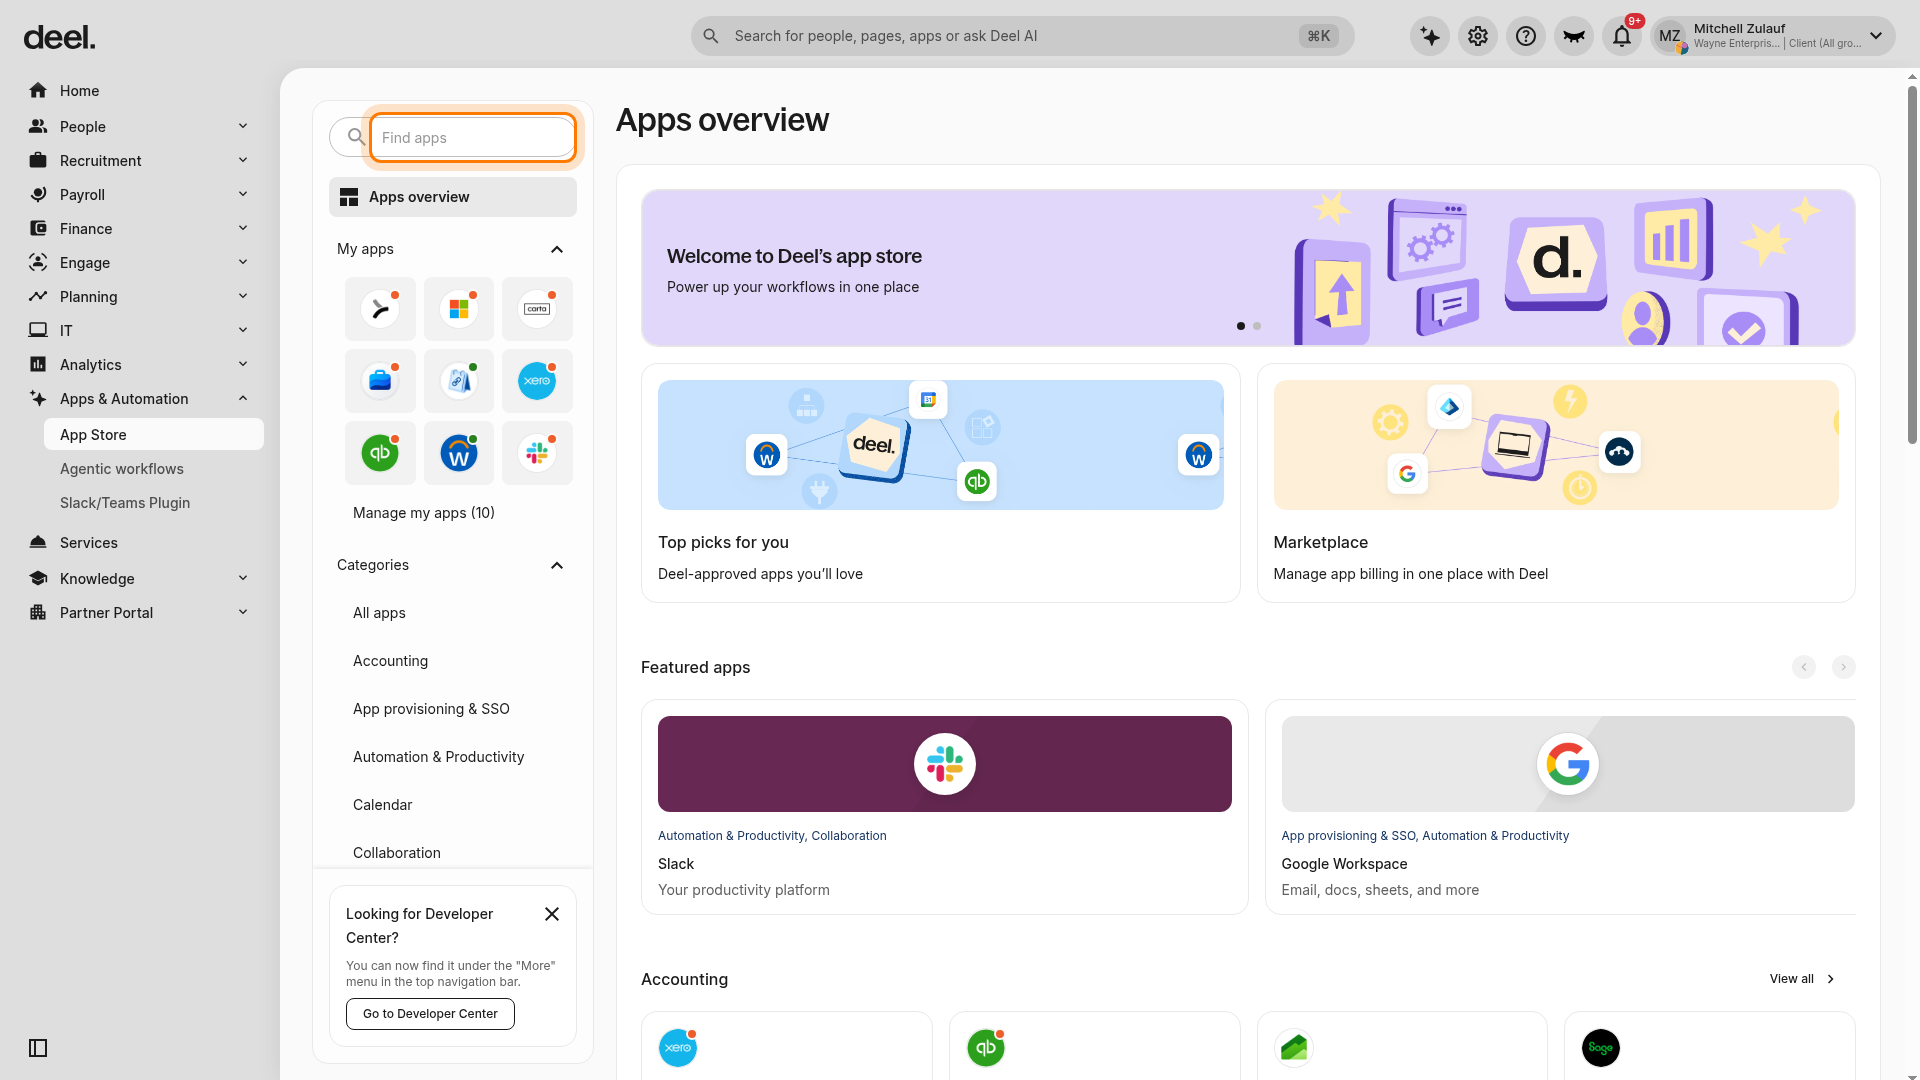
- If the Welcome to your Deel Apps & Integrations dialog appears, select I'll do that later.
- On Apps overview, use the Find apps search field to search for
Microsoft Finance.
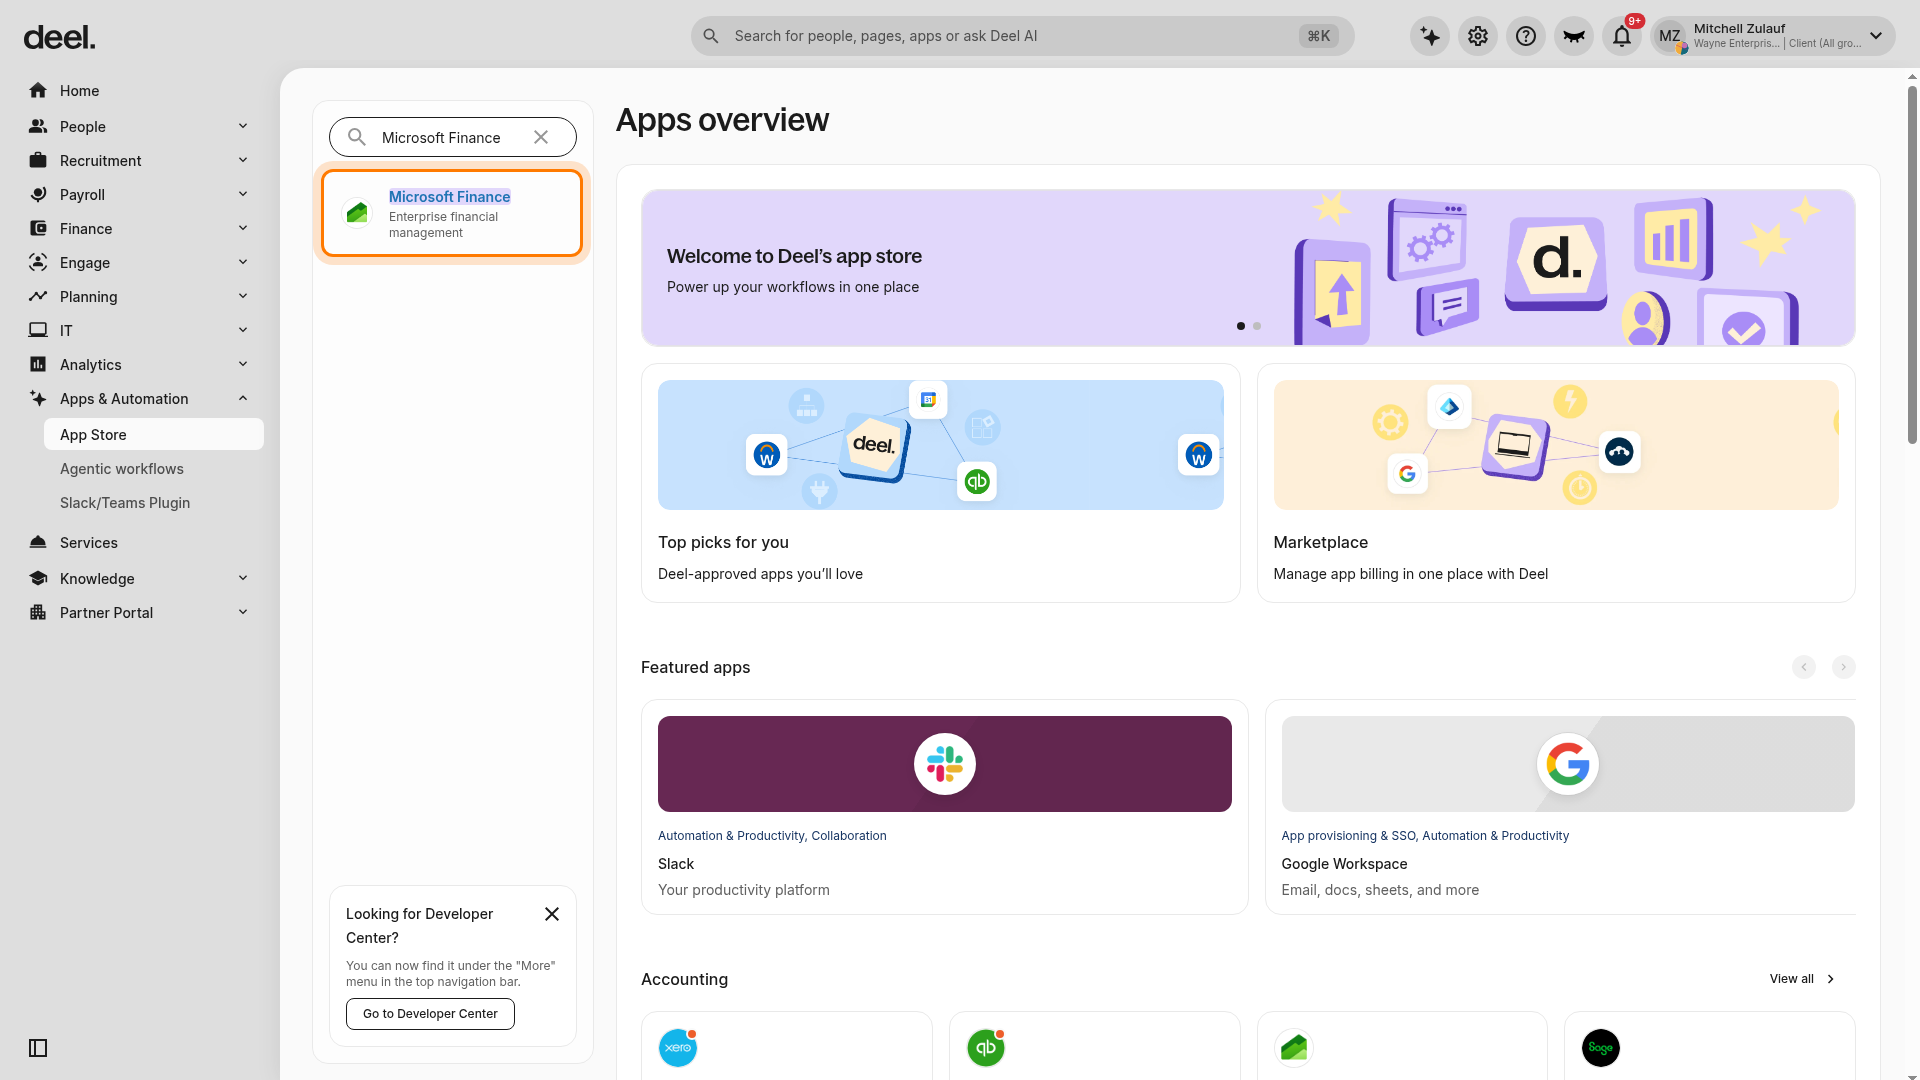
- Select Microsoft Finance, identified by the description Enterprise financial management.
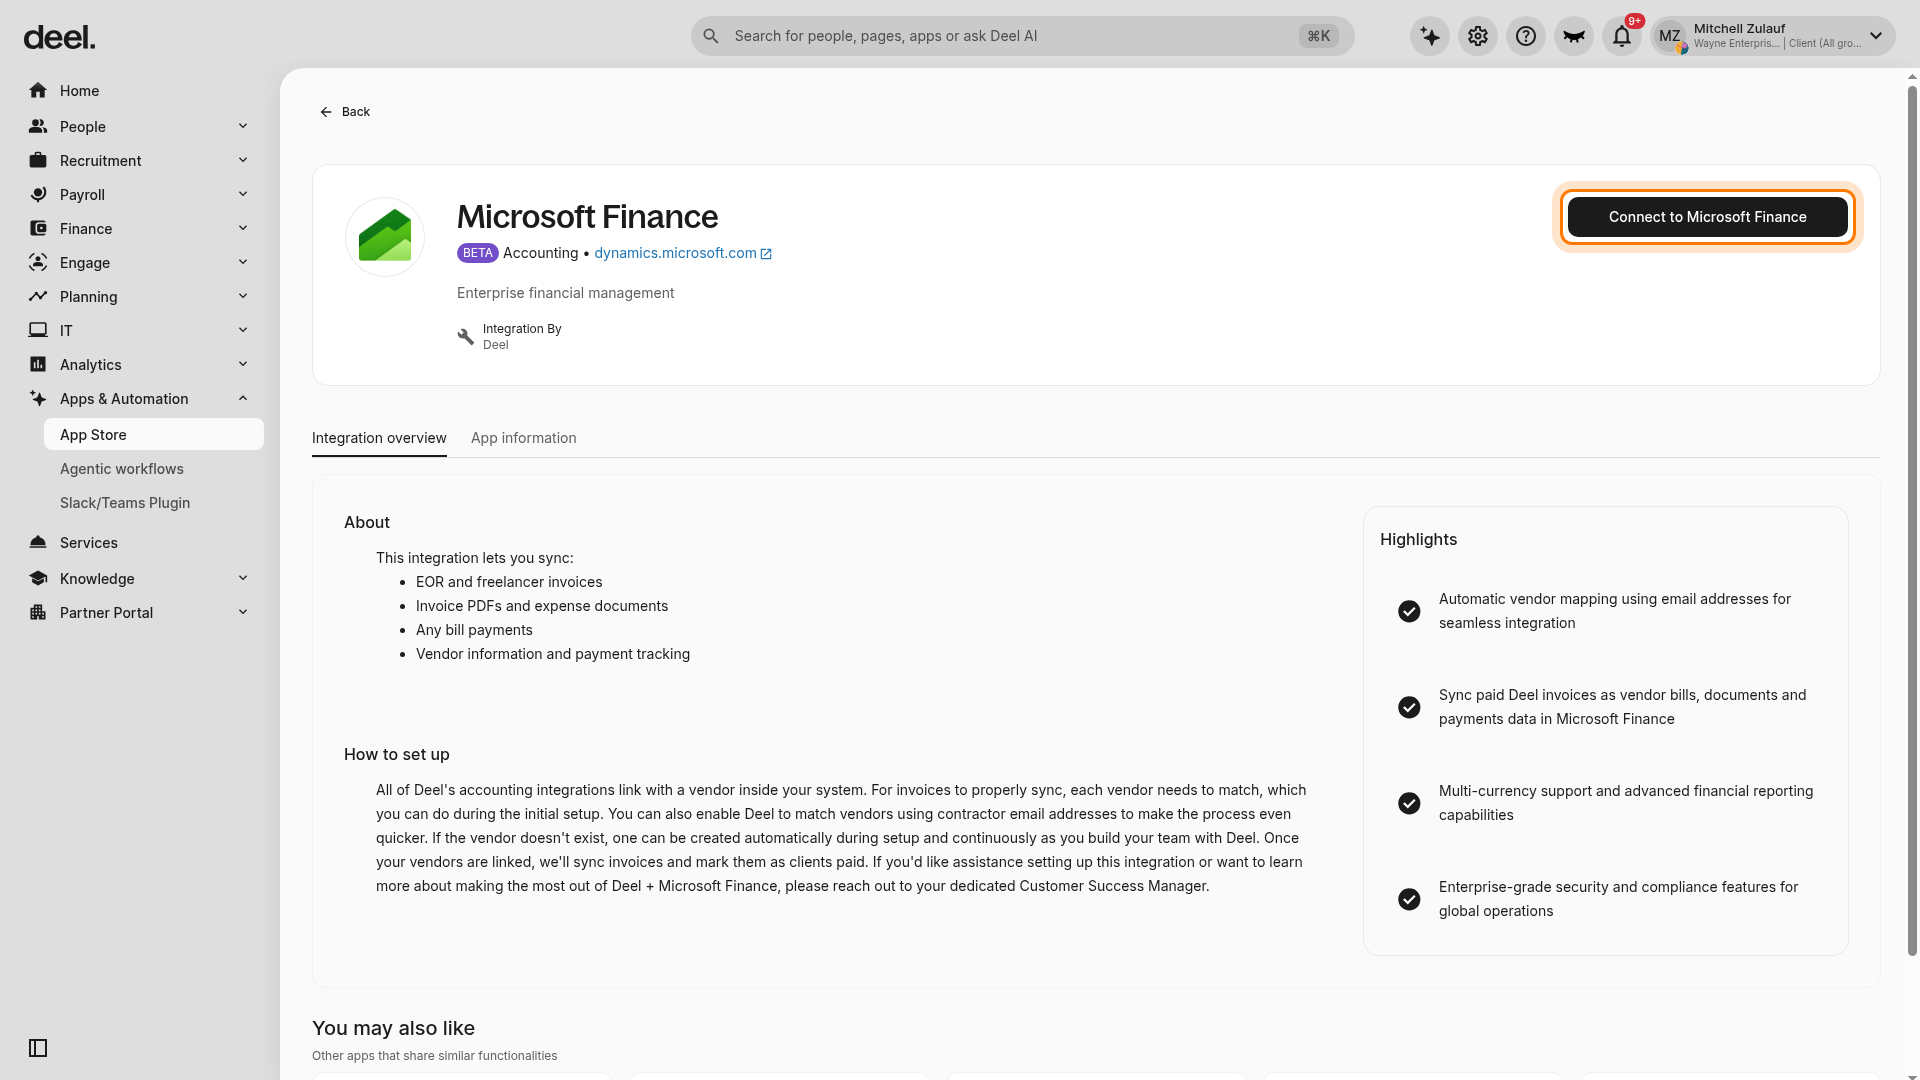
- On the integration details page, select Connect to Microsoft Finance.
Step 11: Authenticate
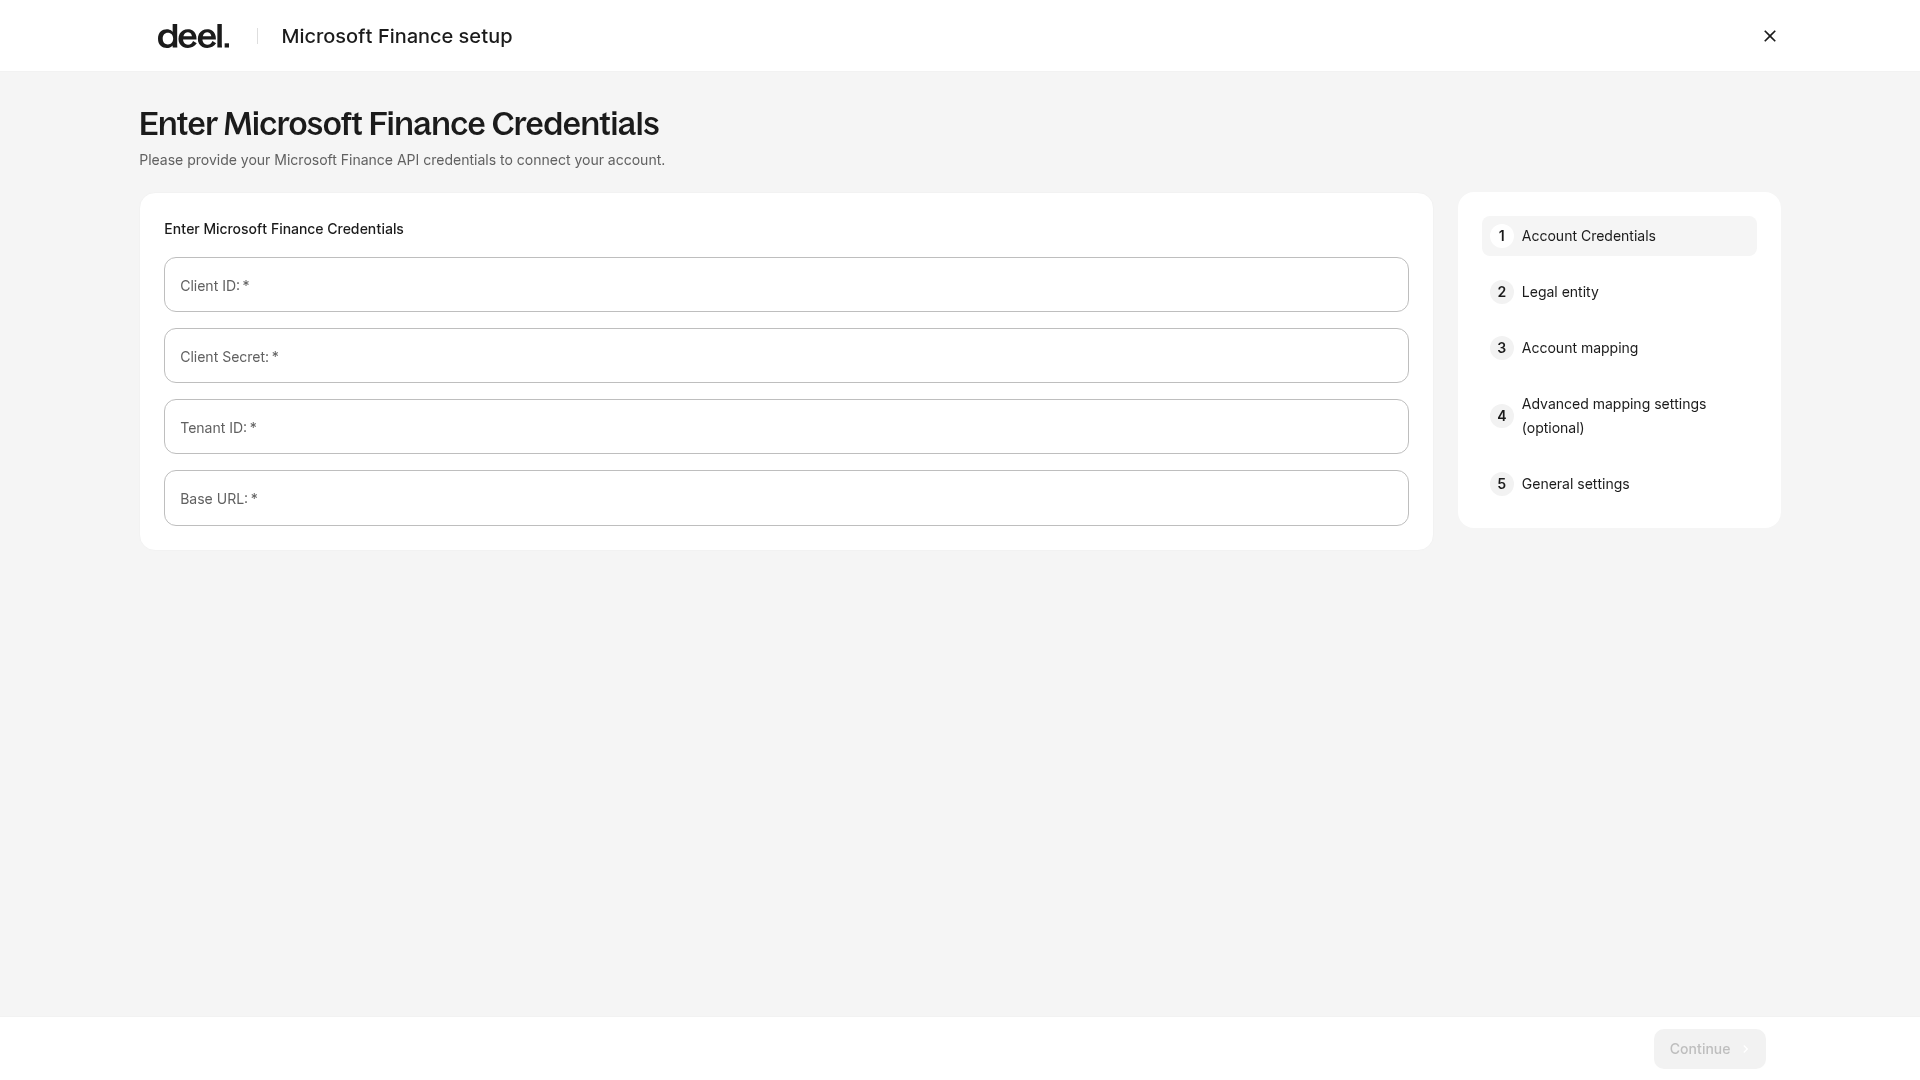
- On the Enter Microsoft Finance Credentials page, enter your Client ID, Client Secret, Tenant ID, and Base URL.
- Select Continue.
Step 12: Map entities and accounts
- Select the Deel entity and the corresponding Dynamics 365 Finance Company ID.
- Select Continue.
This maps each Deel legal entity to its Dynamics 365 Finance entity. If you have multiple subsidiaries, you may be prompted to map each legal entity.
In the Account Mapping section, you will link Deel’s expense categories to your Microsoft Finance Chart of Accounts to ensure every transaction is categorized correctly in your General Ledger.
- Select a Fallback account for unmapped items.
- For each Deel invoice item, select the matching account from your Dynamics 365 Finance chart of accounts.
- Optionally enable Map with Deel AI to receive suggested account matches based on your account names.
- Use the status filters to identify unmapped items.
- Map all mandatory categories and select Continue.
Step 13: Optional configuration
Optionally adjust the Expense category and add Microsoft Finance categories for more detailed mappings, including custom segments.
You can also Skip to the next step.
Step 13 - Confirm general settings
Review the general settings and select Continue, or confirm the settings to complete the setup.
Connection Confirmation
After a successful connection, Deel redirects you to the integration settings page, where the integration should show a Connected status.
If the connection fails, verify that the application has the required permissions in Entra ID and that no conditional access policies are blocking the application.
Plugins
Payment Sync Plugin
Map your saved payment methods in Deel to payment accounts in your accounting system. This allows invoice payments to sync automatically and be marked as paid once reconciled.
Requirements
- At least one invoice synced and ready for payment
Setup Steps
- From the accounting system integration page, go to Plugins Settings
- Click Payment Sync
- Select a currency from the dropdown
- Choose the default payment account for that currency (this account will be used for any payments not mapped to a specific method)
-
(Optional) Map individual saved payment methods to specific payment accounts by clicking Add mapping and selecting:
- The payment method from Deel
- The corresponding payment account in your accounting system
- Repeat step 5 for each currency if operating in multiple currencies
- Click Enable or Save to activate the plugin
You can only select one default payment account per currency.
Invoice payments will now sync to your accounting system and be marked as paid automatically.
Document Sync Plugin
Automatically sync invoice PDFs and expense attachment files from Deel to your accounting system for record-keeping and audit purposes.
Setup Steps
- From the accounting system integration page, go to Plugin Settings
- Click Document Sync
- Toggle on both:
- Sync invoice PDF
- Sync invoice attachment files
- Click Enable or Save
Invoice PDFs will sync directly to the invoice entry in your accounting system, typically in a "Files" or "Documents" tab.
Vendor Management Plugin
Link contractors, Deel entities, and EOR vendors from Deel to vendors/suppliers in your accounting system so that invoices sync to the correct place.
Requirements
- At least one vendor or contractor in Deel
Link Vendors
- From the accounting system integration page, go to Plugins Settings
- Click Vendor Management
- Select a vendor-linking approach:
- Email-based matching (recommended): Deel automatically matches Deel vendors to existing vendors in your accounting system by email address. If no match is found, a new vendor is created automatically.
- Click View List to see all unlinked vendors/contractors
- Select the vendors to link (or select all to bulk link)
- Click Link to Vendors (Deel will match or create vendors automatically)
- Click Apply
Assign Deel Entity Vendor
For invoices issued directly by Deel:
- In the Vendor Management section, find Deel Vendor Management
- Select the vendor to be used for invoices issued directly by Deel (billing invoices)
- Click Apply
Contractors will appear as individual vendors in your accounting system; Deel invoices will sync to the designated Deel vendor.
Optional: Use a Single Vendor for all EOR Invoices
Simplify EOR accounting by having all EOR invoices sync through a single Deel vendor instead of creating a vendor per country.
- From the accounting system integration page, go to Plugin Settings
- Click Vendor Management (or navigate to the EOR module settings)
- Find the option "Use a single vendor for EOR invoices"
- Toggle it on
- Select the Deel vendor to represent all EOR invoices (typically "Deel Inc" or a parent entity)
- Click Apply
In multi-currency environments, your accounting system may automatically create currency-suffixed vendors (e.g., "Deel Inc USD", "Deel Inc EUR") to comply with accounting requirements.
Bill (Invoice) Sync Plugin
Automatically sync invoices and bill payments from Deel to your accounting system so they're recorded in your books and matched to contractors/vendors.
Requirements
Configure the Vendor Management plugin first, as bills require vendors to be set up.
Set Up Expense Account Mapping
- From the accounting system integration page, go to Plugins Settings
- Click Bill (Invoice) Sync
- Set up expense account mapping:
- Option 1 – Simple (One Account For All): Select a single default expense account from the dropdown to use for all invoices
- Option 2 – Advanced: Click Start Mapping and map different accounting system expense accounts to match different Deel invoice types (e.g., time-based work, expenses, milestones)
- Click Continue or Save
Enable Auto-Sync (Optional)
- Look for "Auto invoice sync" or a similar option
- Toggle on to automatically sync invoices each time workers are paid
- Toggle off if you prefer to manually sync invoices
Sync Past Invoices (Optional)
- Find the "Unsynced Invoices" section
- Select the invoices you want to sync (select all, or individually)
- Click Sync Invoices
- Click Enable or Save to activate the plugin
Invoices will sync to your accounting system and be linked to the correct expense accounts and vendors.
Advanced Settings (Optional)
The following settings allow you to customize how invoices sync to your accounting system. These are optional but recommended for organizations with complex expense structures or multi-currency operations.
Common Advanced Options
- Summarize Invoices: Merge all line items from a single Deel invoice into one combined line item in your accounting system. This consolidates time-based work, expenses, and milestone payments into a single entry.
- Currency Settings: Specify the default currency for syncing invoices and payments (important in multi-currency environments).
- Invoice Date Selection: Choose whether to use the invoice issue date or payment date as the bill date in your accounting system.
- Approval Status: Set whether synced invoices appear as "Approved" or "Pending Approval" by default.