
Overview
Deel users can change their login email by accessing their Profile Settings page and updating their email in the Security tab.
Users will be prompted to complete the Veriff identity verification process, which will require clicking a confirmation link that is sent to your current email address, and then uploading identification documents as explained below.
For security reasons, only workers with a single account type can edit their email address independently, without a need to contact Deel. Restrictions apply for clients, and also for workers with a secondary client account.
Prerequisites
Before you start, make sure:
- You are logged in to Deel and can see the top-right user avatar (your initials) in the navigation bar.
- Your internet connection is stable so that pages and verification screens load correctly.
Changing your email address on Deel
Step 1 – Access Profile Settings
-
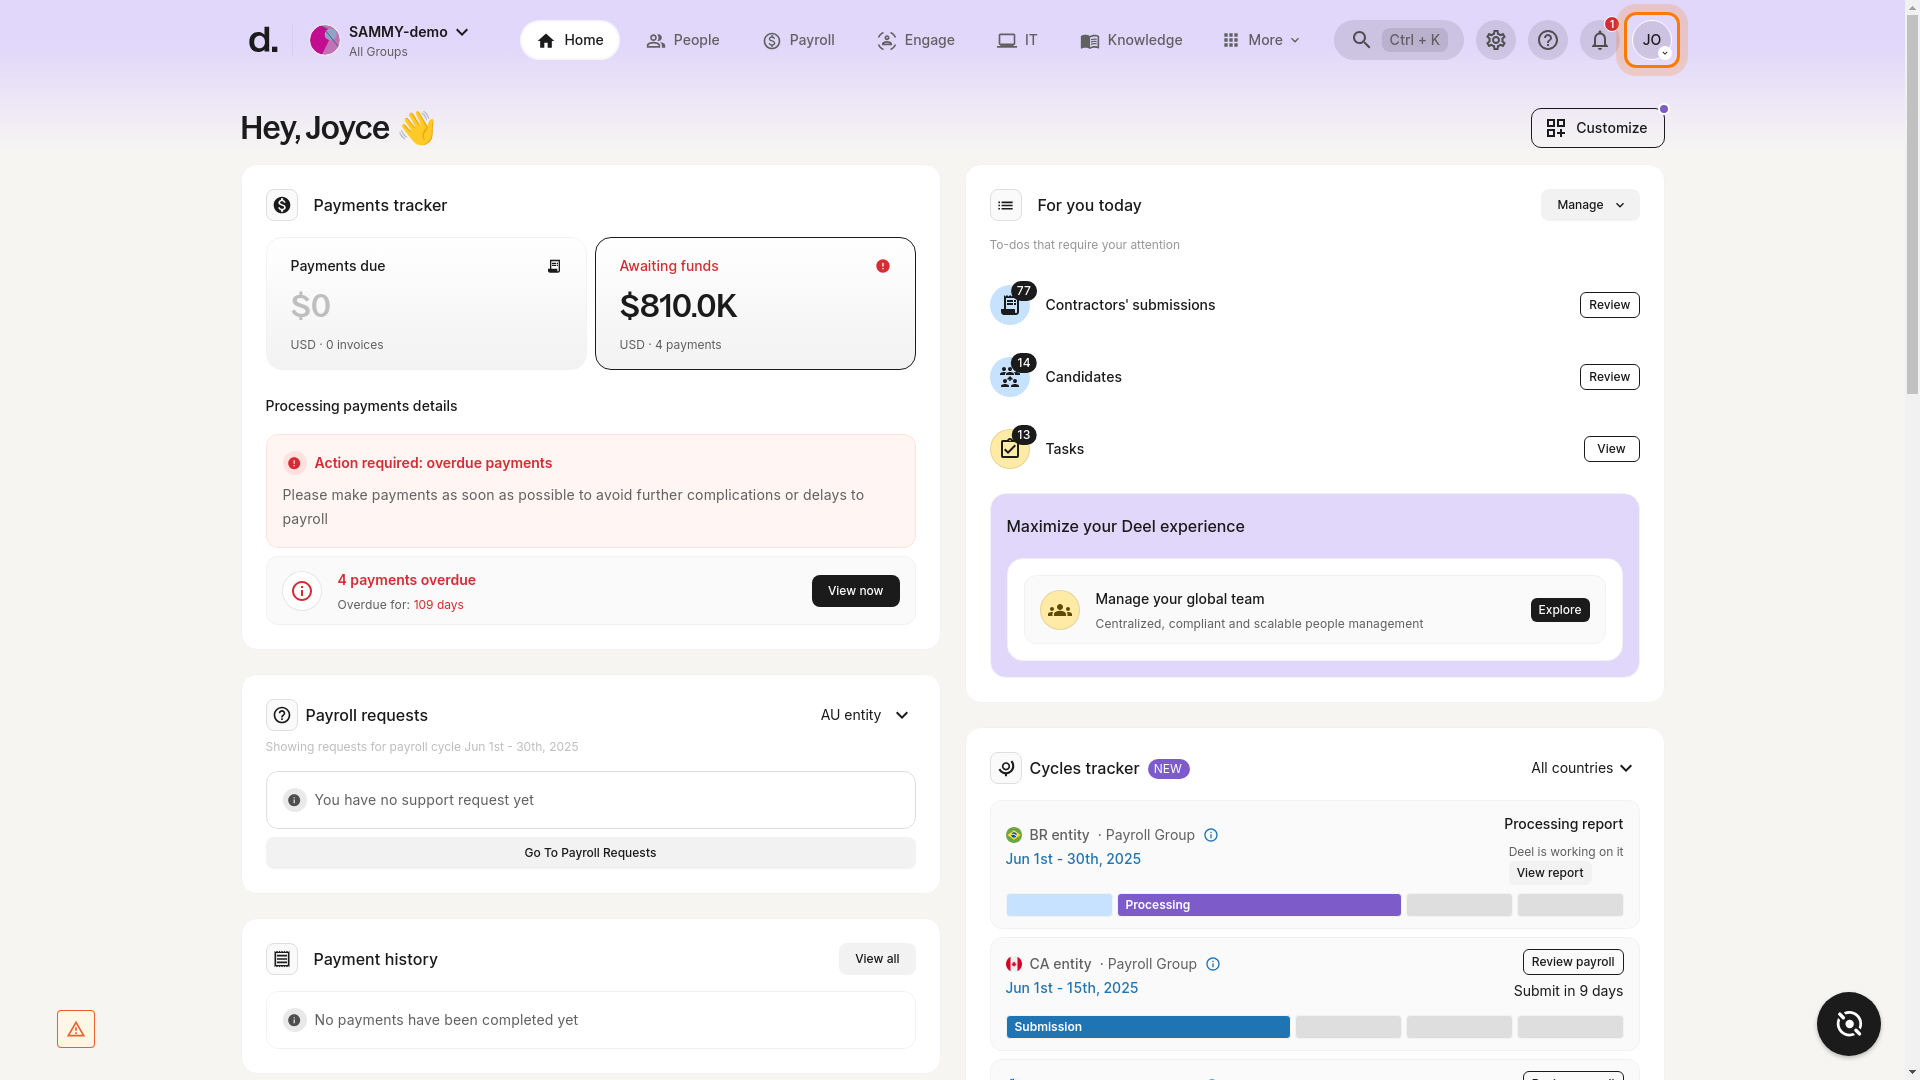
Click your user avatar
Locate your initials in the top-right corner of any Deel page and click the avatar.
-
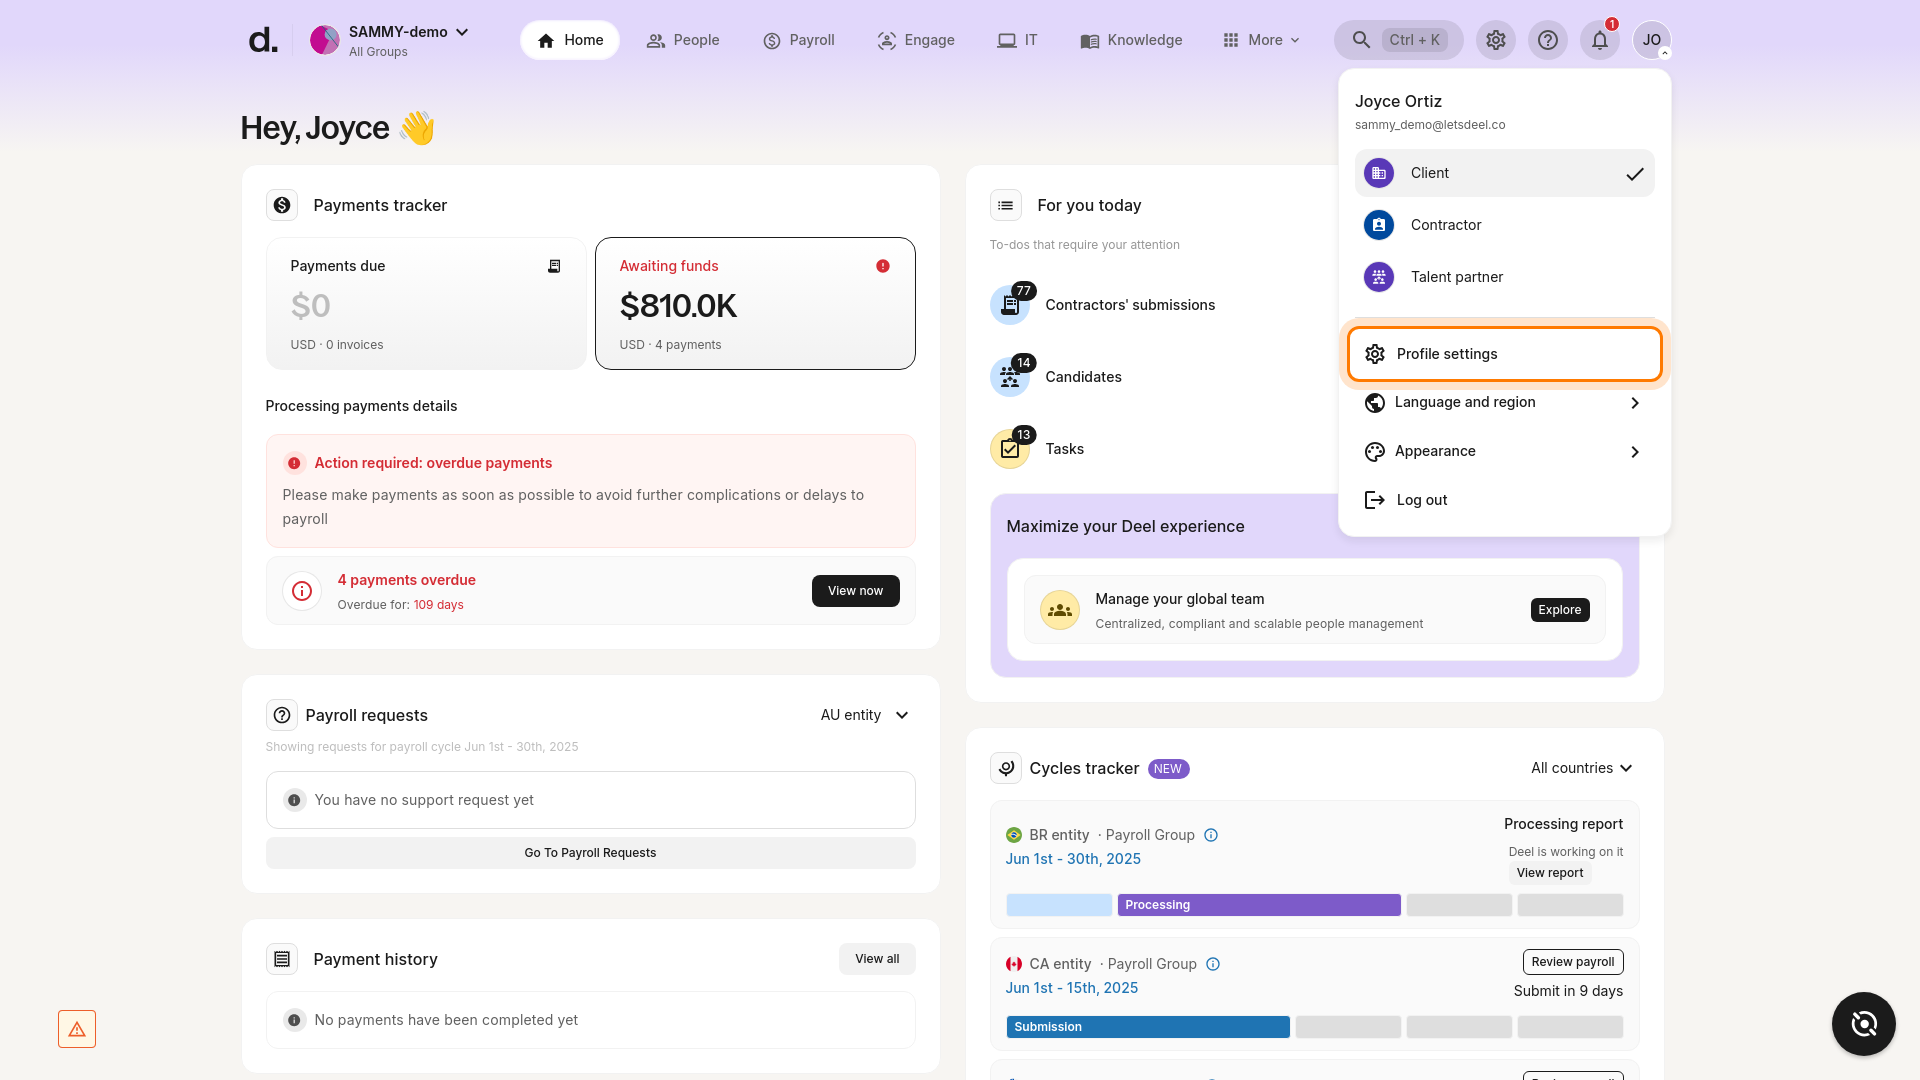
Select “Profile settings” from the dropdown menu.
This opens the profile management area where you can view and edit personal information, including your email address.
-
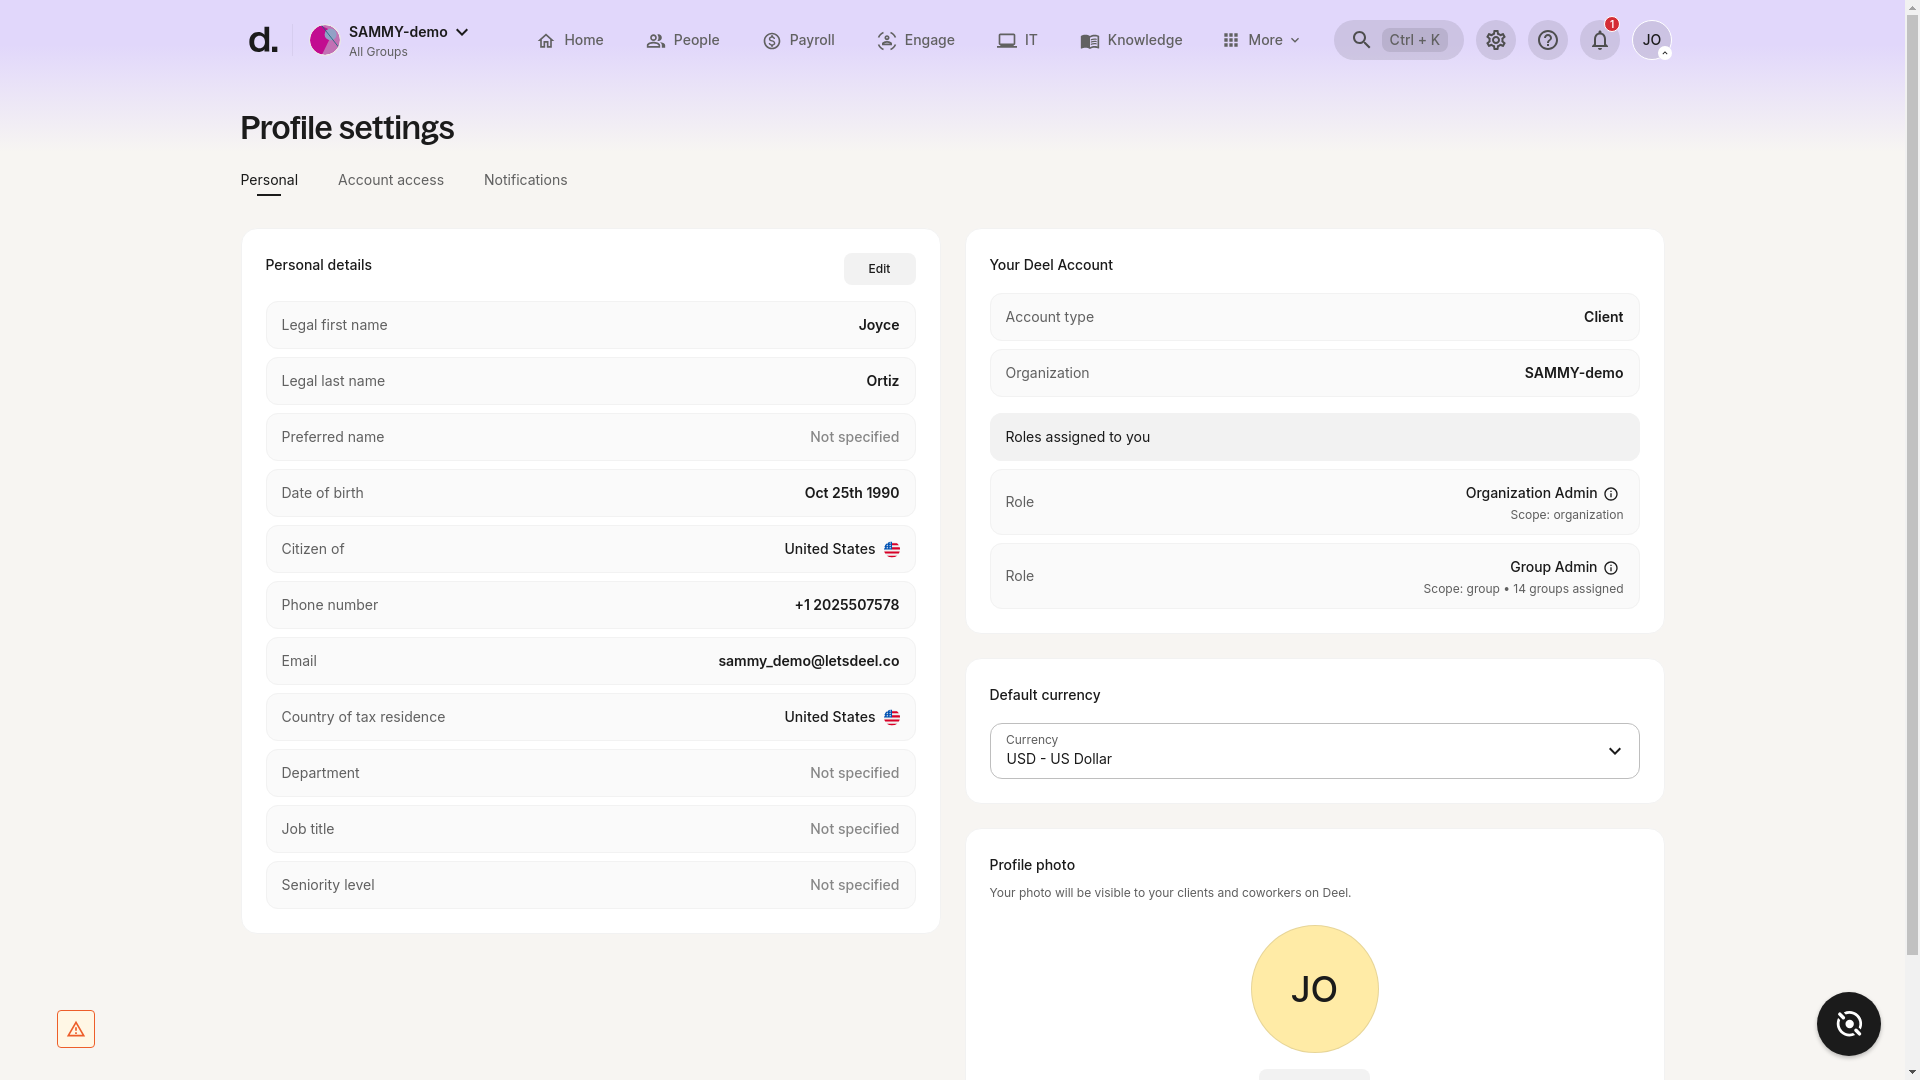
Confirm the Profile Settings page has loaded.
You should see tabs such as Personal, Account access, Notifications, and (most importantly for this task) Security.
Troubleshooting
• Avatar menu doesn’t open – refresh your browser or clear cache, then try again.
• Profile Settings page doesn’t load – check connectivity or log out/in. Contact Deel Support if the issue persists.
Step 2 – Select the Account Access tab
Select the pencil icon next to the Email field to edit the address.
Set the account email to a personal email address rather than a work email. This helps ensure continued access to the account in case of employment changes.
If your organization uses Single Sign-On (SSO), your work email and account email may be different.
To ensure continued access:
- Check the Work Email field under Workspace > My Profile > General Information.
- If the Work Email field is empty, please contact your manager to update it.
Step 3 – Enter your new email address and click Next
Step 4 – Verify your new email address
Open your inbox, find the message from Deel, and click Verify Email.
If you don’t see the email, check your Spam folder or click Resend email.
Step 5 – Verify your identity with Veriff
After you verify your email, click Verify identity with Veriff to add an extra layer of protection to your account.
Click Start, or scan the QR code displayed on-screen.
Veriff will ask you to:
- Take a selfie
- Upload a photo of a valid government-issued ID
You will need a smartphone to continue. Make sure your ID is neither expired nor physically damaged, and that it is issued by the same country as your residential address.
Step 6 – Log in with your new email address
After successful verification, log out and sign back in to Deel using your new email and existing password.
If you have additional questions about changing your email address, contact Deel Support or schedule a live video call with us for assistance.