
This article is for clients and explains how they can configure Single Sign-On (SSO) in SAP SuccessFactors.
Before you begin:
- Identity Provider (idP) of choice (JumpCloud, Okta, etc)
- Have SAP Cloud Identity Services access
- Have enabled SAML2.0 connector in Deel
View and download the Tenant SAML 2.0 Configuration
✅ Step 1 - Using an administrator account, access SAP Cloud Identity Services through the admin link.
✅ Step 2 - Go to Applications & Resources, then select Tenant Settings.
✅ Step 3 - Under Single Sign-On, select SAML 2.0 Configurations.
✅ Step 4 - On the SAML 2.0 Configurations page, select Download Metadata File.
Register new SSO application
✅ Step 1 - Create a new SSO application in your chosen identity provider, such as JumpCloud or Okta.
✅ Step 2 - Upload the Tenant SAML 2.0 configuration metadata file that you downloaded in the previous section, or configure the service provider settings manually.
✅ Step 3 - Obtain the identity provider metadata, which typically includes the SSO URL, entity ID, and identity provider certificate.
✅ Step 4 - Export the identity provider SAML metadata file, or copy its metadata URL if your configuration supports a URL.
For example, in JumpCloud, upload the SAP Cloud Identity Services service-provider metadata, then export or copy the JumpCloud identity provider metadata.
Register the idP in SAP Cloud Identity Services
✅ Step 1 - Using an administrator account, access SAP Cloud Identity Services through the admin link.
✅ Step 2 - Go to Identity Providers, then Corporate Identity Providers. Create a new identity provider with the provider type SAML 2.0 Compliant.
✅ Step 3 - In SAML 2.0 Configuration, upload the identity provider metadata file or provide its metadata URL to configure trust. You can also configure the settings manually.
✅ Step 4 - In Identity Federation, enable Use Identity Authentication user store.
Configure the Corporate idP with the SAP SuccessFactors application
✅ Step 1 - Go to Applications & Resources, then select Applications.
✅ Step 2 - Select, or create, the SAP SuccessFactors bundled application to configure for SSO.
✅ Step 3 - Under Conditional Authentication, enable Trust All Corporate Identity Providers.
Getting the Deel Redirect URL
✅ Step 1 - In Deel’s left navigation, select Apps & Automation to expand the section.
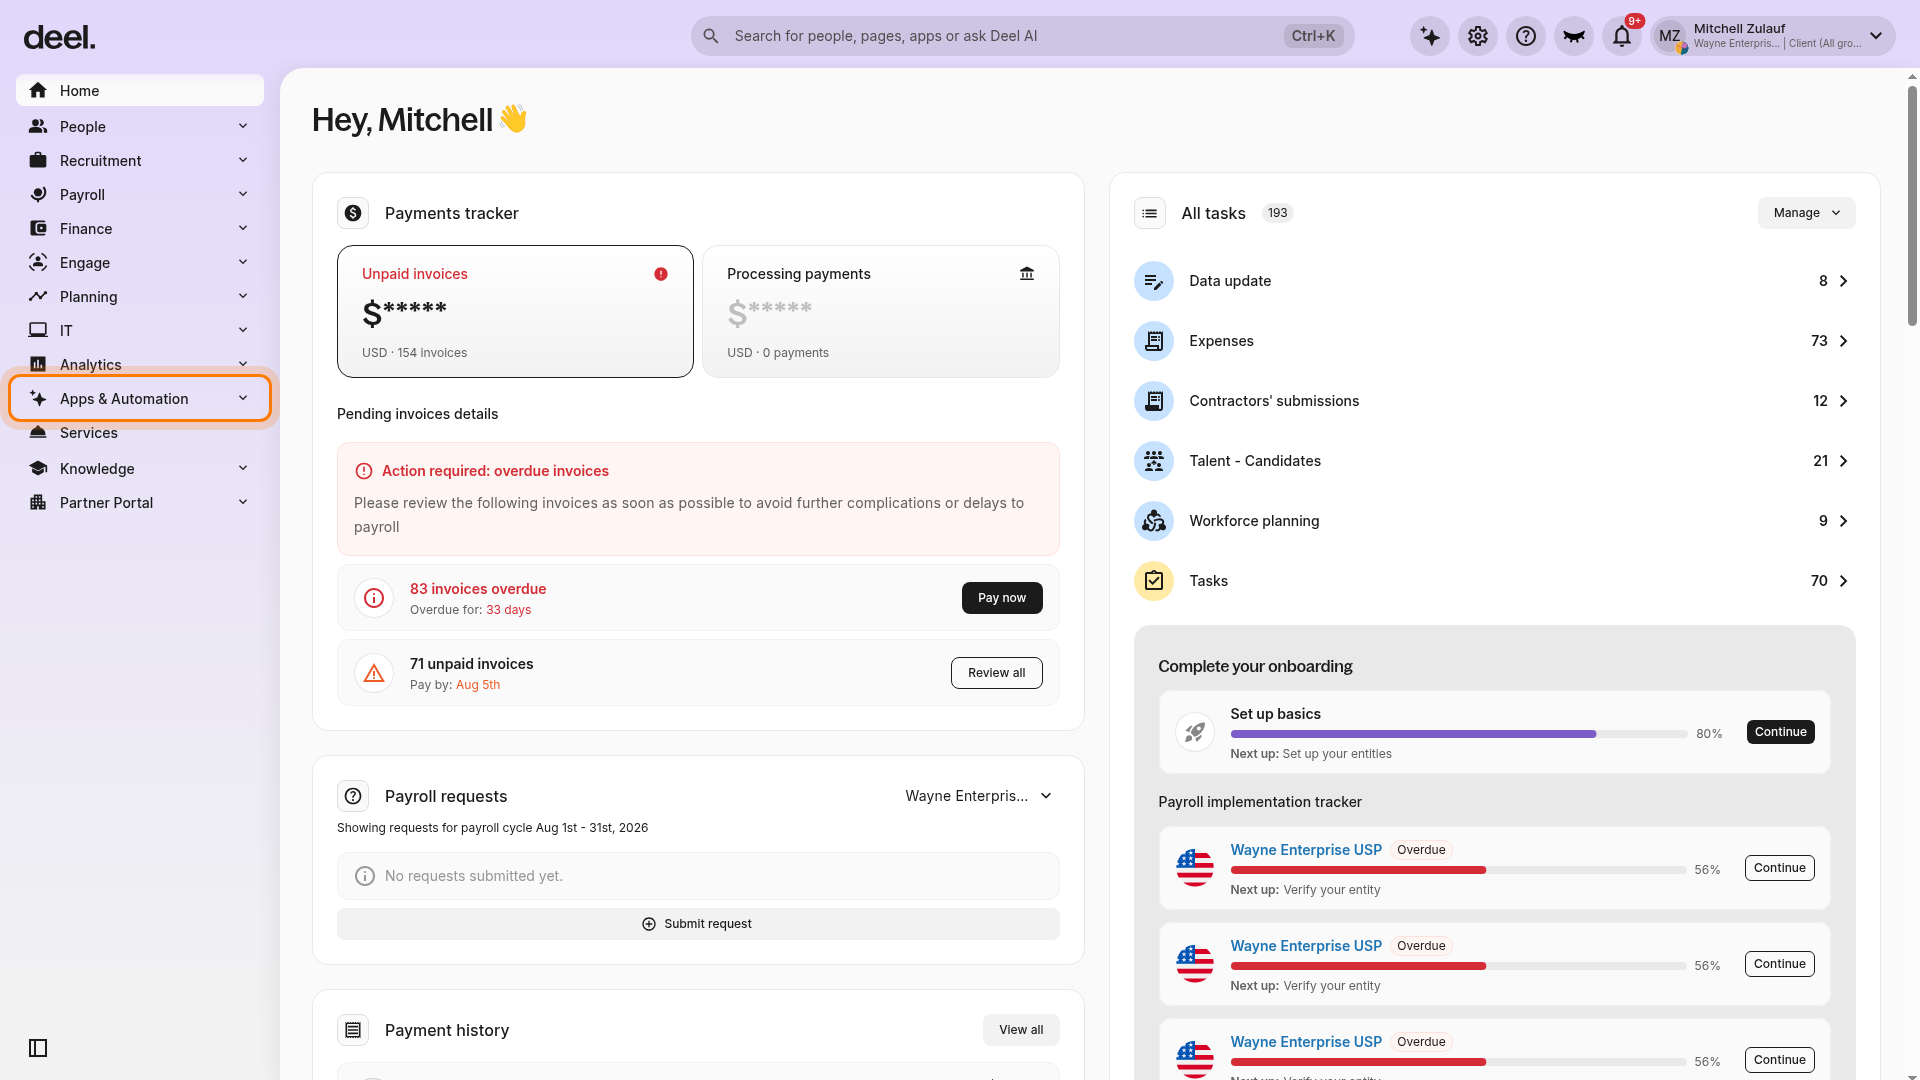
✅ Step 2 - Select App Store.
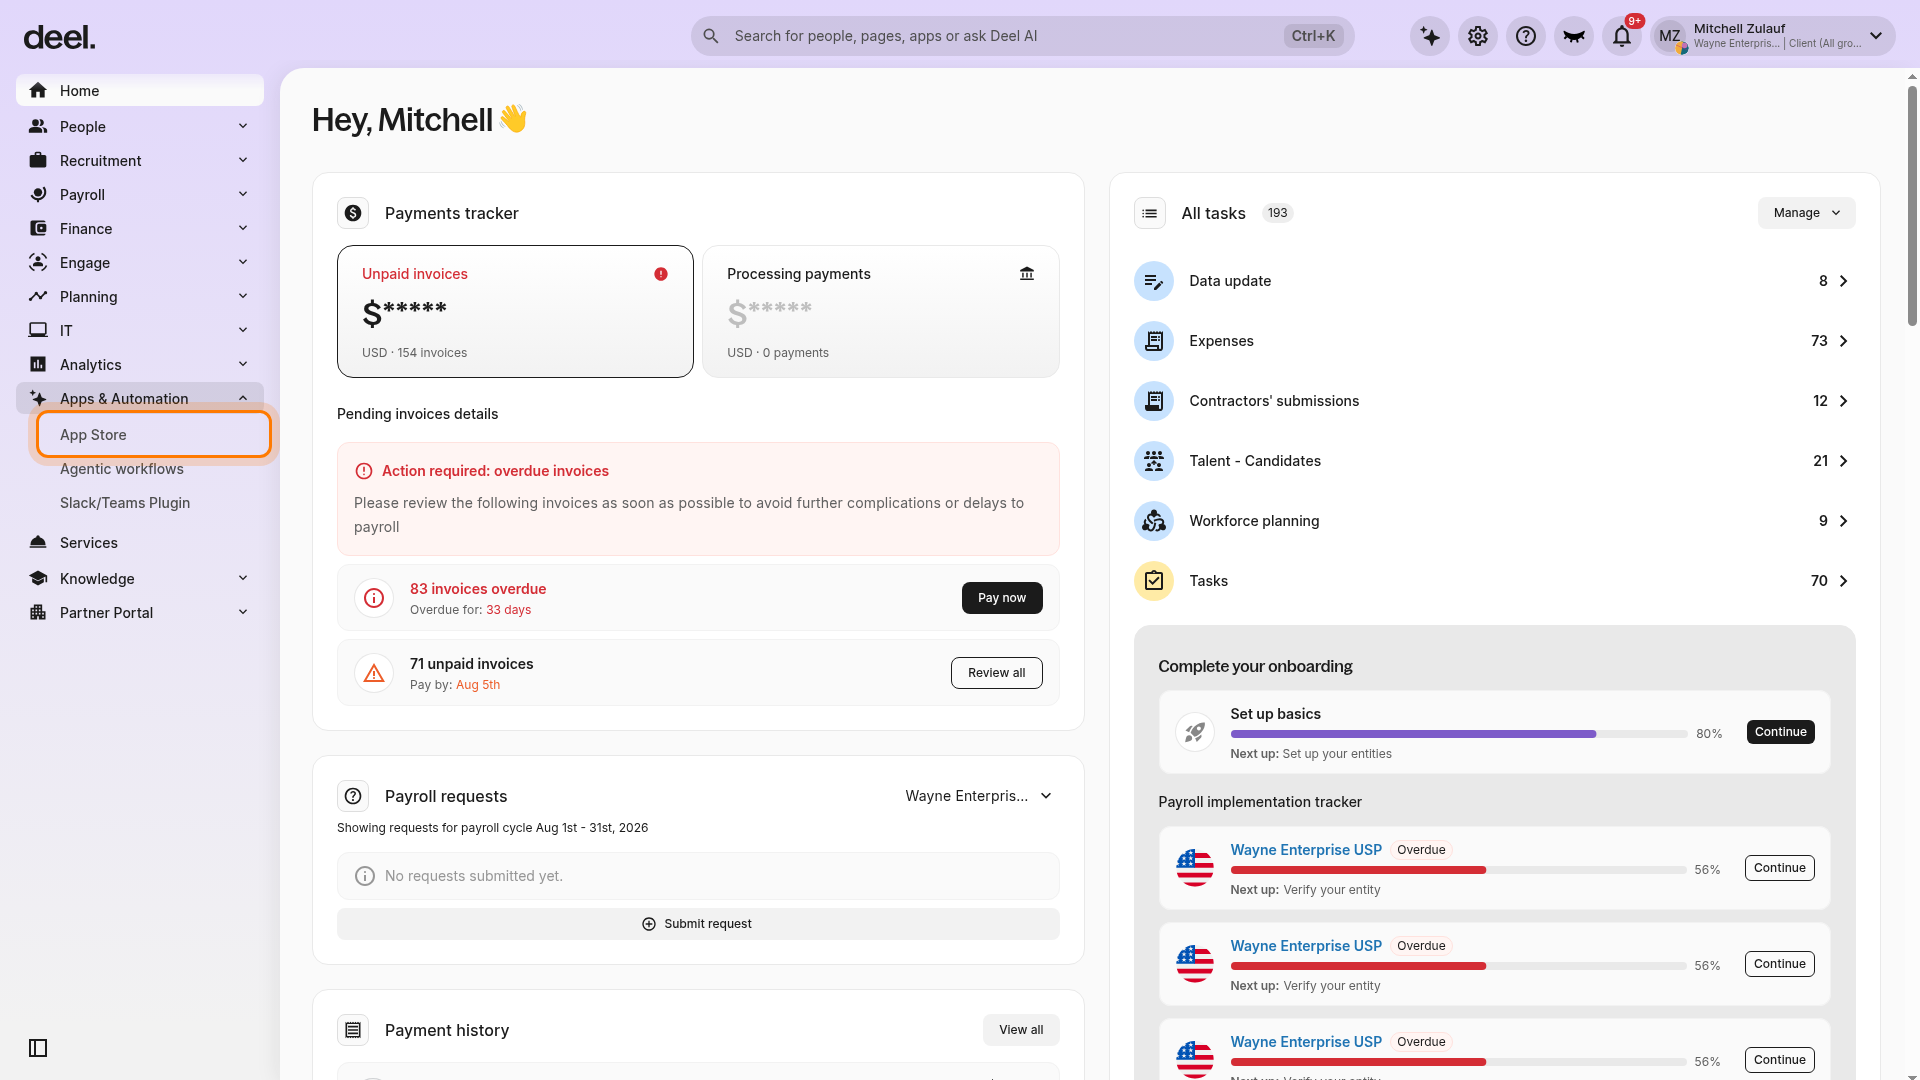
✅ Step 3 - In the App Store panel, select Manage my apps. The number shown in parentheses is account-specific.
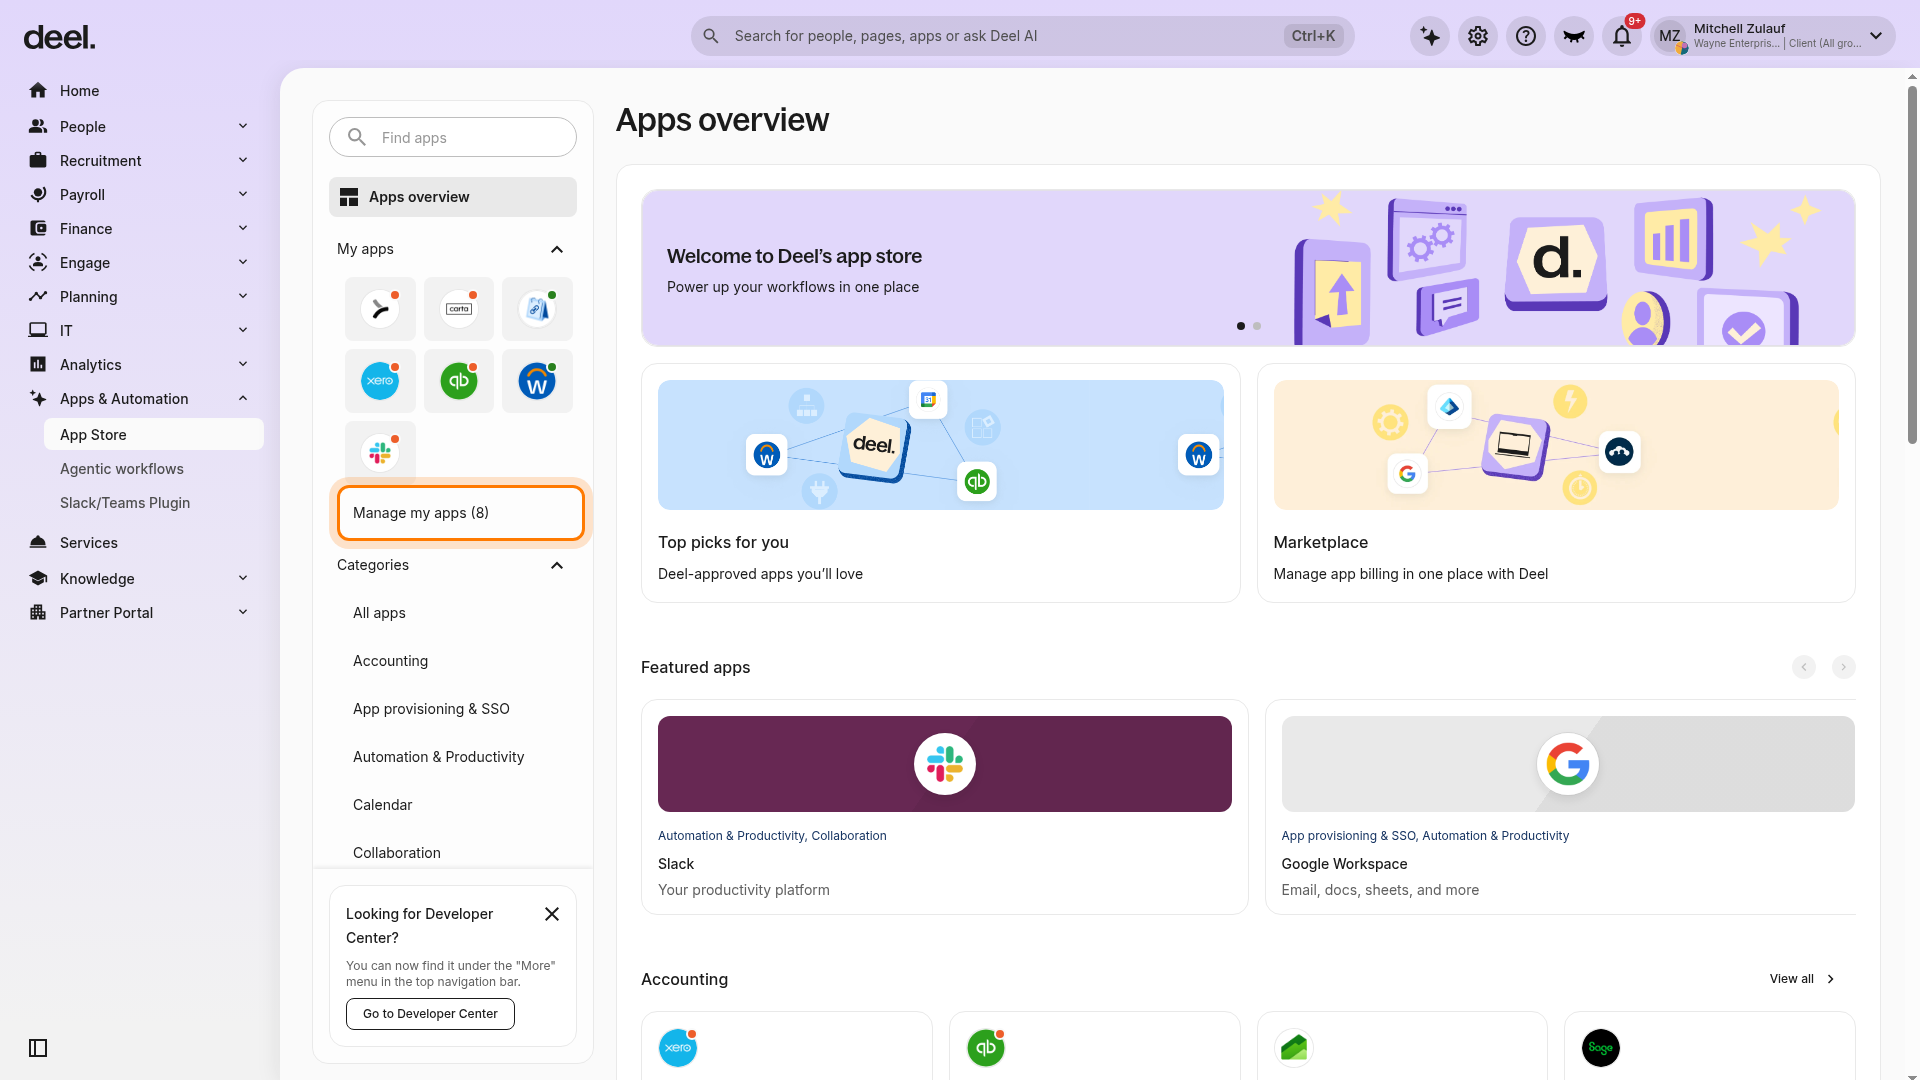
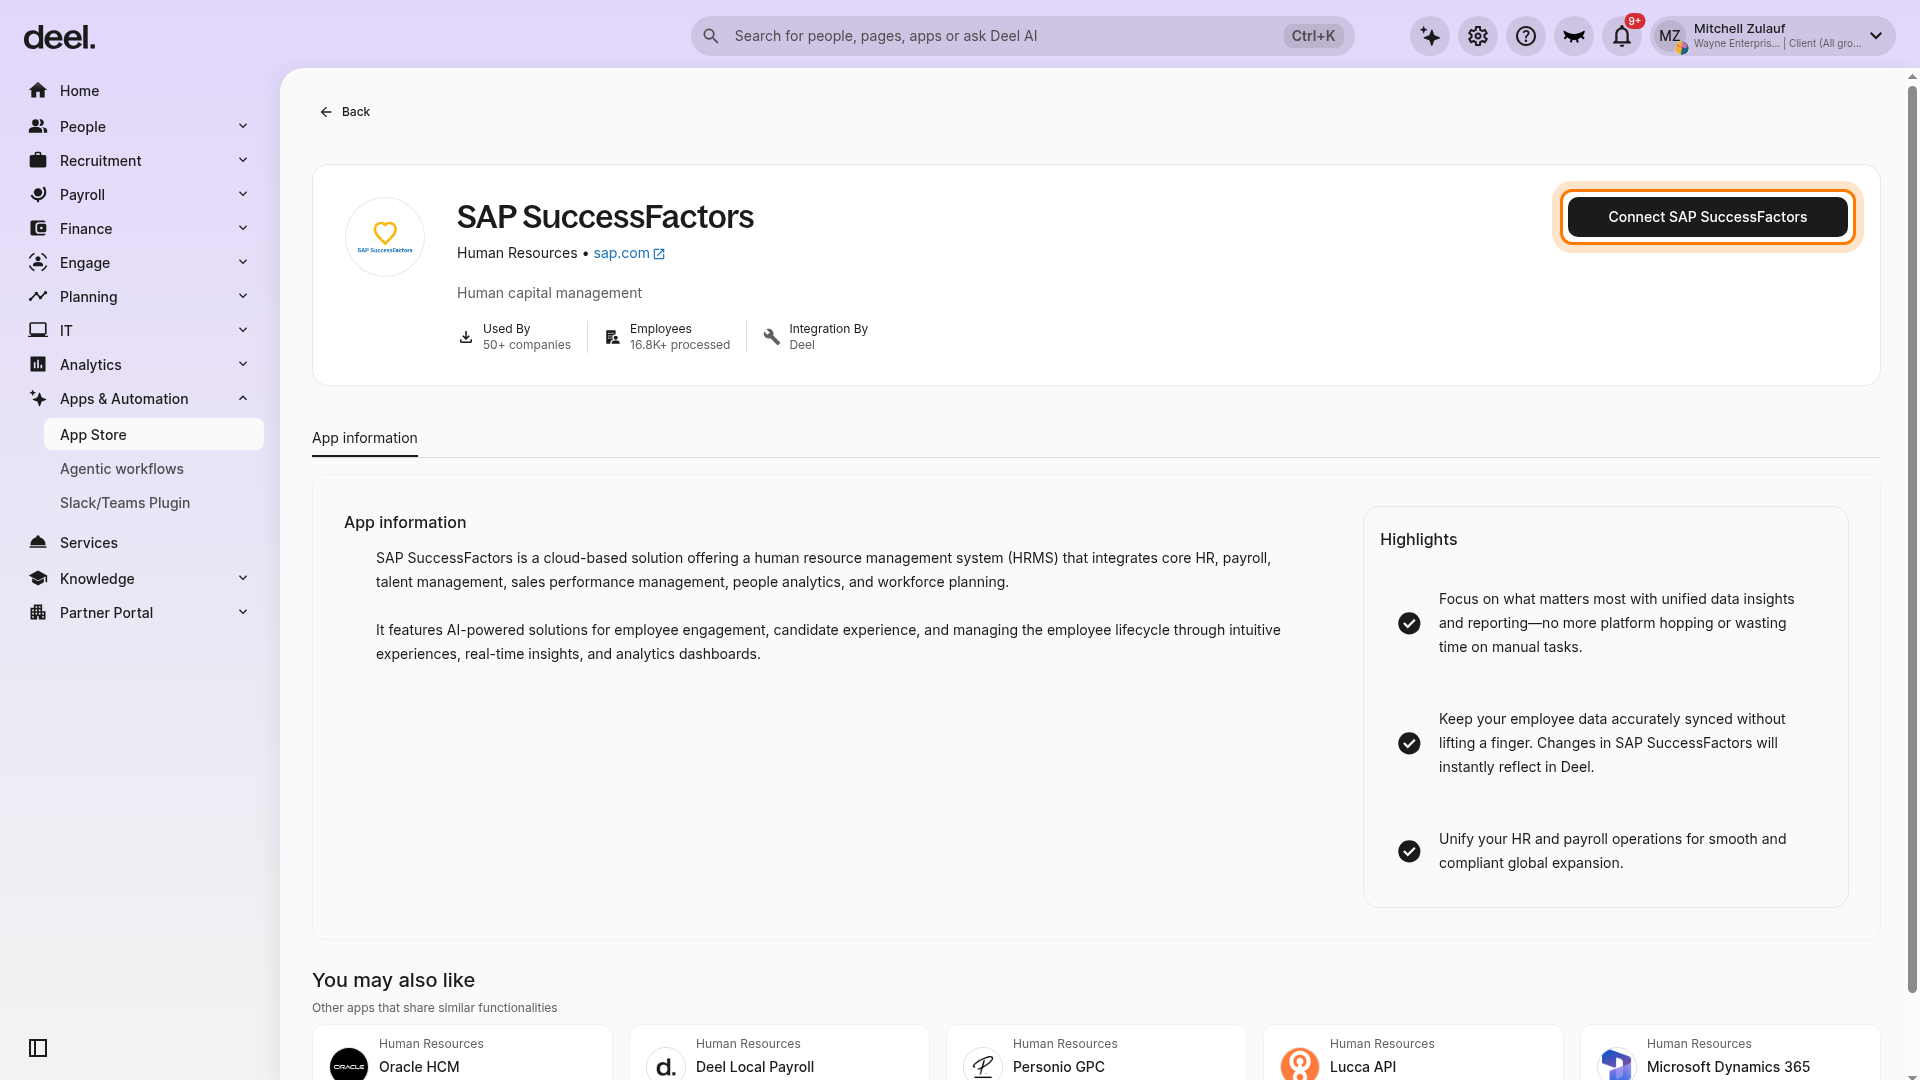
✅ Step 4 - In the Find apps field, enter SAP SuccessFactors, then select the SAP SuccessFactors result.
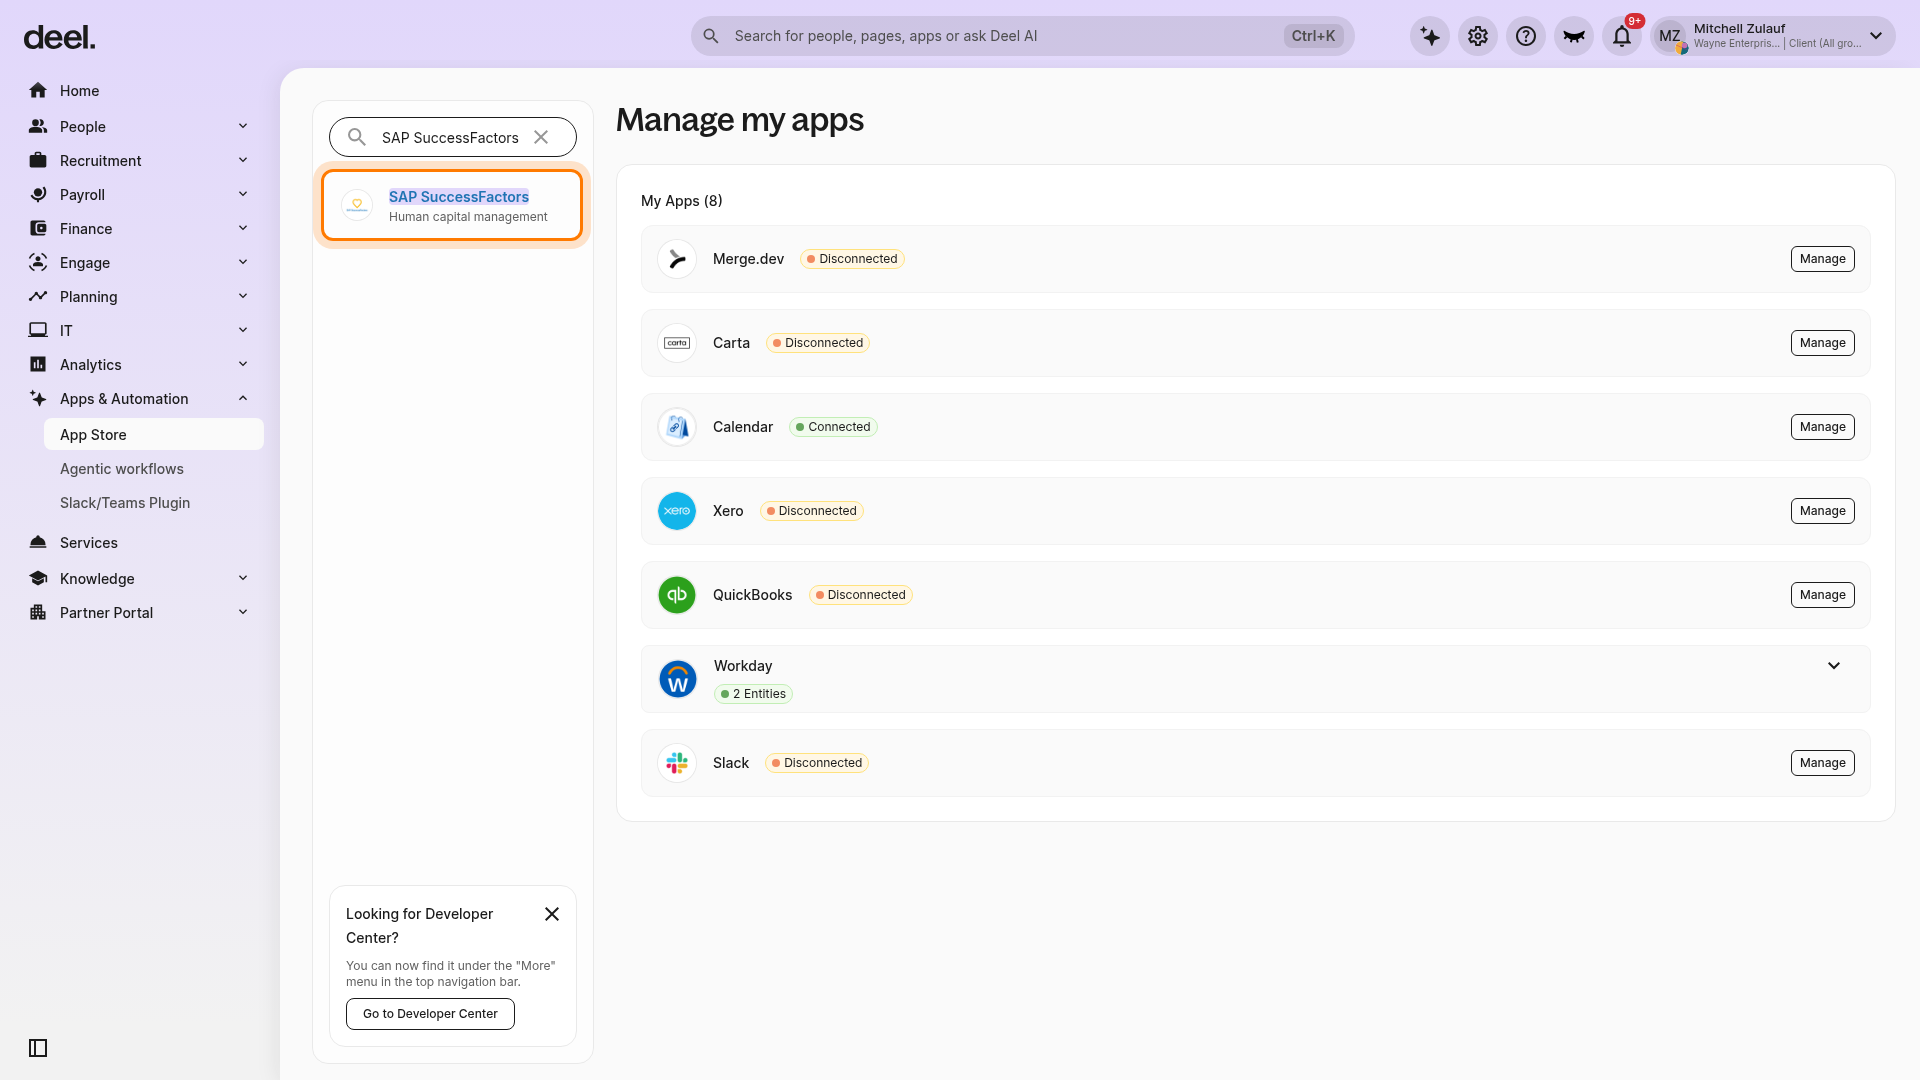
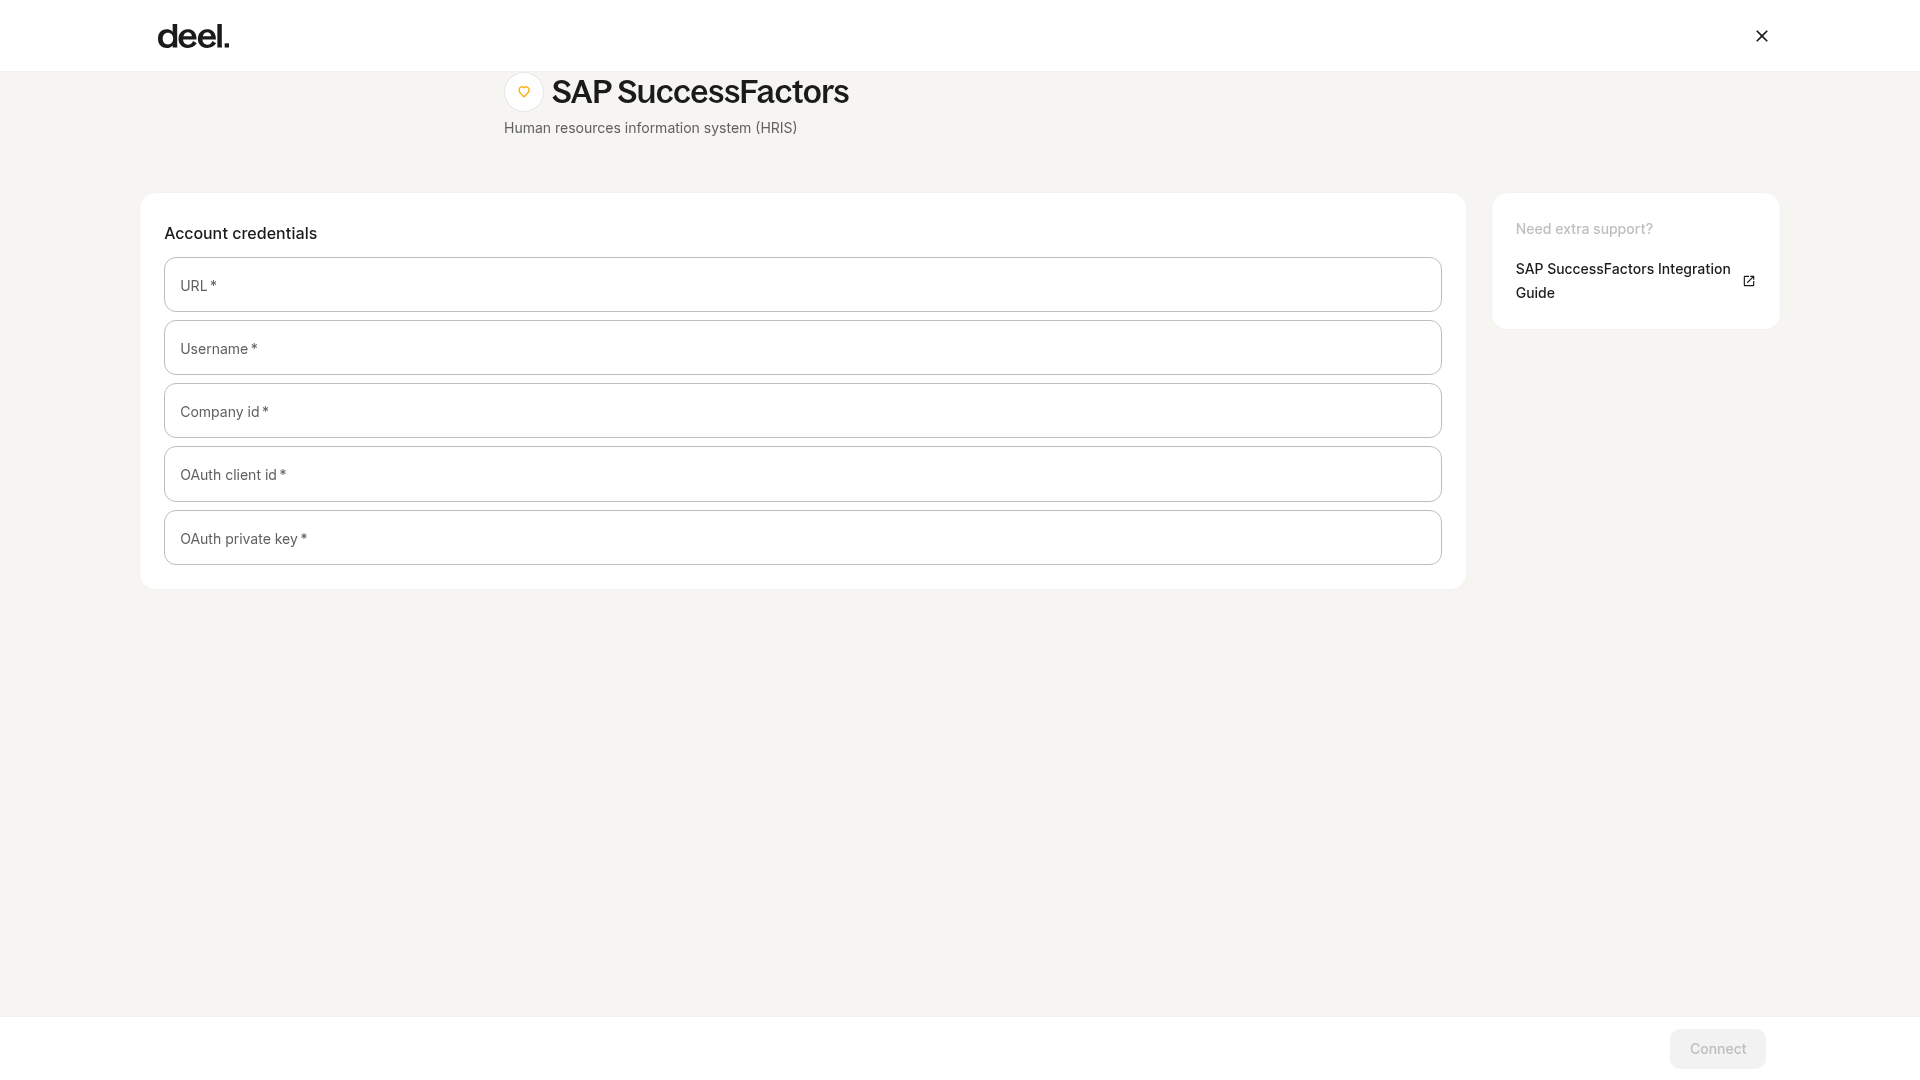
✅ Step 5 - Check whether the integration is connected. If Connect SAP SuccessFactors is displayed, select it and complete the connection using the SAP SuccessFactors URL, username, company ID, OAuth client ID, and OAuth private key supplied by your administrator. If the integration is already connected, continue to the SSO plugin section.
✅ Step 6 - In the connected integration’s SSO plugin section, turn on the SSO toggle.
✅ Step 7 - Copy the complete Redirect URL exactly as displayed. Use this URL when configuring SSO in SAP SuccessFactors.