
This article explains how clients can set up the Xero v2 integration on Deel.

In this article:
Setting up the Xero integration
Setting up Custom Expense categories
Setting up the Xero integration
✅ Step 1 – Go to Apps & Automation > App Store > Xero to connect.
From the Deel Home dashboard, select Apps & Automation in the left sidebar to expand its submenu, then select App Store.
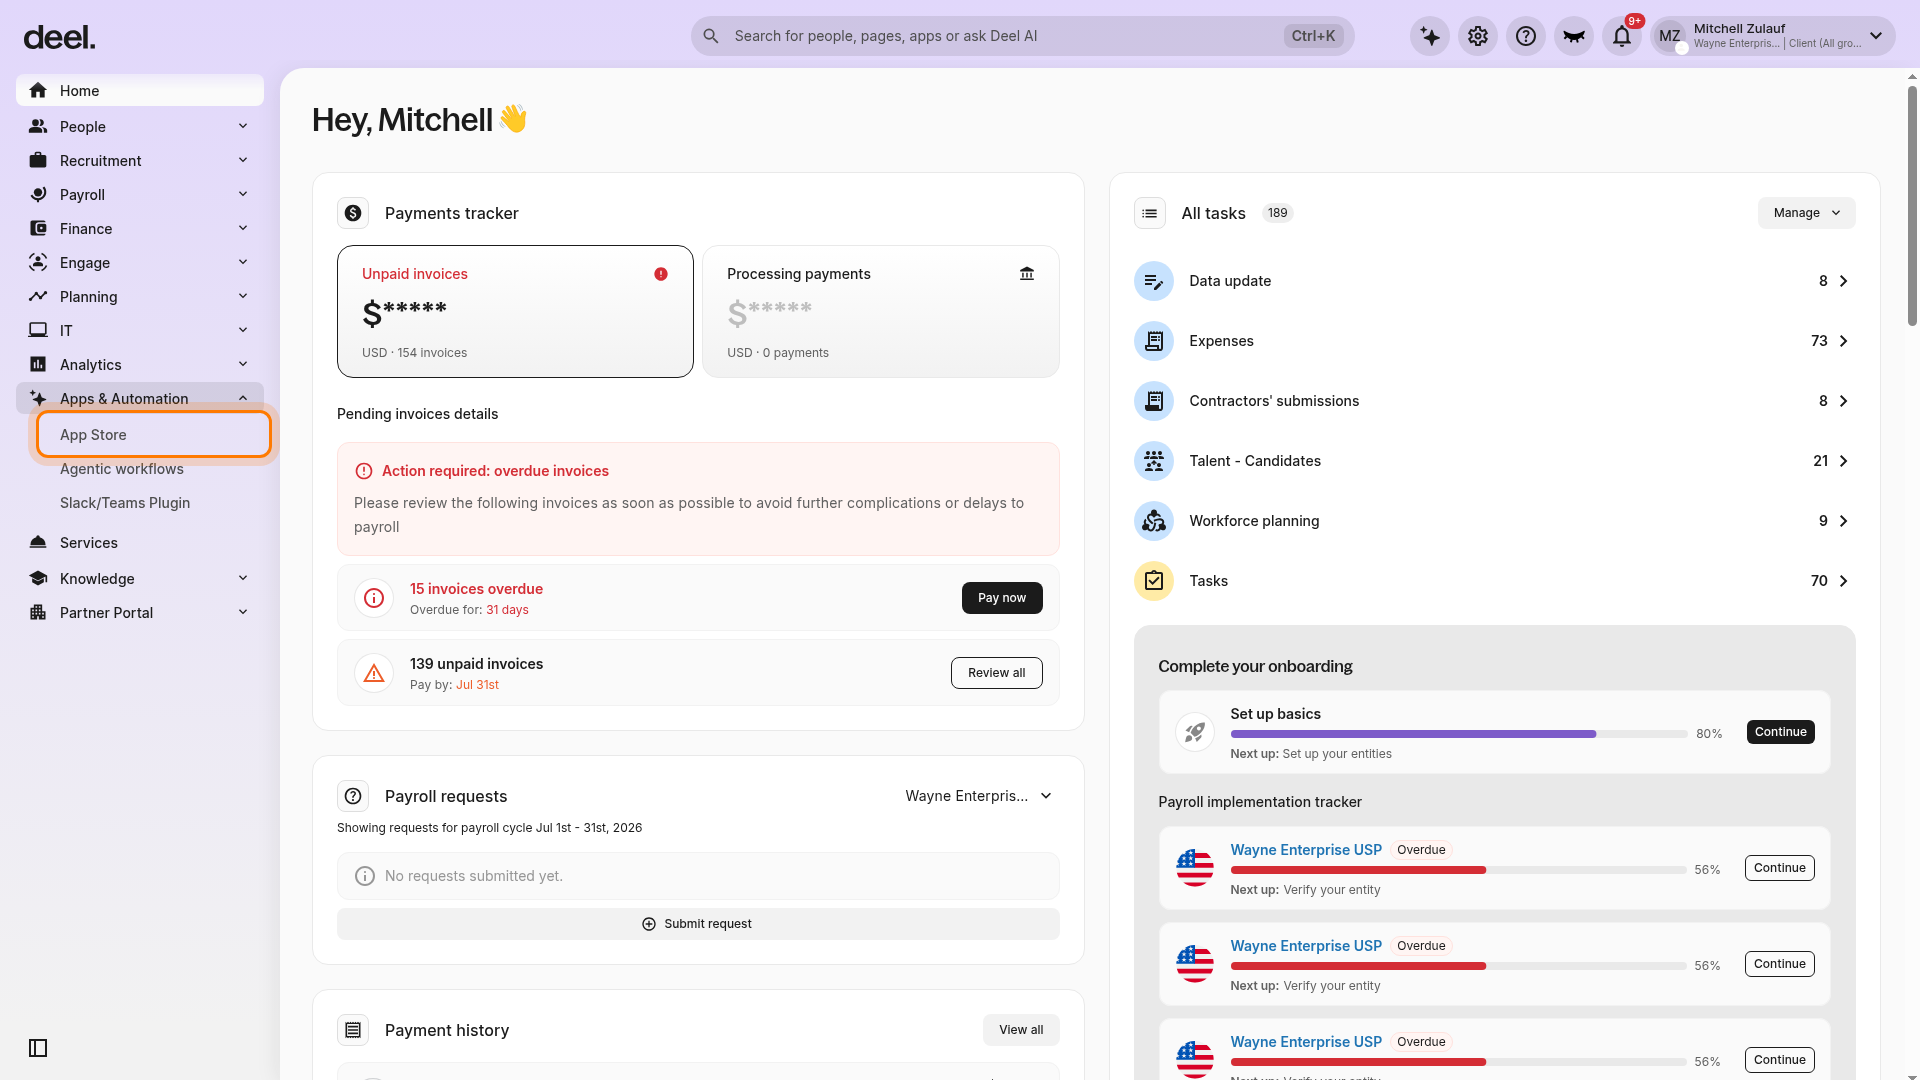
If the Welcome to your Deel Apps & Integrations dialog appears, select I'll do that later to close it. This does not change any integration settings.
On the Apps overview page, find the Accounting section and select the Xero card.
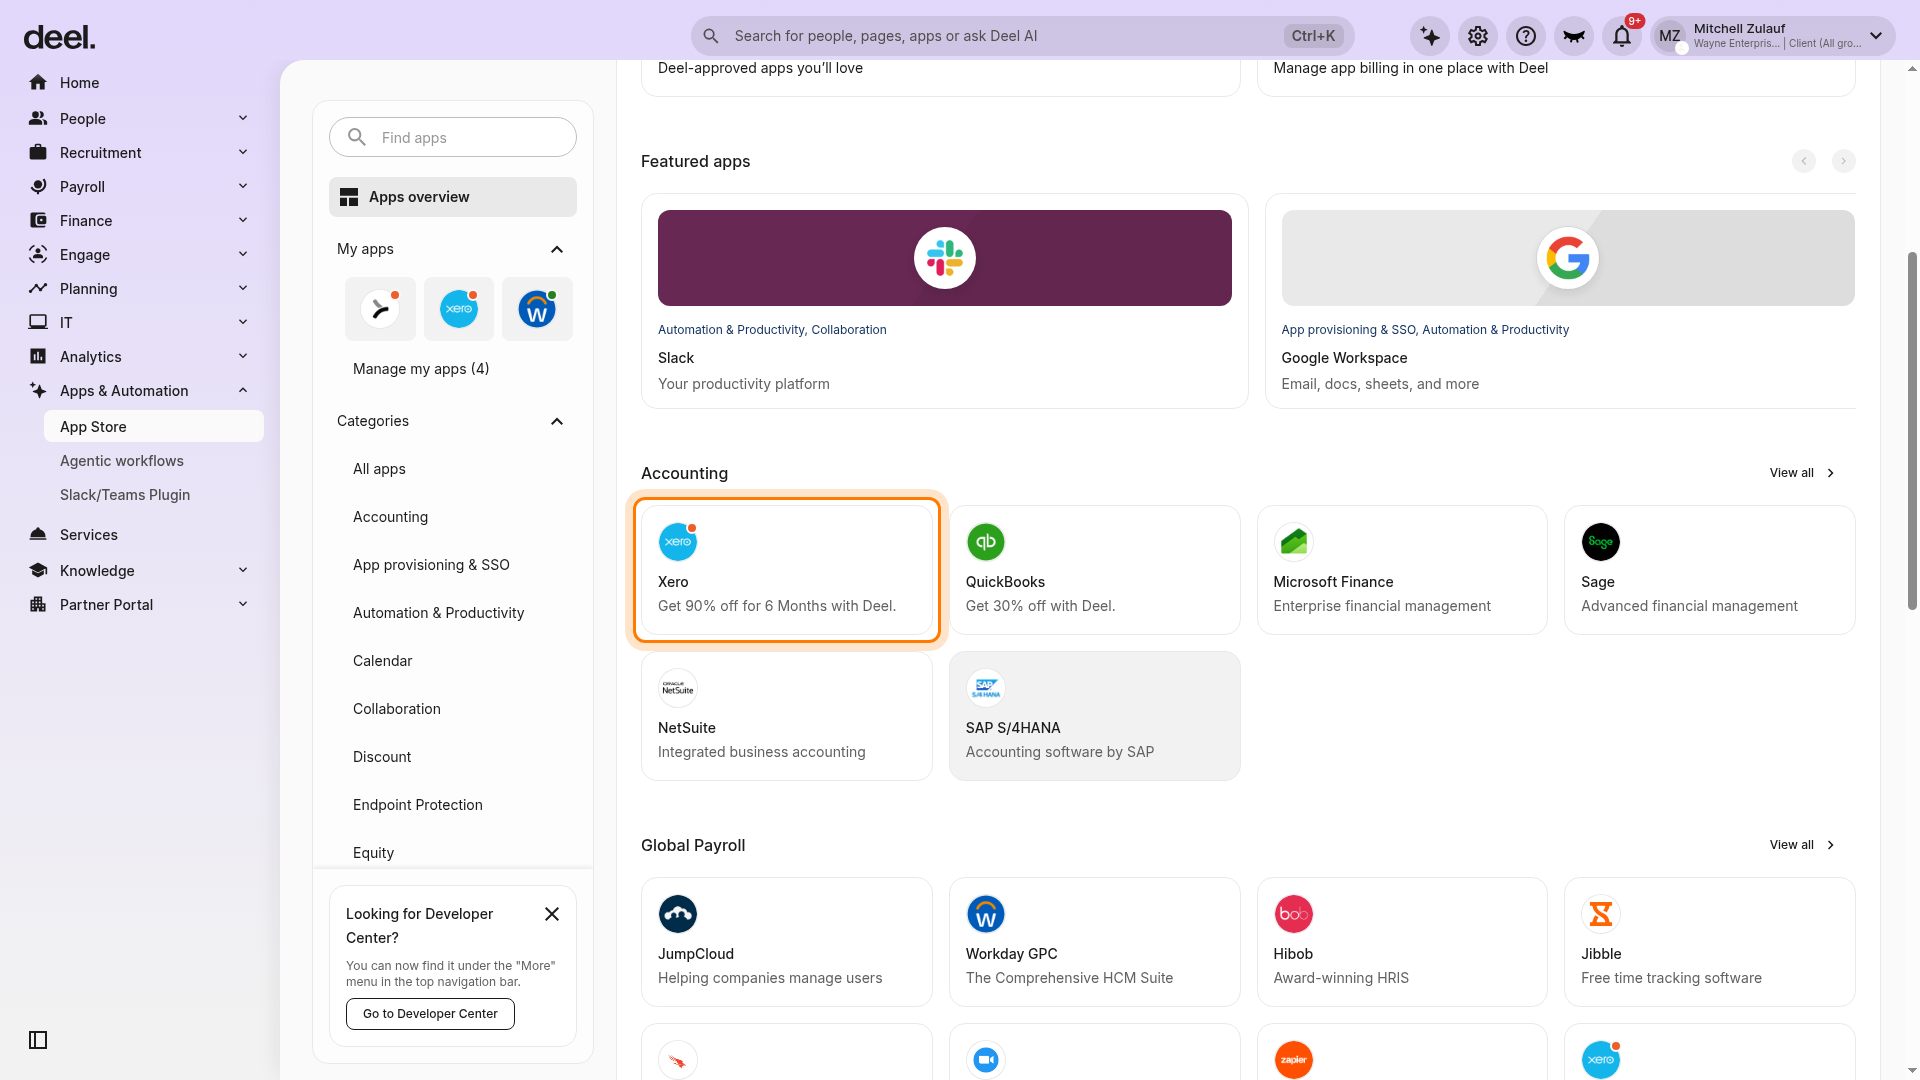
✅ Step 2 – Authenticate Deel to access Xero and choose your Xero entity
Follow the prompts to authenticate Deel with Xero, then select the Xero organization to connect.
✅ Step 3 - Select the entity to map to an organization
Select the Deel entity to map to the Xero organization.
If available, enable automatic vendor synchronization and creation to sync new contracts automatically.
Click Complete Setup to finalize the integration.
✅ Step 4 – Connection Confirmation
After completing all connection steps, a success screen will confirm connection and outline next steps. You can then configure the bookkeeping plugins described below.
Enabling Plugins
Configure bookkeeping modules by contract type (Independent Contractors, EOR and COR) - set things up to automate bookkeeping for employees hired and paid using Deel.
✅ Payment Sync
This plugin allows mapping payment methods to payment accounts.
Map a default payment account that Deel will use for all invoice payments made using bank transfers or unmapped saved payment methods. Select one default payment per currency.
Map each saved payment method to a payment account to be able to map new saved payment methods in Deel in settings.
✅ Document Sync
This plugin allows syncing the PDF of the invoice and the attachment files with Xero by simply switching the toggle on or off.
✅ Vendor Management
This plugin allows linking and managing vendors for contracts, with options to automatically sync and create vendors or manage independent contractor vendors in accounting systems.
Simplify EOR accounting with Deel's Single Vendor option. Deel now invoices for EOR services through parent entity Deel Inc while transactions will continue to sync with local EOR vendors.
To do this:
- Select “Invoice Sync” from the EOR module
- Toggle on the option "Use a single vendor for EOR invoices”
✅ Bill (Invoice) Sync
Use this plugin to complete account mappings for contractors. Map expense accounts to define how bills / invoices will be synced in accounts in Xero or choose to automatically sync invoices with Xero every time contractors are paid.
Xero Tracker Categories
Xero tracker categories help customers to categorize their spending with greater granularity (beyond chart of account mapping) in the way they define it.
It is possible to set up a maximum of 2 tracker categories in Xero.
Clients can set up and edit categories in Xero via their Advance Settings. Doing this maps the invoices from Deel to Xero, according to the tracker category that they set.
Categories cannot be configured during the initial setup process as this is an advanced feature, so it needs to be done once the integration has been set up.
Setting Up Tracker Categories
To map an existing tracker category in Xero to Deel, the client can do this on a default level or on the contractor level.
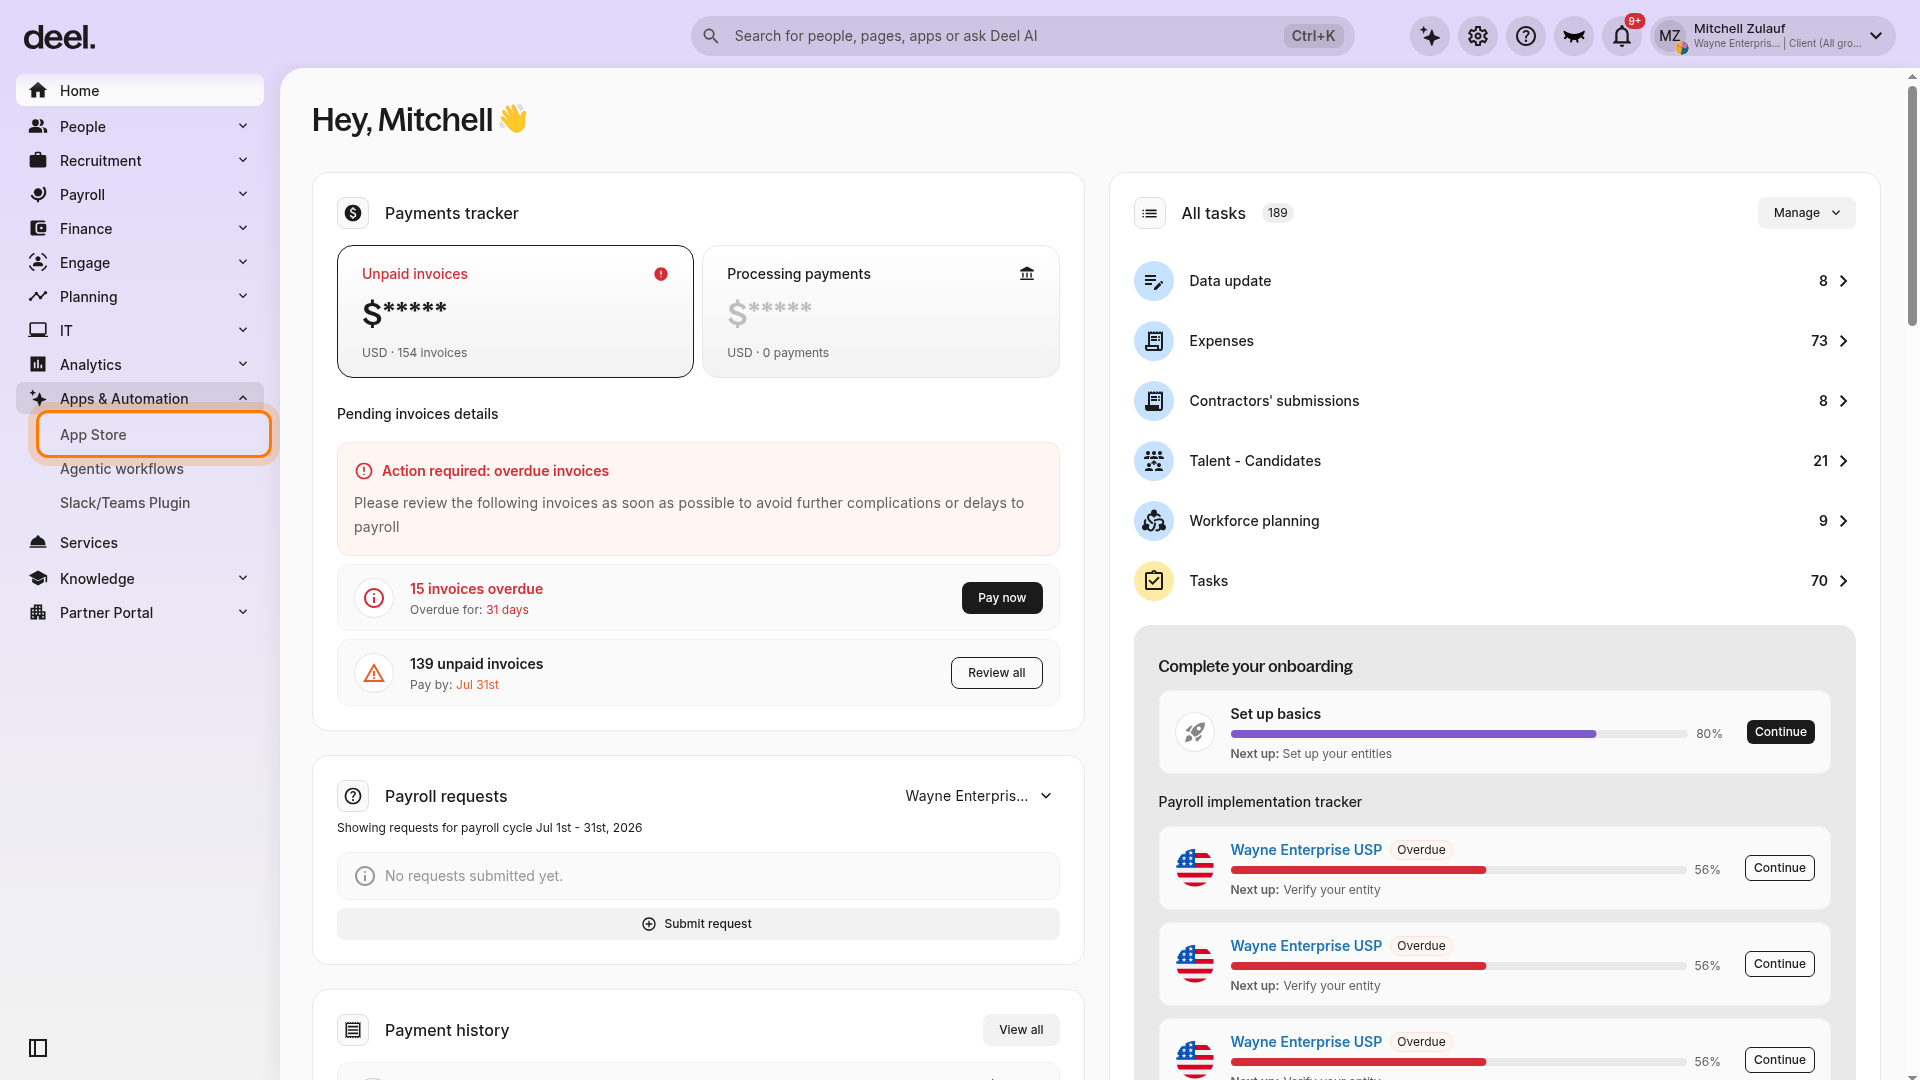
✅ Step 1 – Select Apps & Automation in the left sidebar, then select the App Store.
If a welcome or promotional dialog covers the page, close it using the X in its upper-right corner.
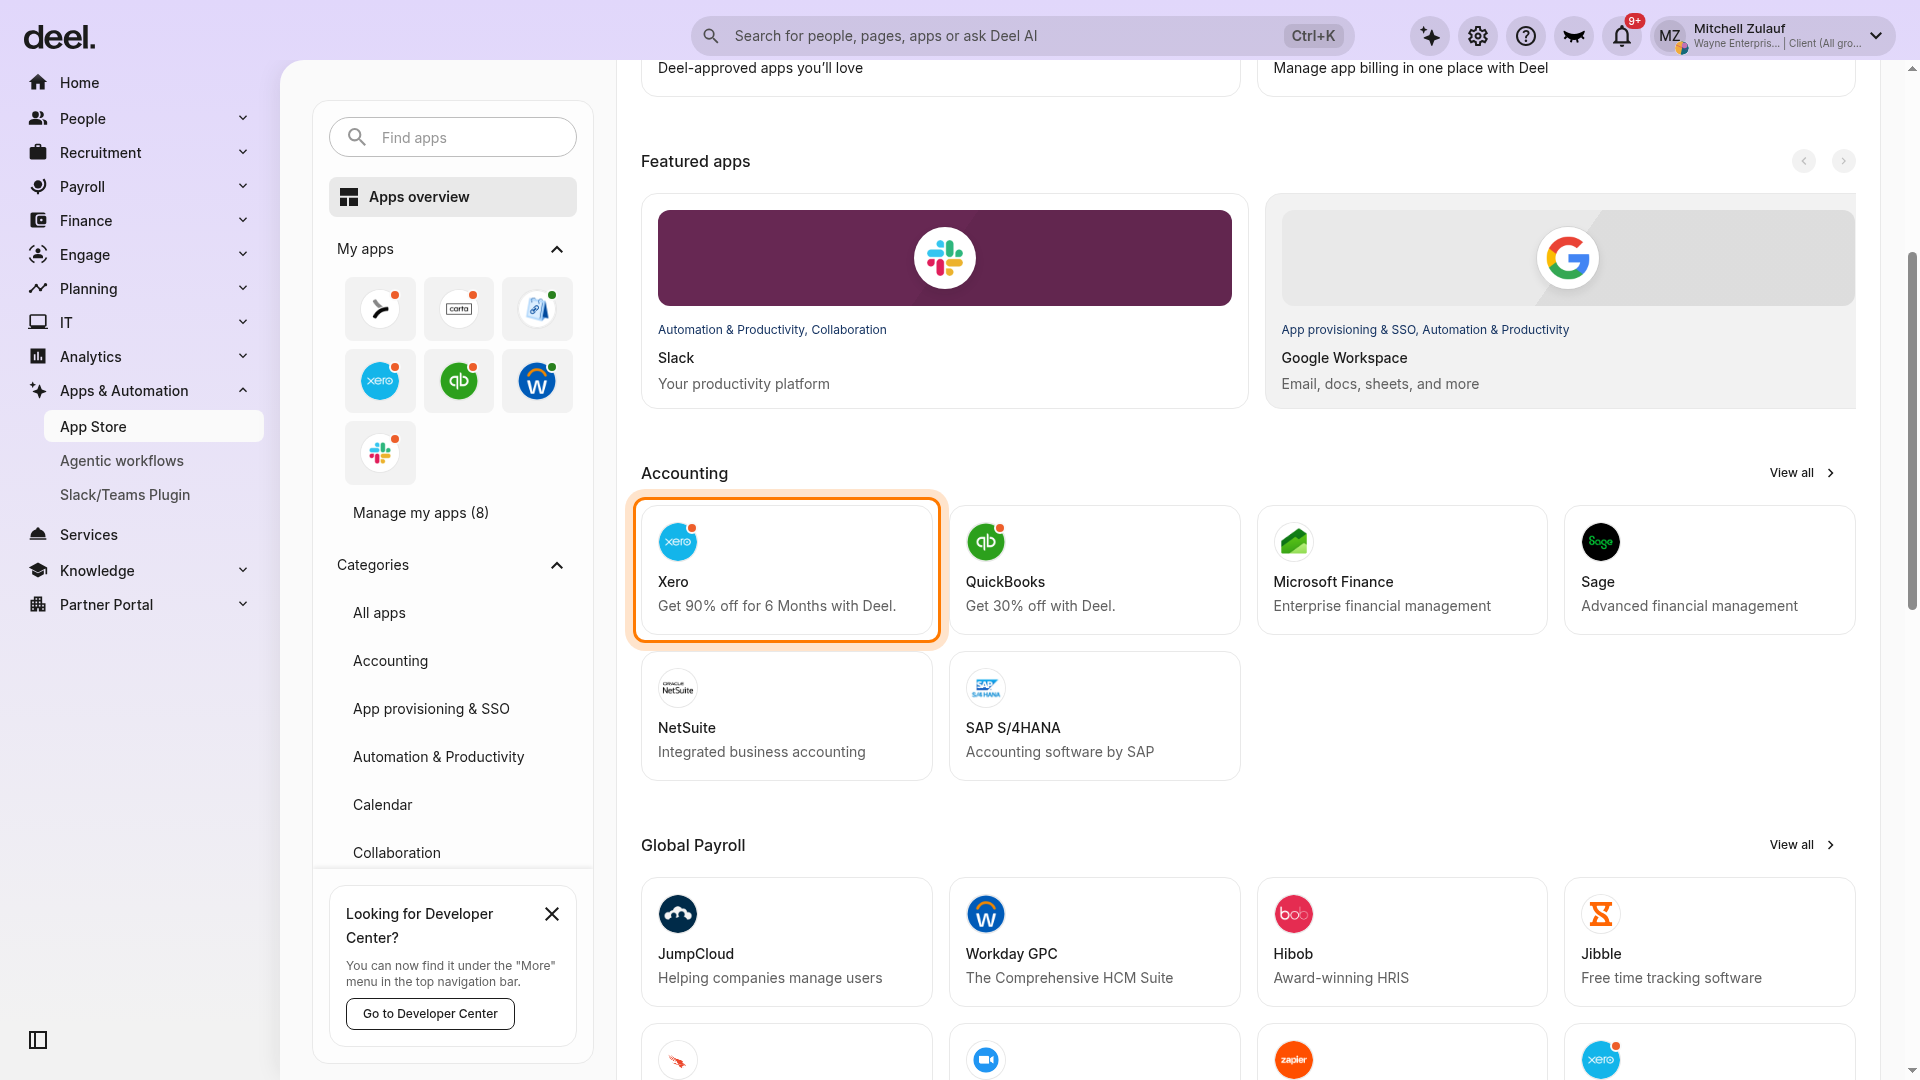
✅ Step 2 – Open the Xero integration and select Settings
On the Apps overview page, locate Accounting and select the Xero card. On the Xero integration page, select Settings.
A Xero tracker category card will be visible.
If tracker categories are set up in Xero, they will be pulled through to this card.
The default level will be set to "Uncategorized", but a default option can be selected for each tracker category. This will then automatically be applied to all contractors whose invoices are being pulled via Deel, unless the trackers on an individual contractor level are chosen to be configured.
To set up configurations on a contractor level, it will have to be done on a one-by-one basis:
✅ Step 1 – Go to the Contractor tab and select a contractor from the list.
On the Xero integration page, select Settings, then select the Contractor tab and choose the contractor whose tracker categories you want to configure.
✅ Step 2 – Review available tracker categories that can be configured
See the available categories on the box on the right-hand side.
✅ Step 3 – Click on the tracker category to select which option to map to
This will remove the default mapping and change it to their individual tracker setting.
Any invoices from this contractor going forward will now be linked to this tracker.
Setting Up Custom Expense Categories
Assign invoice expense lines to different accounts or classes within Xero, according to the custom expense categories set up in Deel.
FAQs
[ACCORDION] Can past invoices be synchronized?
Yes, they can. To load past invoices, choose the date from which to sync retroactively.
[ACCORDION] Will invoices automatically be synchronized?
Yes, Deel will automatically sync all the invoices starting from the date of integration.
[ACCORDION] How can Xero be disconnected?
Go to Apps & Automation > App Store > Xero, select Settings, scroll down, and select Delete integration. For step-by-step instructions, check this article.
[ACCORDION] What if the person who set the integration up leaves?
The email notification can be set up to go to several inboxes so if someone is off, or has left the organization, there isn't a single point of failure.
[ACCORDION] Are notifications sent if there's an issue with the integration?
Yes, Deel will send out notifications of integration or global payroll sync issues. Specify an organization manager email (or as many emails as needed) to receive these notifications.
To do this:
✅ Step 1 - Go to Apps & Automation > App Store > Xero.
✅Step 2 - Select the three-dot menu next to the Sync Xero button.
✅Step 3 - Select Email notification settings from the list of options.
✅Step 4 - In the Email notification settings drawer, click on the Add button to add an email notifications list.