This article explains how clients can set up, customize, and troubleshoot the Xero integration on Deel.
To install integrations on Deel you must have the correct Org Admin permissions.
In this article
Setting up the Xero integration
Prerequisites
• Org Admin permissions in Deel
• An active Xero account with permission to authorise third-party apps
• (Recommended) Multi-currency enabled in your Xero organisation (see the dedicated section below)
• If you cannot see the Xero tile in Deel’s Apps store, check with your Deel admin that the Xero integration is enabled for your environment.
How to set up the Xero integration
Jump to video tutorial
Step-by-Step Instructions
-
Open the More menu
From the Deel dashboard, click the More tab in the upper-right navigation bar.
-
Access the Apps section
In the drop-down, click Apps to open Deel’s app store.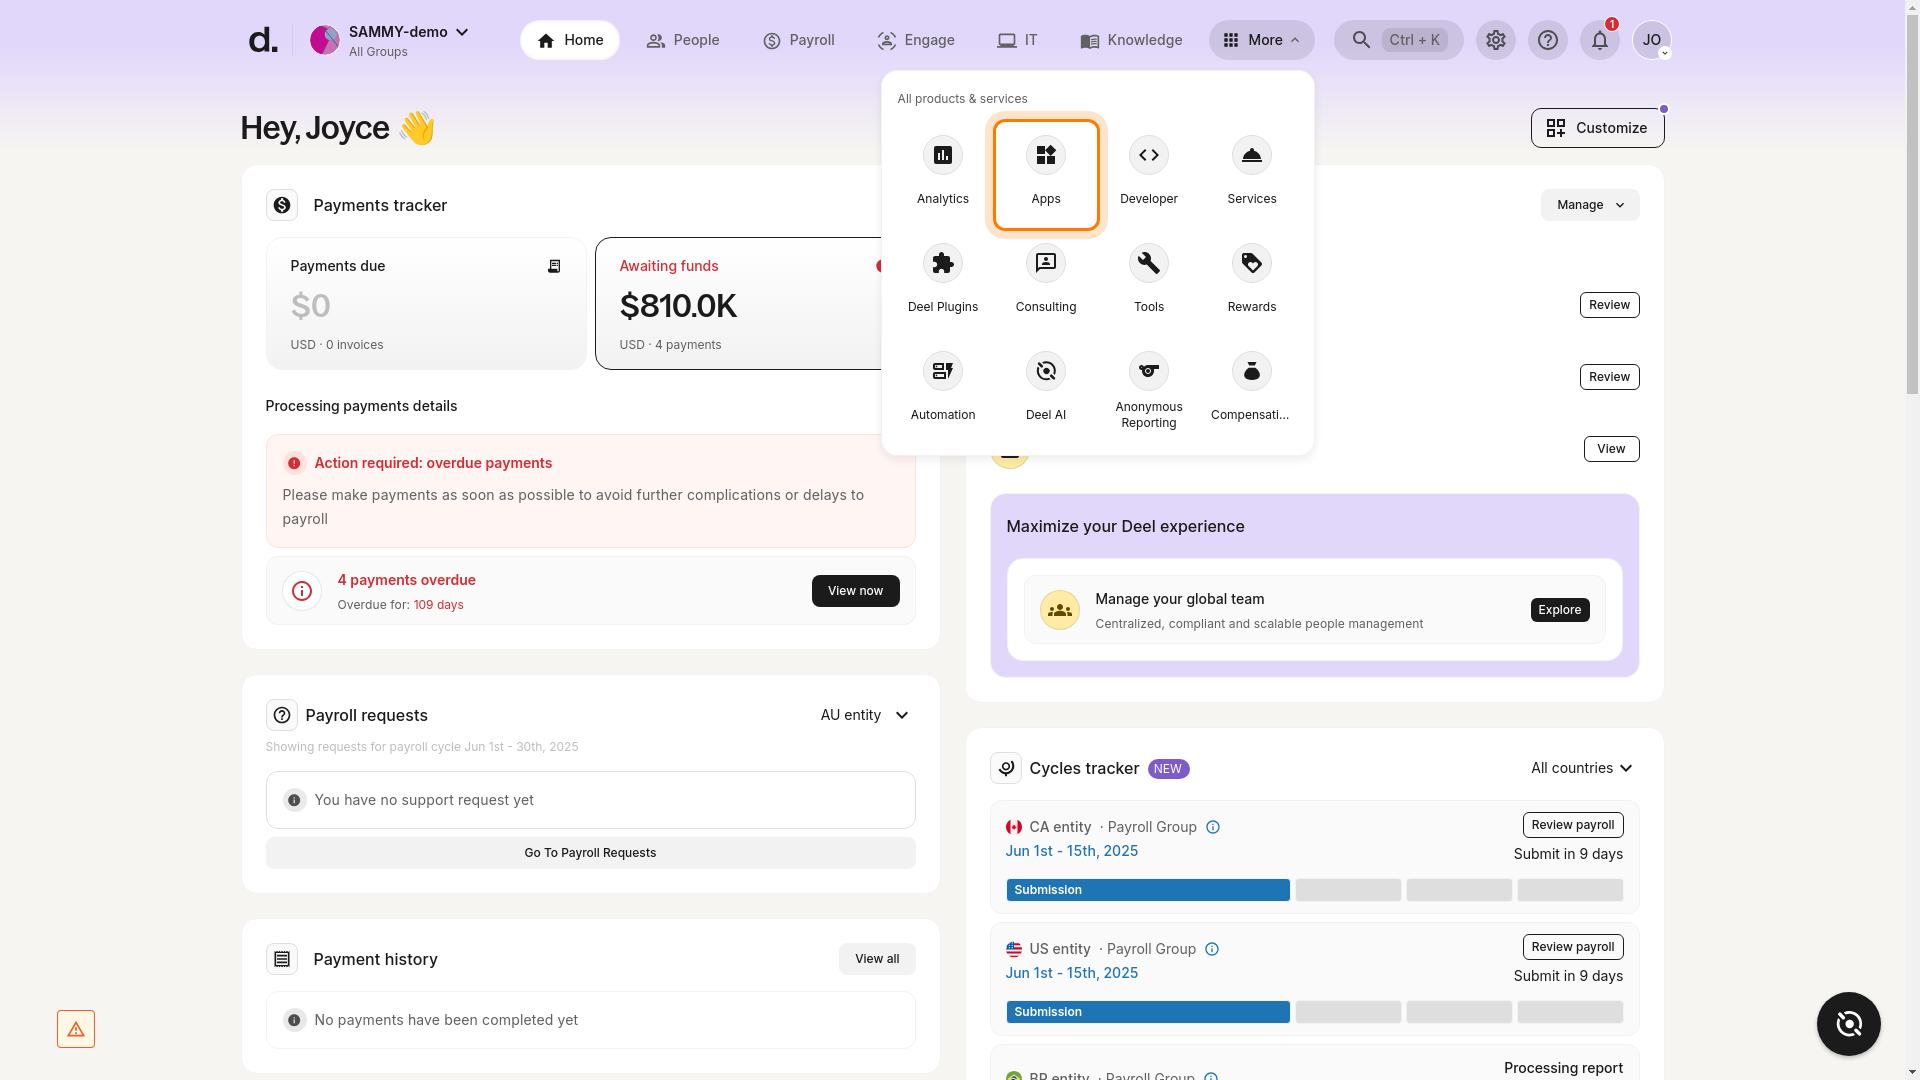
-
Locate the Xero tile
In My Apps, click the Xero tile. If the tile is missing, see the troubleshooting note at the end of this section.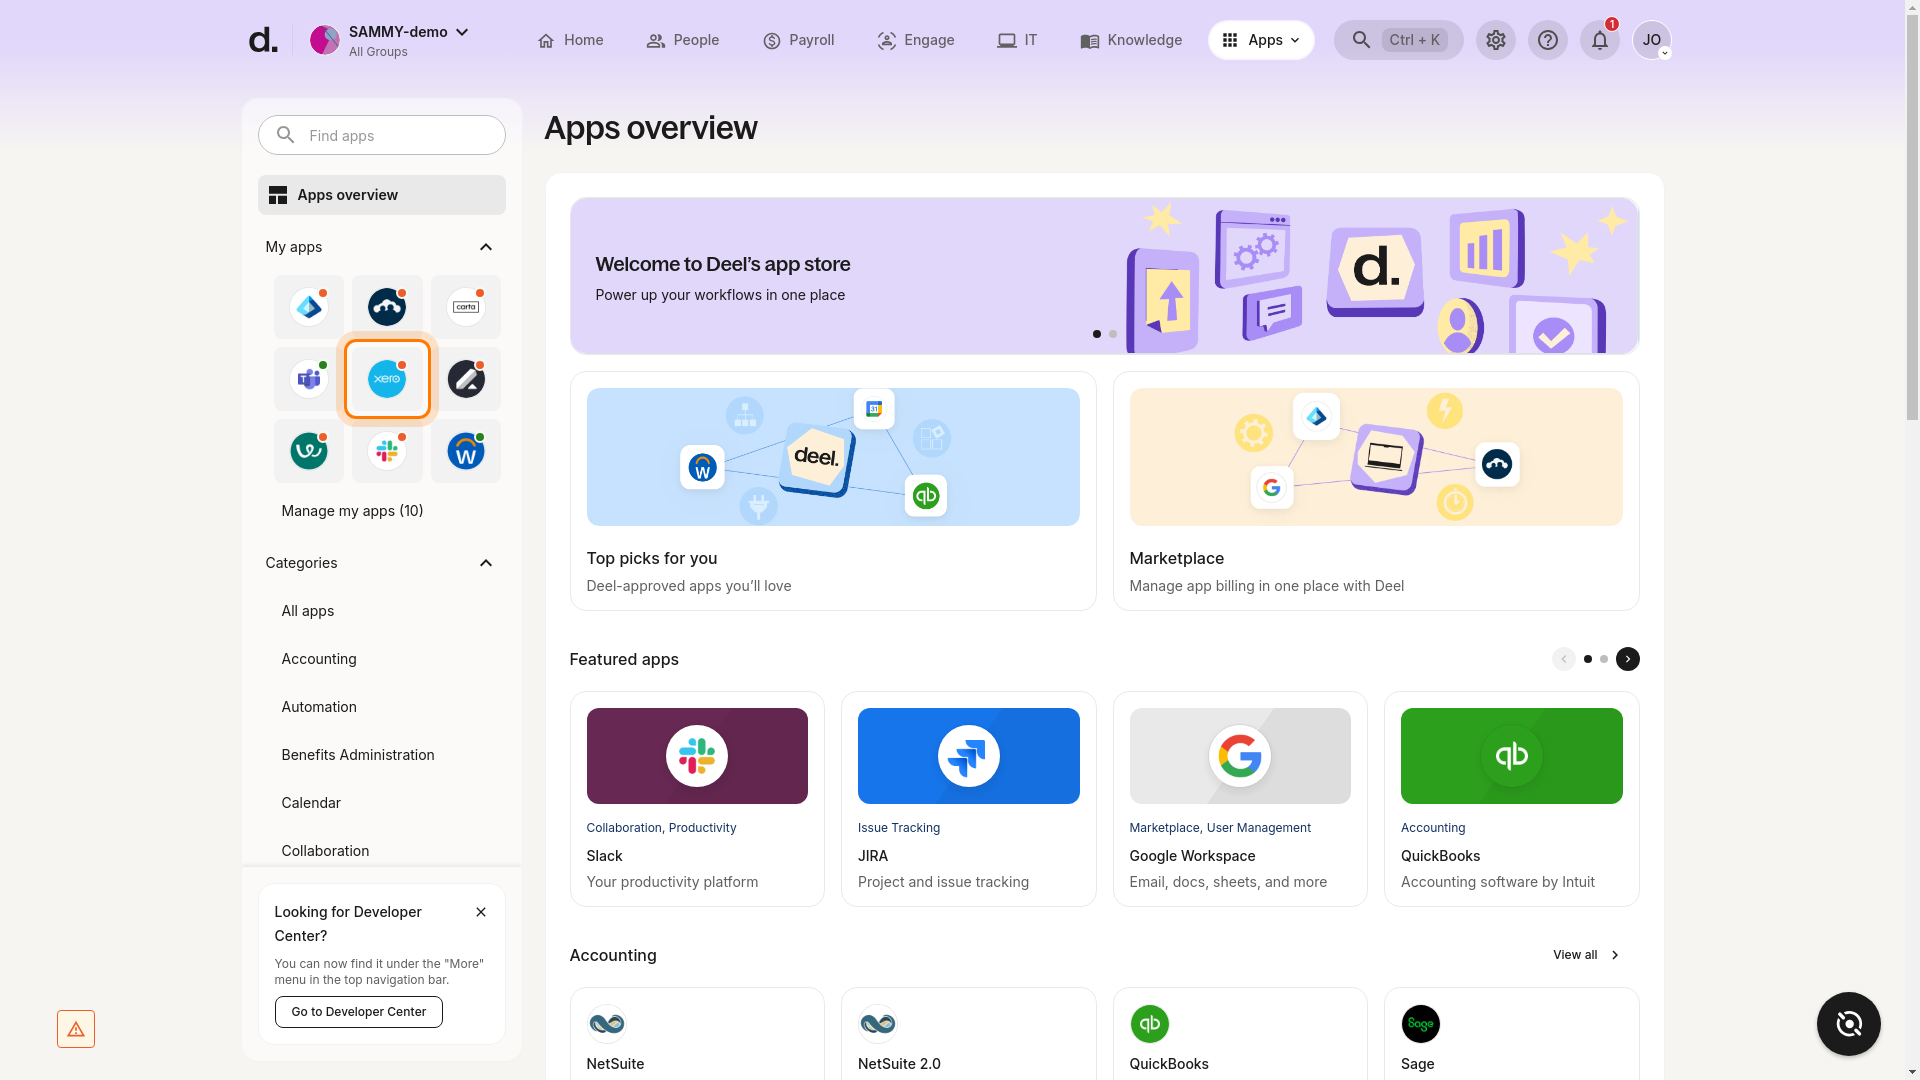
-
Authenticate with Xero
• If you are connecting Xero for the first time you will be redirected to the Xero login page.
• Enter your Xero credentials and authorise access for Deel.
• If your credentials have expired you will see “Your authentication is invalid” – click Reconnect Xero and log in again.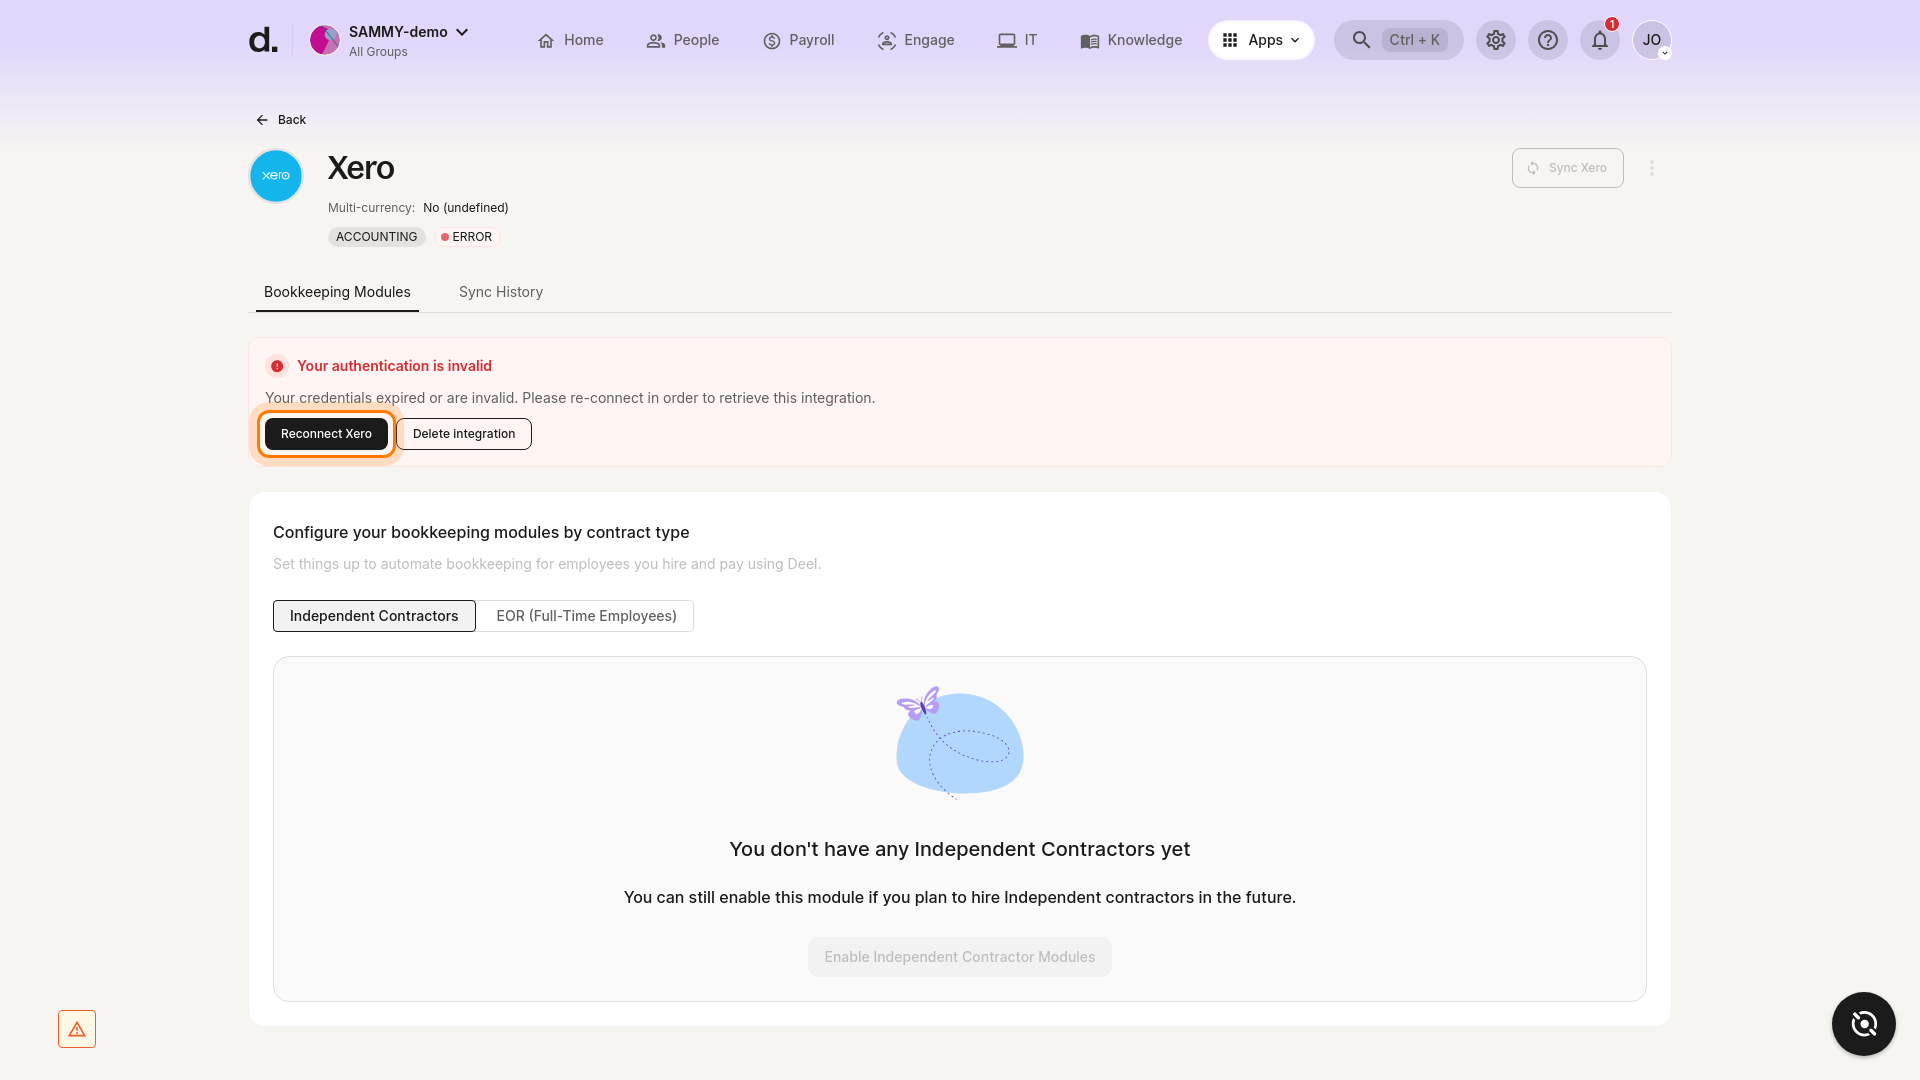
-
Select the entity to integrate
After authentication, choose the Xero entity that corresponds to your Deel organisation and click Next. -
Map a Xero account for your bills
Pick the Xero account that should be used for each bill (or map per adjustment type) and click Next. -
Customise the integration
• Toggle Automatically sync all new contracts if you want future contracts linked by default.
• Confirm whether multi-currency is enabled in Xero (recommended).
• Decide whether invoices should sync in the invoice currency or the payment currency.
• Click Complete Setup. -
Verify the connection
You will see a success banner and the integration status will show Connected. We recommend creating a test invoice in Deel to confirm it syncs to Xero.
Troubleshooting – Xero tile not visible
If you cannot find the Xero tile in Apps:
• Confirm you have Org Admin permissions.
• Check that the Xero integration is enabled for your Deel environment (some demo or sandbox tenants do not expose all integrations).
• If the tile is still missing, contact Deel Support or your Customer Success Manager.
Video Tutorial
Coming soon – watch this space for a full walkthrough.
Xero tracker categories
Xero tracker categories help customers categorise spending with greater granularity (beyond chart-of-accounts mapping).
• A maximum of two tracker categories can be configured per Xero organisation.
• Categories are created/edited directly in Xero Advanced → Tracking categories and pulled into Deel.
• Configuration happens after the integration is connected.
Setting up tracker categories in Deel
- On the Deel home page, open the Apps & Integrations panel and select Xero → Settings.
- In the Xero tracker categories card, select default options for each category (defaults apply to every contractor unless overridden).
- To override on a contractor level:
- Go to the Contractors tab.
- Click a contractor.
- In the tracker category box on the right, click a category and choose the mapping you want.
All future invoices from that contractor will now sync using the contractor-level mapping.
Xero multi-currency support
Deel strongly recommends enabling multi-currency in Xero before you start syncing invoices – doing so prevents currency-code errors and allows Deel to push invoices in either the invoice or payment currency.
Enable multi-currency in Xero
- Log in to Xero.
- Go to Settings → Currencies.
- Click Add currency and choose each currency you will use.
- Click Confirm.
- Return to Deel → Apps & Integrations → Xero → Settings and click Refresh currency settings.
Common issues & fixes
If the Xero app itself is missing from Deel, see the troubleshooting steps in the setup section.
Custom Expense Categories
Custom expense categories let you route individual invoice lines to different Xero accounts or tracking classes.
- Open Apps & Integrations → Xero → Settings and click Configure in the Custom expense category assignments card.
- Select the Custom expense category (created in Deel).
- Choose the Xero Account / Tracking class you want that category to post to.
- Click Create.
Plugins
Documents Sync plugin
Toggle Sync invoice PDF or Sync invoice attachments files to push invoice documents into Xero.
Payment Sync plugin
Map payment methods to payment accounts in Xero.
• Map a default payment account for all bank-transfer or unmapped payments.
• Map saved payment methods individually (one default per currency).
Frequently asked questions (FAQs)
Can past invoices be synchronised?
Yes. Choose the date from which to sync retroactively when turning the integration on.
Will invoices automatically be synchronised?
Yes. Deel automatically syncs all invoices from the date of integration onward.
How can Xero be disconnected?
Go to Apps & Integrations → Xero → Settings, click the three-dot ⋯ menu, and select Delete integration.
What if the person who set the integration up leaves?
Add multiple email addresses to receive integration notifications so there is no single point of failure.
Are notifications sent if there is an issue with the integration?
Yes. Click ⋯ → Email notification settings in the Xero integration to add recipients who will be emailed if sync errors occur.