
This article explains how clients can set up Engage and enable Engage admin roles for a user. For a step-by-step walkthrough of how to set up Engage, please see our tutorial.
In this article
Here’s what you’ll find in this article:
Before you begin
To successfully set up Engage you'll need:
- An organization admin role on Deel.
- To ensure that your onboarding manager has enabled Engage on your organization.
Step 1. Set up Engage
To set up Engage:
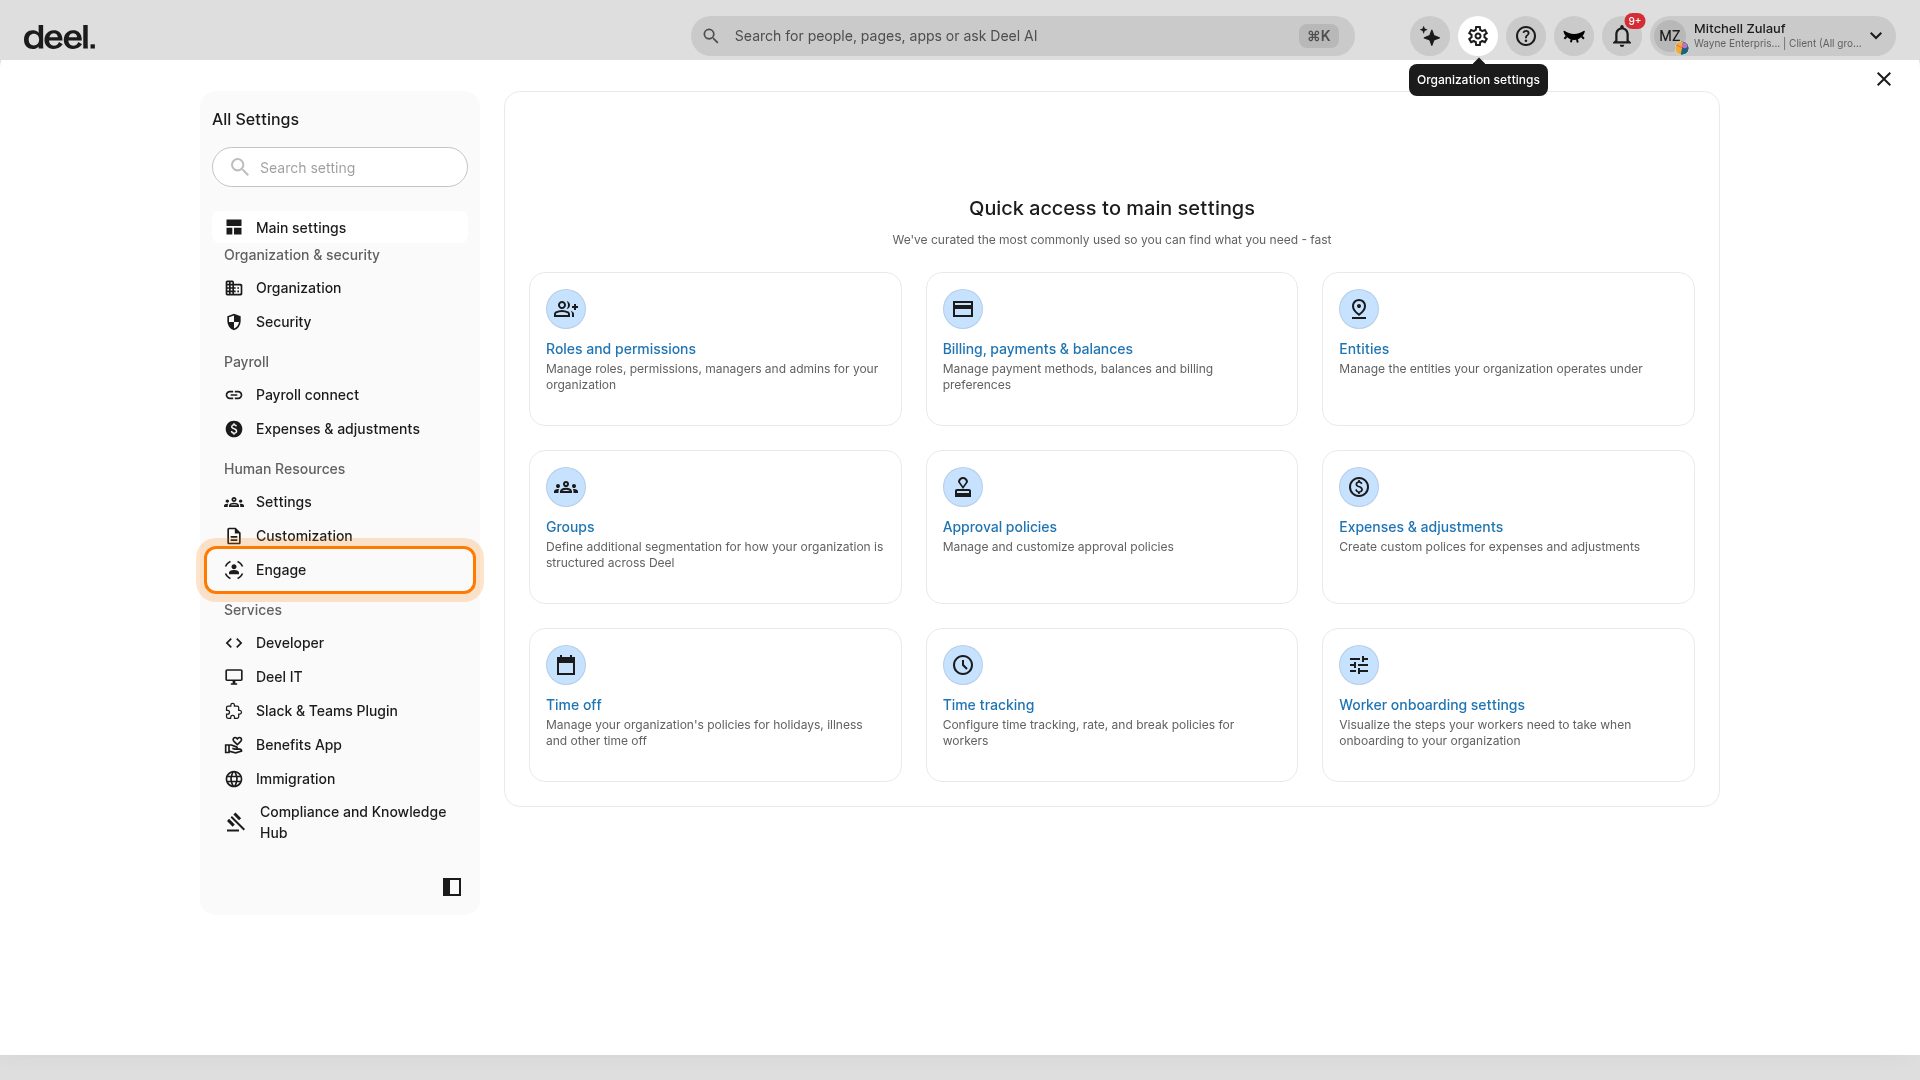
1. Select the Organization settings gear icon in the top-right corner of the Deel Home dashboard.
2. In the All Settings sidebar, under Human Resources, select Engage.
Select Engage in the settings sidebar, not the separate Engage item in the main application sidebar.
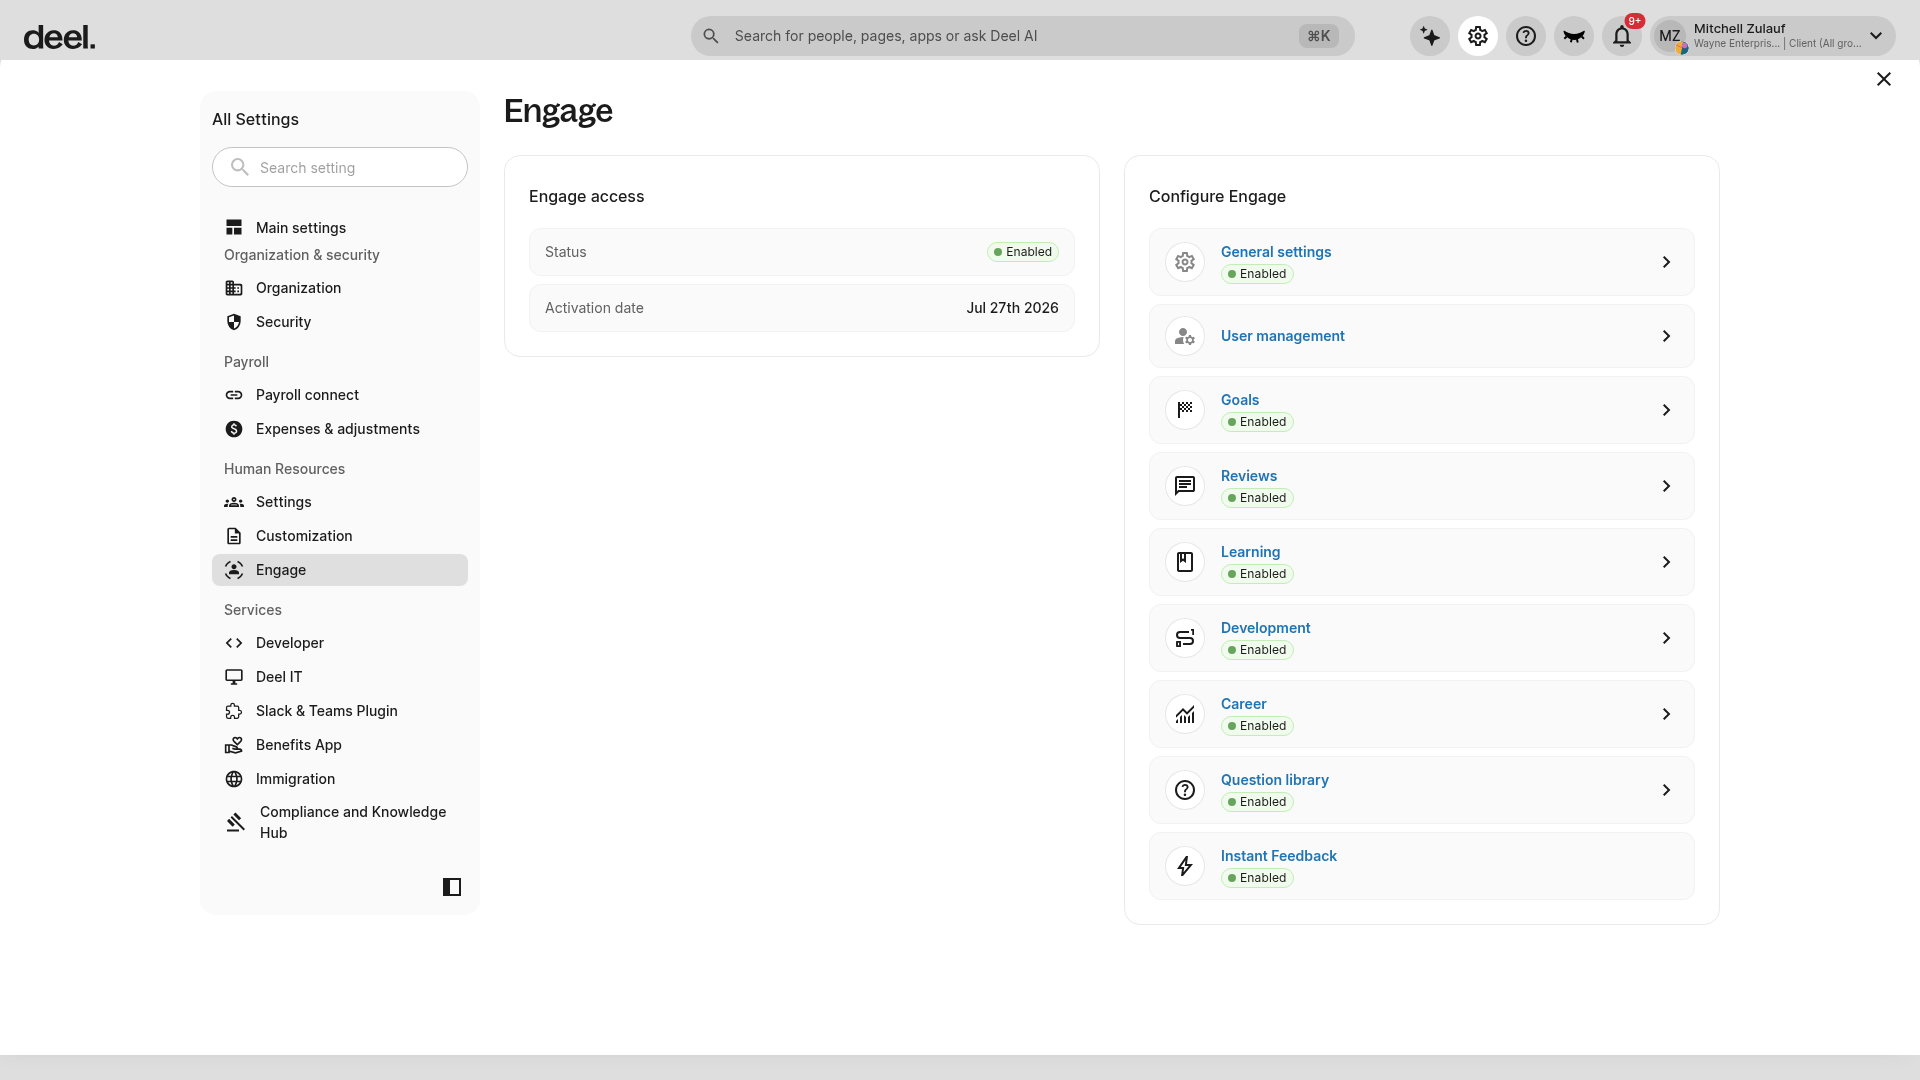
3. On the Engage page, review the Engage access section and confirm that the status is Enabled. If needed, review the activation date.
If Engage is not available or is not enabled, contact your onboarding manager or Deel Support.
4. Under Configure Engage, select and configure the modules your organization needs.
Available modules include General settings, User management, Goals, Reviews, Learning, Development, Career, and Question library.
Step 2. Enable Engage admin roles
Engage admins can manage Engage settings across the organization. This is an organization-level role, not a group-level role.
To enable Engage admin roles:
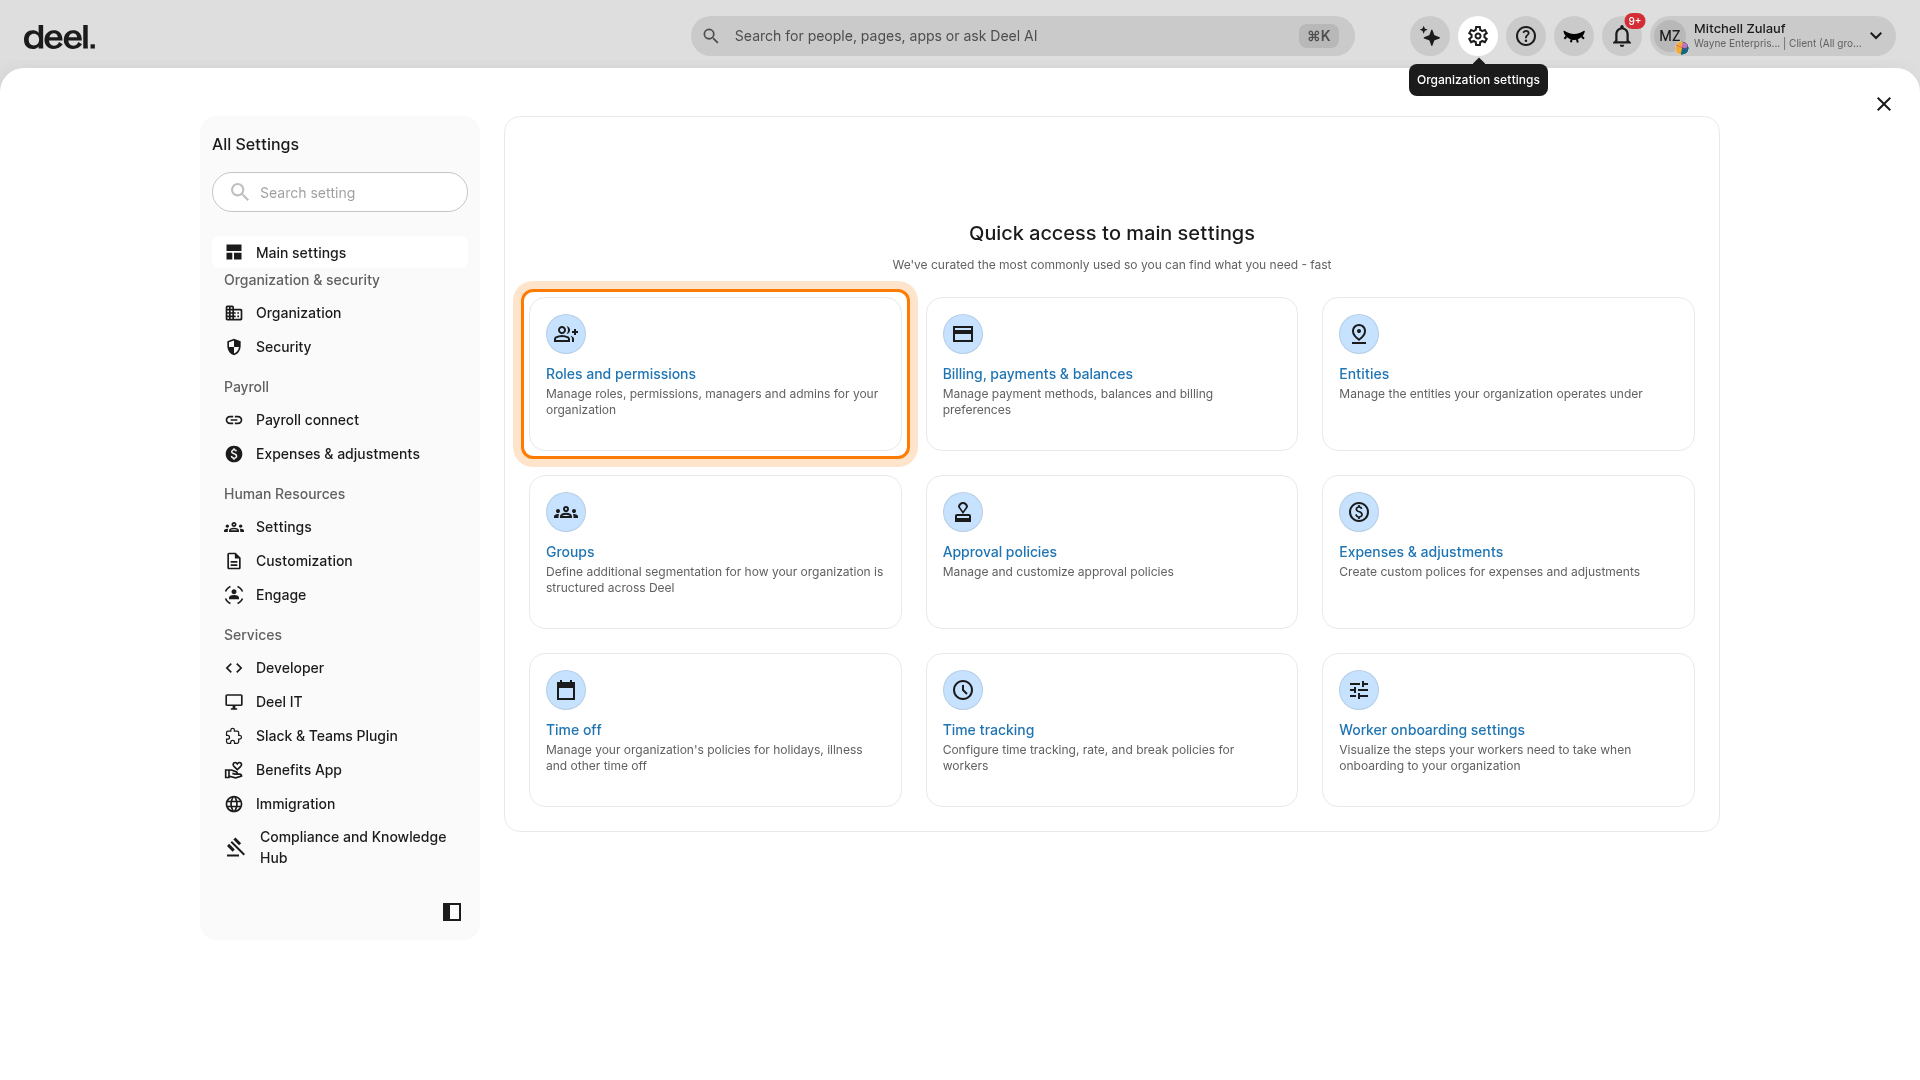
1. From the Deel Home dashboard, select the Organization settings gear icon in the top-right corner.
2. In Quick access to main settings, select Roles and permissions.
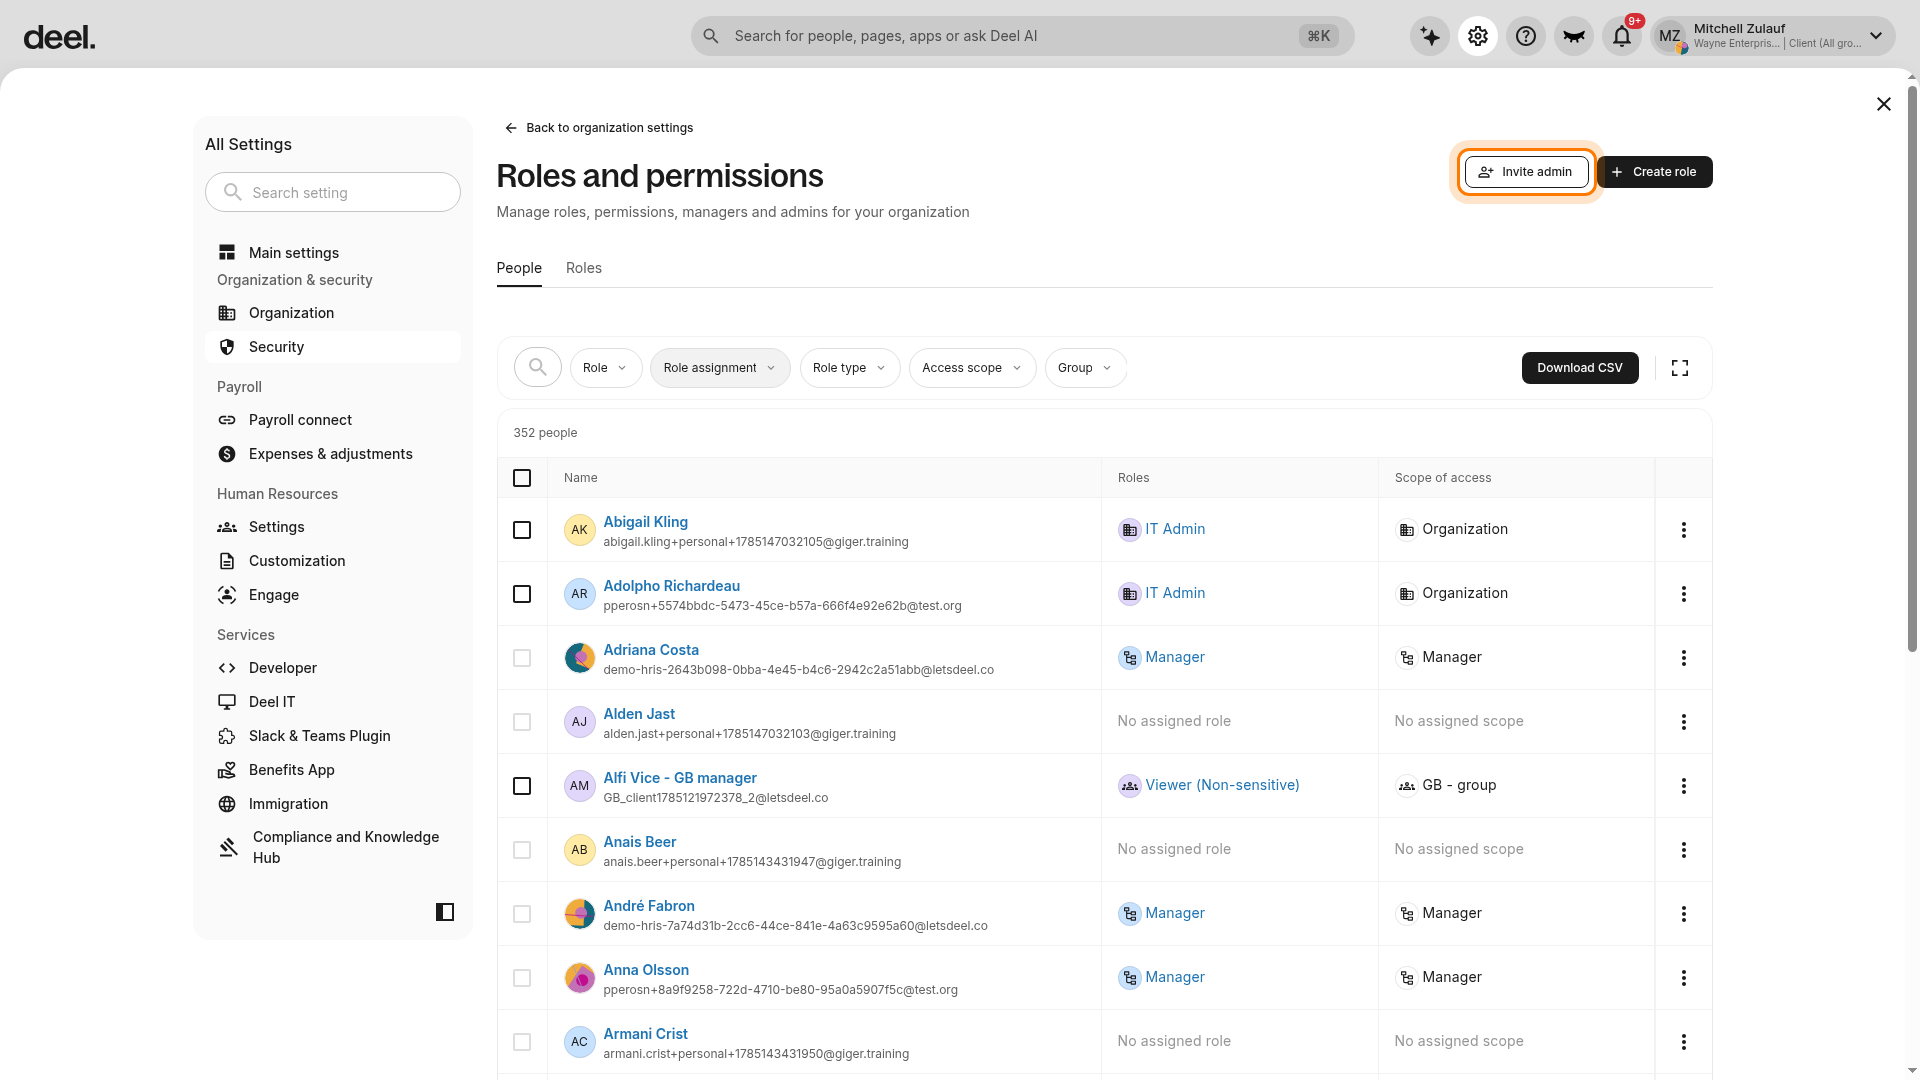
3. On the Roles and permissions page, make sure the People tab is selected.
4. Click Invite admin.
The current layout may show only People and Roles. A separate Admins tab may not be available.
5. The Invite admin workflow opens on Invitee details. Select New user or Existing worker, then select the person you want to invite.
The workflow has three stages: Invitee details, Access level, and Review & submit.
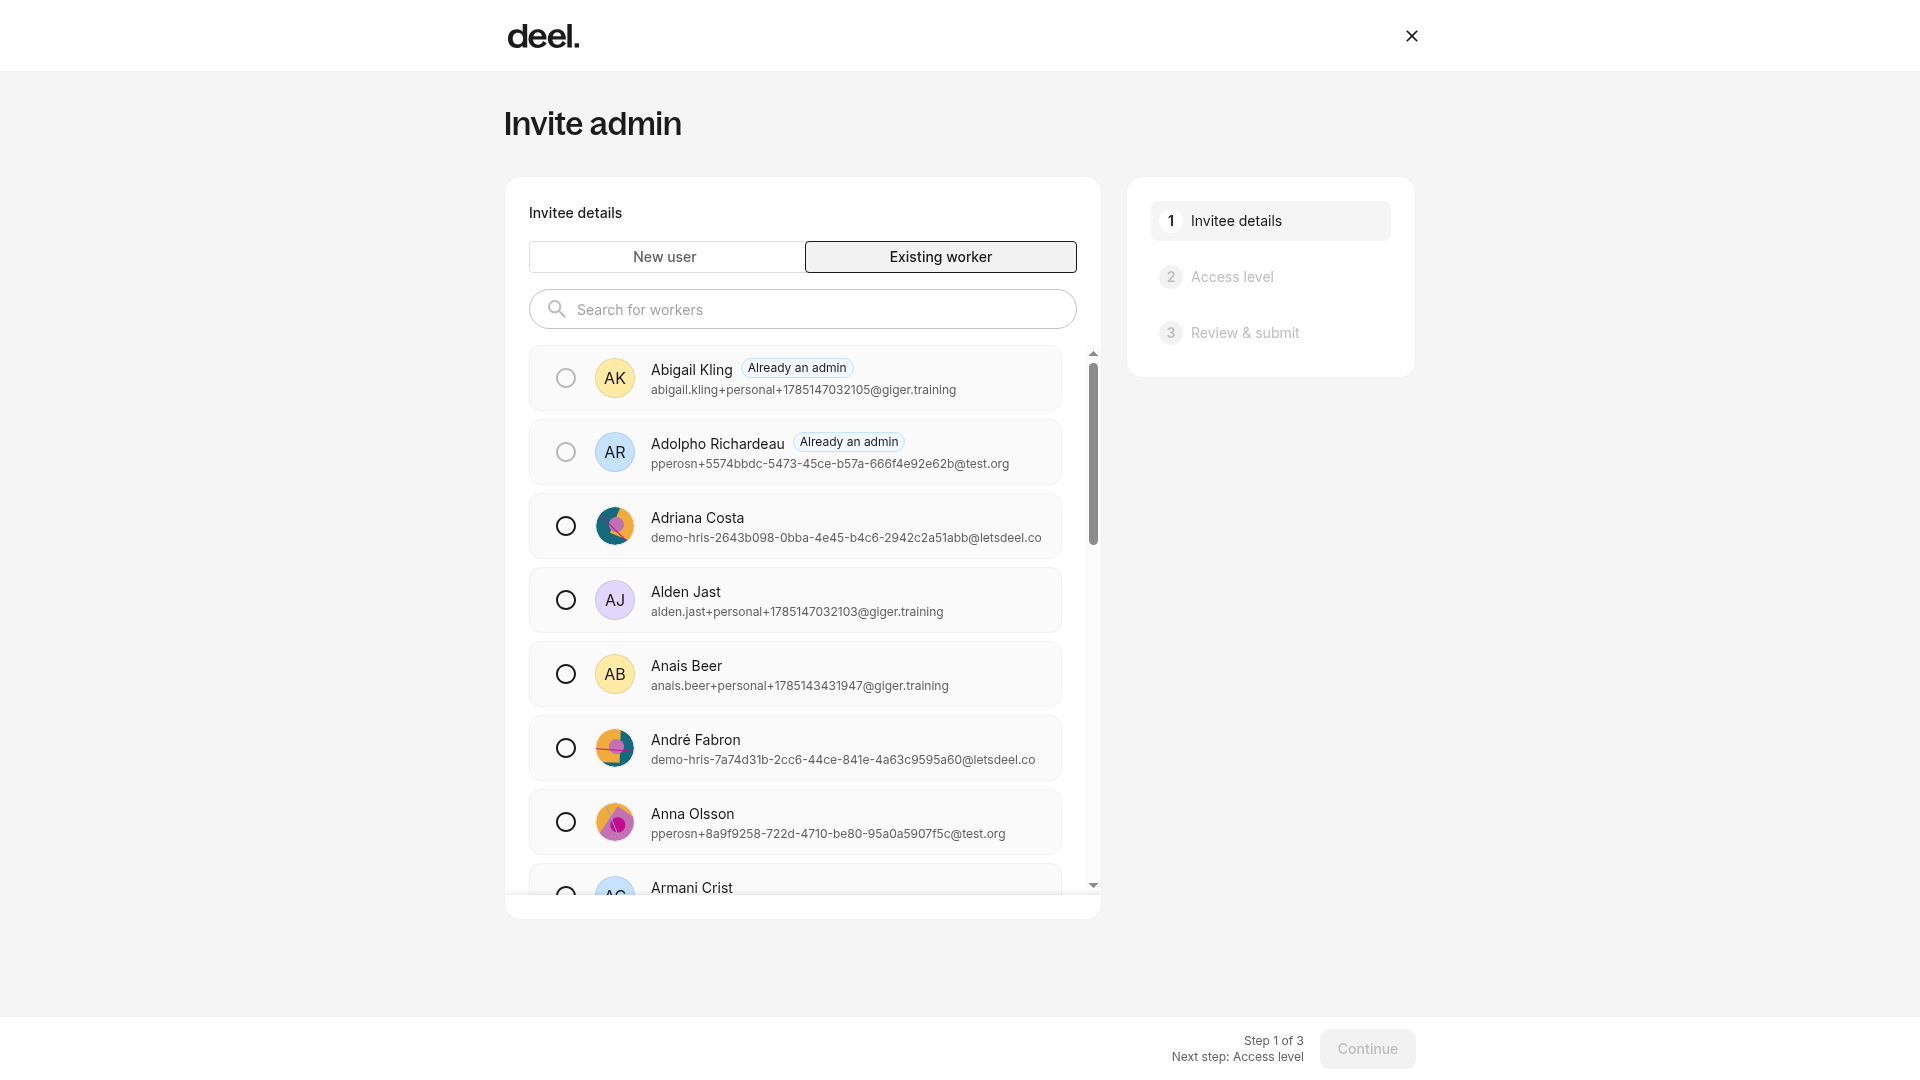
6. Select Continue. On Access level, choose Organization-level access, then select Assign role.
7. From the role list, select Engage Admin, then select Assign role.
8. Select Continue to open Review & submit. Review the invite details and submit the invitation.
The user receives an email invitation to accept the role. After the recipient accepts the invitation, they are assigned the Engage Admin role with organization-level access.
Next steps
Now that you've set up Engage and enabled admins, you can create and assign custom admin roles. To do this, follow our article on Creating and assigning Engage custom admin roles.