
Deel can connect to and sync data with Google Workspace using the dedicated integration.
This article explains how to configure Deel and Google Workspace so that you can sync data between them.
In this article
Here’s what you’ll find in this article:
- Before you begin
- Setting up credentials
- Connecting Google Workspace to Deel
- Managing employee accounts
- Configuring other plugins
- Syncing Data
- Next Steps
Before you begin
You must have:
- A Deel account and be logged in.
- A user with an admin role on Deel.
- To configure Field Mapping, you specifically need one of the following permissions: Deel IT: Approver + Manager + Configurer, Integrations Admin - People, IT Developer Admin, or Organization Admin.
- Super Admin access to the Google Admin Console.
- (Recommended) Read the Google Workspace integration Overview to understand the features and limitations of the integration before following this guide.
Setting up credentials
Before connecting Deel, you must create a secure bridge in the Google Cloud Console.
Step 1: Enable the Admin SDK API
- Go to the Google Cloud Dashboard.
- Create a new project named "Deel Integration".
- Go to APIs & Services > Enabled APIs & Services.
- Click + Enable APIs and Services, search for Admin SDK API, and click Enable.
Step 2: Create the service account and key
- In the Cloud Console, go to IAM & Admin > Service Accounts.
- Click Create Service Account. Name it "Deel-Provisioning" and click Create and Continue.
- Grant Access: Leave the roles empty (click Continue) and skip user access (click Done).
- Click on the newly created Service Account email, go to the Keys tab, and select Add Key > Create New Key.
- Select JSON and click Create. The file will download automatically—store this securely, as it contains the credentials for your domain.
Step 3: Authorize domain-wide delegation
- Open the JSON file you just downloaded and copy the
client_id(a long string of numbers). - Go to the Google Admin Console and navigate to Security > Access and Data Control > API Controls.
- Click Manage Domain Wide Delegation and then Add New.
- Paste the Client ID and copy/paste the following scopes into the OAuth Scopes field:
https://www.googleapis.com/auth/admin.directory.user,
https://www.googleapis.com/auth/admin.directory.userschema.readonly,
https://www.googleapis.com/auth/admin.directory.group,
https://www.googleapis.com/auth/admin.directory.group.member,
https://www.googleapis.com/auth/admin.directory.group.readonly,
https://www.googleapis.com/auth/admin.directory.domain.readonly,

# Required only when you use Deel IT’s Access Management.
https://www.googleapis.com/auth/apps.groups.settings,
https://www.googleapis.com/auth/cloud-identity.groups,
https://www.googleapis.com/auth/cloud-identity.groups.readonly,
- Click Authorize.
Connecting Google Workspace to Deel
Once Google Workspace is configured to interact with Deel, you can connect the platforms from the App Store.
Step 4: Connecting the integration
-
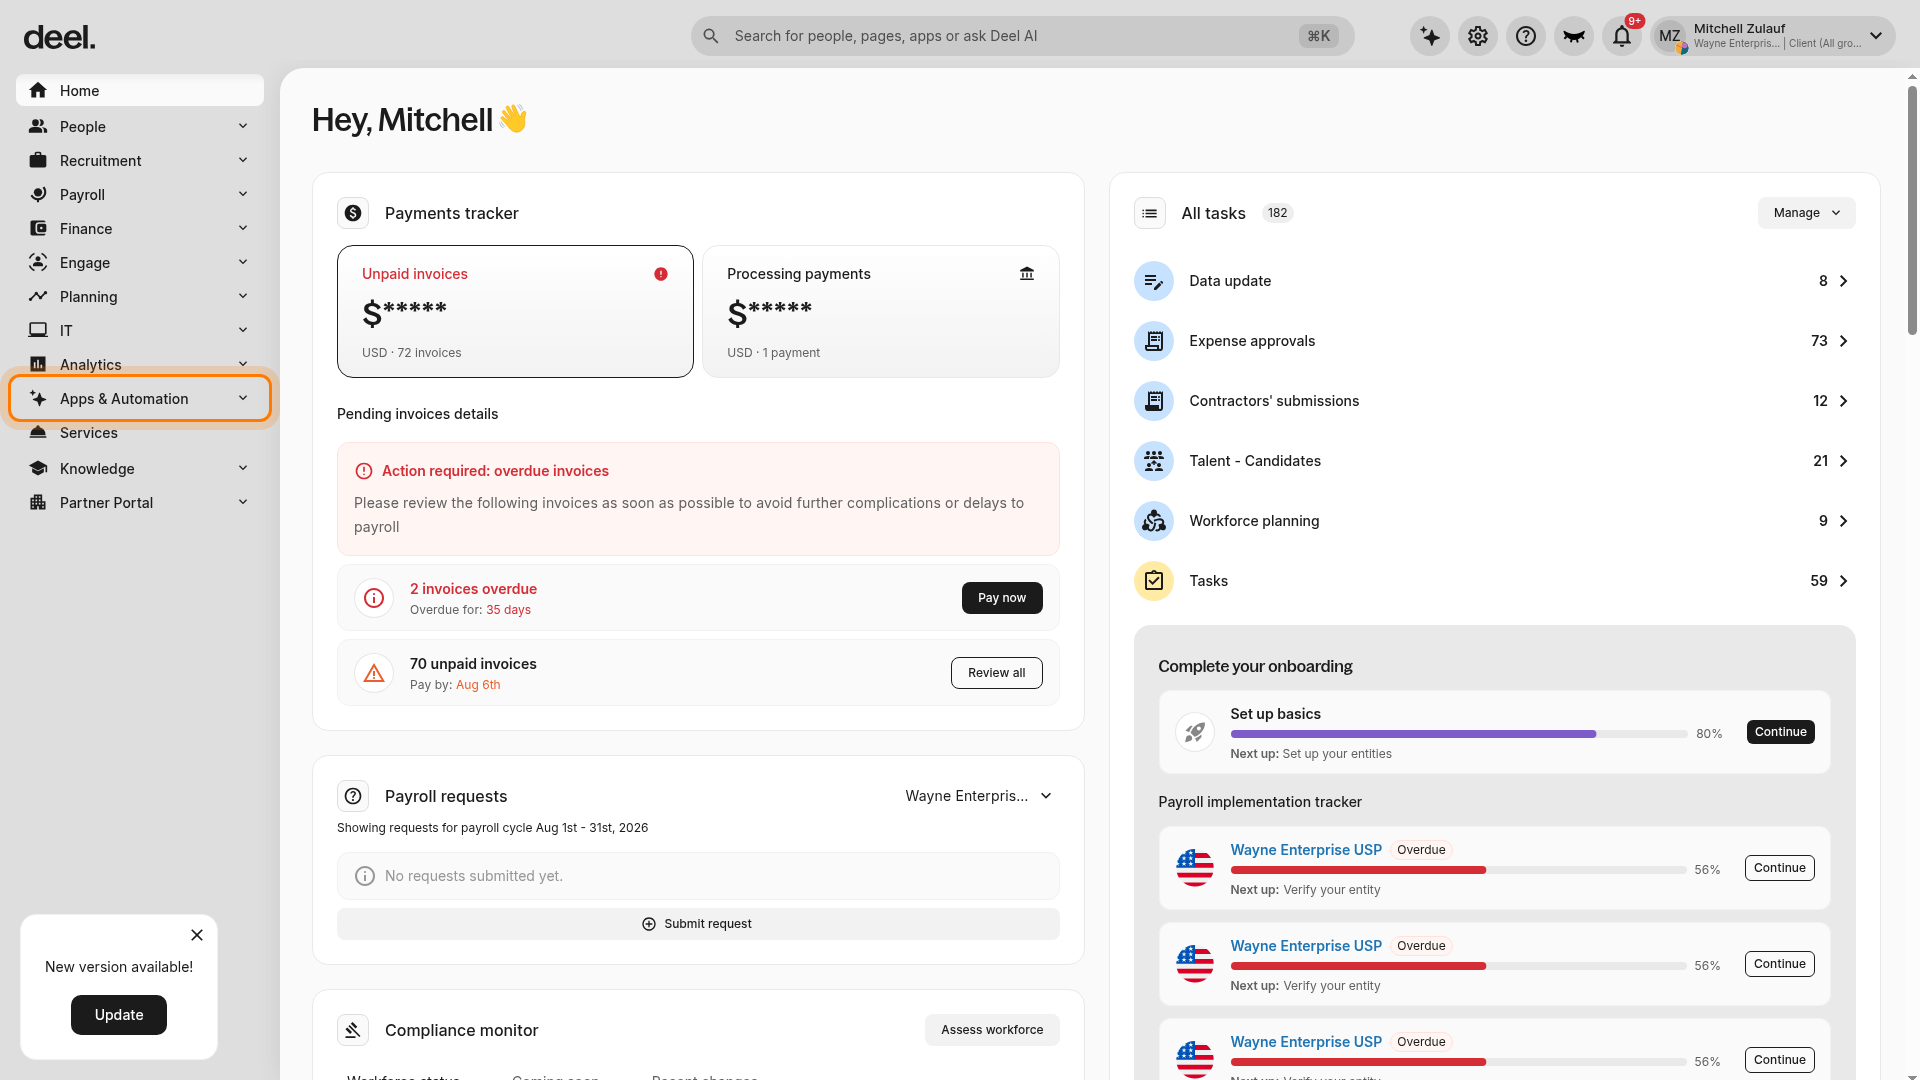
In Deel, select Apps & Automation in the left sidebar to expand its submenu.
-
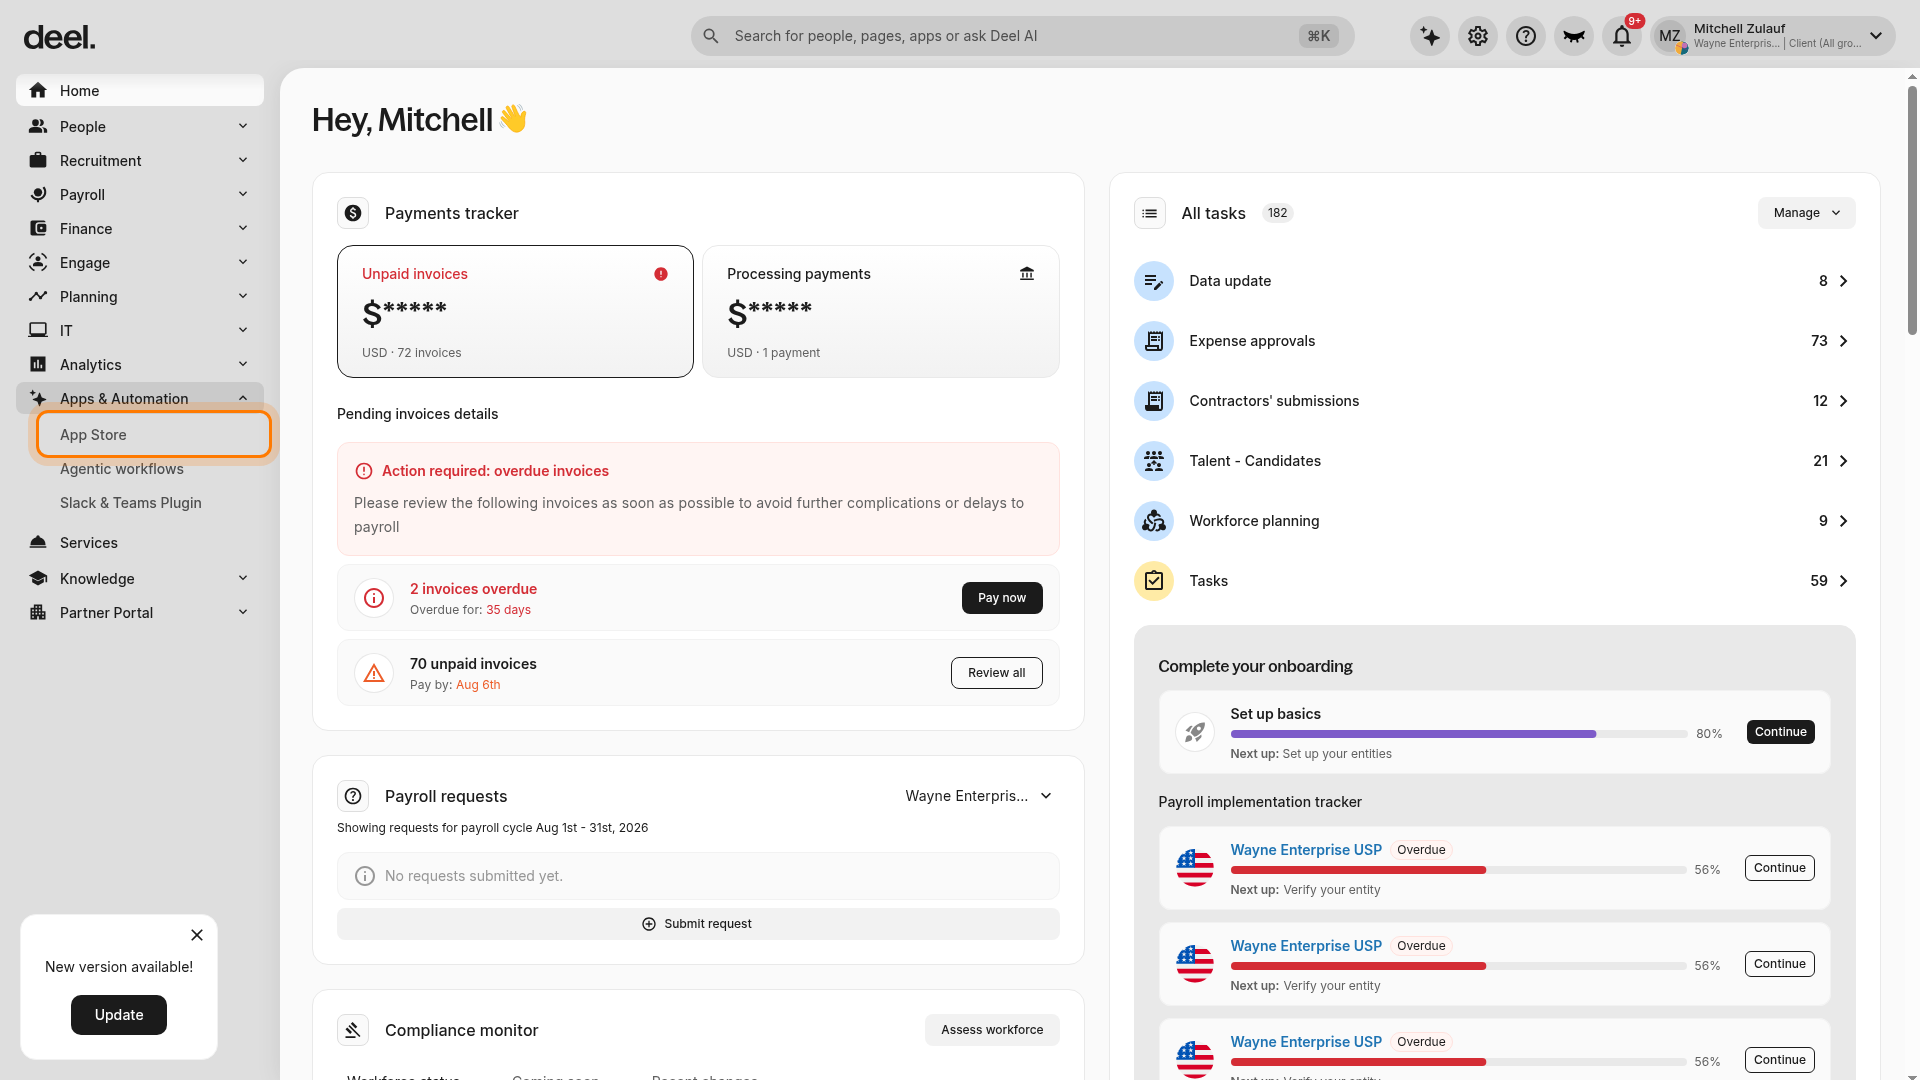
Select App Store. The Apps overview page opens.
-
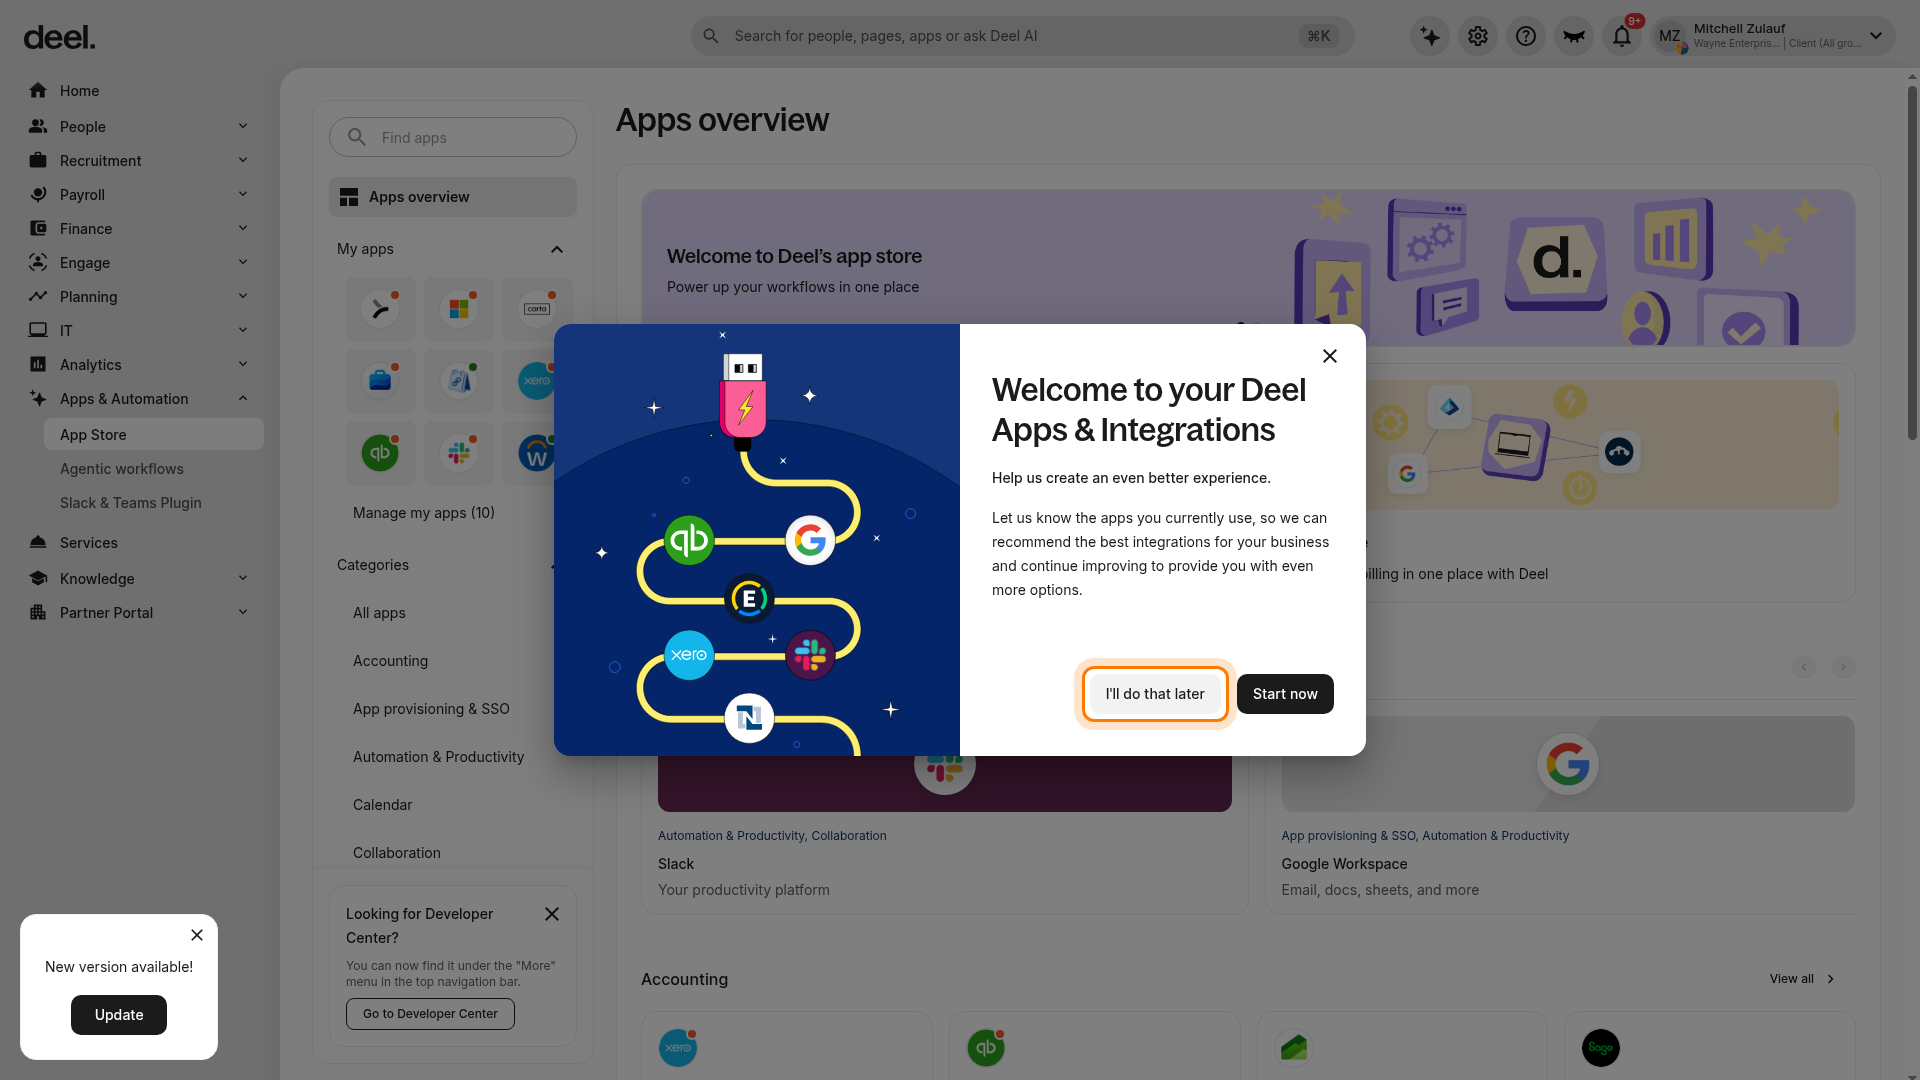
If the Welcome to your Deel Apps & Integrations dialog appears, select I'll do that later.
-
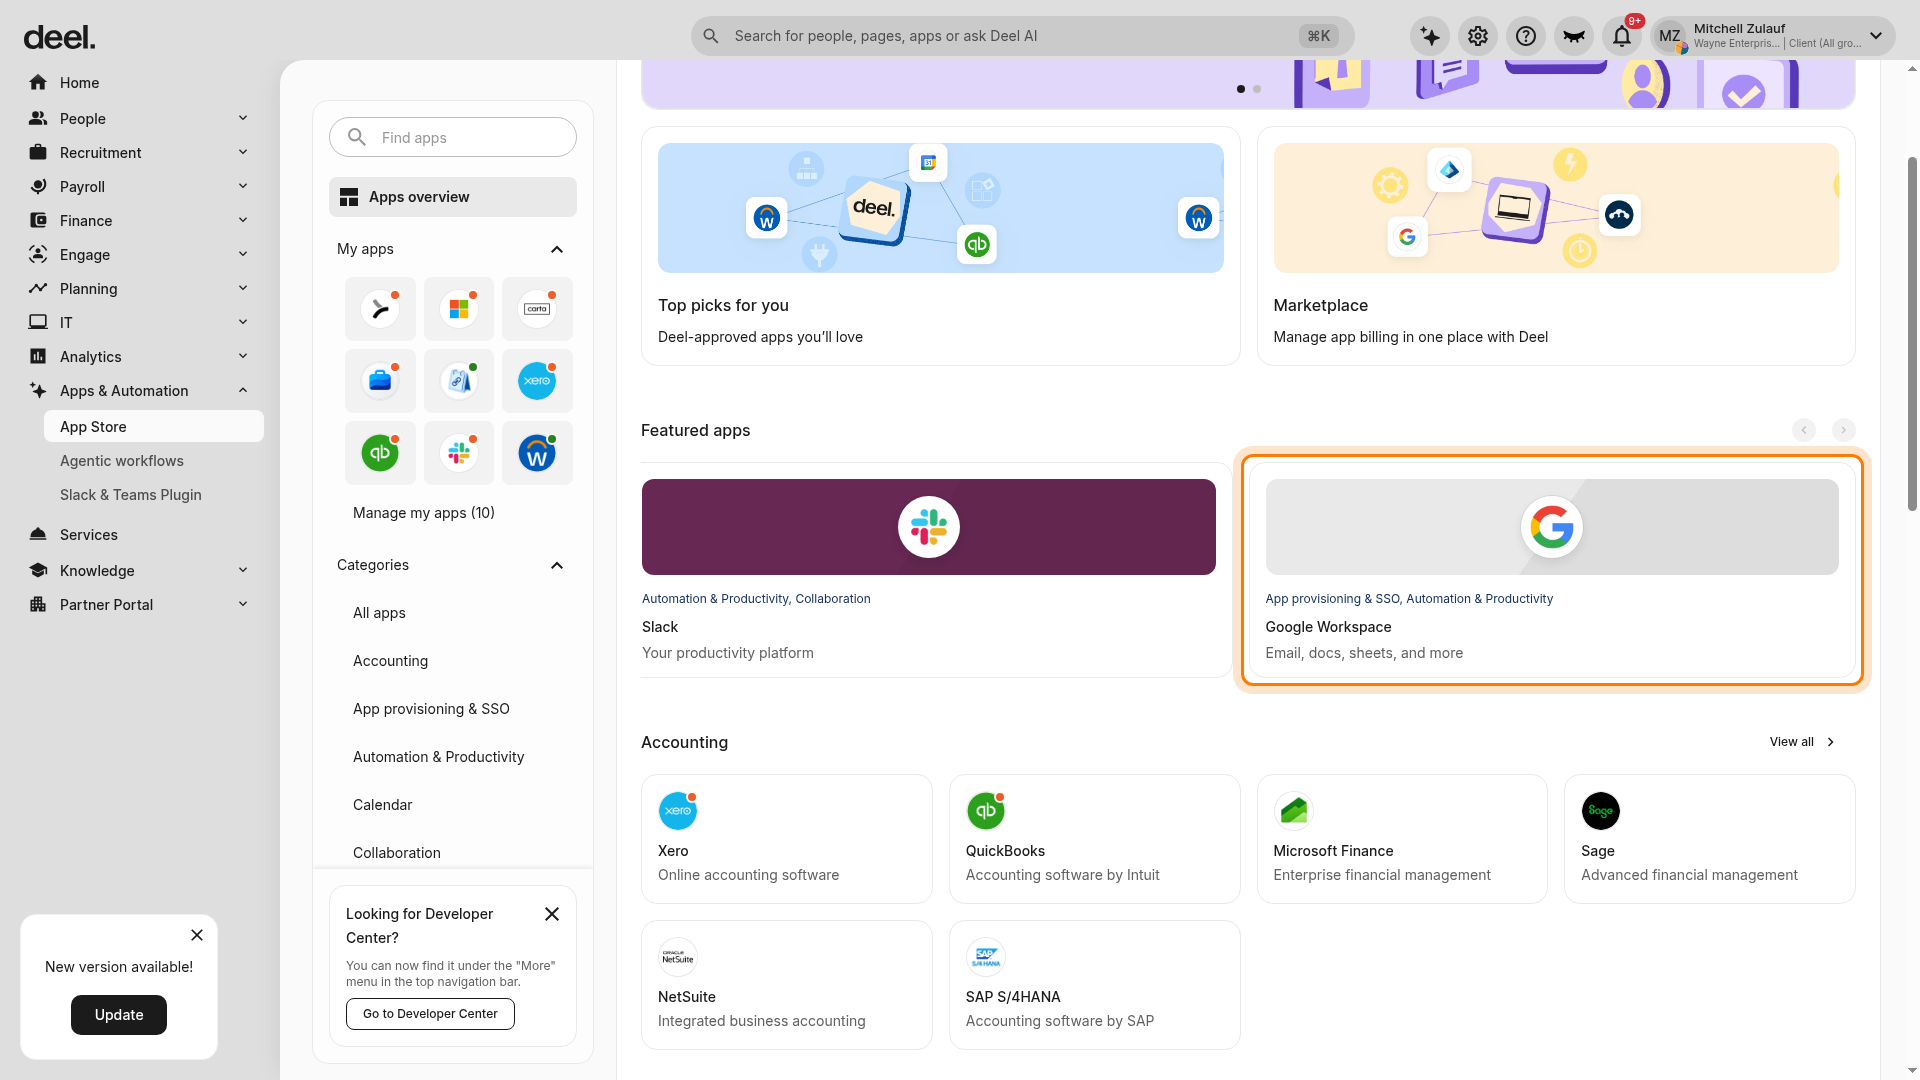
In Featured apps, select the Google Workspace card.
-
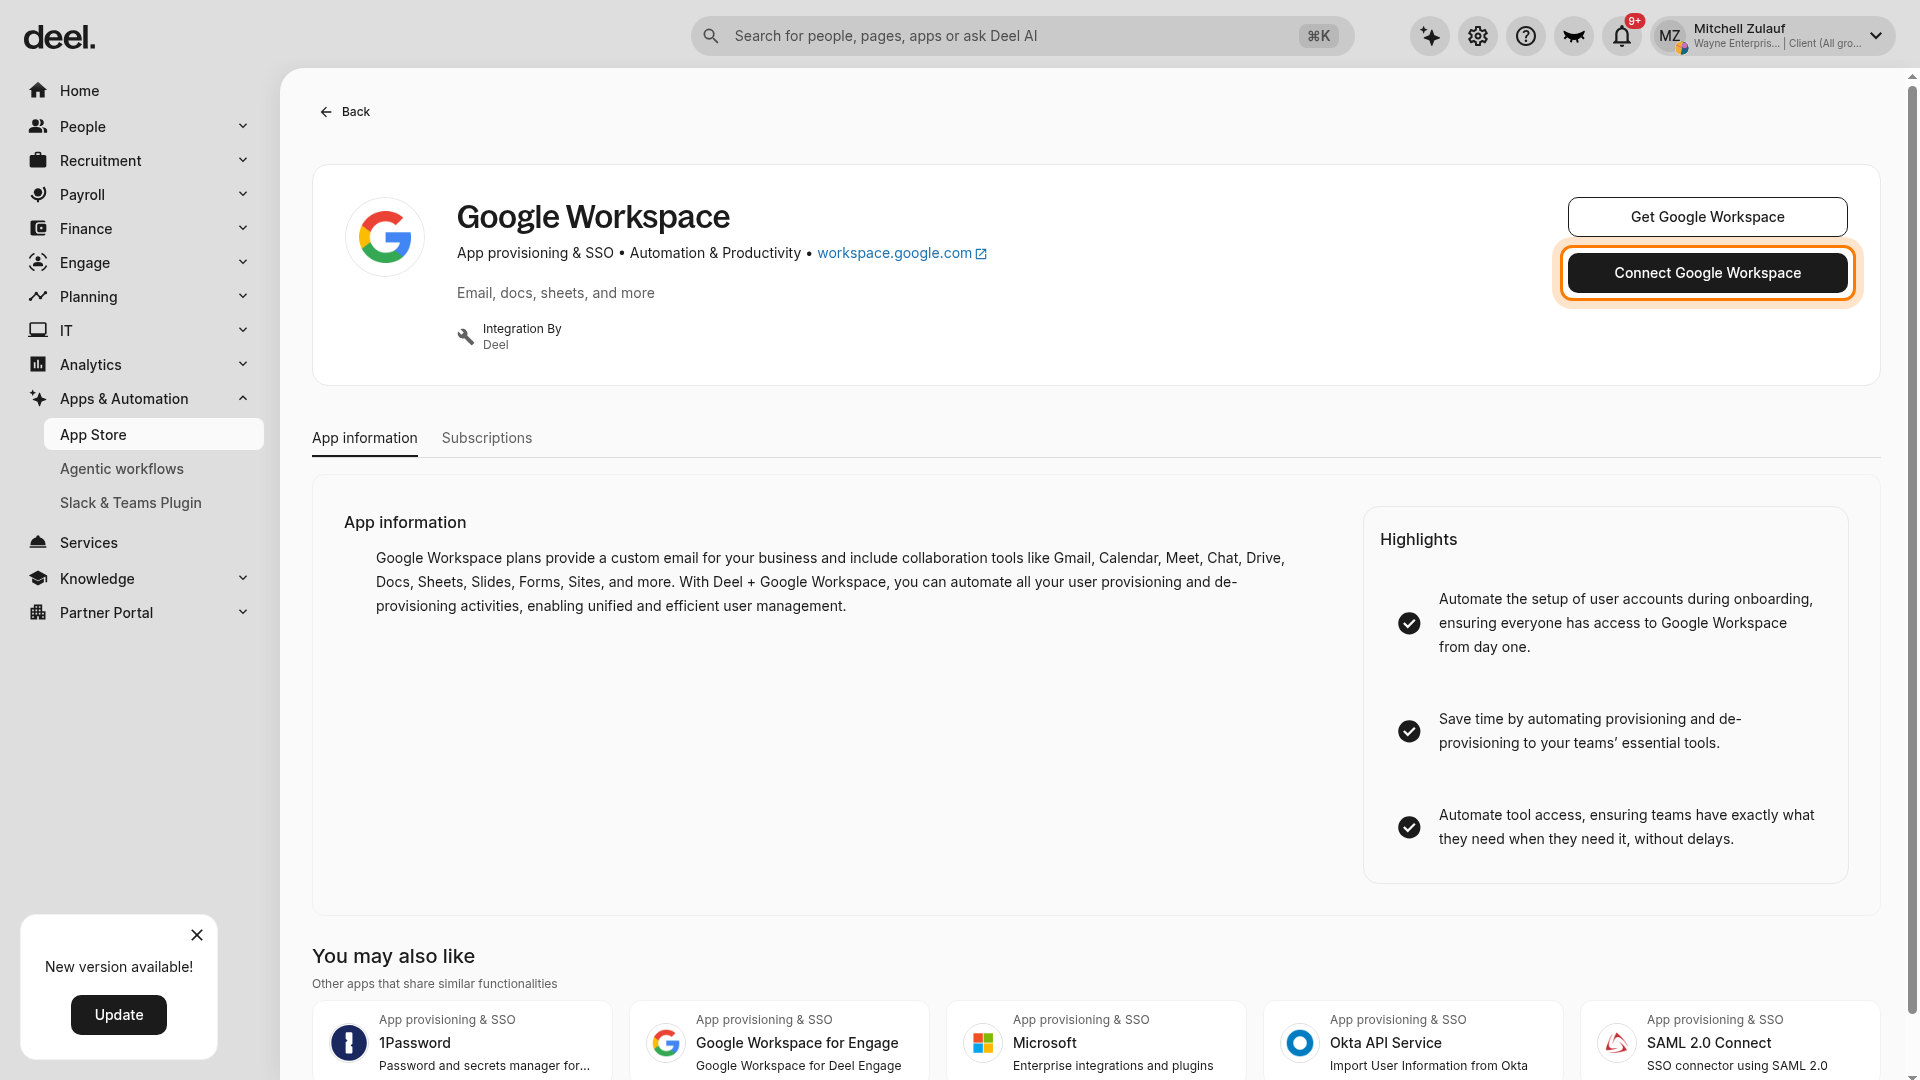
On the Google Workspace integration details page, click Connect Google Workspace.
-
Enter the following information
- Your Google super admin email address in Admin Email.
- Upload the JSON Private Key you generated in Part 1 by selecting Click here or drag file to upload. Only JSON files are supported.
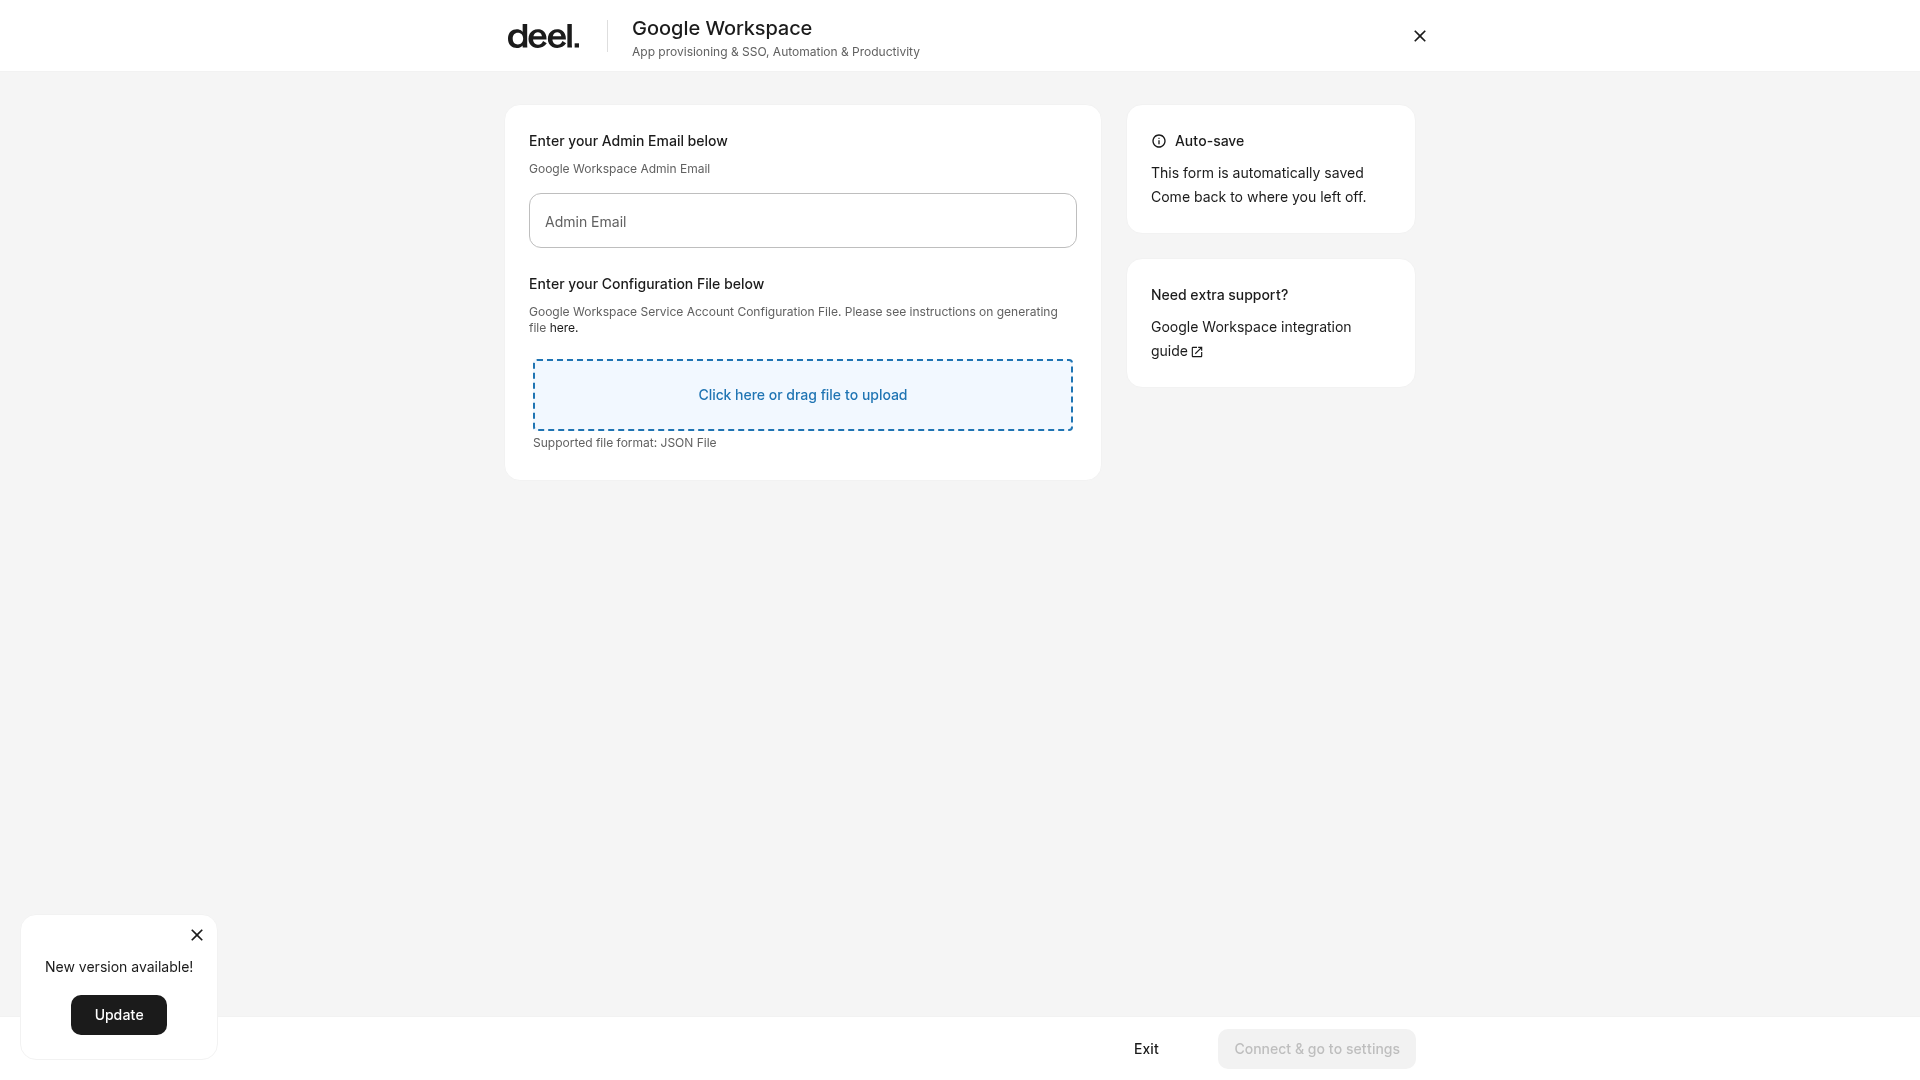
- Click Connect & Go to Settings after both required fields are complete.
Managing employee accounts
You can now manage accounts either automatically or manually.
Step 5: Automatic provisioning (Recommended)
Open the Google Workspace integration page from Apps & Automation > App Store > Google Workspace, select Plugins and settings, and enable the User provisioning plugin. Deel will automatically create Google Workspace accounts for new hires based on your contract workflows. Data sync is continuous.
Filtering by custom field
In addition to filtering by worker type, admins can restrict auto-provisioning to workers matching a specific Deel custom field and value under Apps and Automation → App Store → Integration Overview → Plugins and Settings → User Provisioning and sync settings → Filter by custom field.
Only text and list custom fields are supported. date, multiselect, currency, and percentage fields are excluded because their values can't be matched reliably. Matching is exact and case-sensitive, and it applies only to the auto-provisioning step (account creation), not to sync or deprovisioning. Workers who don't have the selected field set on their profile are simply skipped. They will not be auto-provisioned until the field is set or the filter is removed.
This filter is combined with the worker-type filter using AND logic, and it is not available when Identity Enhanced is enabled for the connection. The whole provisioning drawer (including this control) is hidden in that case, and any previously stored custom-field filter is cleared automatically when Identity Enhanced is turned on.
Optional: Manual account creation
If you need to create an account for an employee outside of the automated workflow:
- Go to People > Workers and select the worker.
- Go to the Apps tab within their profile.
- Select Google Workspace, then click Create Account.
- Enter the desired work email, choose when to grant access, and click Complete. The credentials will be sent to the employee's personal email immediately.
Configuring other plugins
Once connected, you must define how data flows between the two systems using specific plugins.
Step 6: Setting up field mapping
The field mapping plugin ensures that worker details in Deel (such as Job Title or Department) match the fields in Google Workspace.
- Open the Google Workspace integration page from Apps & Automation > App Store > Google Workspace, then select Plugins and settings.
- Click Field Mapping and review default mappings (First Name, Last Name, and Work Email are required and non-editable).
- Map optional fields like Cost Center or Direct Manager to ensure your Google Directory stays updated automatically.
Step 7: Syncing Dynamic Groups
Use this to manage Google Groups (mailing lists) based on Deel's organizational structure.
- Open the Google Workspace integration page from Apps & Automation > App Store > Google Workspace, select Plugins and settings, then click Dynamic Groups Syncing and select Create Dynamic Group.
- Define rules (e.g., "All employees in the Marketing department").
- Assign a unique group email address.
- Click Add and Sync to mirror these groups in your Google Admin console.
Syncing Data
Data flows continuously and in one way: from Deel to Google Workspace. A daily sync is also performed at midnight.
Step 8: Triggering manual sync
If you need an update to reflect immediately, follow the steps below.
- In the left sidebar, select Apps & Automation to expand the submenu, then select App Store. If the Apps & Integrations welcome dialog appears, select I'll do that later.
-
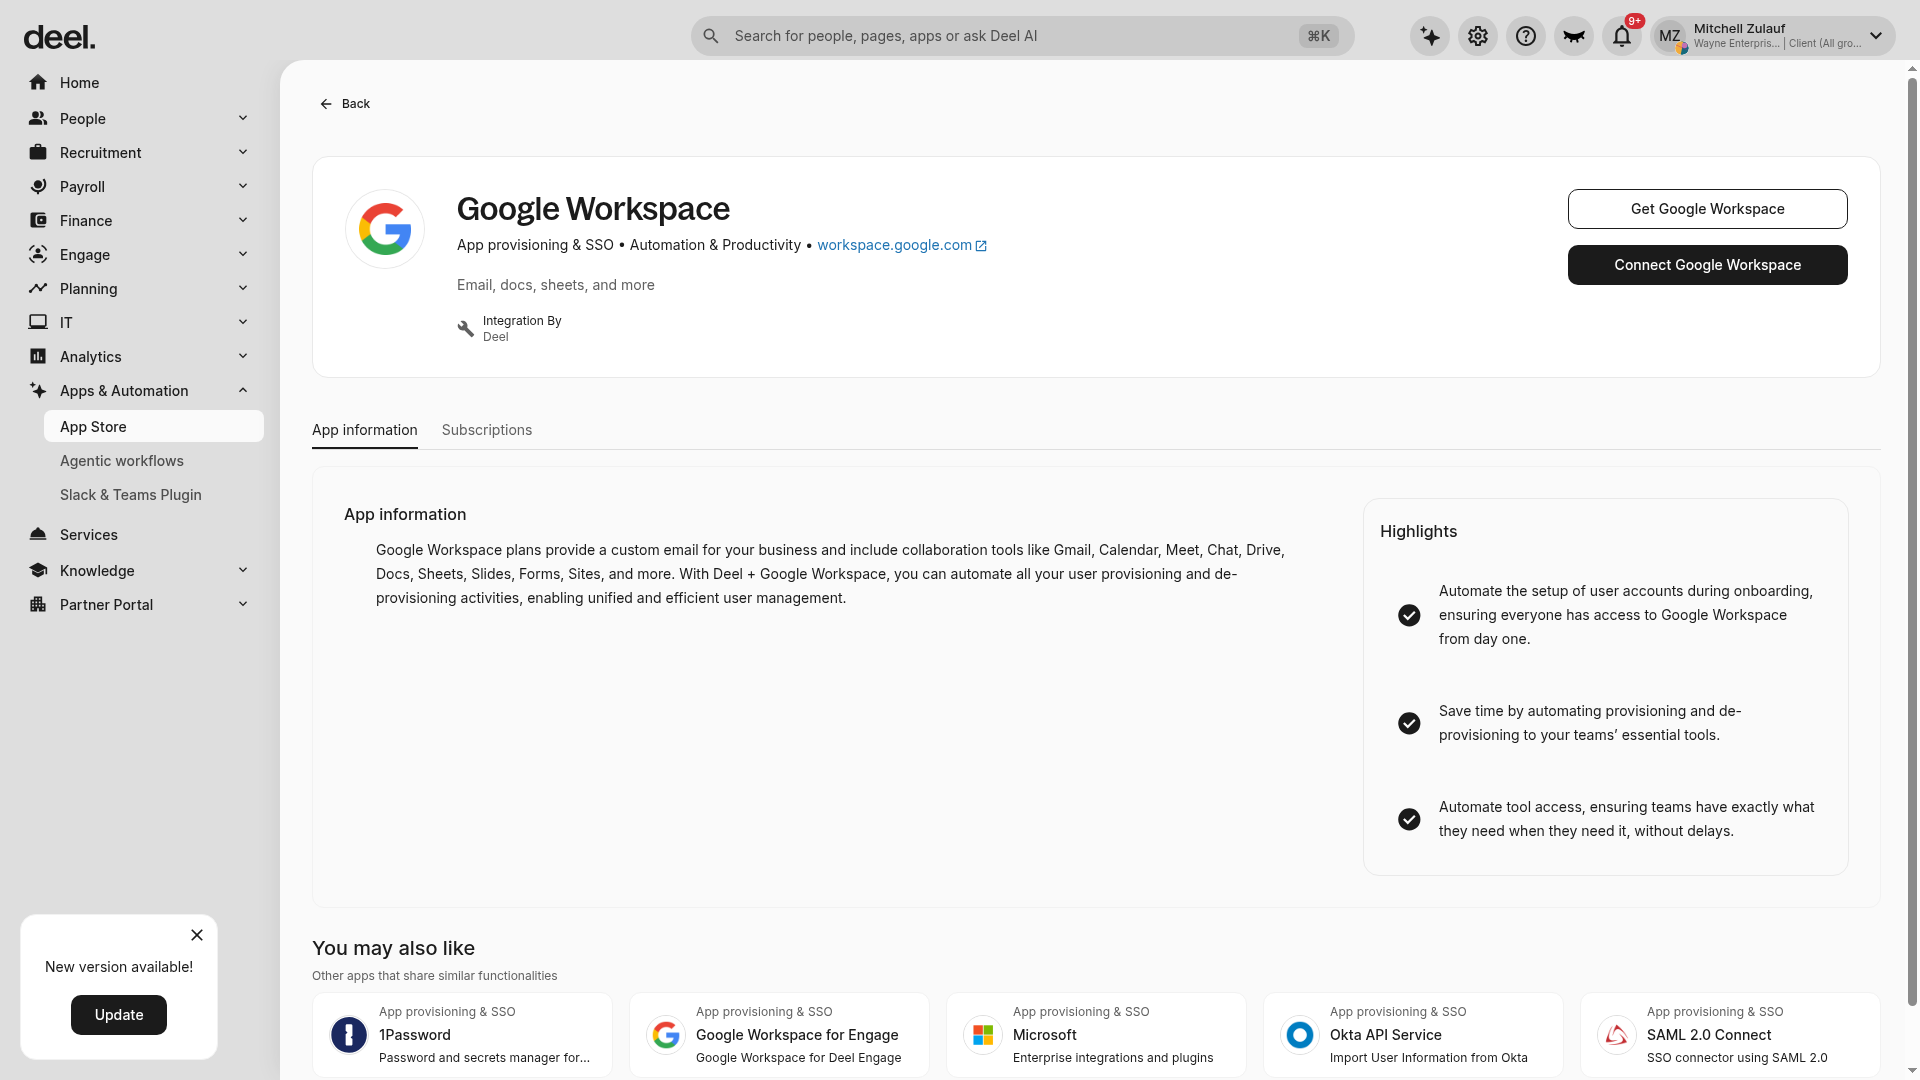
In Featured apps, select Google Workspace, then click Sync Google Workspace once.
Next Steps
- Learn more about the integration's capabilities and limitations in the Google Workspace Integration Overview.
- Find solutions to common issues in the Google Workspace Integration Troubleshooting guide.