
Clients can now create and assign projects to pay-as-you-go contractors and other employees. This feature helps in tracking and reporting timesheet hours, ensuring accurate project-based work management.
Employees can select a project when manually submitting shifts or when using the Deel time tracker.
In this Article
How to assign projects to workers
How to Assign Projects to Workers
✅ Step 1 – Open Organisation Settings and locate the Projects card
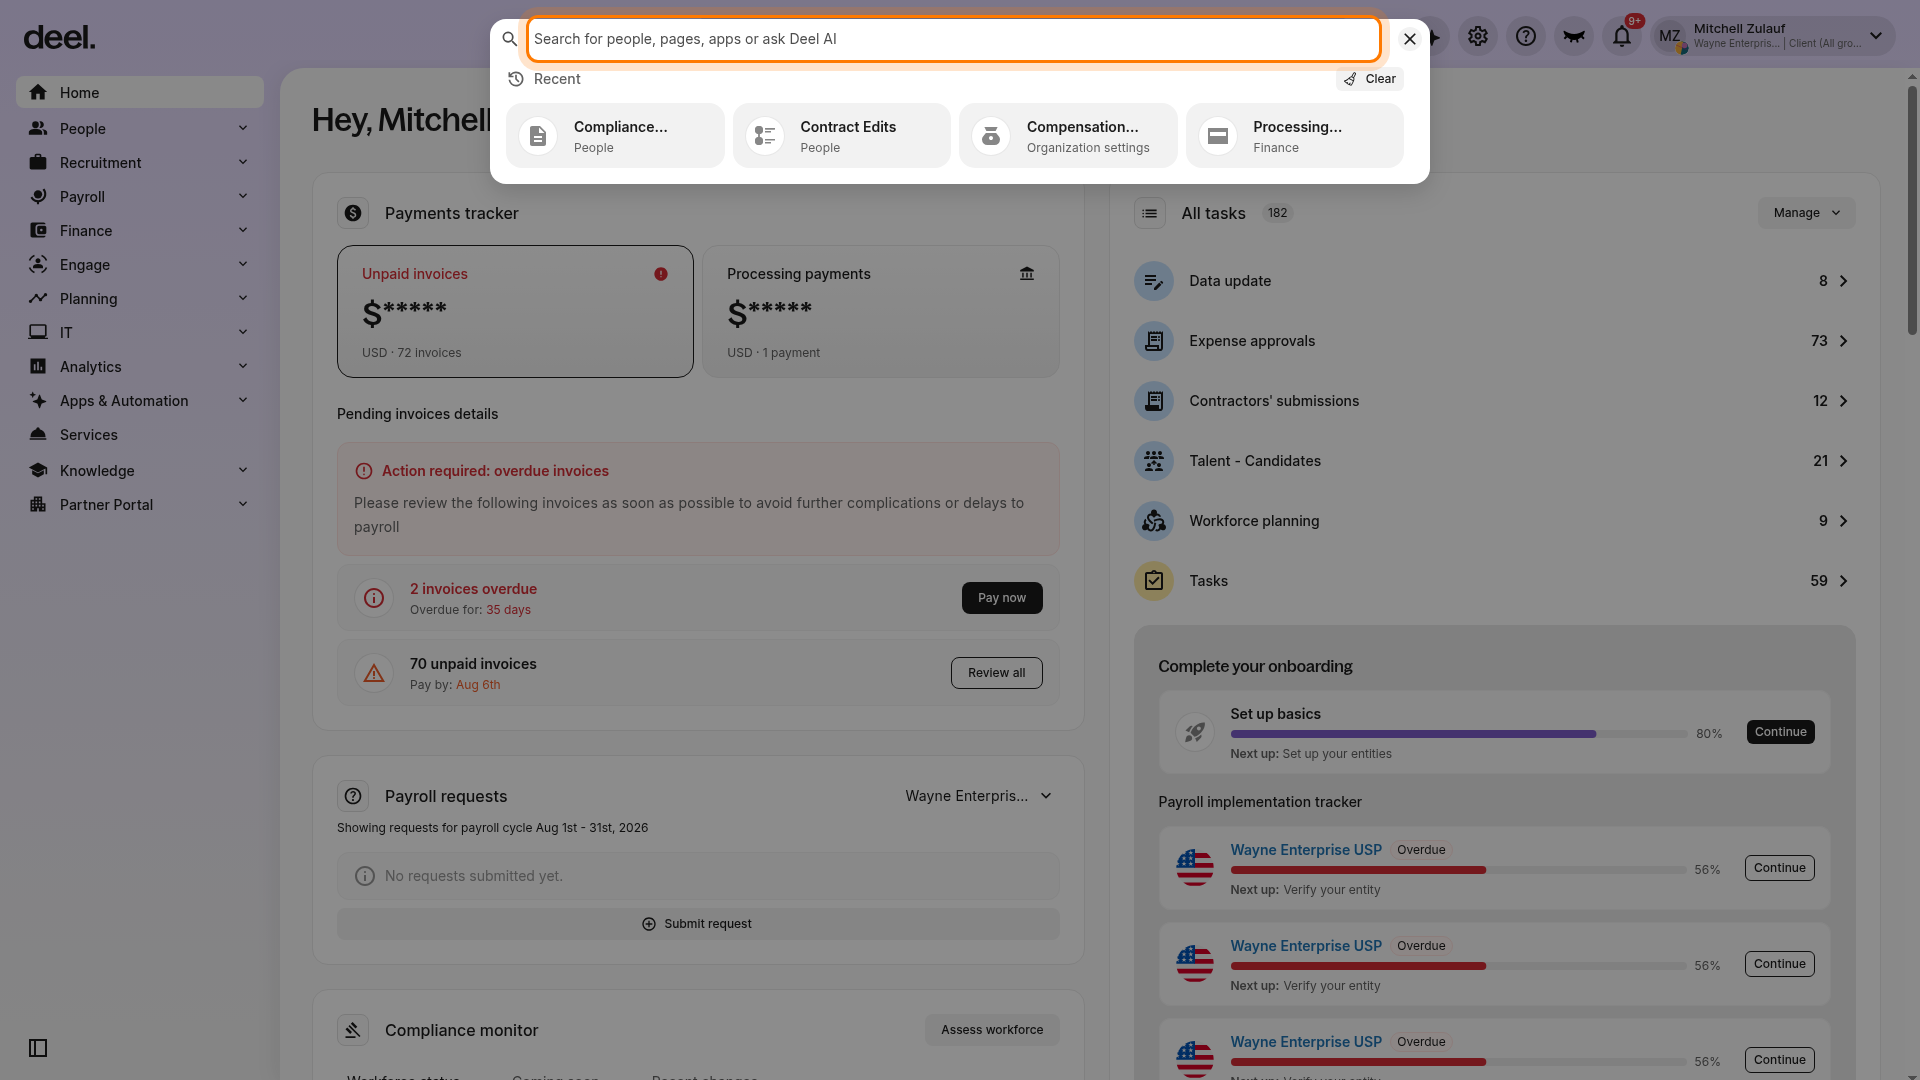
- Select the global search bar at the top of the screen.
- Its placeholder reads Search for people, pages, apps or ask Deel AI.
- Enter Projects and wait for the results to refresh.
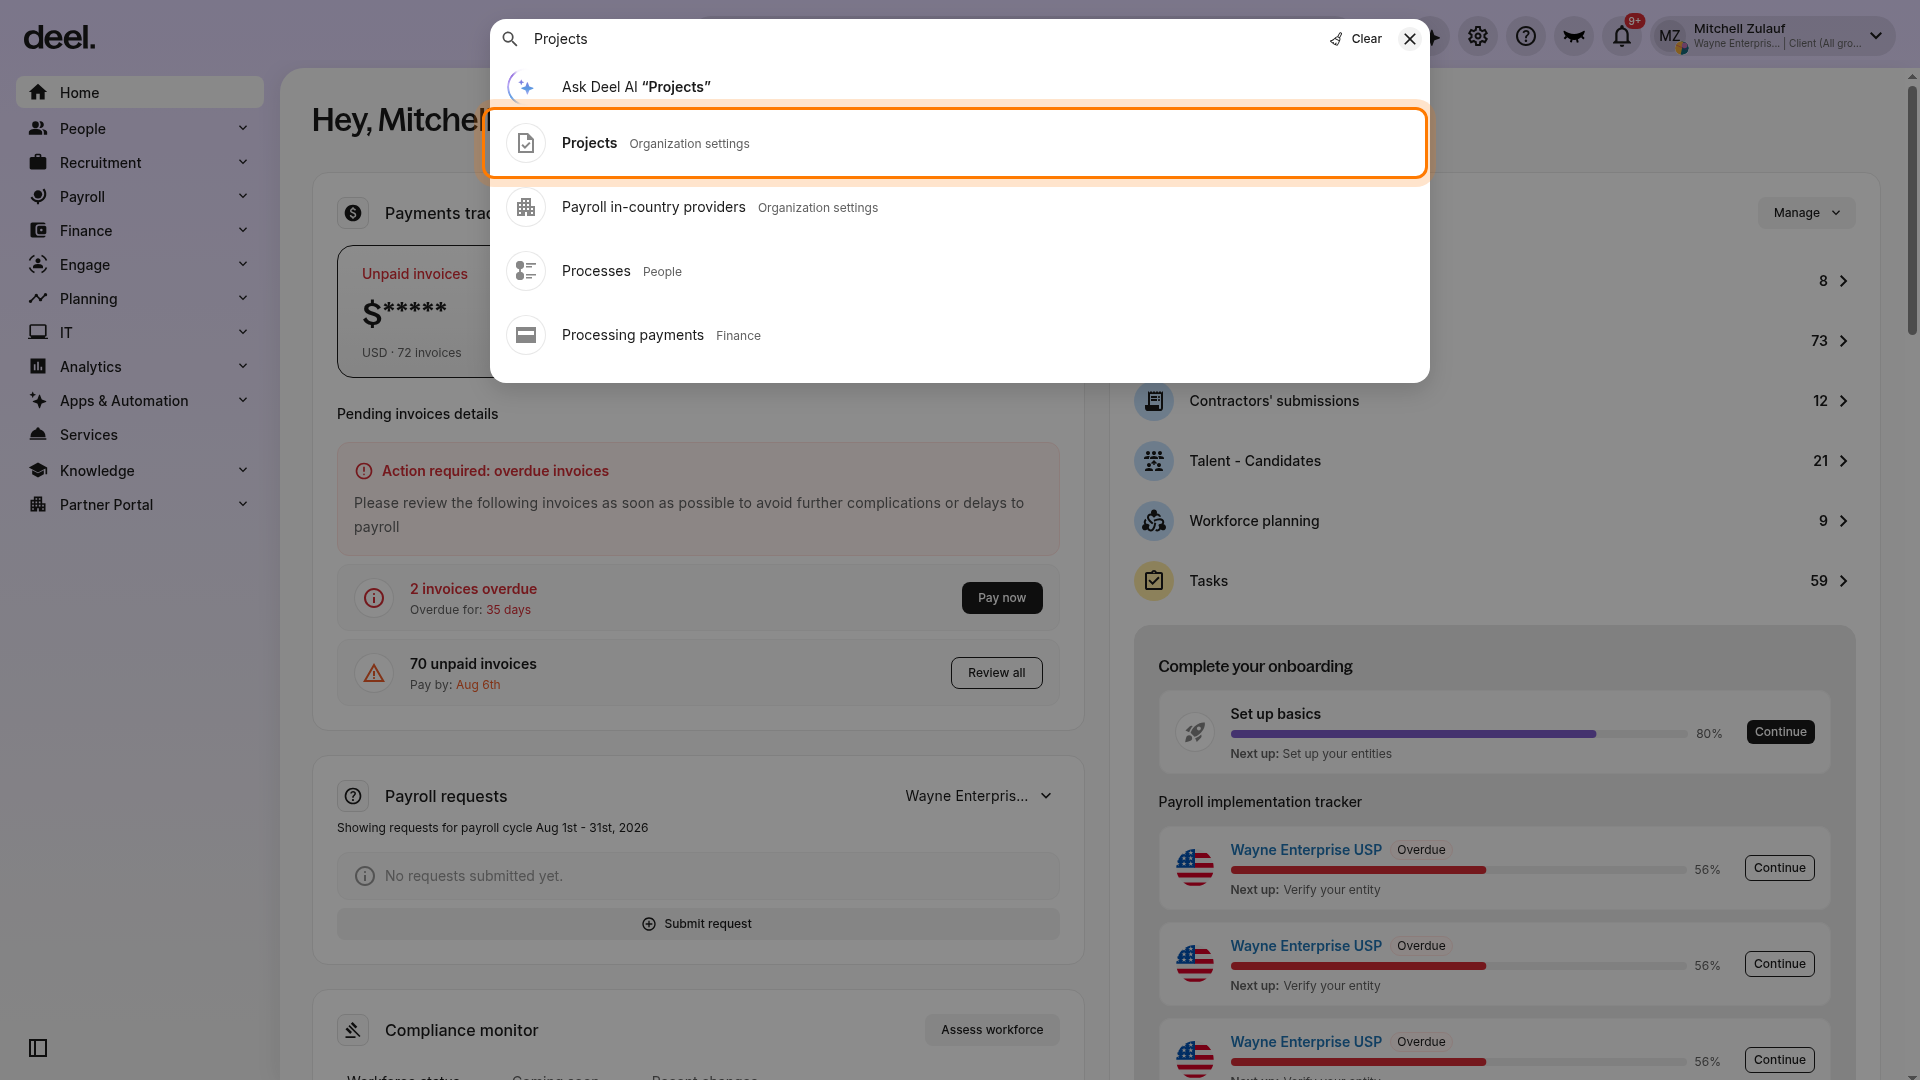
- Select Projects with the category label Organization settings.
- Do not select similarly named results from another category.
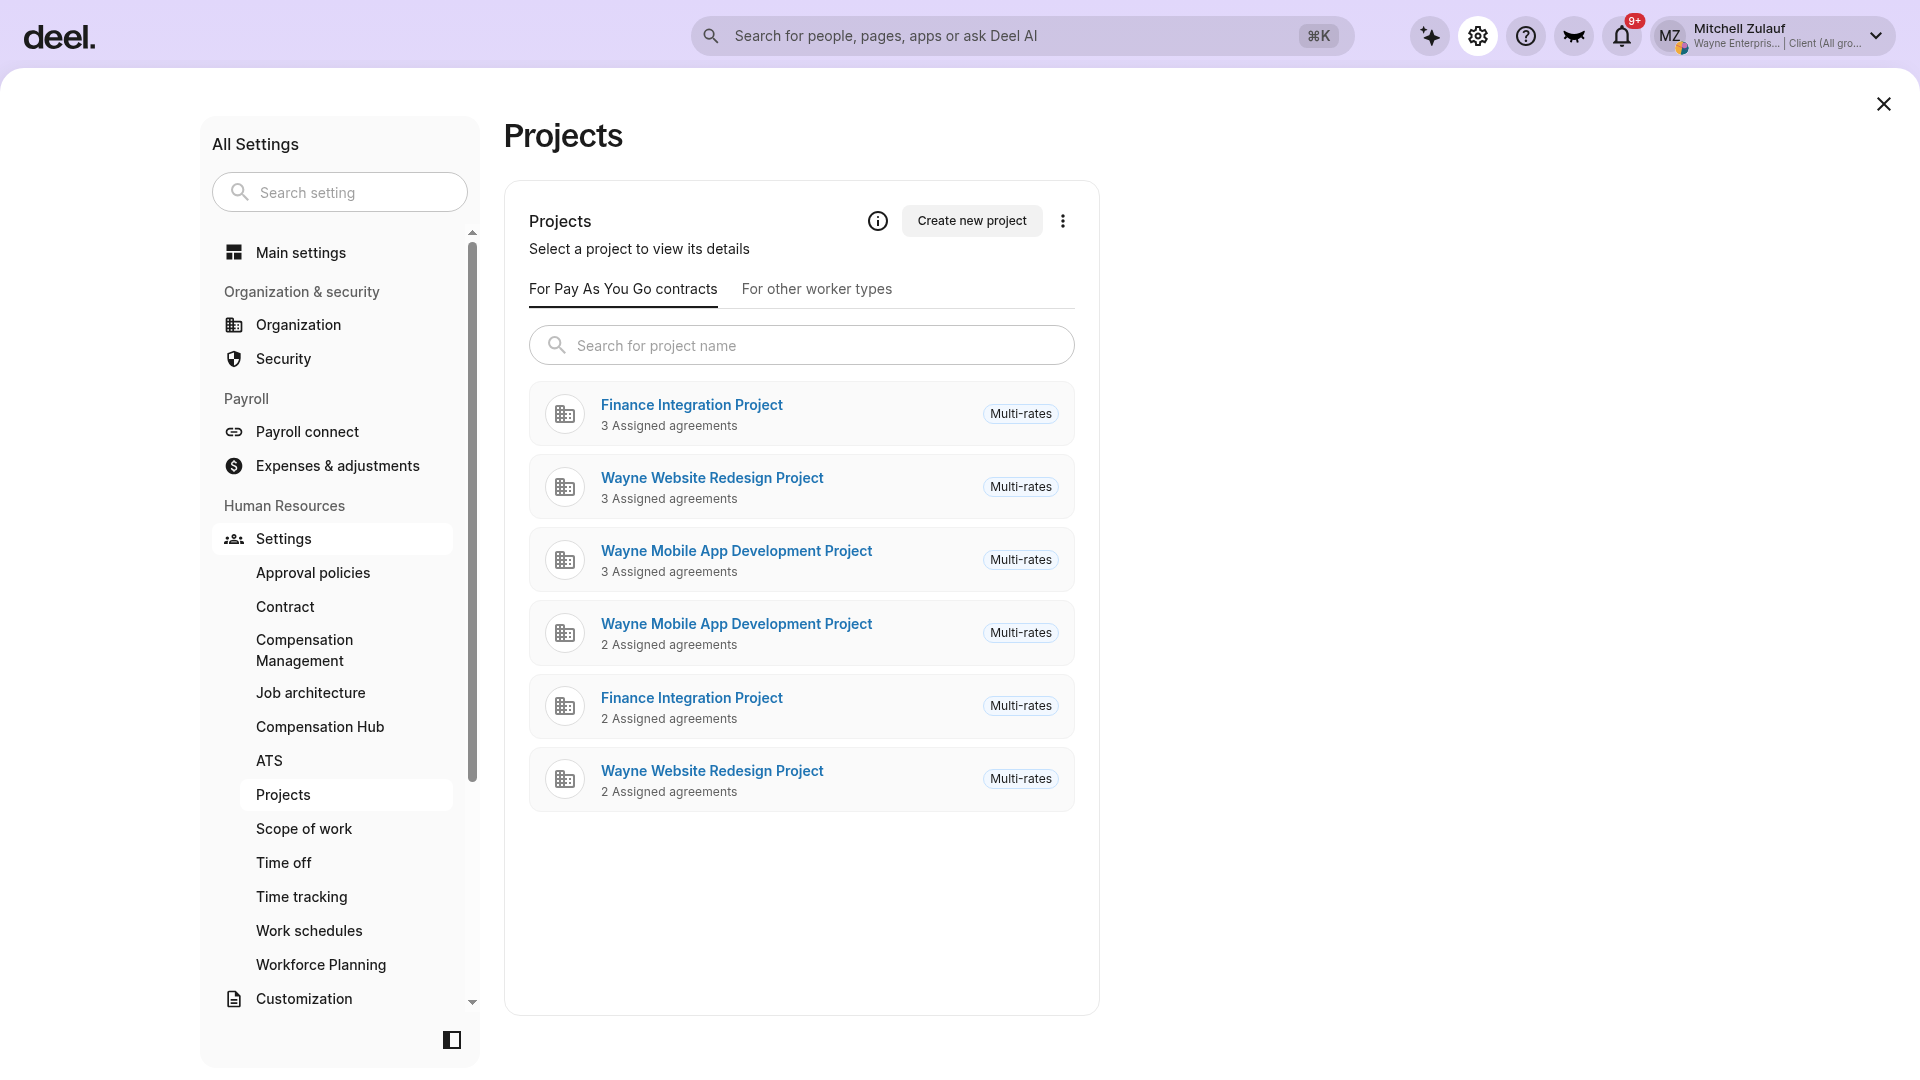
- Verify that the page heading reads Projects.
- Confirm that Projects is selected in the settings navigation and that Create new project appears near the top of the projects panel.
- The panel includes worker-type tabs such as For Pay As You Go contracts and For other worker types, plus a searchable project list.
✅ Step 2 – Create a new project
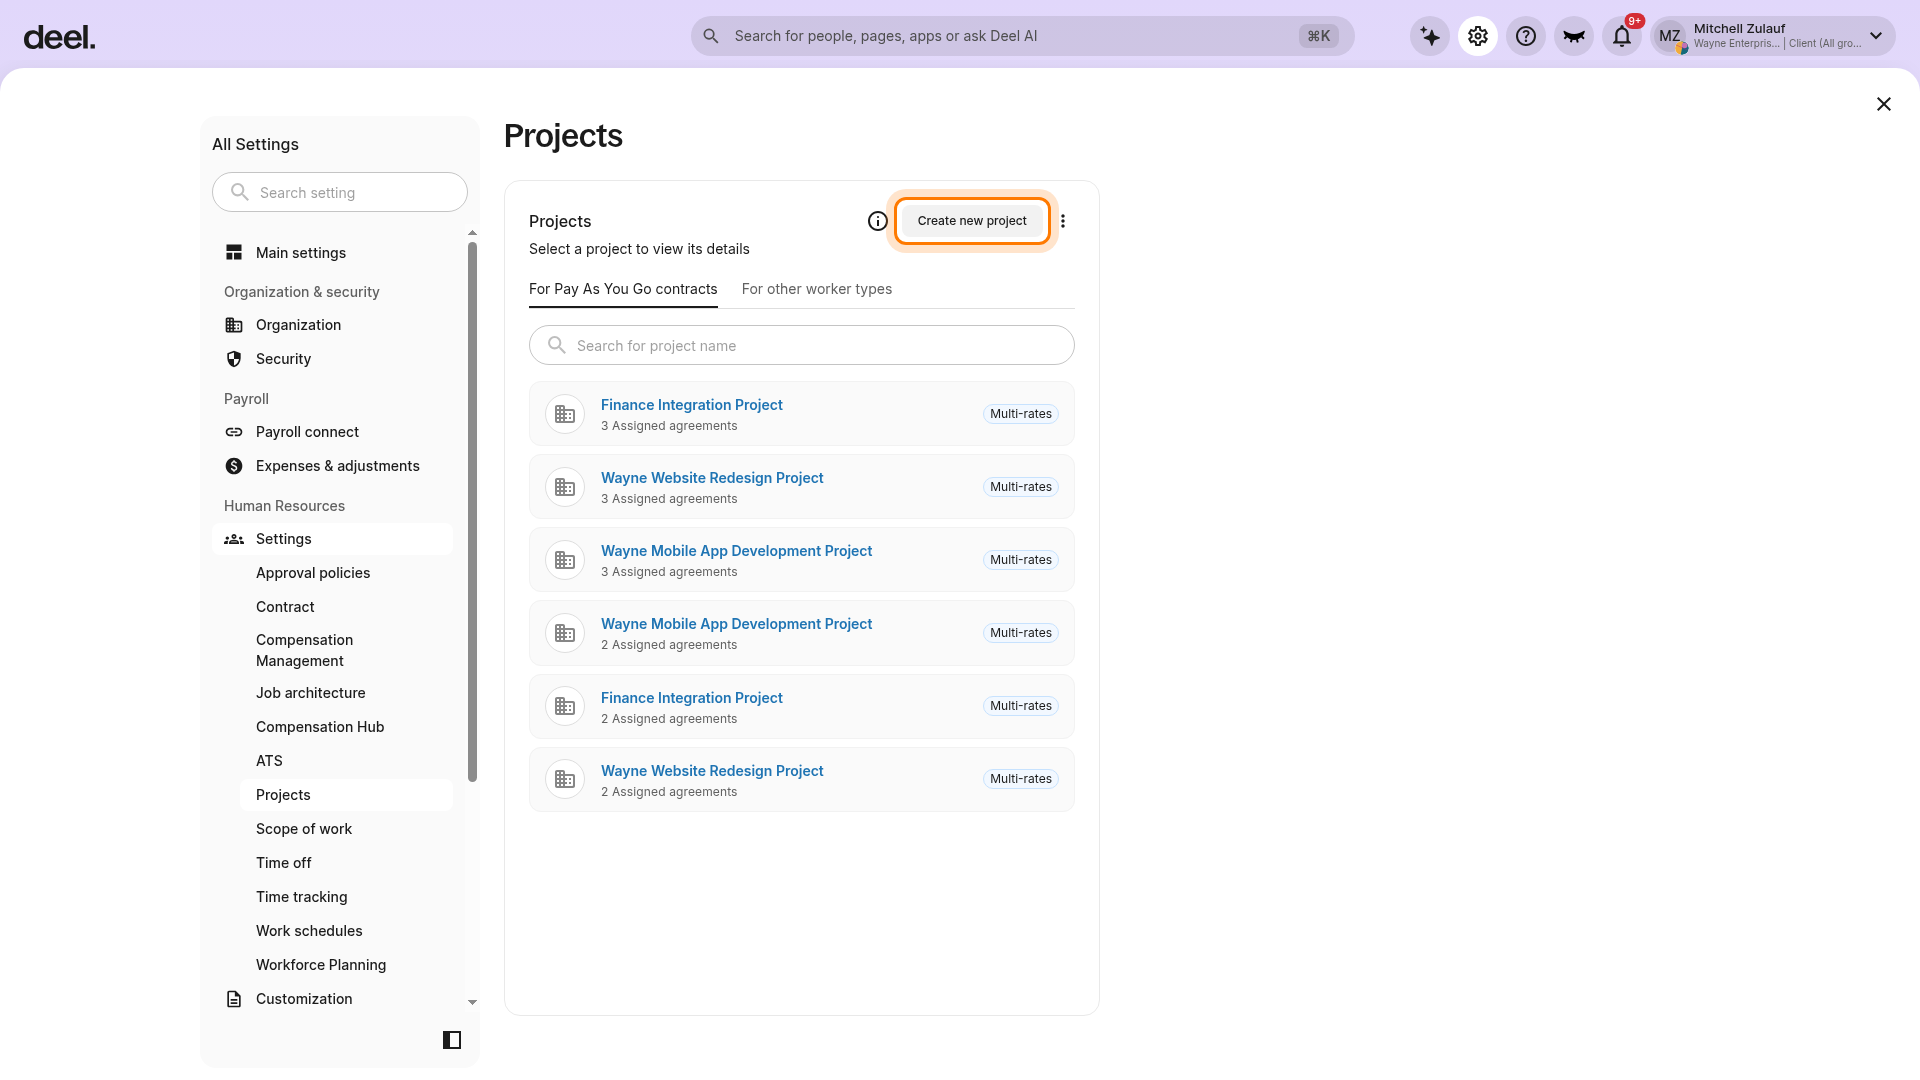
- On the Projects page, select Create new project.
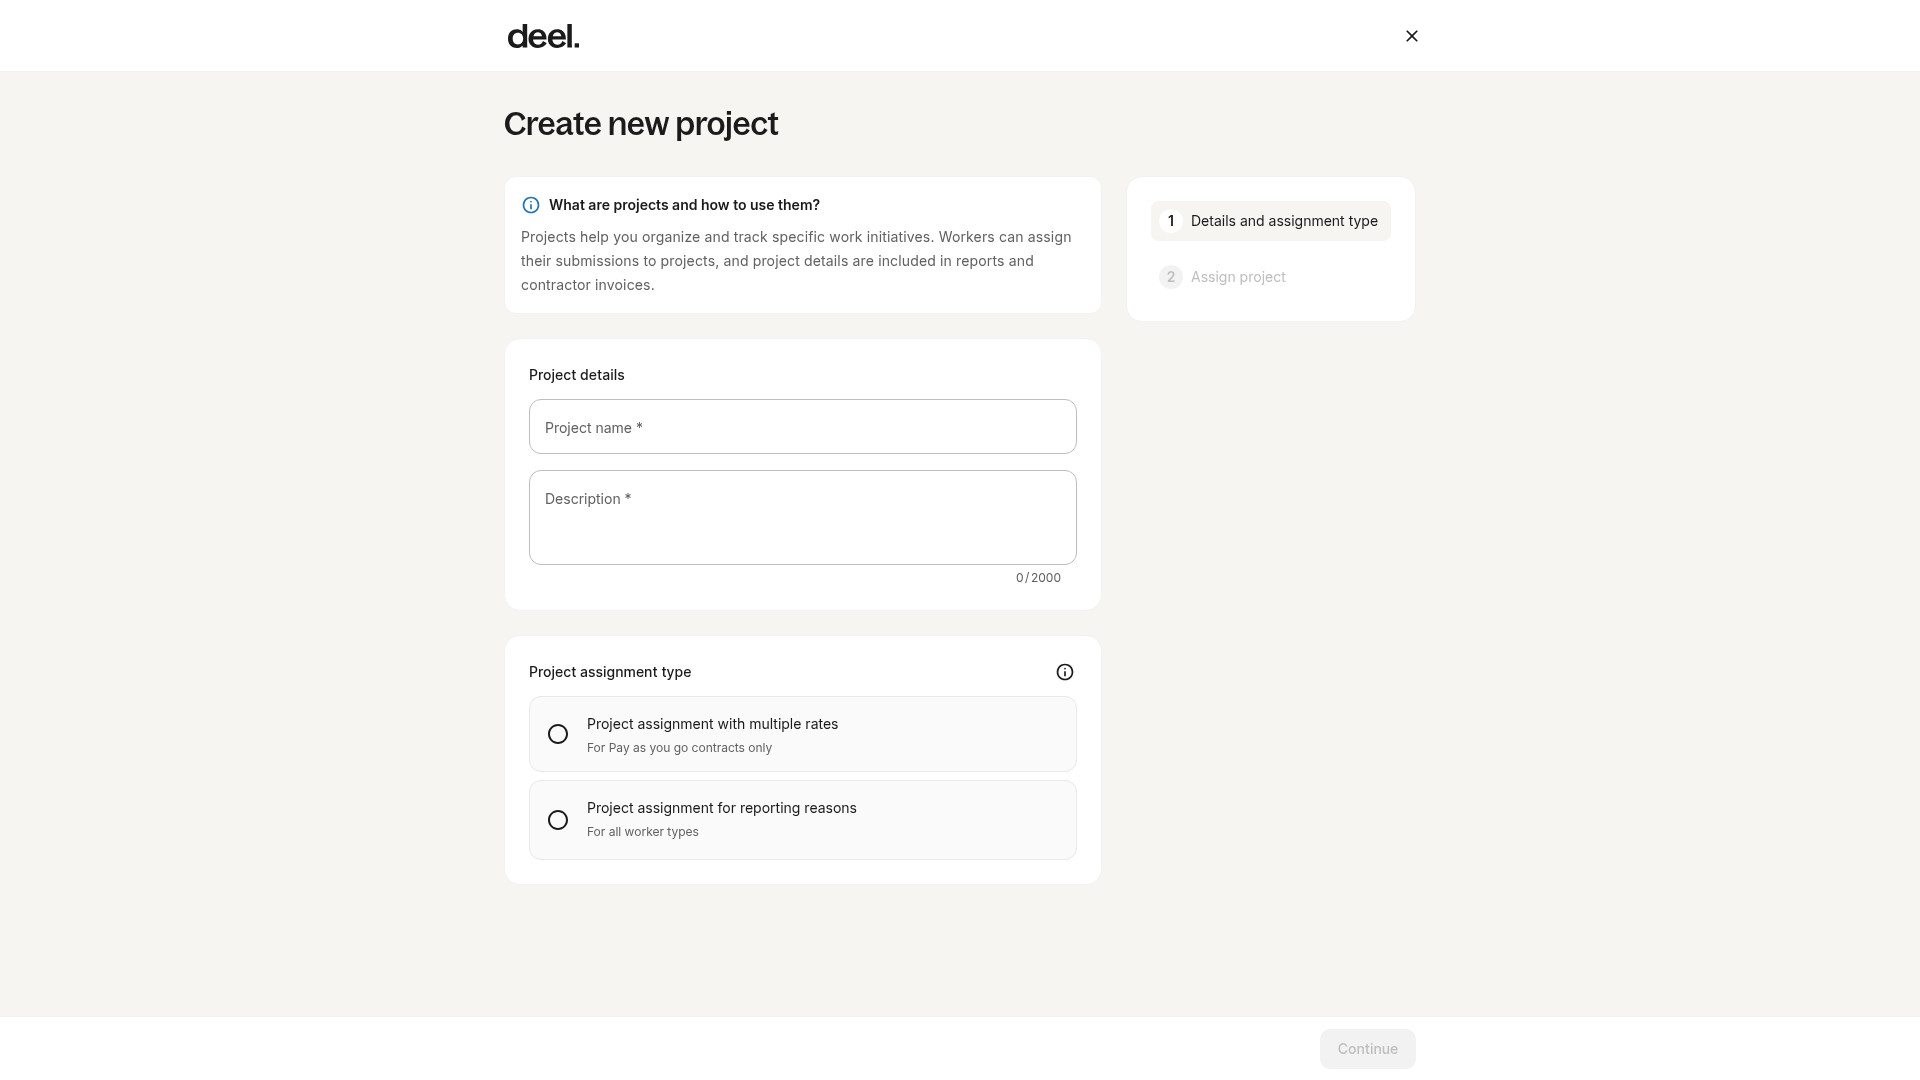
- On the Create new project page, complete the Details and assignment type step.
- Enter a Project name and Description.
- Choose the appropriate Project assignment type.
- Select Project assignment with multiple rates for pay-as-you-go contracts when applicable.
- Select Project assignment for reporting reasons for worker types such as Deel Employees, Direct Employee Payroll, Direct Employee HRIS, and PEO employees.
✅ Step 3 – Assign workers to the project
- Continue to the Assign project step.
- Assign individual workers, or select a worker group to assign the project to multiple employees at once.
- Review the details and select Submit.
Once created, the project is available for eligible workers to select when logging shifts.
Frequently Asked Questions
[ACCORDION] How do I verify worker-hour details related to a project?
- In the left sidebar, select Analytics to expand its submenu.
- Select Reports in the expanded Analytics submenu.
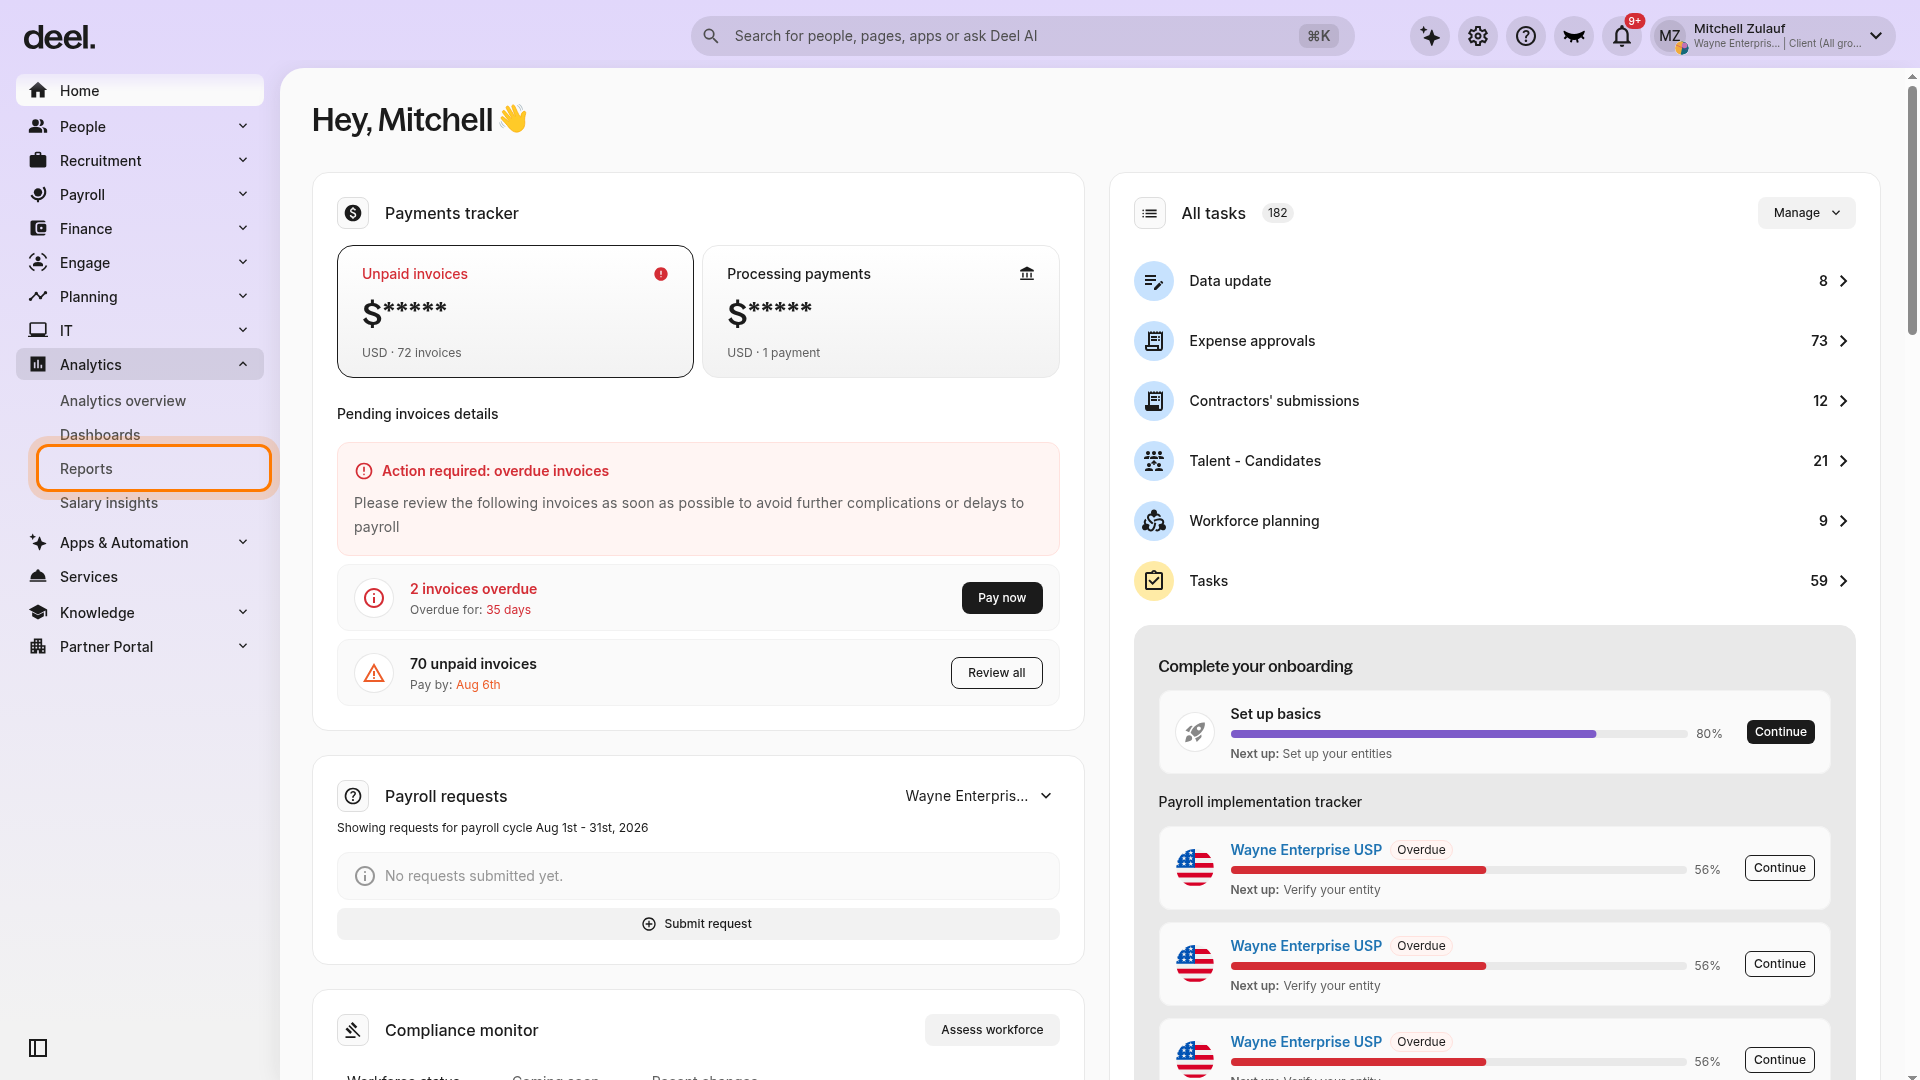
- Under Report categories, select Time Off & Time Tracking.
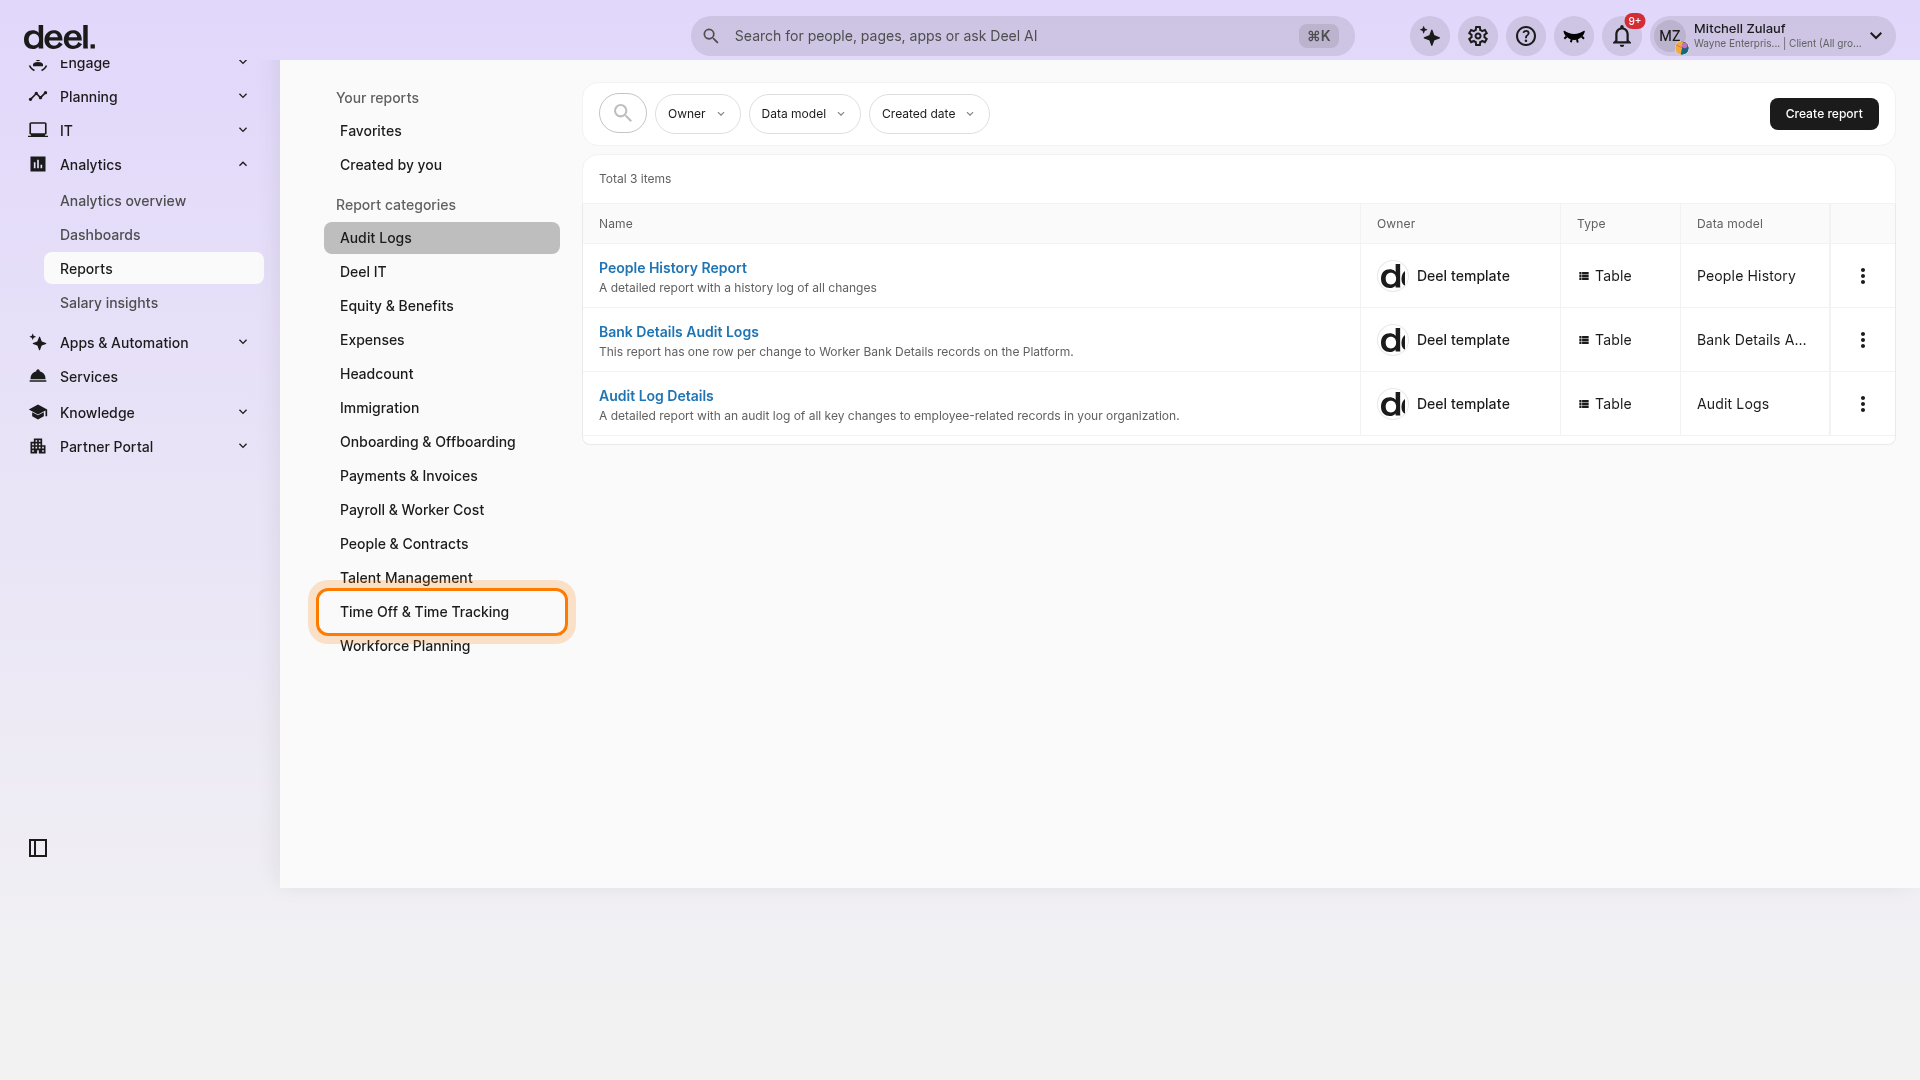
- Select Time Tracking Report.
Note: Select Time Tracking Report, not Time Tracking — Overtime Breakdown (Pivoted). The report previously referred to as Time Tracking Summary Report is labeled Time Tracking Report in the current interface.
Verify: The editor header displays Time Tracking Report and includes Filters, Table, Customize Table, Run, and Save controls. Use the filters and table workspace to review hours by worker and project.
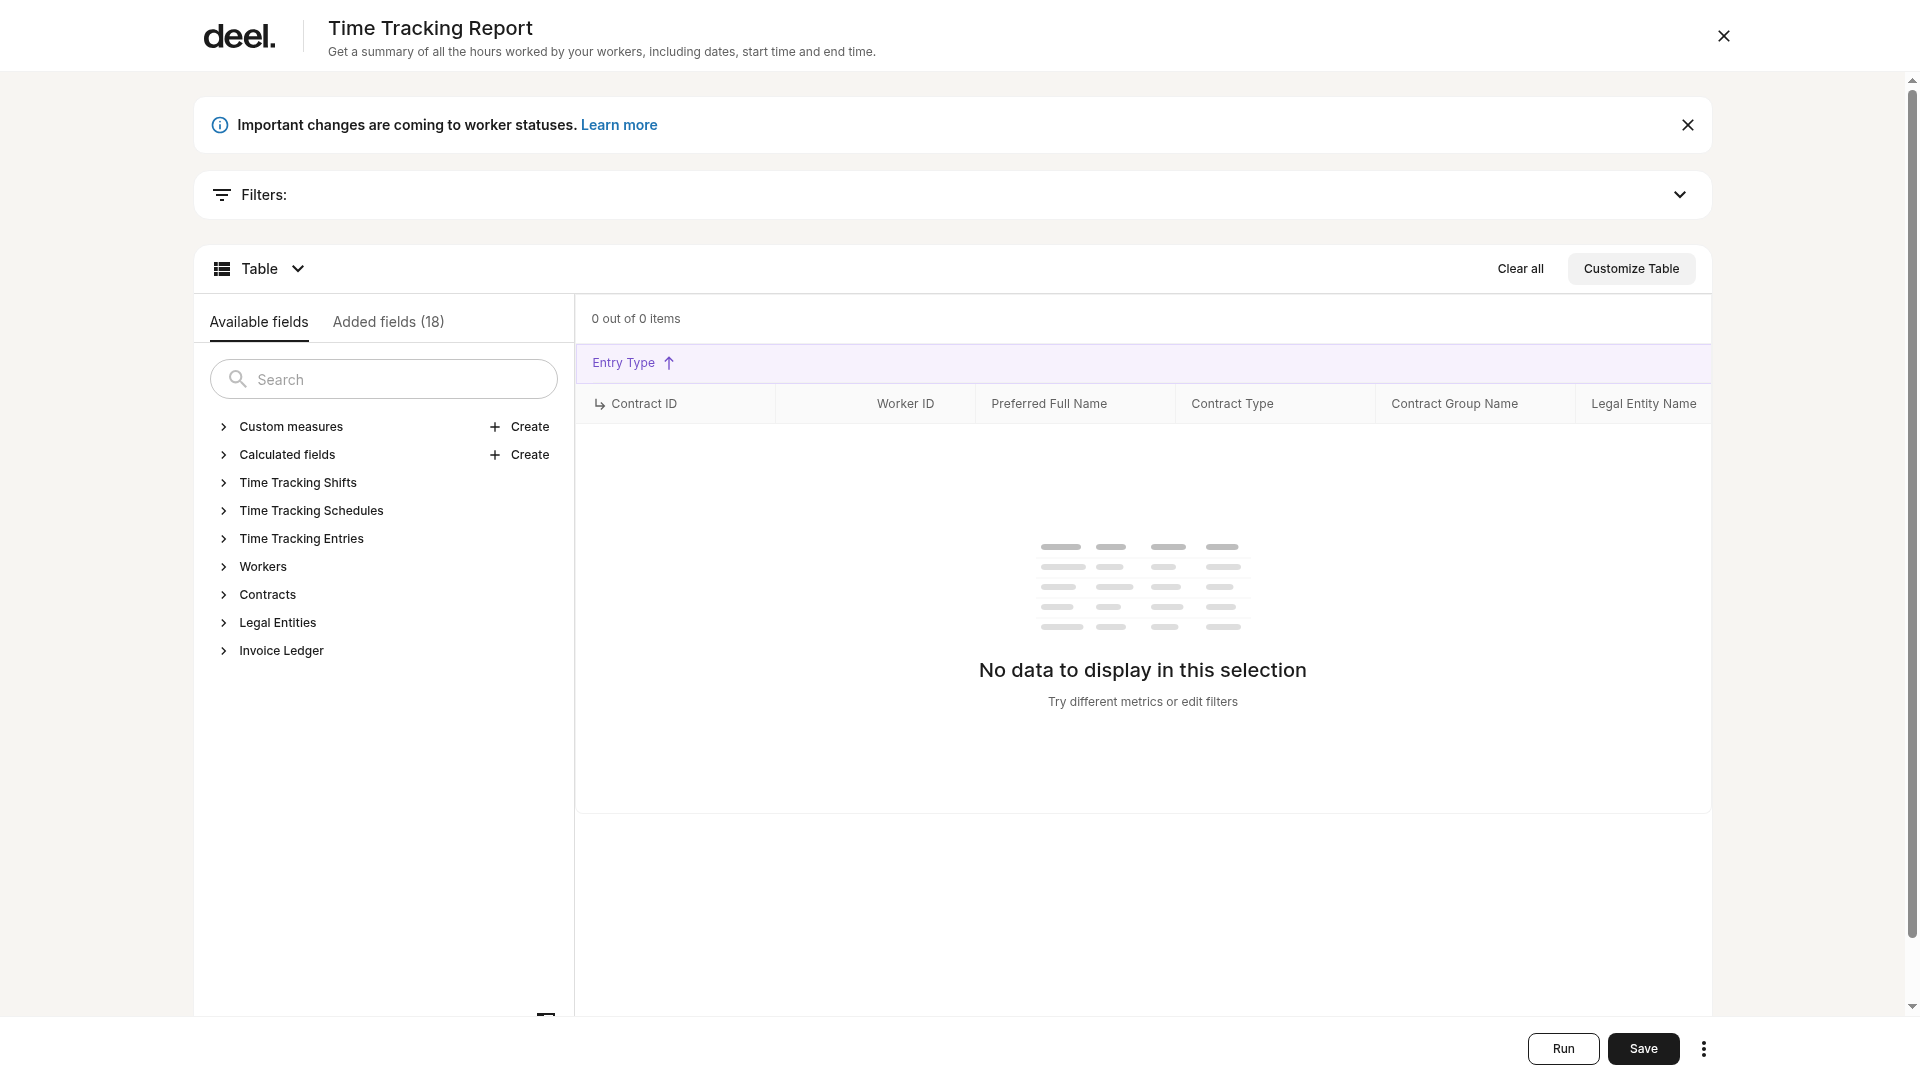
If the table shows “No data to display in this selection,” the report is still open. Adjust filters or the time range and select Run when you are ready to find matching records.
[ACCORDION] Why can’t I see the Projects card in Organisation Settings?
- Use the global search bar and enter Projects.
- Wait for the results to refresh, then select Projects labeled Organization settings.
- If the result does not appear, confirm that you entered the full word Projects and ask an organization administrator to review your Projects permissions.
If the Projects page opens but Create new project is unavailable, your role may not have project-creation permission. Contact your organization administrator.
If you still cannot access Projects, contact Deel Support and include a screenshot of the search results or Projects page.