
Clients can now create and assign projects to pay-as-you-go contractors and other employees. This feature helps in tracking and reporting timesheet hours, ensuring accurate project-based work management.
Employees can select a project when manually submitting shifts or using the time tracker.
In this Article
How to Assign project to workers
How to Assign Projects to Workers
✅ Step 1 - Go to Organization Settings and select the Projects option
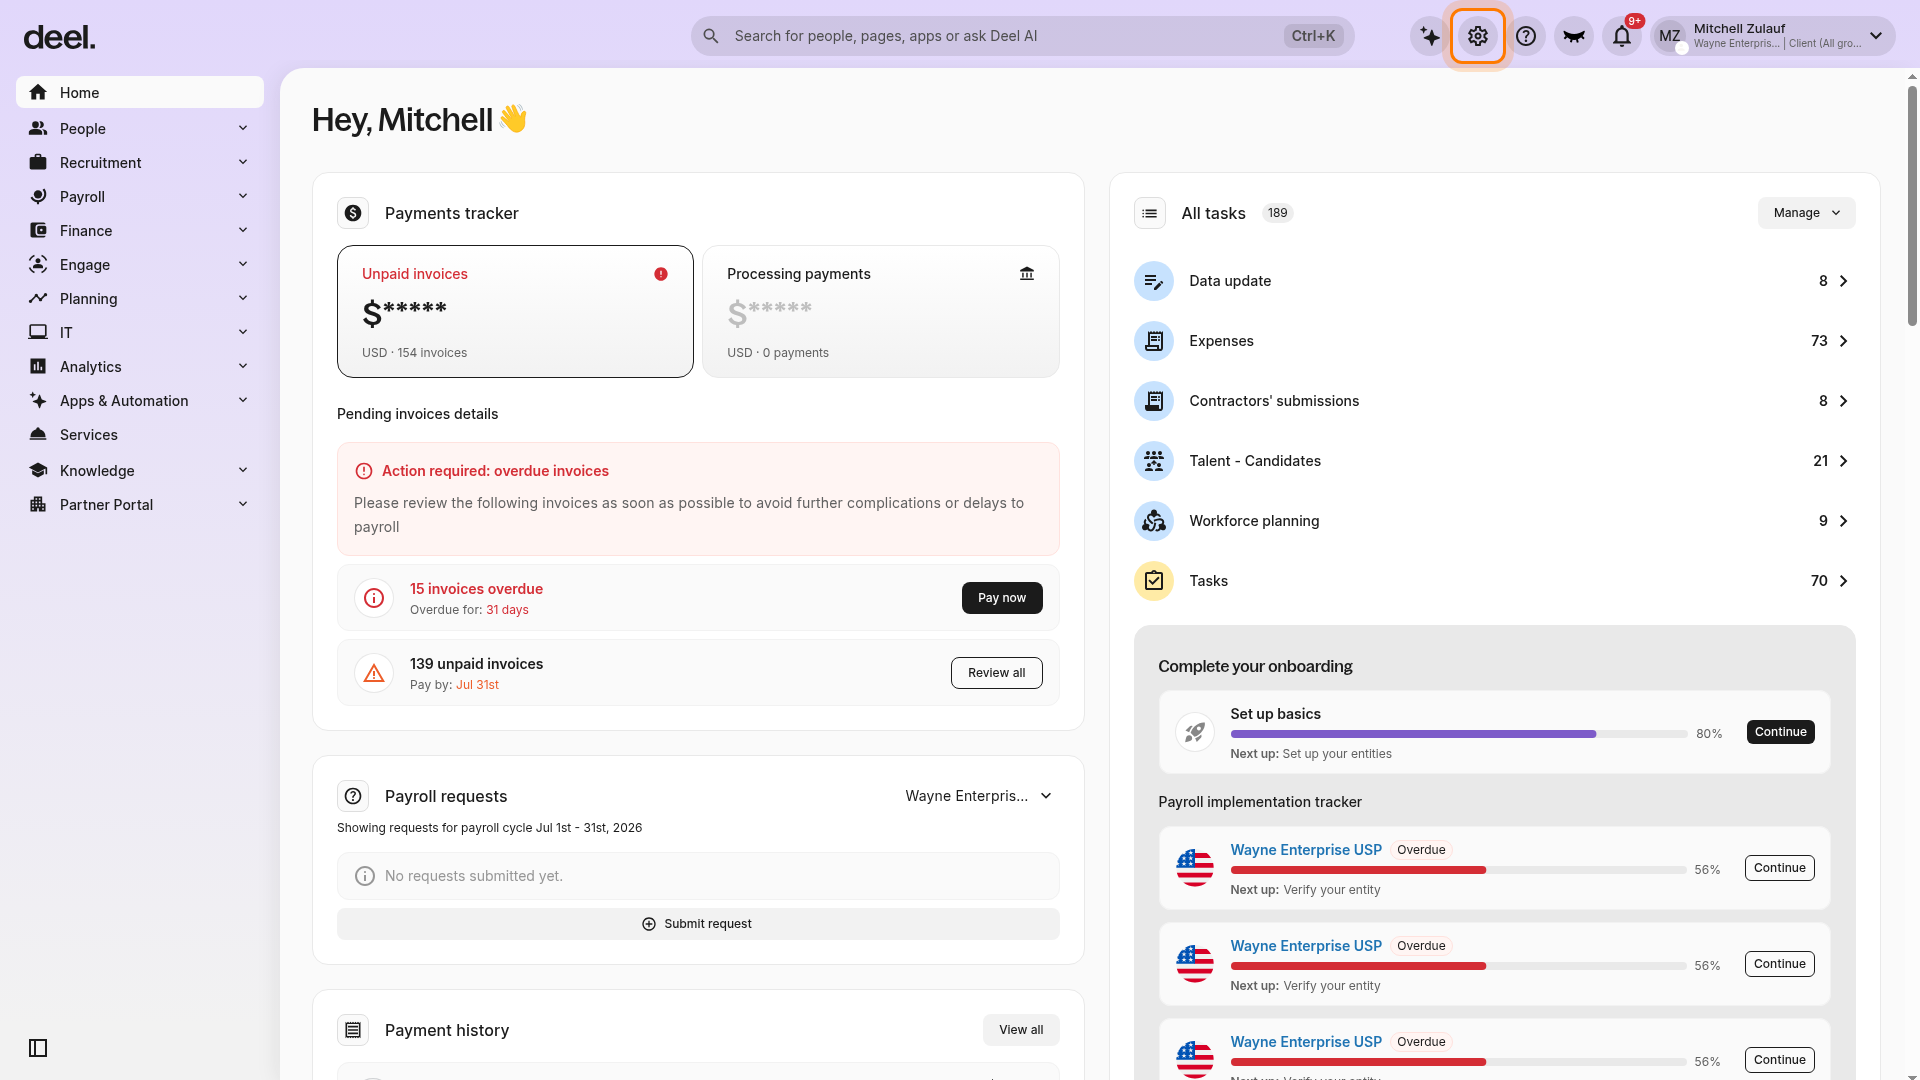
Select the Organization settings gear icon in the top-right corner.
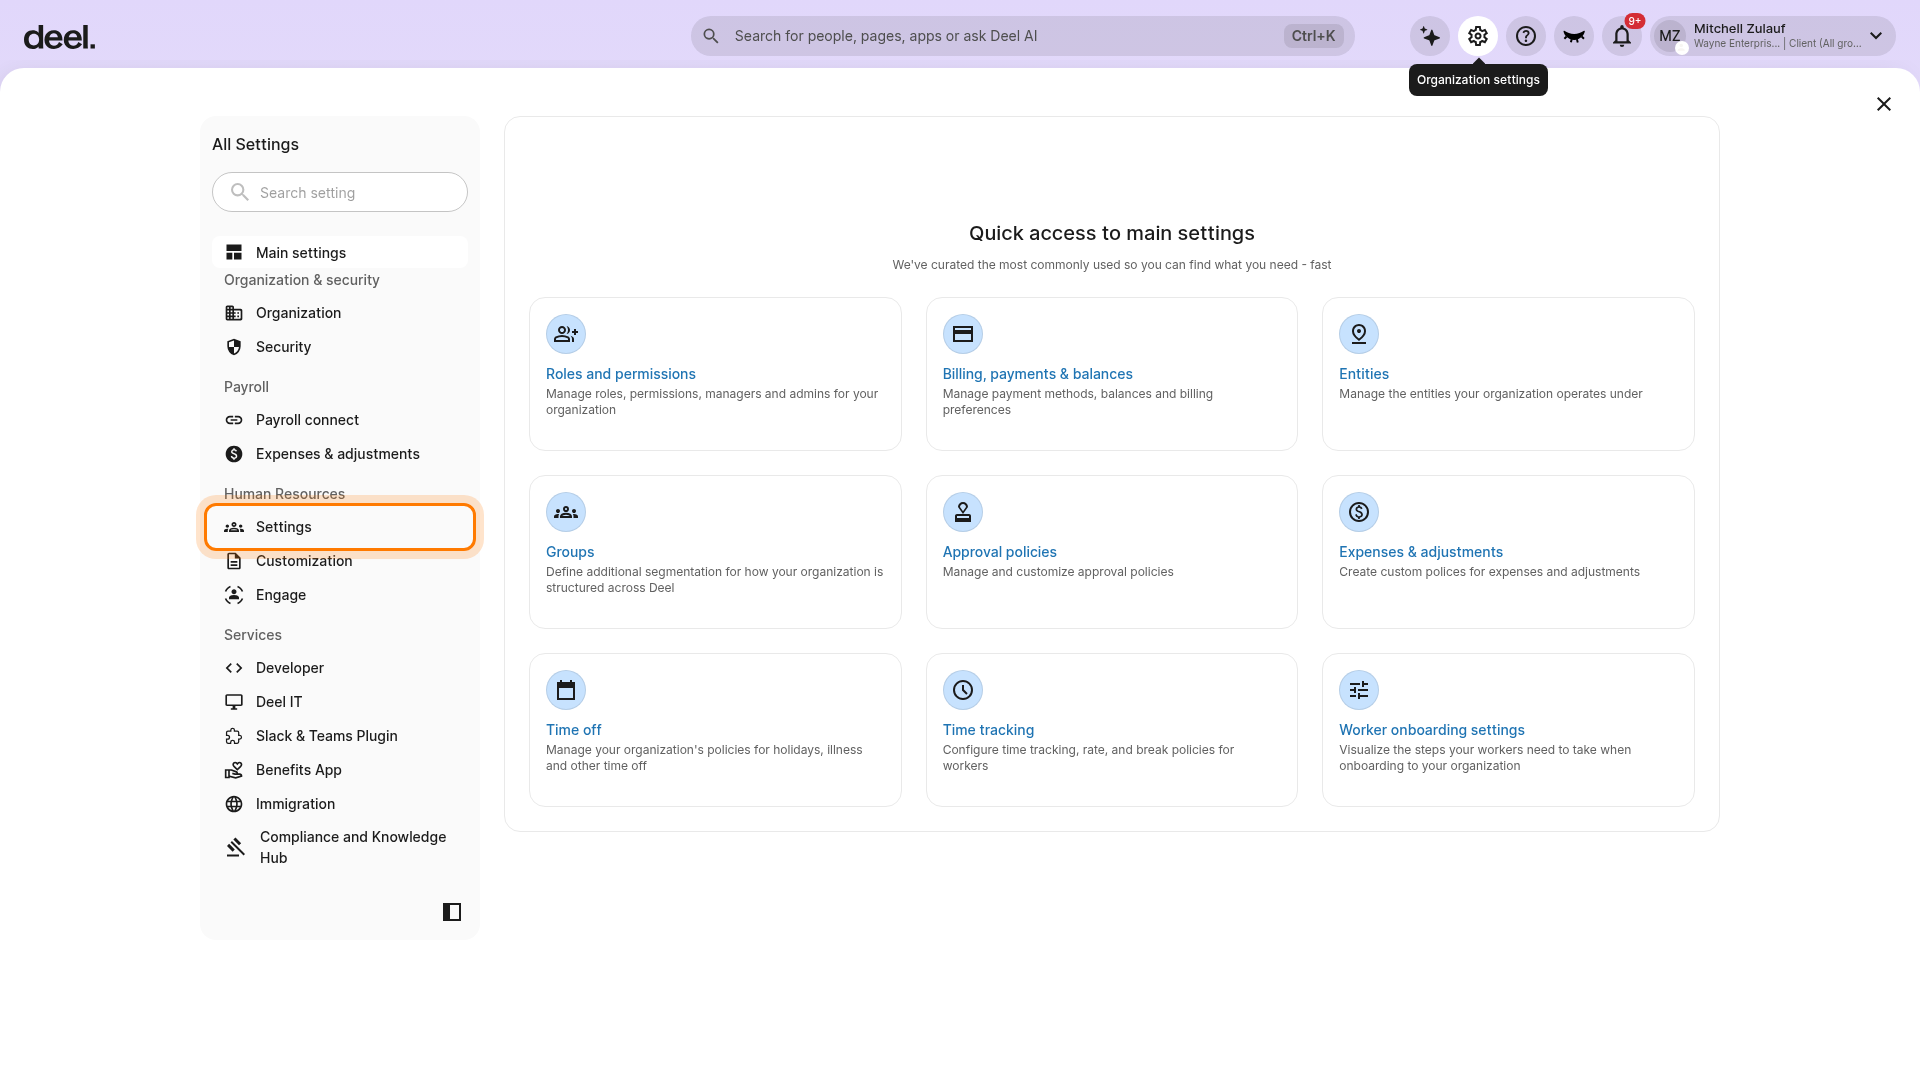
The All Settings panel opens. In the left sidebar, find Human Resources and select Settings to expand its sub-items.
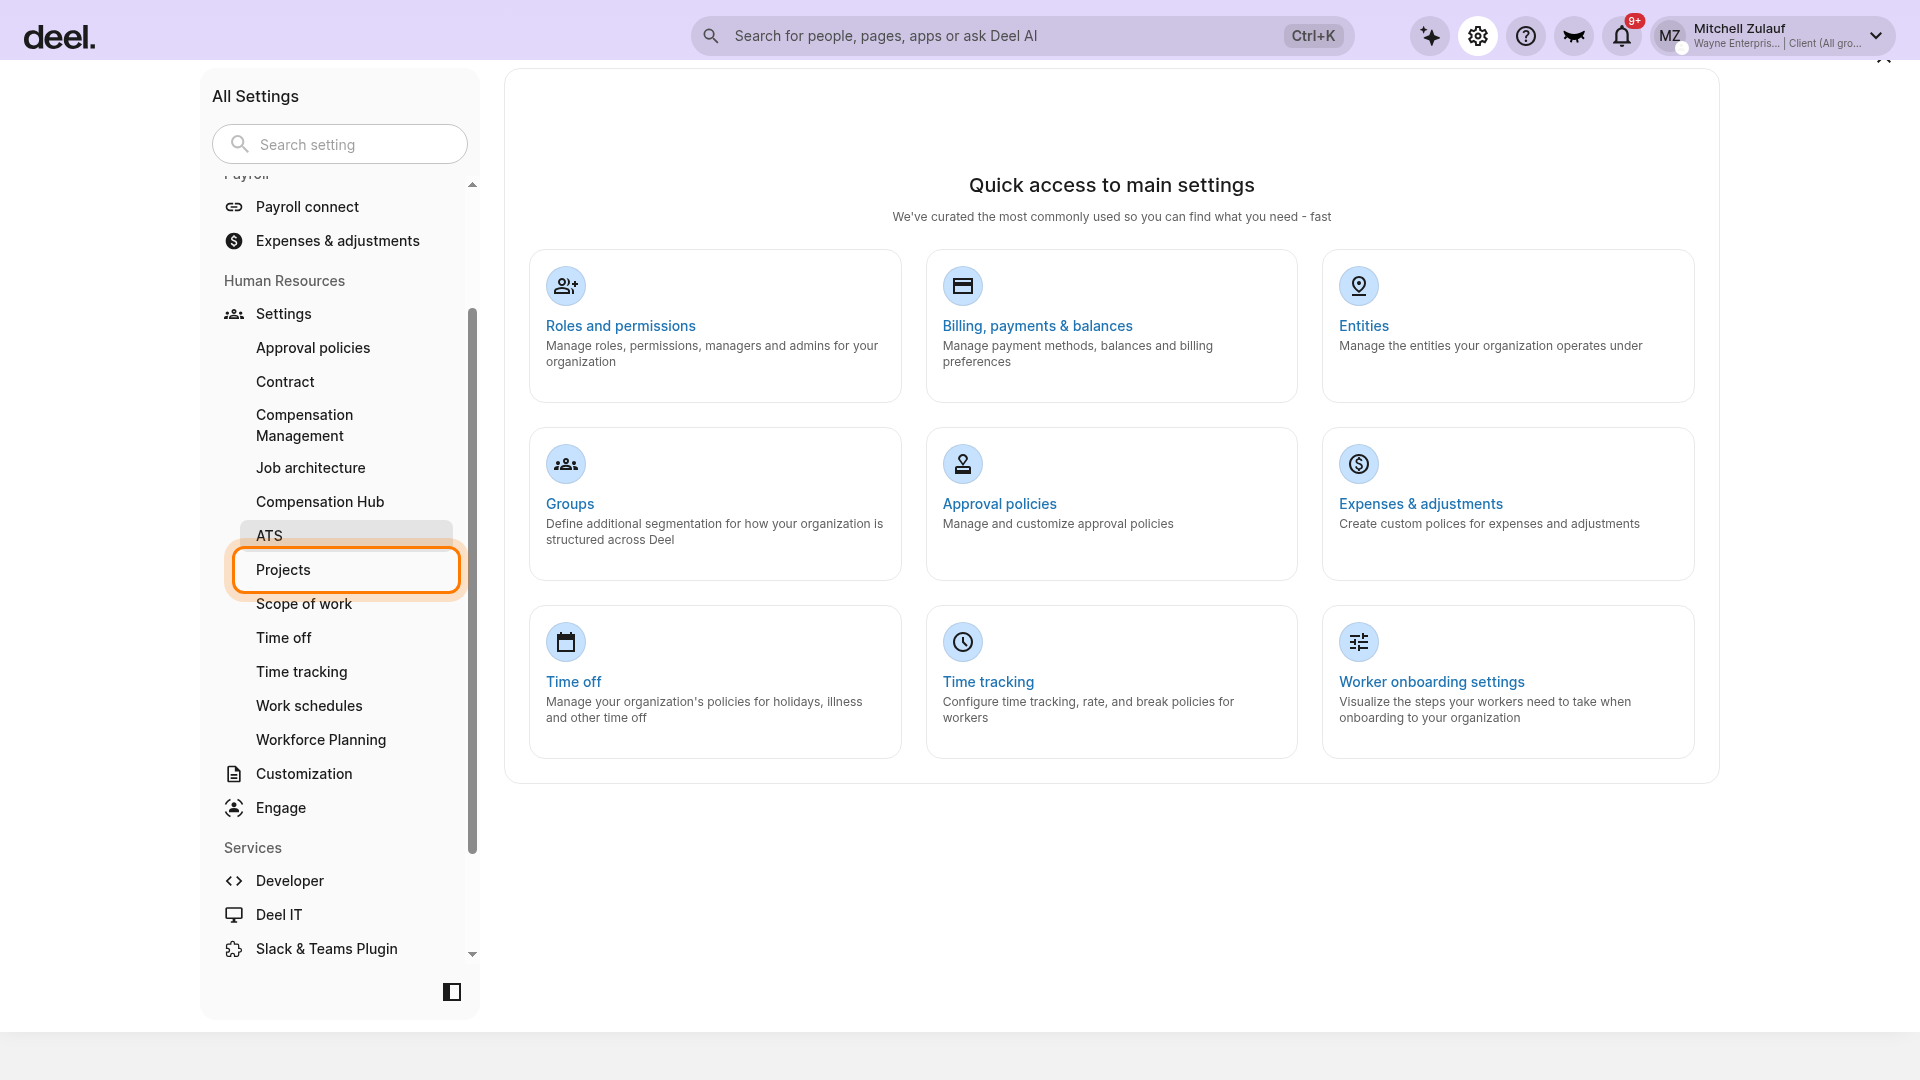
Select Projects under Human Resources > Settings. If it is not visible, scroll within the All Settings sidebar.
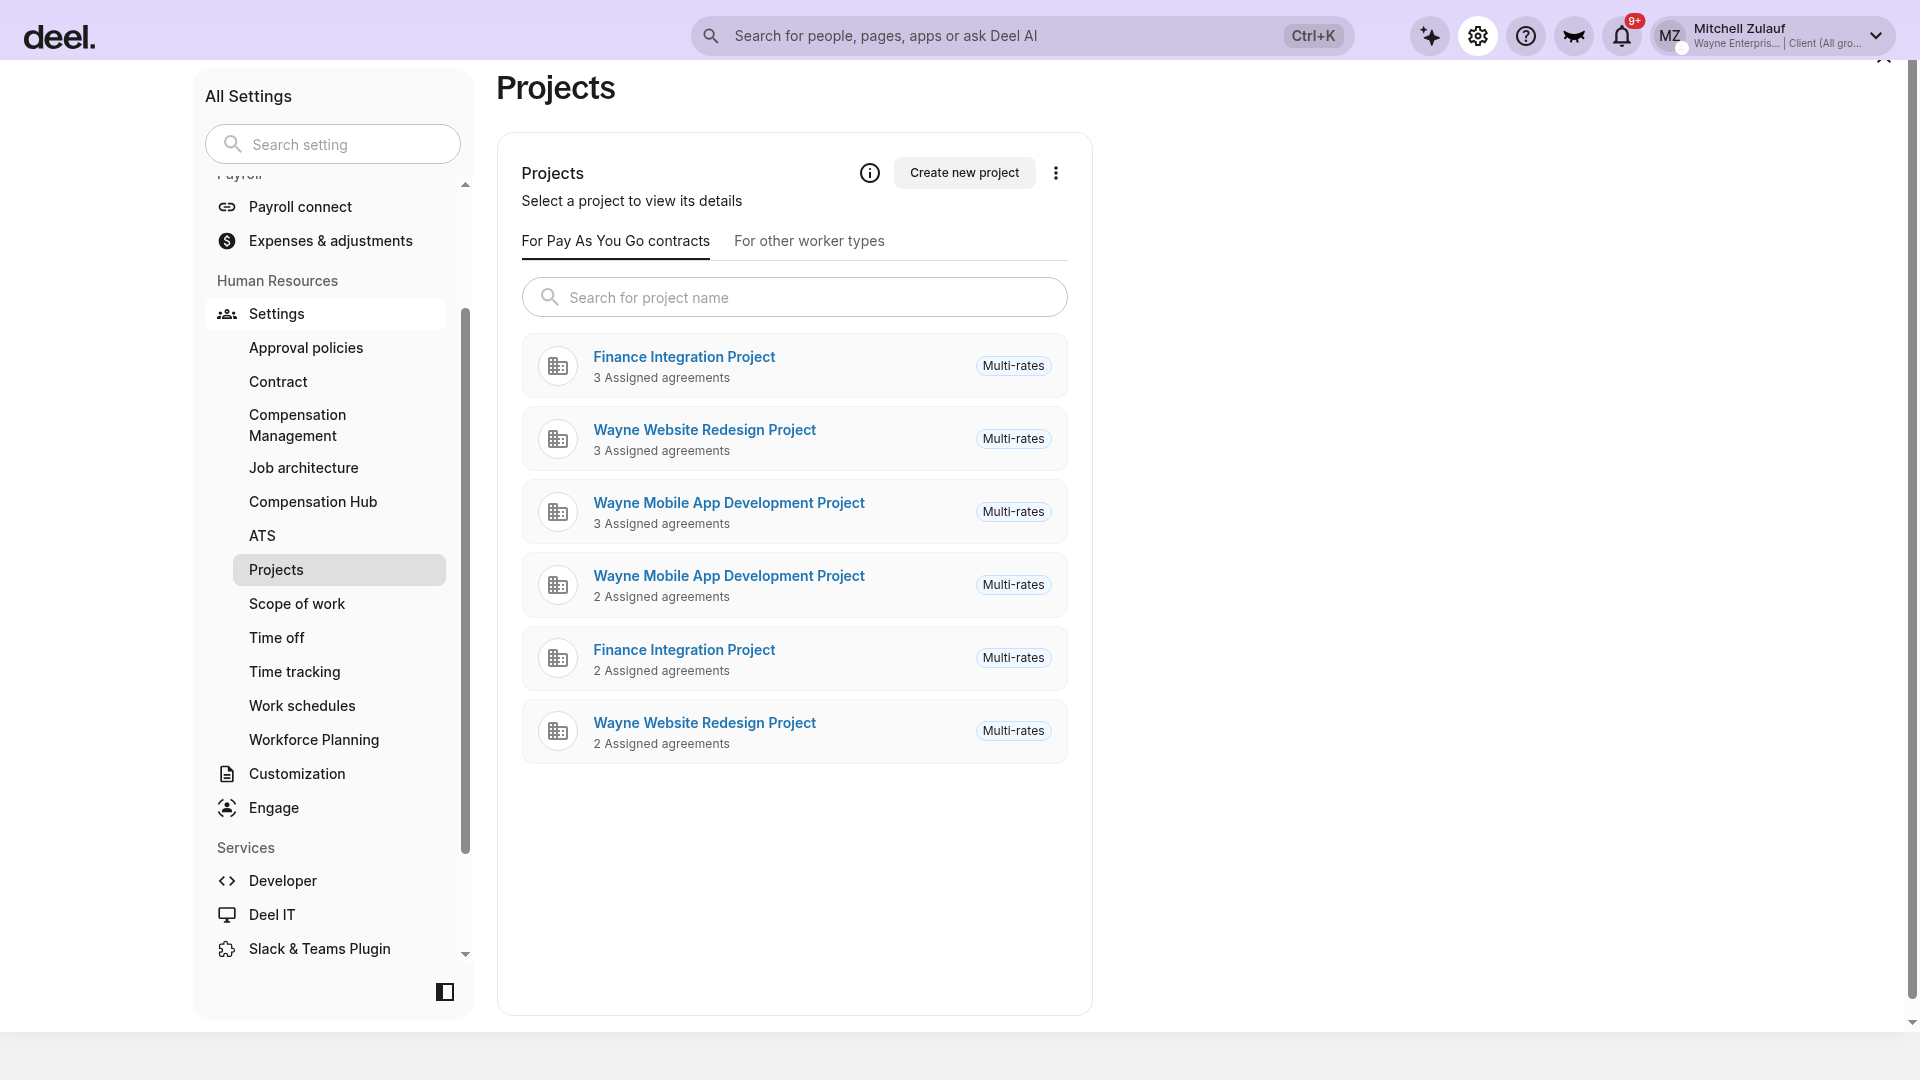
Confirm that the main page heading reads Projects and a project list is displayed.
You can also use the global search field, search for Projects, and select the result labeled Organization settings.
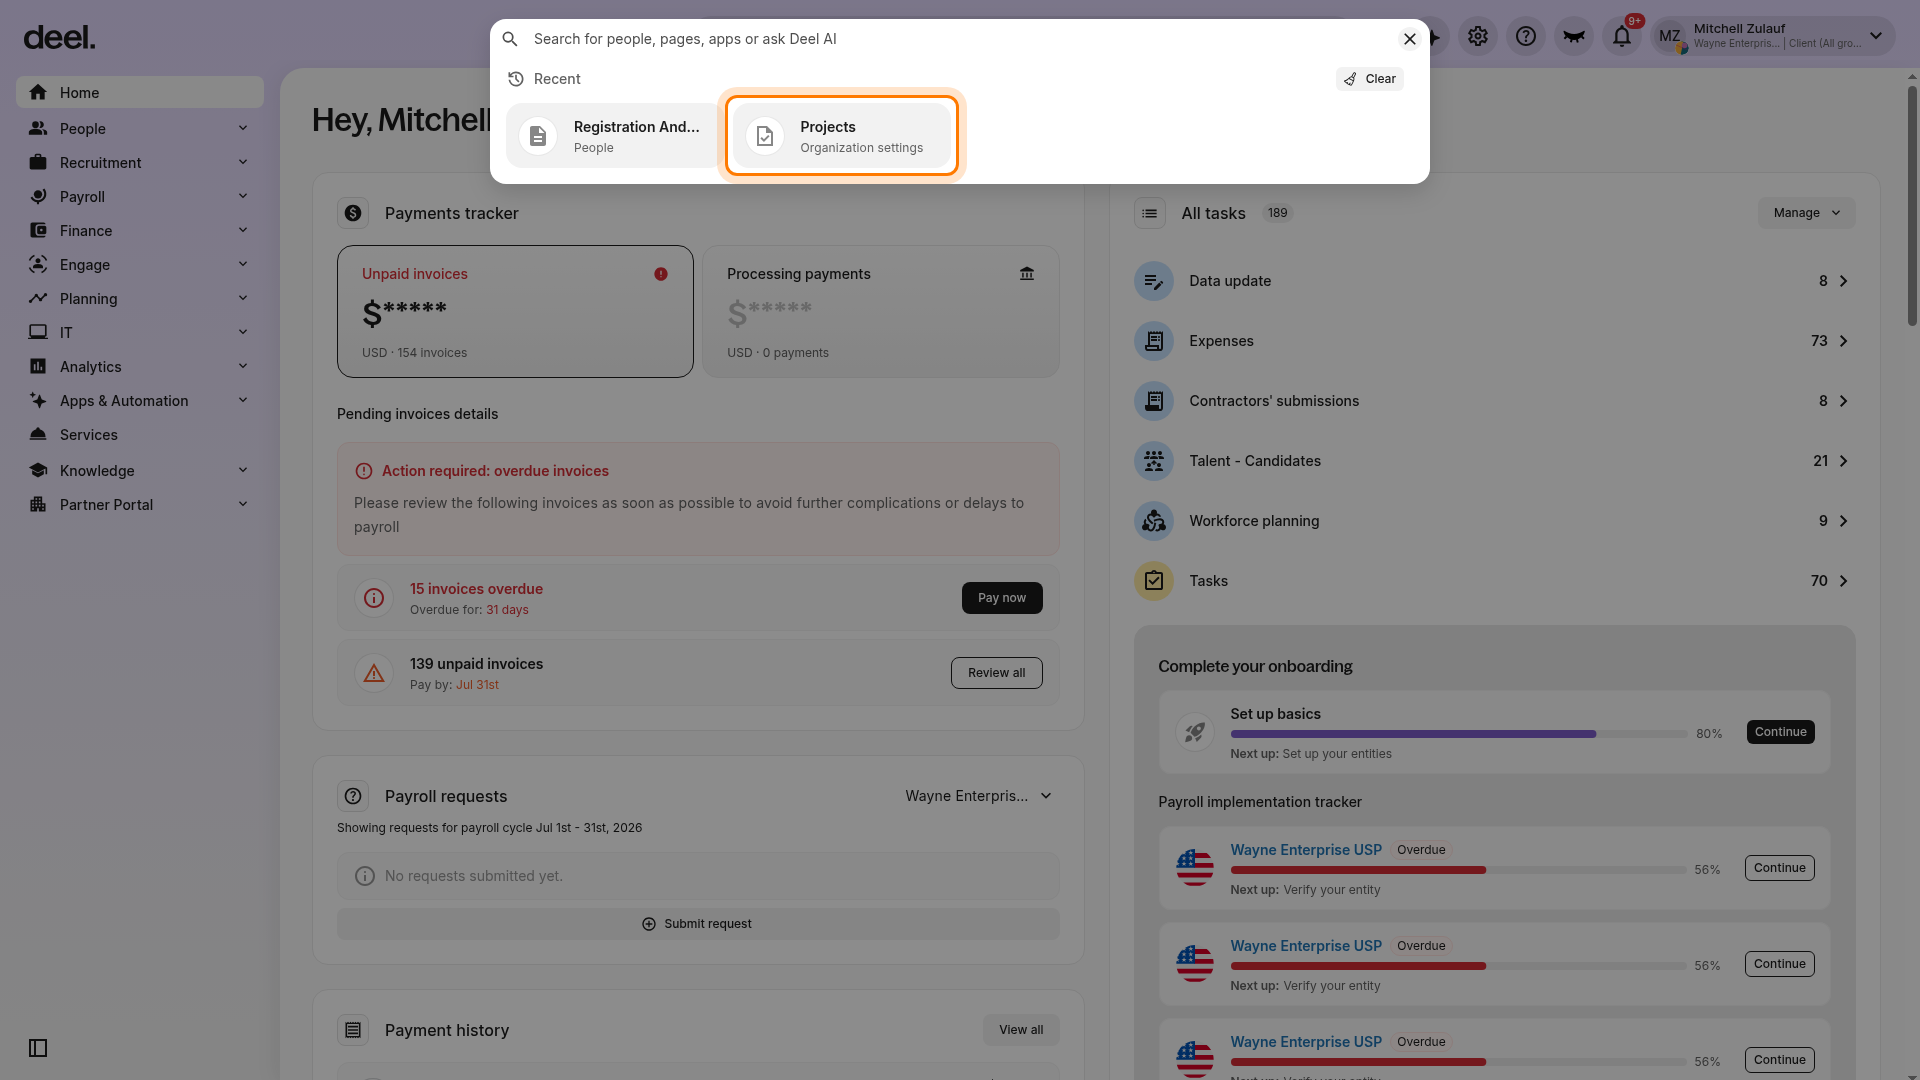
✅ Step 2 - Create a new project
On the Projects page, select the correct tab for the worker type before creating the project:
- Use For other worker types for employees and other non-PAYG worker types.
- Use For Pay As You Go contracts for PAYG contractors.
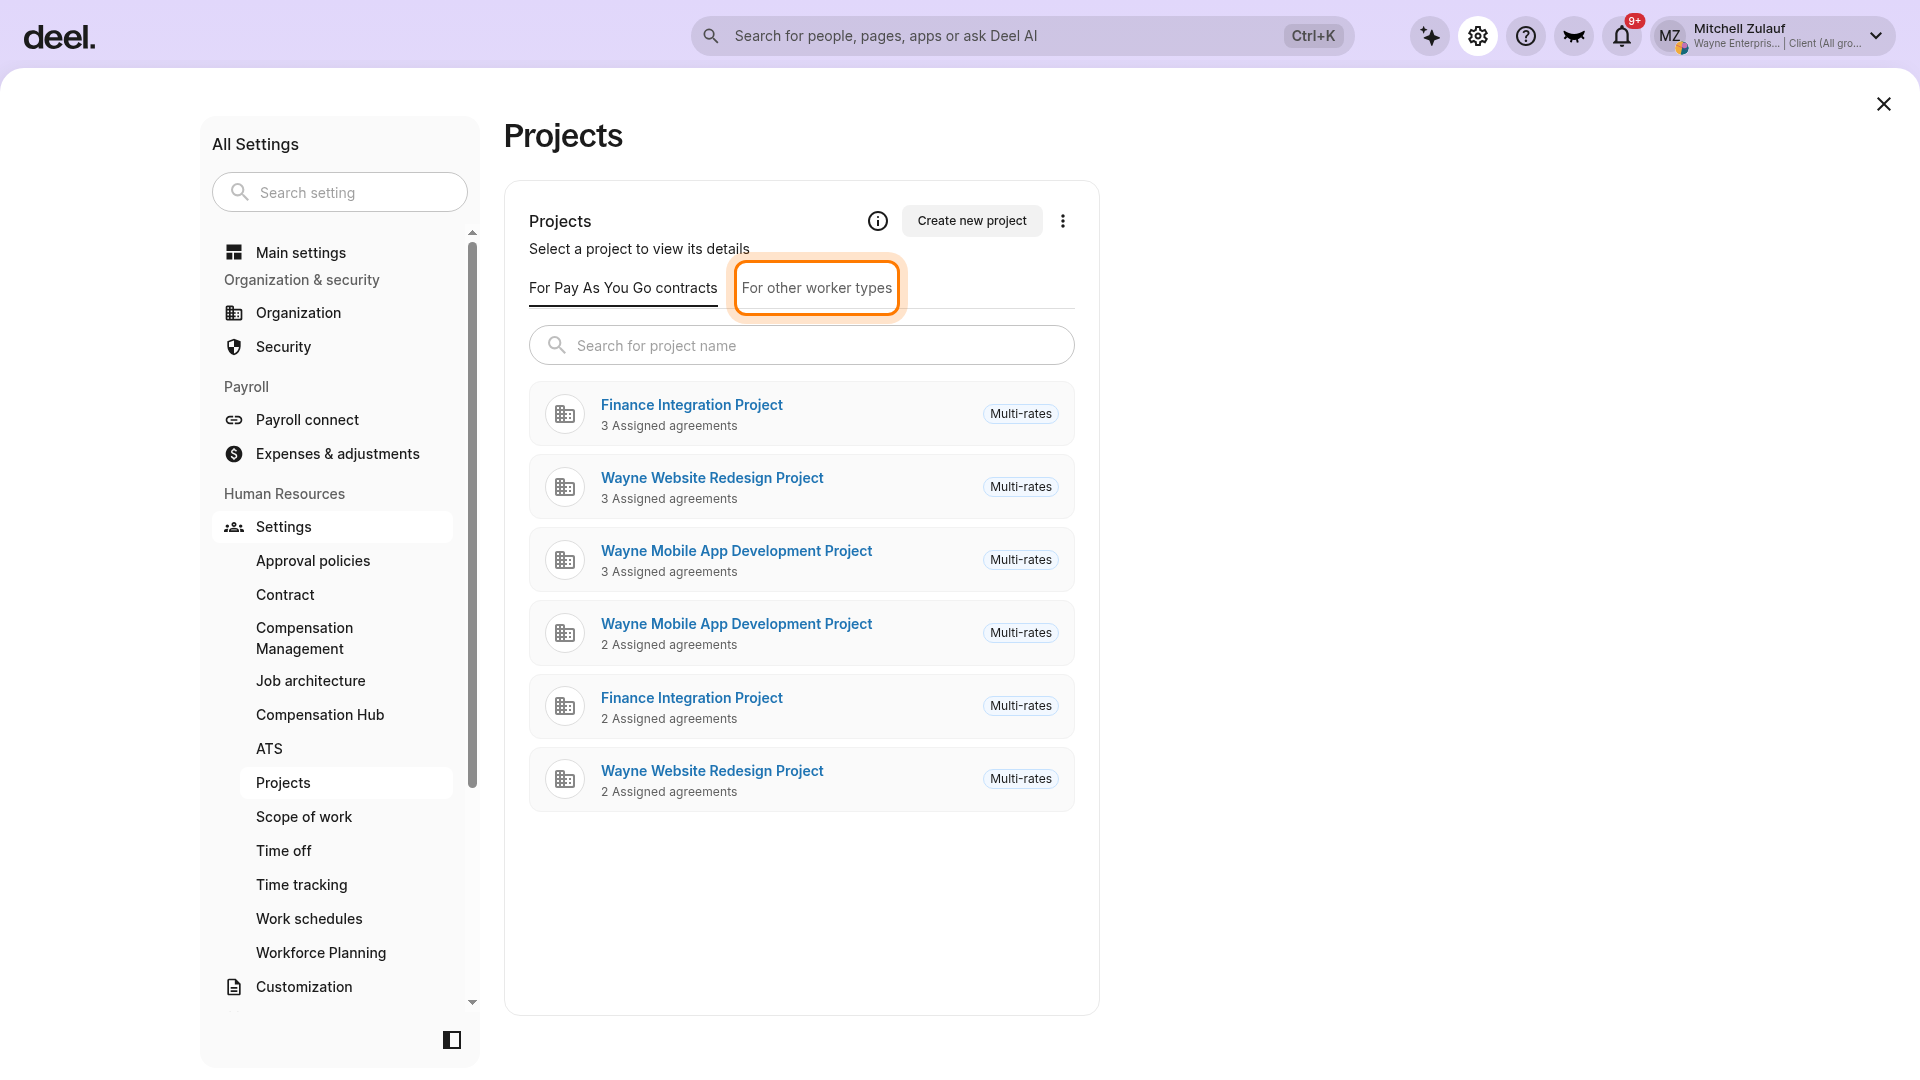
For an employee project, select For other worker types. Do not select a project from the current list, because that opens its details instead of changing the worker-type view. Wait briefly for the tab content to refresh.
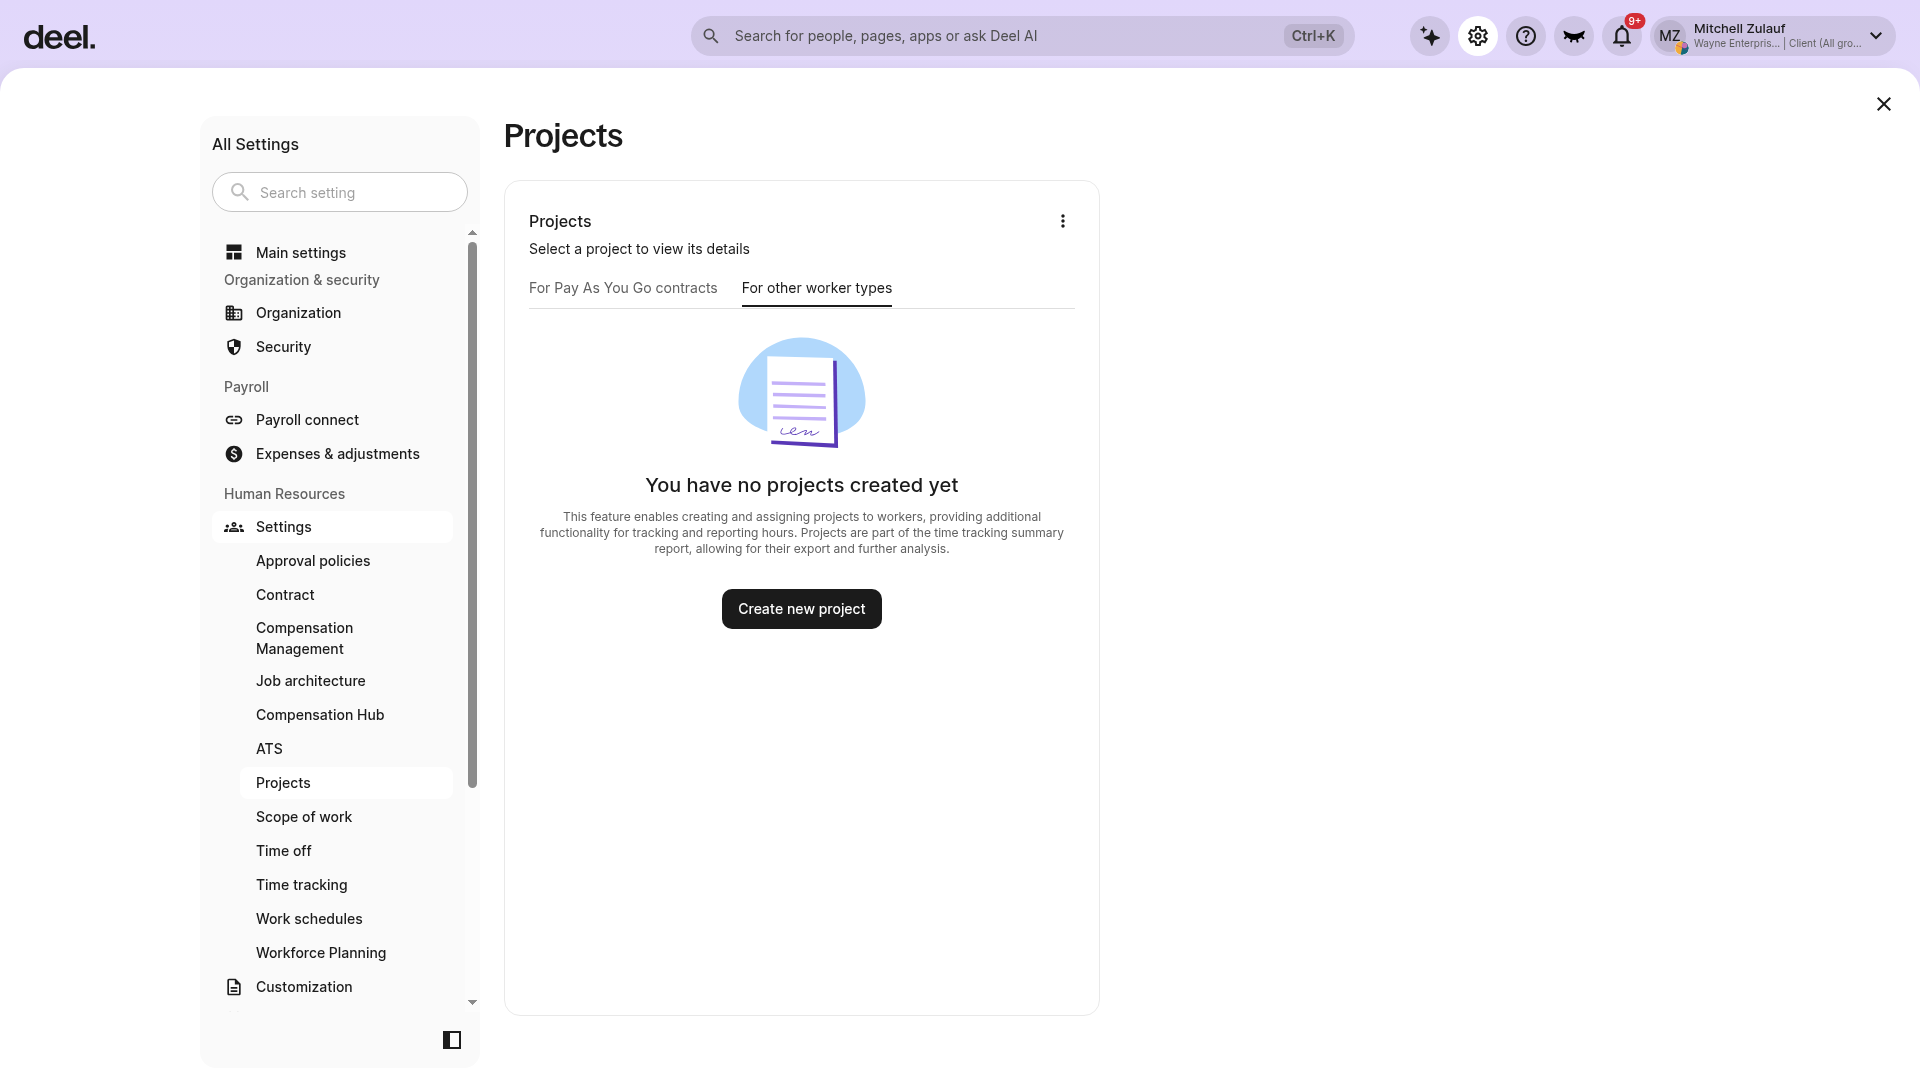
Confirm that For other worker types is active and underlined. If no projects exist for these worker types, the message You have no projects created yet and a Create new project button appear.
Select Create new project, then enter the project details and choose the Project Assignment Type. Project assignment for reporting reasons is available for all worker types. Project assignment with multiple rates is available only for PAYG contractors.
✅ Step 3 - Assign workers to the project
Assign individual workers or use a worker group to assign the project to multiple workers at once.
Review the project details and assigned workers, then submit the project.
Once created, the project becomes available for workers to select when logging shifts. When the project is used for time tracking, logged hours are captured against that project in reporting.
Editing Multirate Projects
Only applicable to PAYG contracts.
Clients can edit an existing multirate project from Organization Settings > Projects > Pay As You Go and selecting the multirate project.
Select For Pay As You Go contracts if it is not already active, then select a project marked Multi-rates. The project details open in a panel on the right. Use the Search for project name field if needed to locate the project.
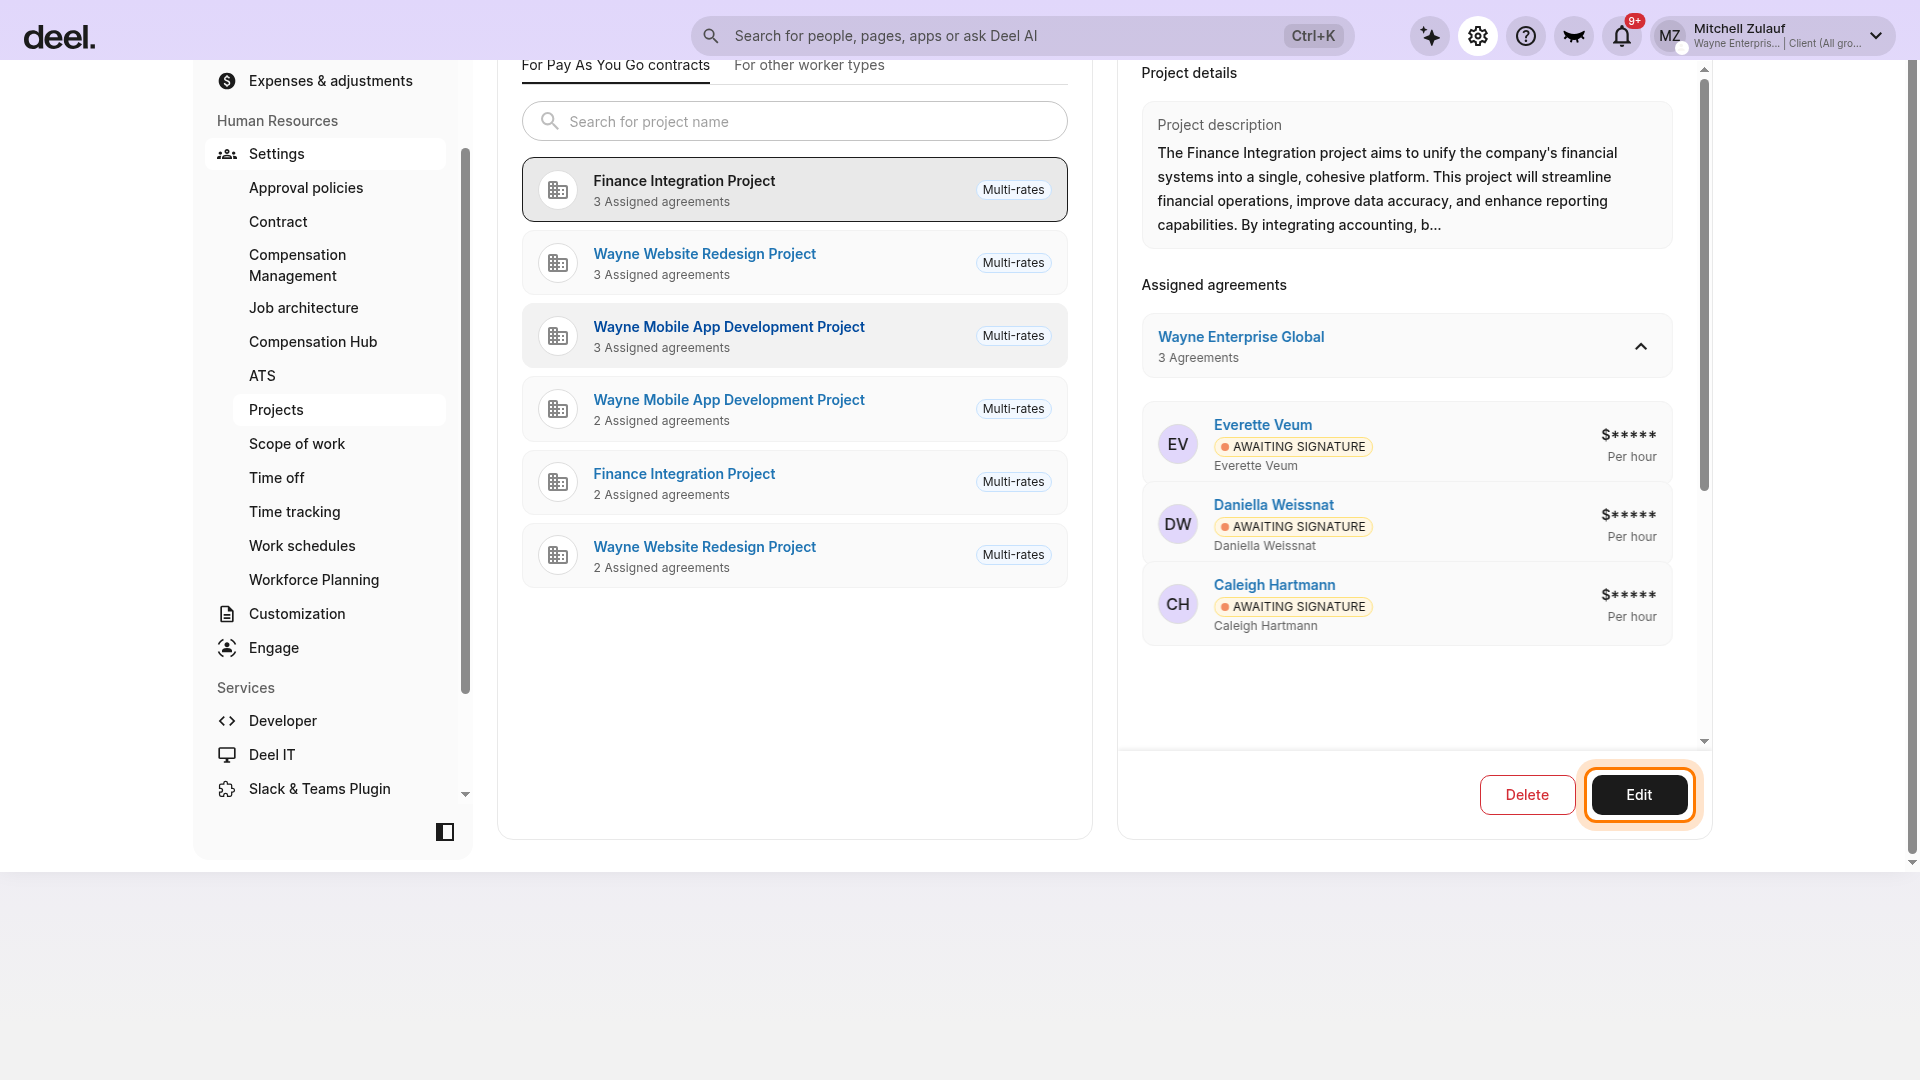
In the details panel, select Edit. If an amendment warning appears, review it and select OK. The warning explains that changing project details creates a contract edit request that requires signatures from both the client and contractor.
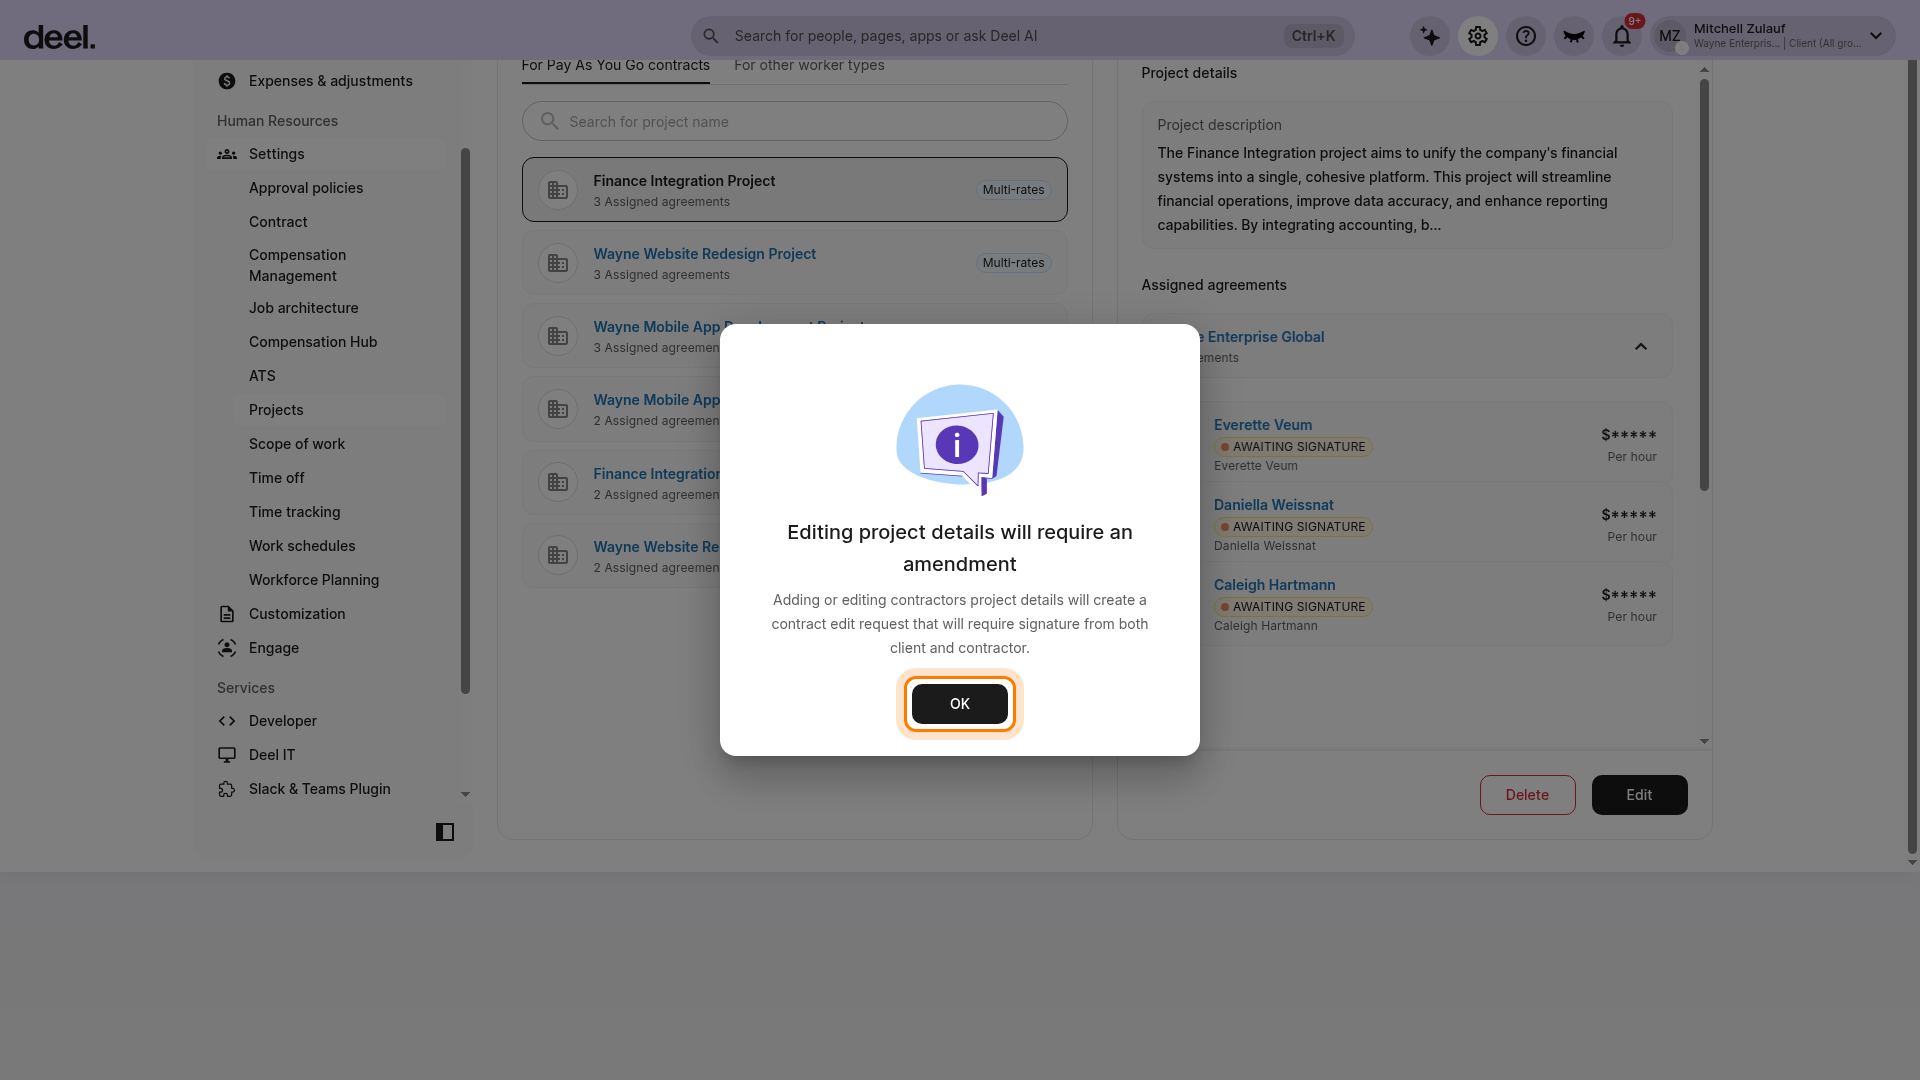
If Edit project opens directly, no confirmation is needed. Verify that the page heading reads Edit project and that Details and assignment type is the active first step before continuing.
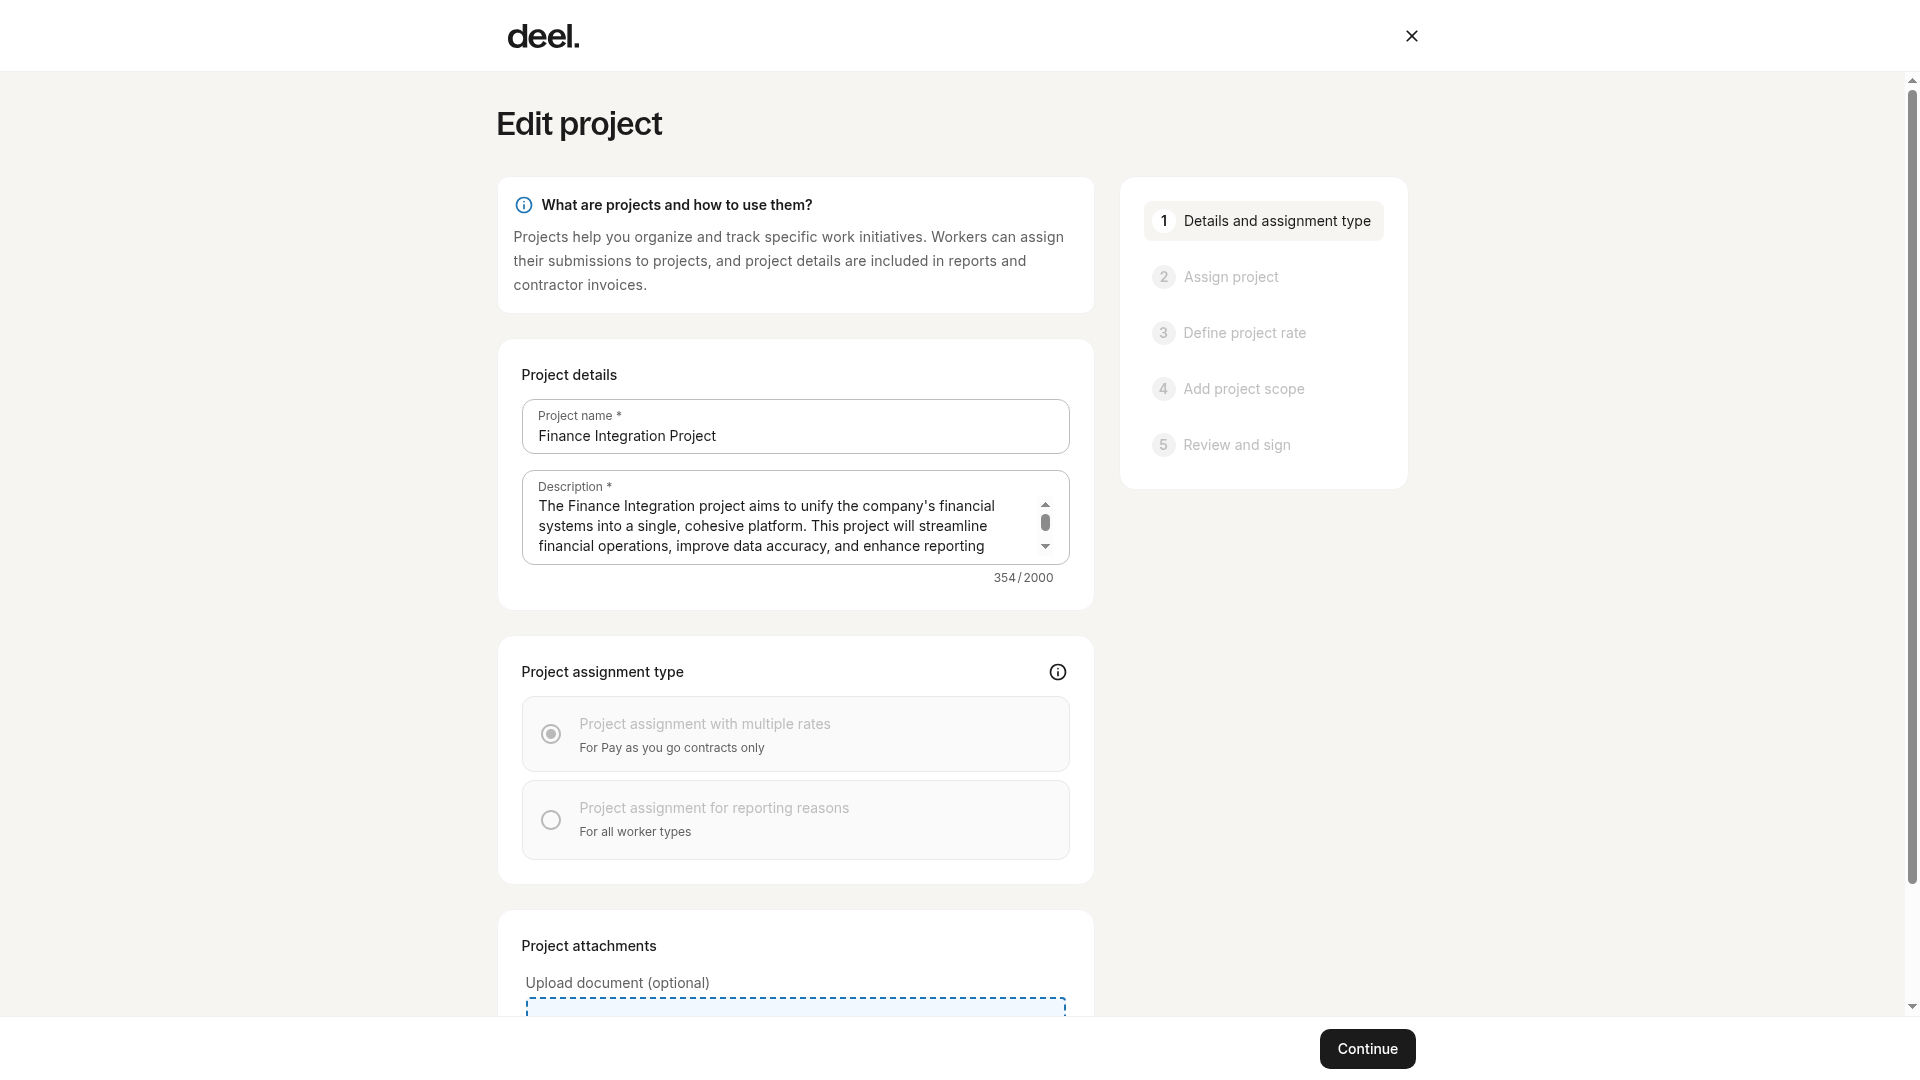
The editing flow follows similar steps to project creation, with some additional rules:
Project Details
- Project name can be edited. This will trigger an amendment and require both the contractor’s and client’s signatures.
- Description can be edited without triggering an amendment.
Assign People
- All currently assigned people are pre-selected, including those not yet assigned.
- Clients can remove or add people to the project, or continue without changes.
Rates
- If a worker already has a rate, it will be pre-filled.
- Clients can modify existing rates or add new ones.
Scope
- Scope is pre-filled from the project creation.
- If the scope is the same for all workers, the values will carry over automatically.
- If scopes differ by worker, opening Set contractors’ project scope separately will display each worker’s previous values.
Frequently Asked Questions
[ACCORDION] How do I verify worker hour details related to a project?
To review project-based hours, open the Time Tracking Report in Analytics.
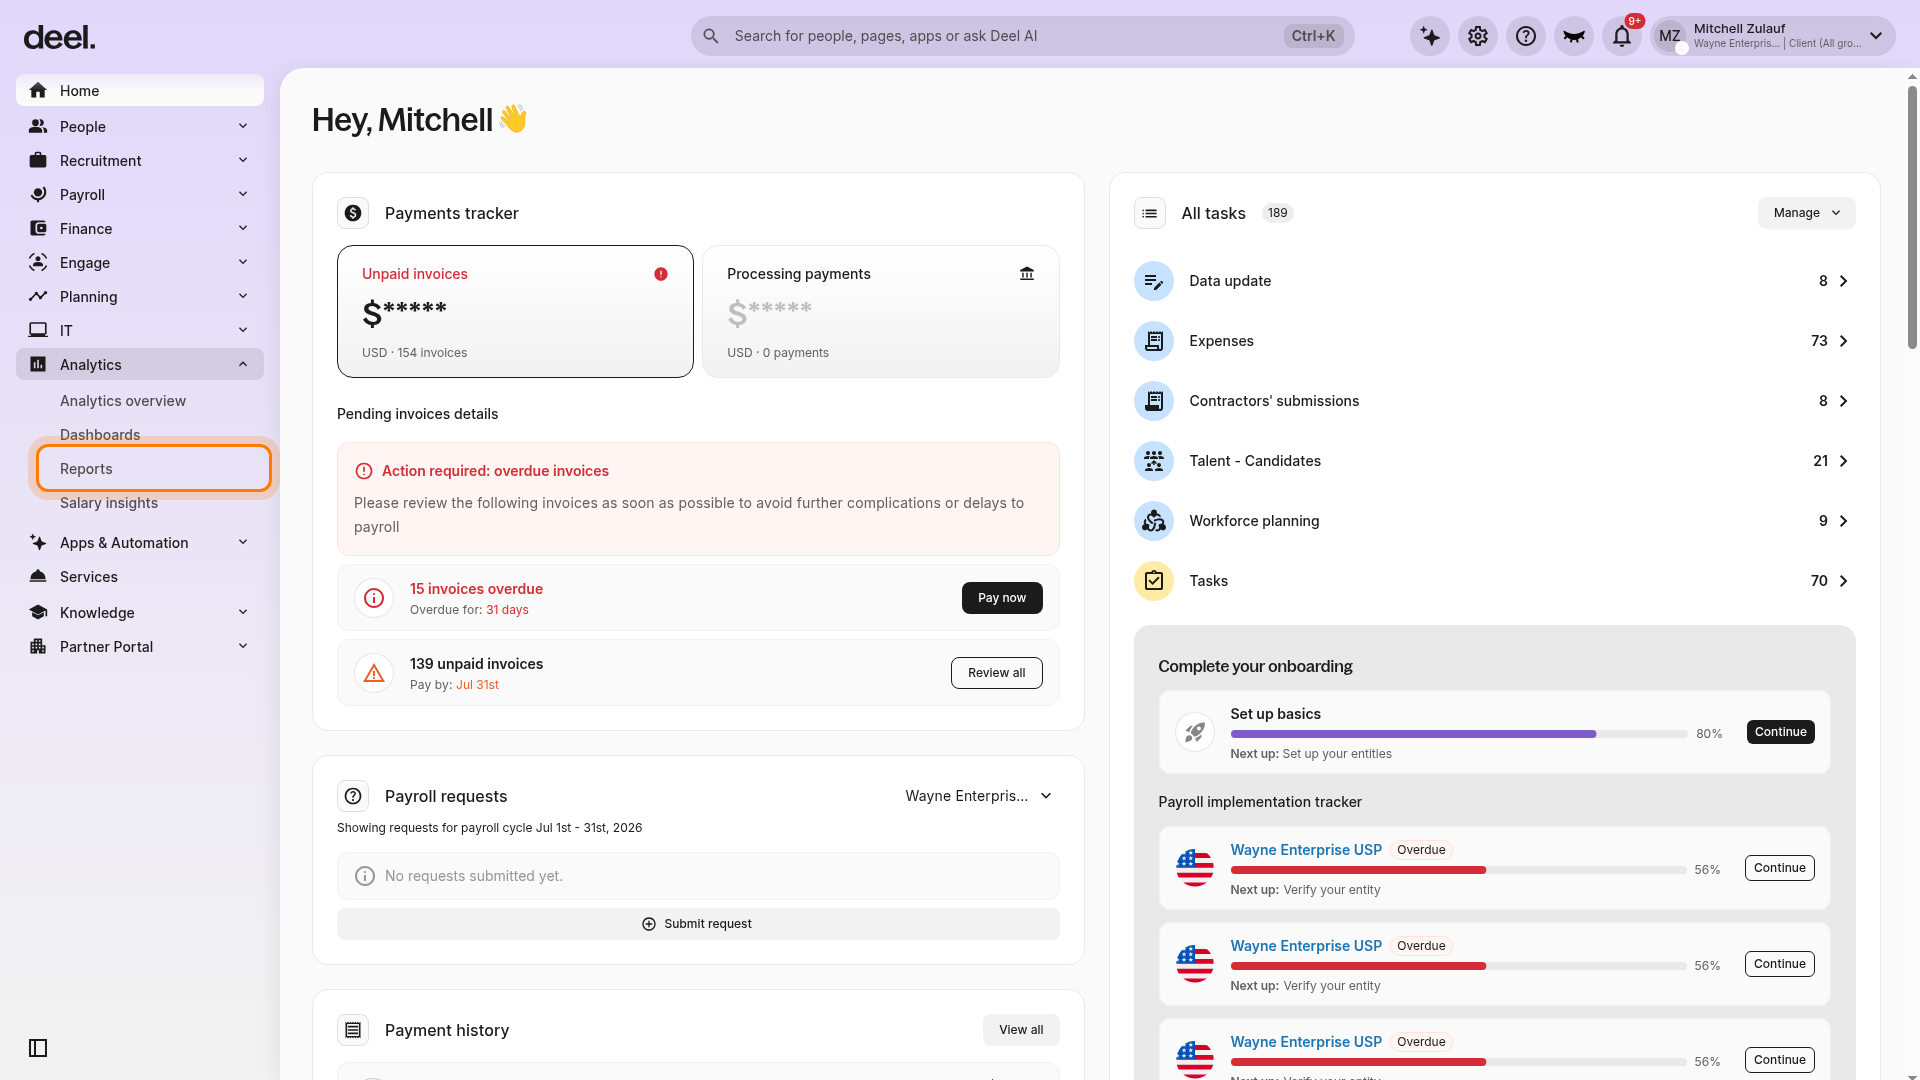
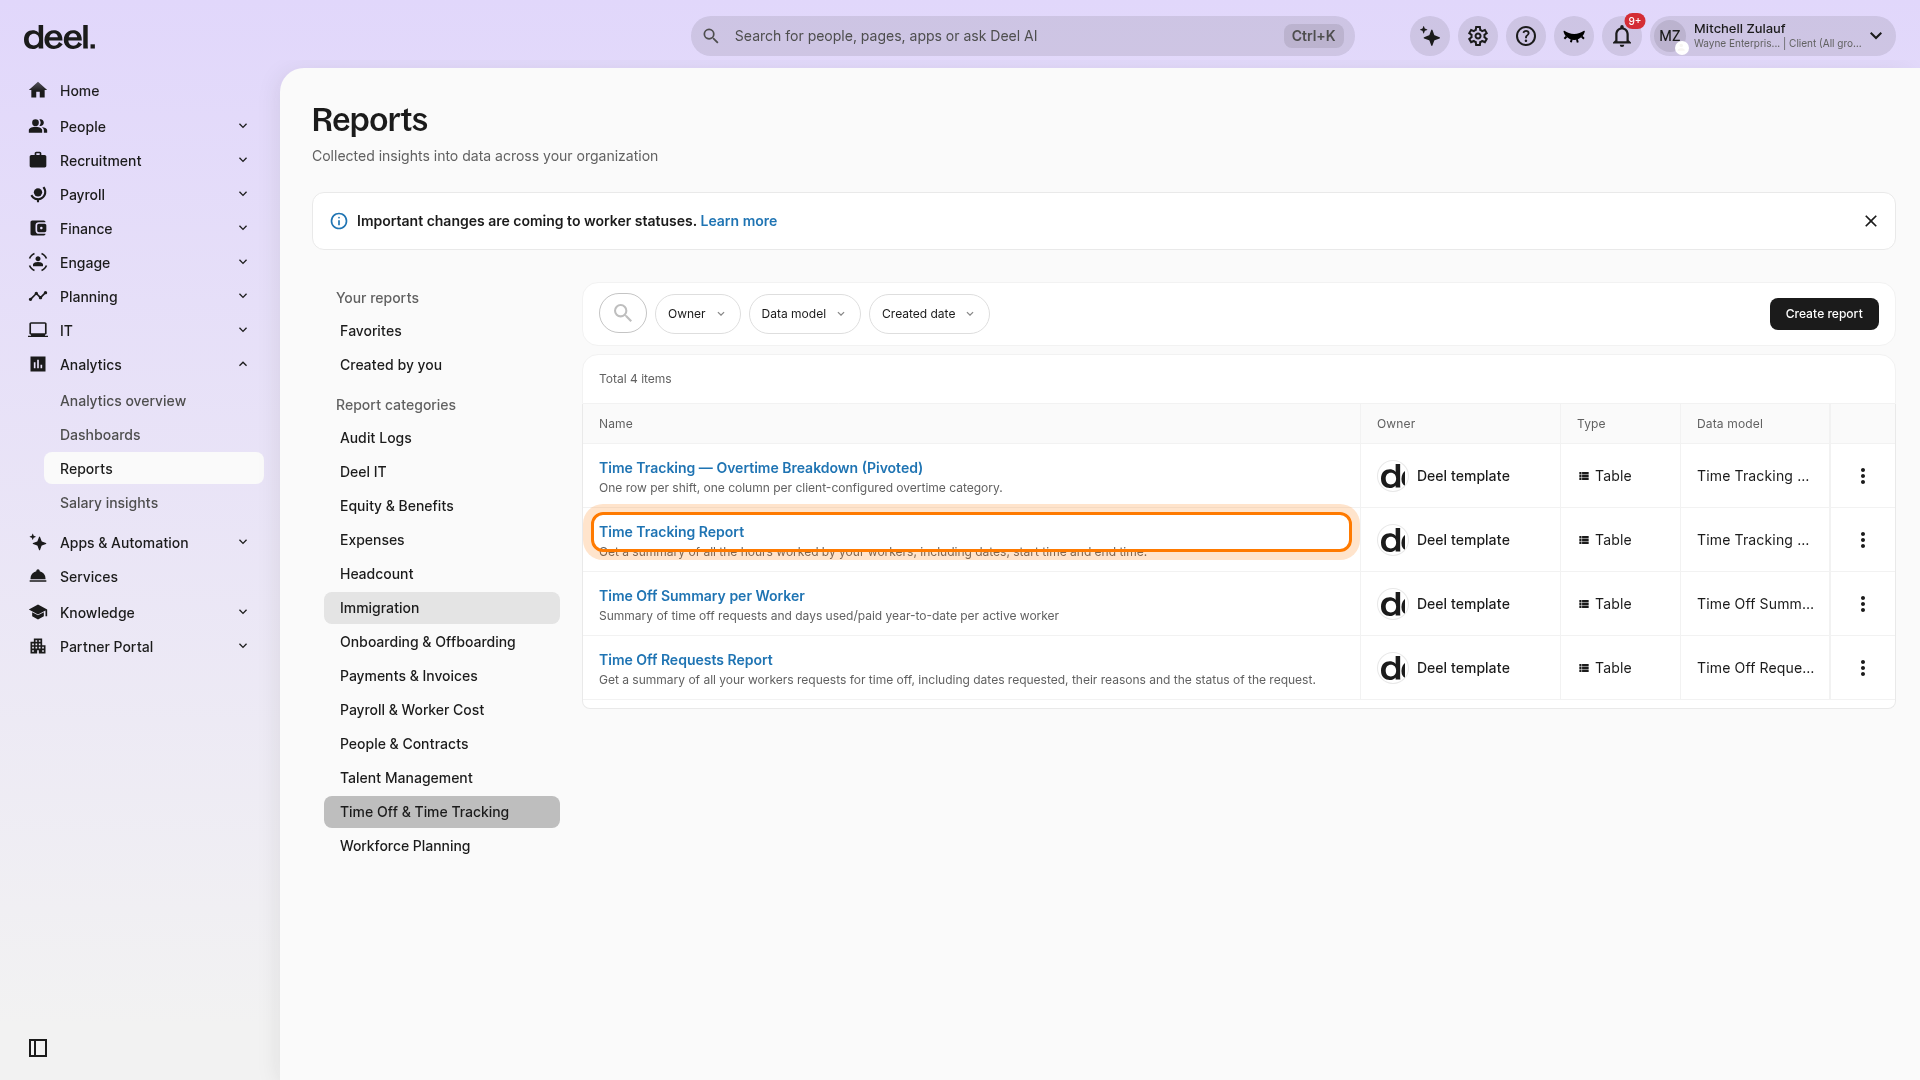
In the left sidebar, select Analytics to expand its sub-items, then select Reports.
On the Reports page, select Time Off & Time Tracking under Report categories.
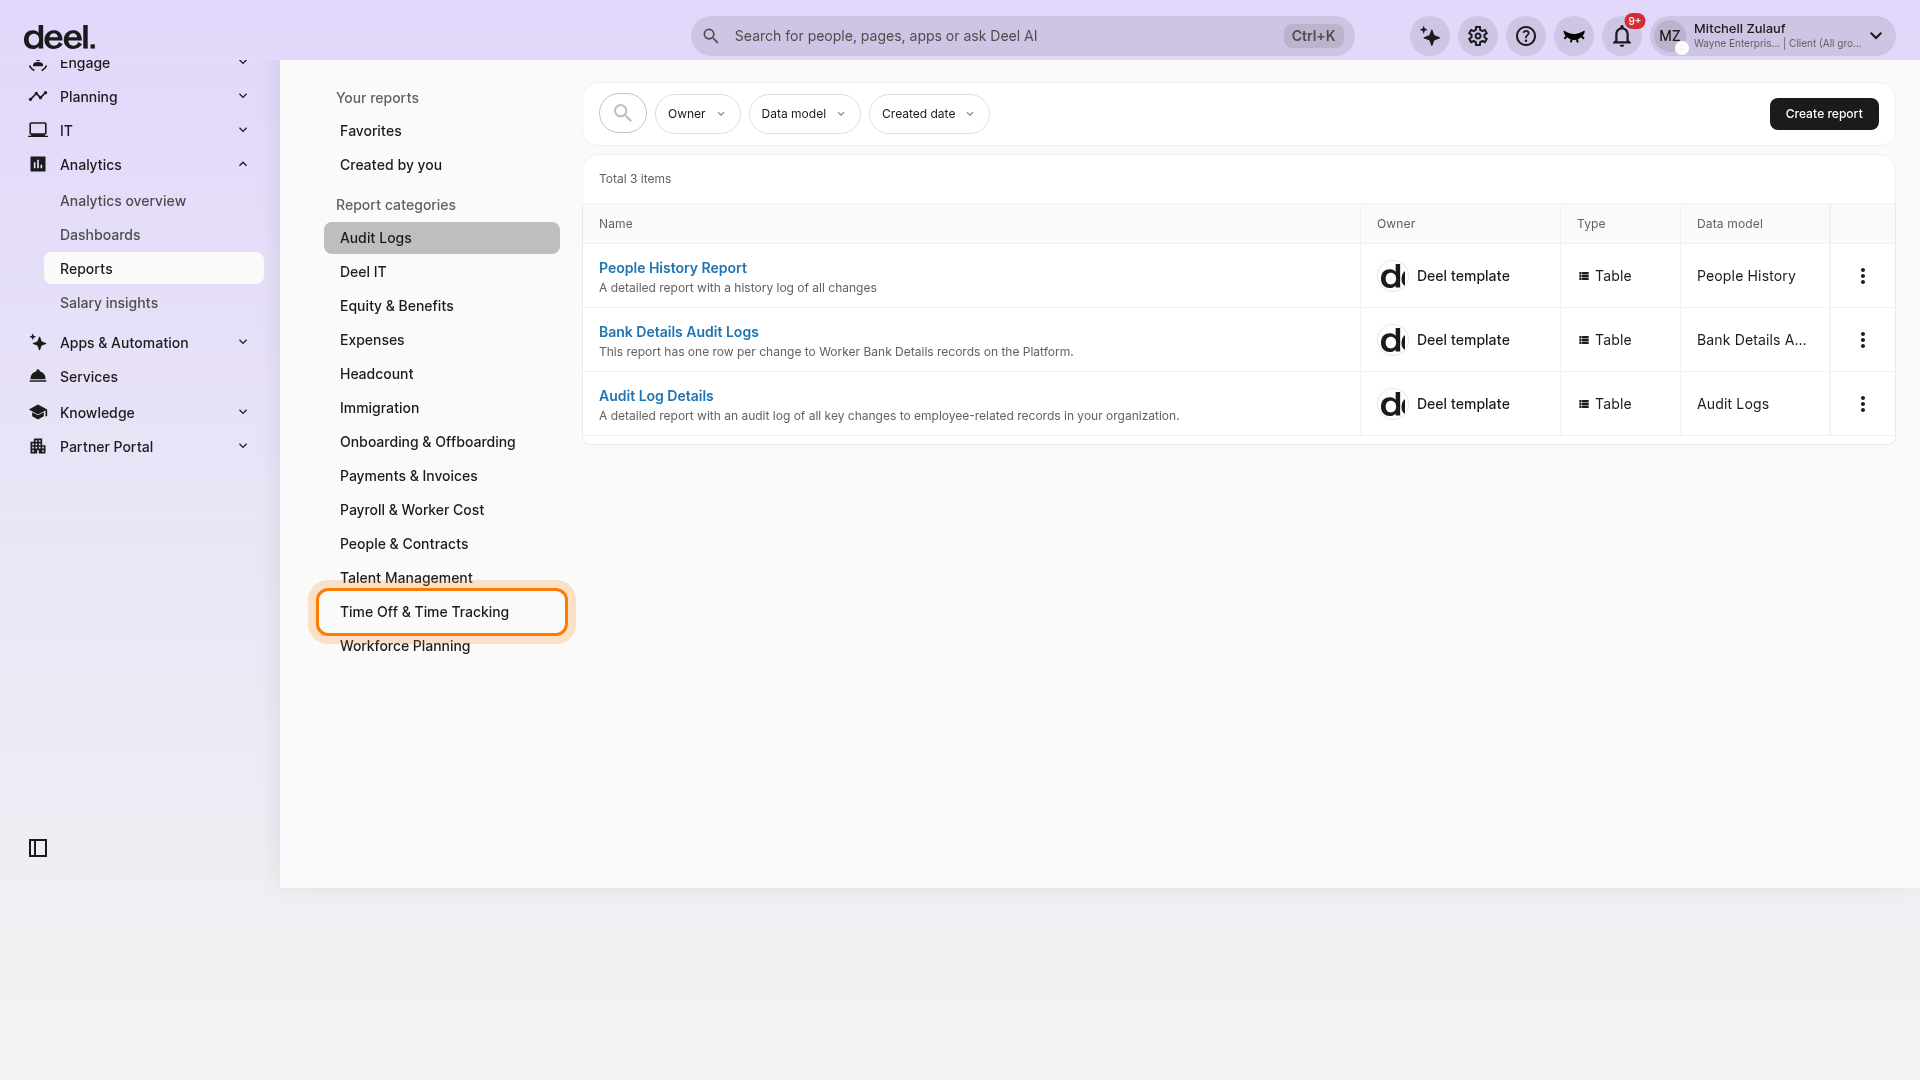
Select Time Tracking Report in the filtered list. Selecting the report title opens it.
Confirm that the report header reads Time Tracking Report. Use Filters and the table fields as needed, then select Run to load results. The report can be saved and exported for further analysis.
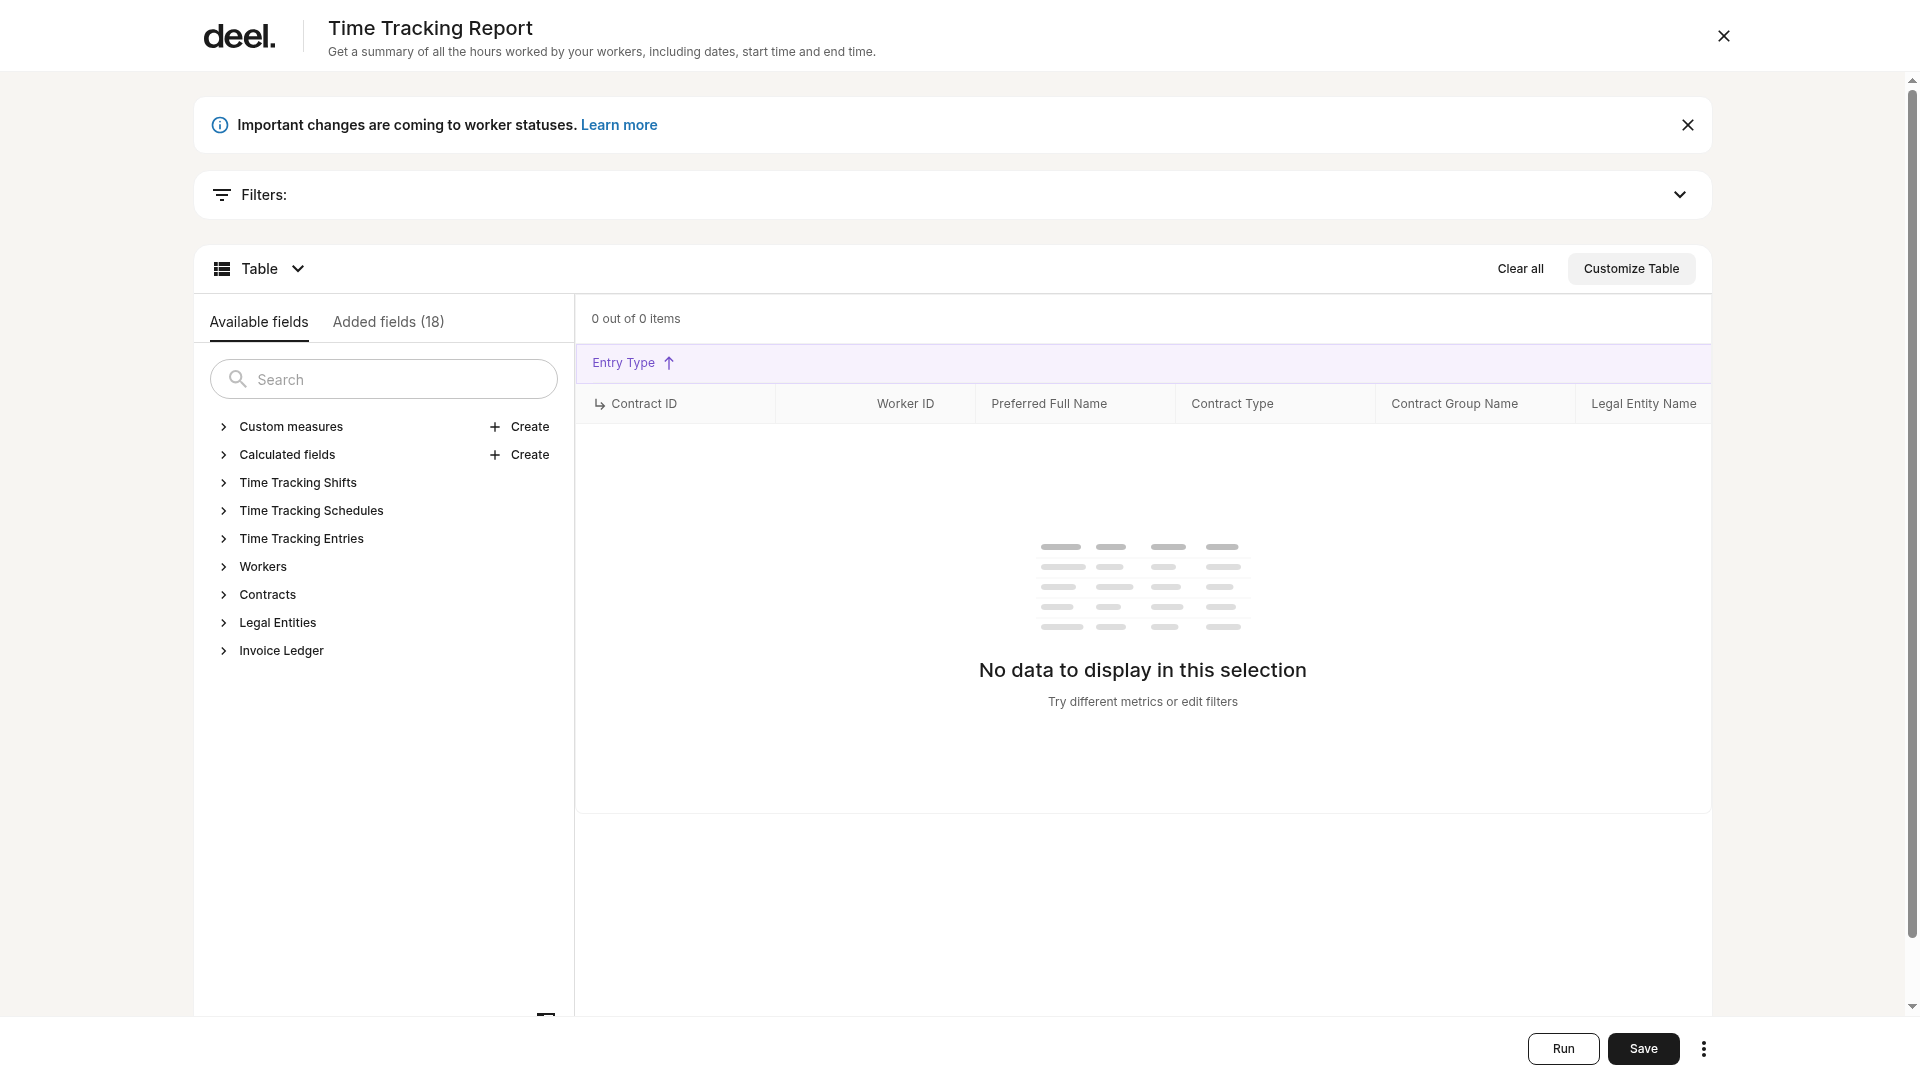
An empty state such as No data to display in this selection means the report opened successfully but no data matches the current filters or fields.