This article explains how clients can easily hire a new employee with Deel HRIS, in just a few clicks.
If you are importing a large number of Deel HRIS Direct Employees onto Deel, you can use our Mass Import feature.
How To Create A Deel HR Employee Contract
Step 1 – Create a new contract
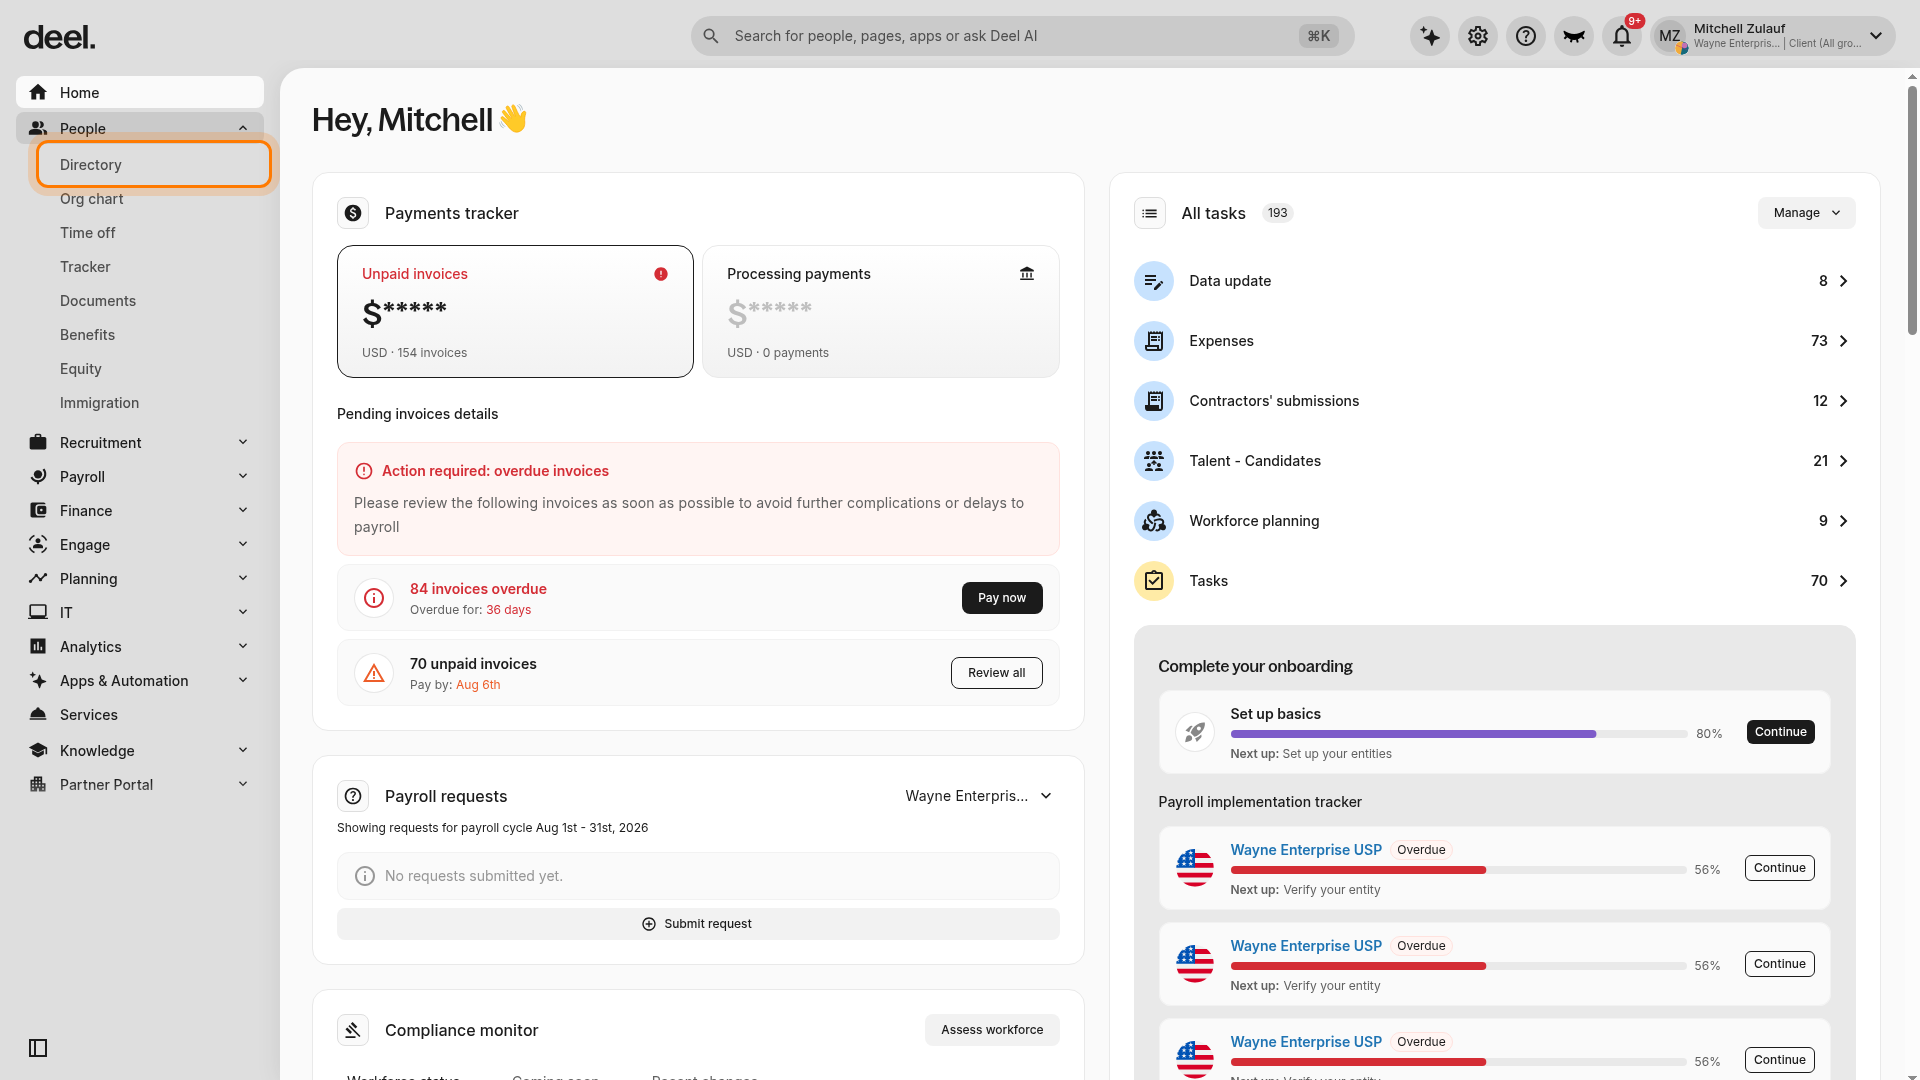
In the left sidebar, select People to expand its submenu, then select Directory.
On the Directory page, select Add people and start creating a new contract.
For a Deel HRIS employee, select Employee, then select Direct Employee on the following screen.
You will manage your worker on Deel, and export a payroll report to your own separate payroll provider.
If you are importing a large group of workers, select the Mass Import option.
Step 2 – Enter employee details
- Provide the new hire's team information, personal details, and contract location.
- If organization structures are configured for your organization, assign the worker to an organization structure and configure worker relationships if applicable.
Caution: Confirm the country is correct before proceeding — the employment country determines legal obligations and cannot be changed on the platform after contract creation.
Step 3 – Enter job details including the start date
- Select the start date — Deel provides the earliest permitted date based on onboarding requirements and country of employment.
- Enter the job title, seniority level, location, employment type, agreement details, and employment terms.
- Upload an employee agreement, or continue contract creation without entering an employee agreement.

Step 4 – Enter compensation details
- Enter the employee's compensation using the compensation component. The currency is determined by the employment country.
- Add base salary, fixed allowances, and any variable compensation as needed. The component shows a live total annual payment summary that updates in real time as you make changes.
Step 5 – Review contract details and click Finish
Review the contract details and click Finish.
Deel will send an email to the employee so that they can sign up to Deel and complete their onboarding.
Step 6 – Add benefits
- Optionally add leased equipment, co-working memberships, background checks, or equity grants.
- Select the Equipment tab to issue equipment to your direct employee. Using Deel IT, you can rent, send, and manage equipment for workers around the world.
- Select the Coworking tab to add a coworking space with WeWork for your employee.
- You can order a WeWork All Access monthly membership pass for workers to enjoy high-speed internet, unlimited coffee and tea, lounge areas, printers, and scanners/copiers.
Step 7 – Edit a direct employee contract
To view or update an employee's role and compensation details after the contract has been created, you need permission to view worker profiles and compensation information.
- In the left sidebar, select People to expand its submenu, then select Directory.
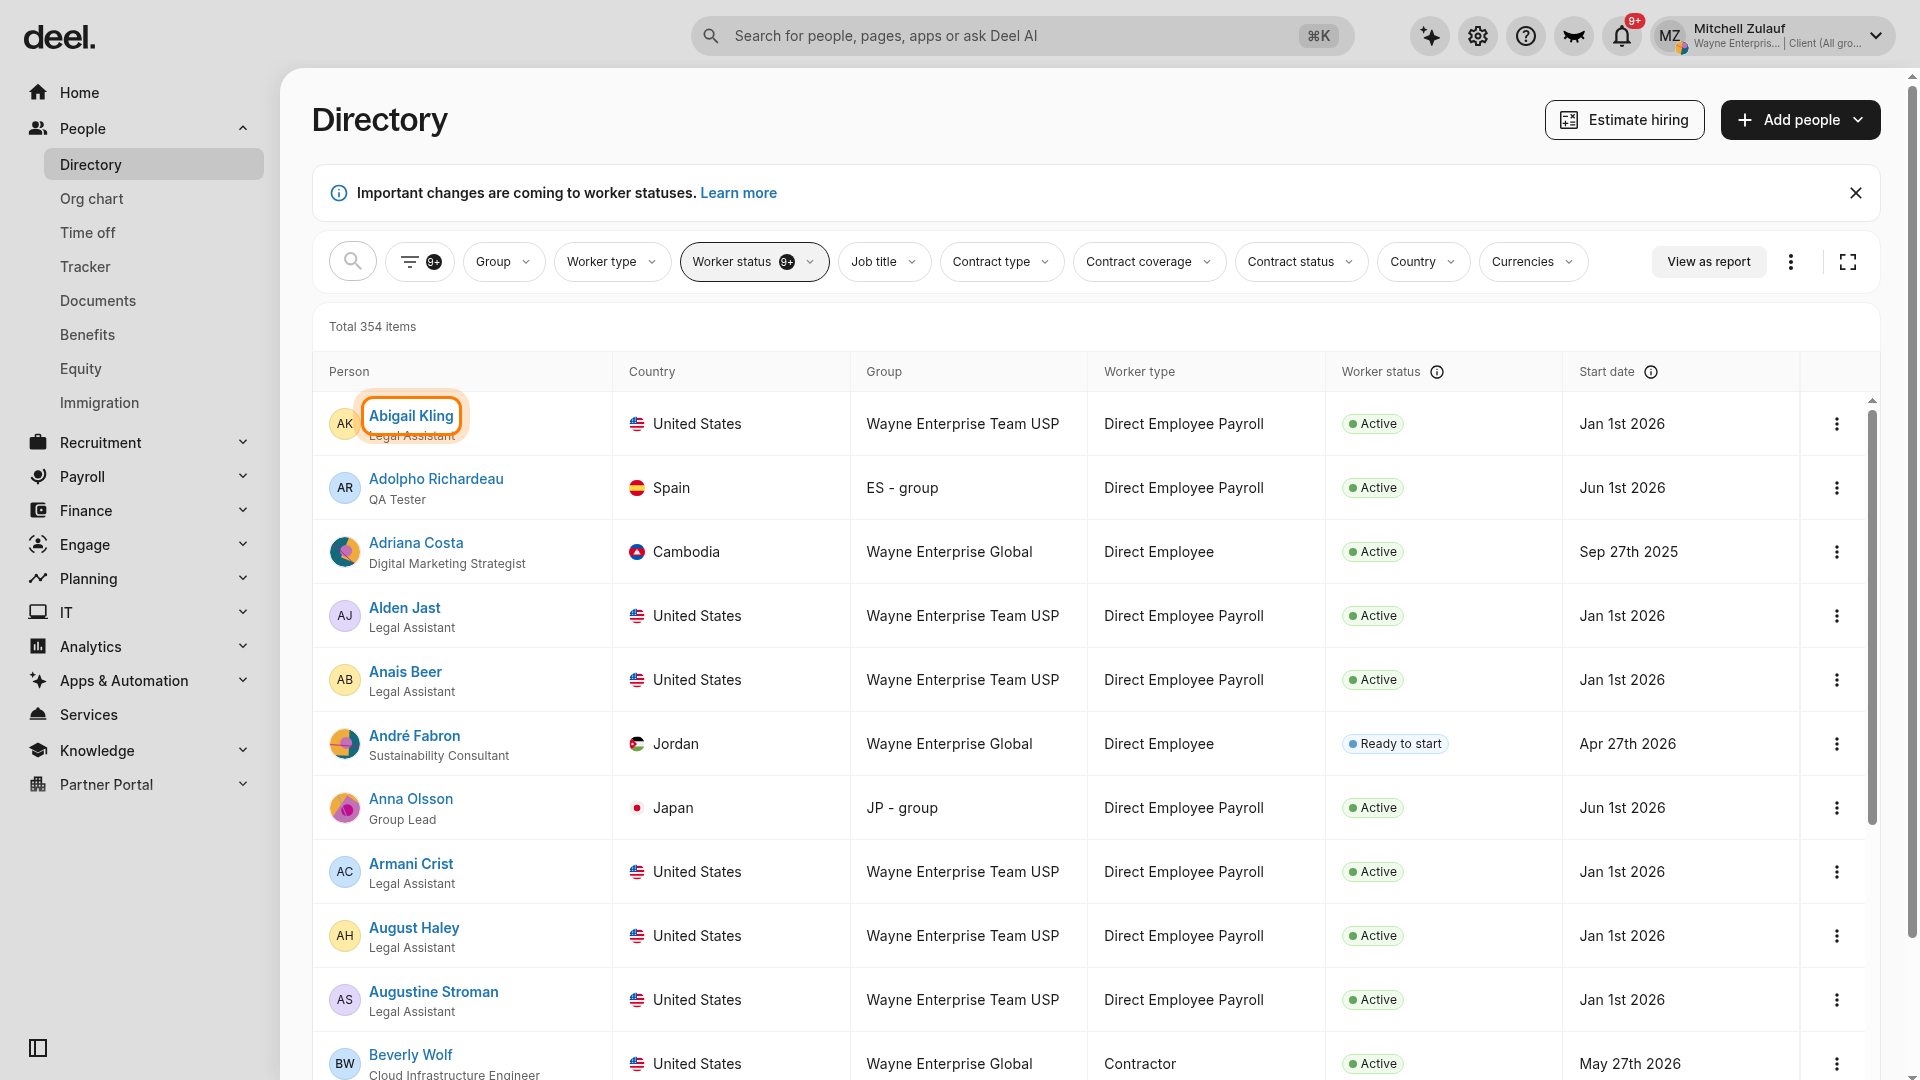
- In the Directory, select the employee's name. Use the available filters if needed to find the correct worker.
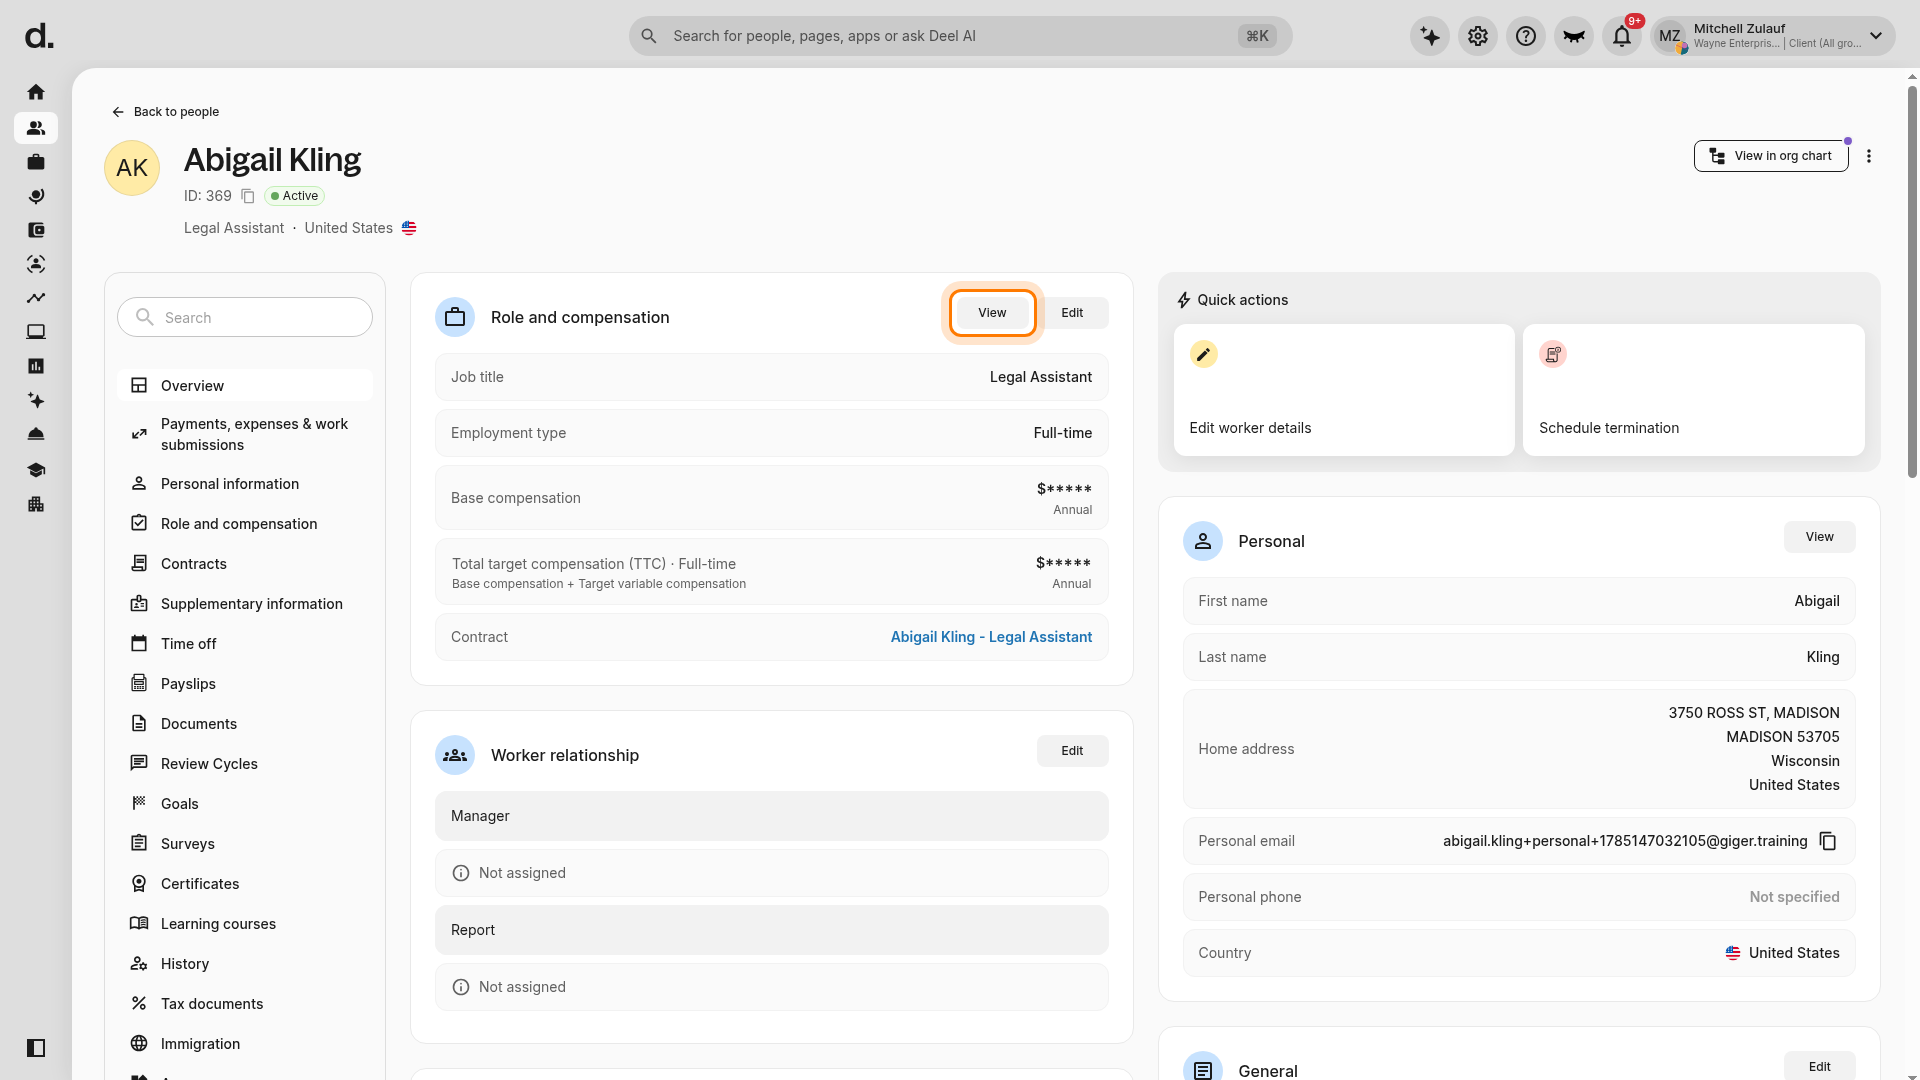
- On the worker profile, locate the Role and compensation card. It summarizes information such as job title, employment type, base compensation, and total target compensation (TTC). Select View.
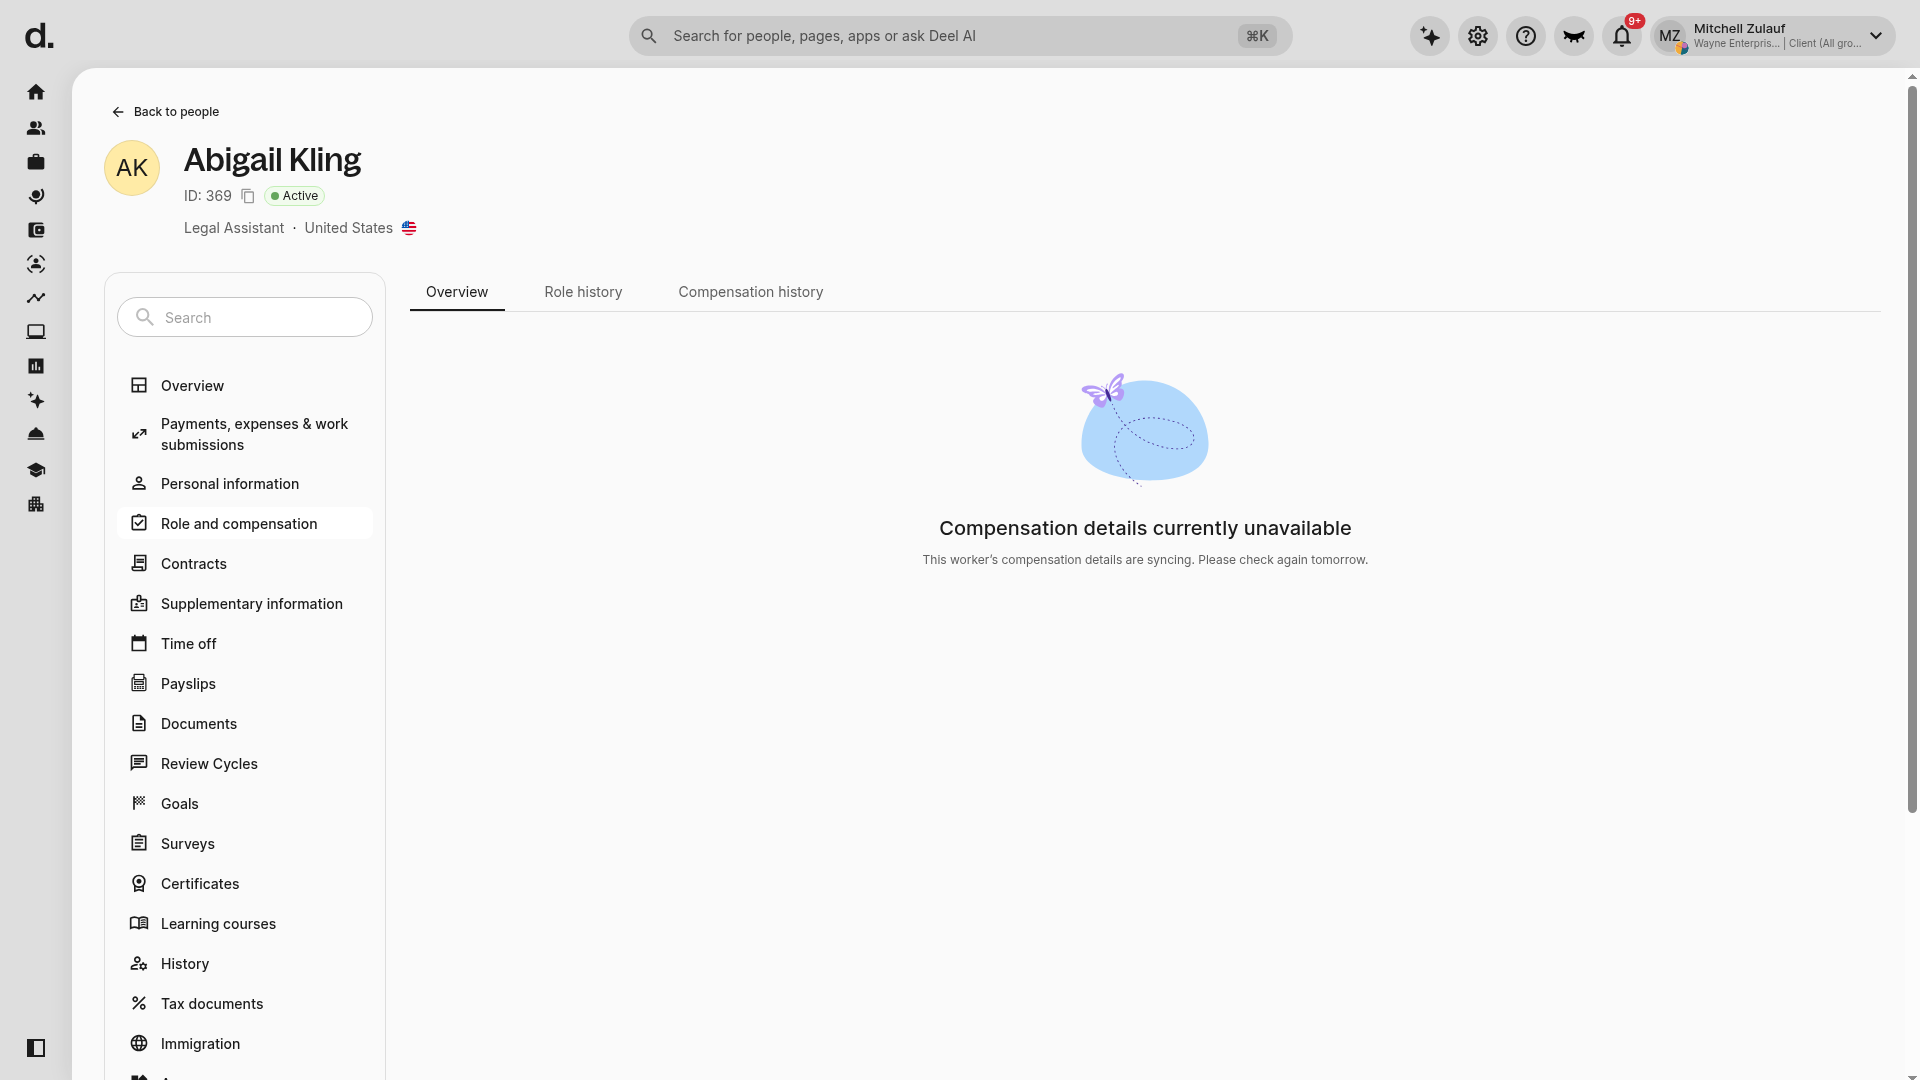
- Review the worker's Overview, Role history, and Compensation history. Edit the applicable compensation details as needed. Updates are tracked in the change log.
Note: If your organization requires approval for HRIS contract amendments, the contract becomes read-only while approval is pending. It becomes editable again if the amendment is rejected.
Troubleshooting
| Problem | Did you try? | How to fix |
|---|---|---|
| Compensation details are currently unavailable | Returning to the worker's Role and compensation area and selecting View again | If Deel displays Compensation details currently unavailable and states that the worker's compensation details are syncing, wait until the next day and try again. If the message remains after the stated waiting period, contact the team that manages your Deel worker and compensation data. |