
This article guides clients on setting up employment verification letters for their workers.
Employment verification letters help your workers prove their income, contracting status, and job title for personal purposes.
✅ Step 1 – Open Contract settings
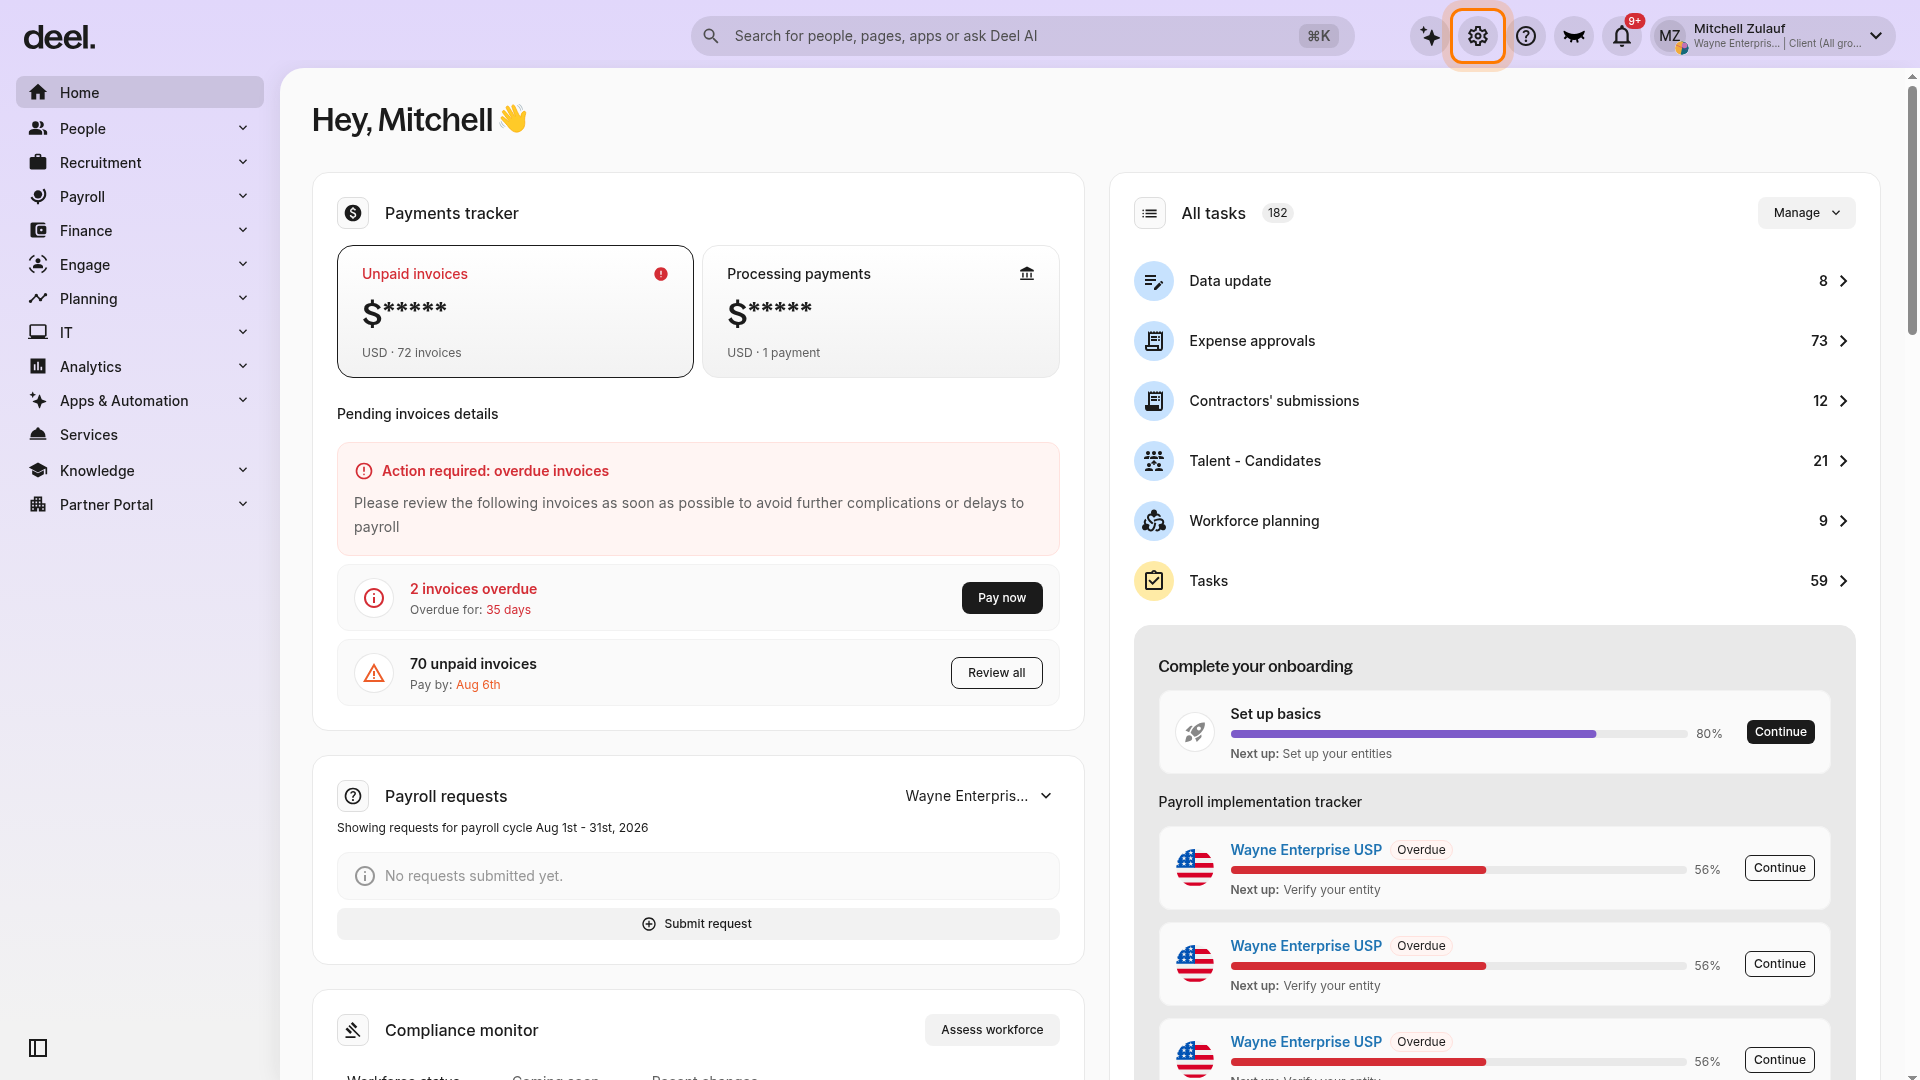
- Select the Organization settings gear icon in the top-right corner of the page.
- The All Settings panel opens.
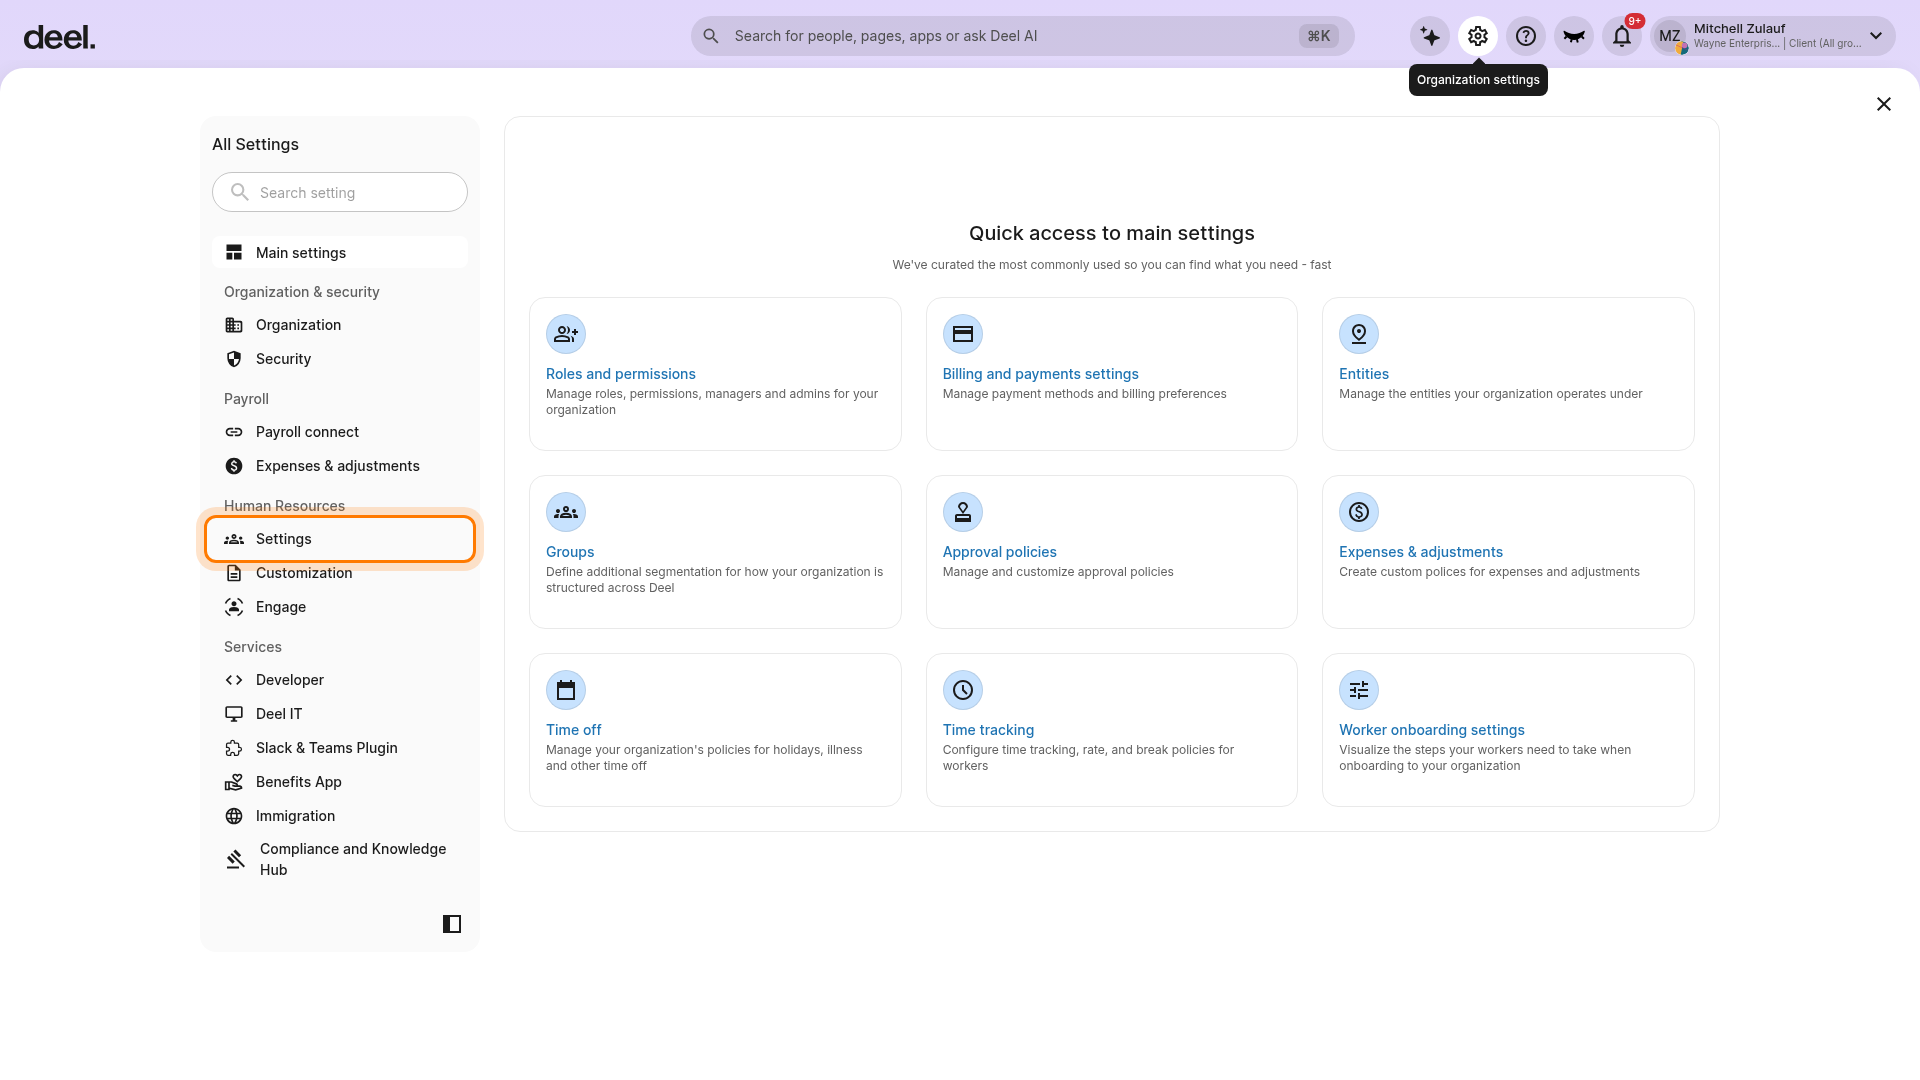
- In the left side of the All Settings panel, under Human Resources, select Settings.
- Selecting Settings expands its list of Human Resources setting pages. Confirm that indented sub-items appear beneath Settings.
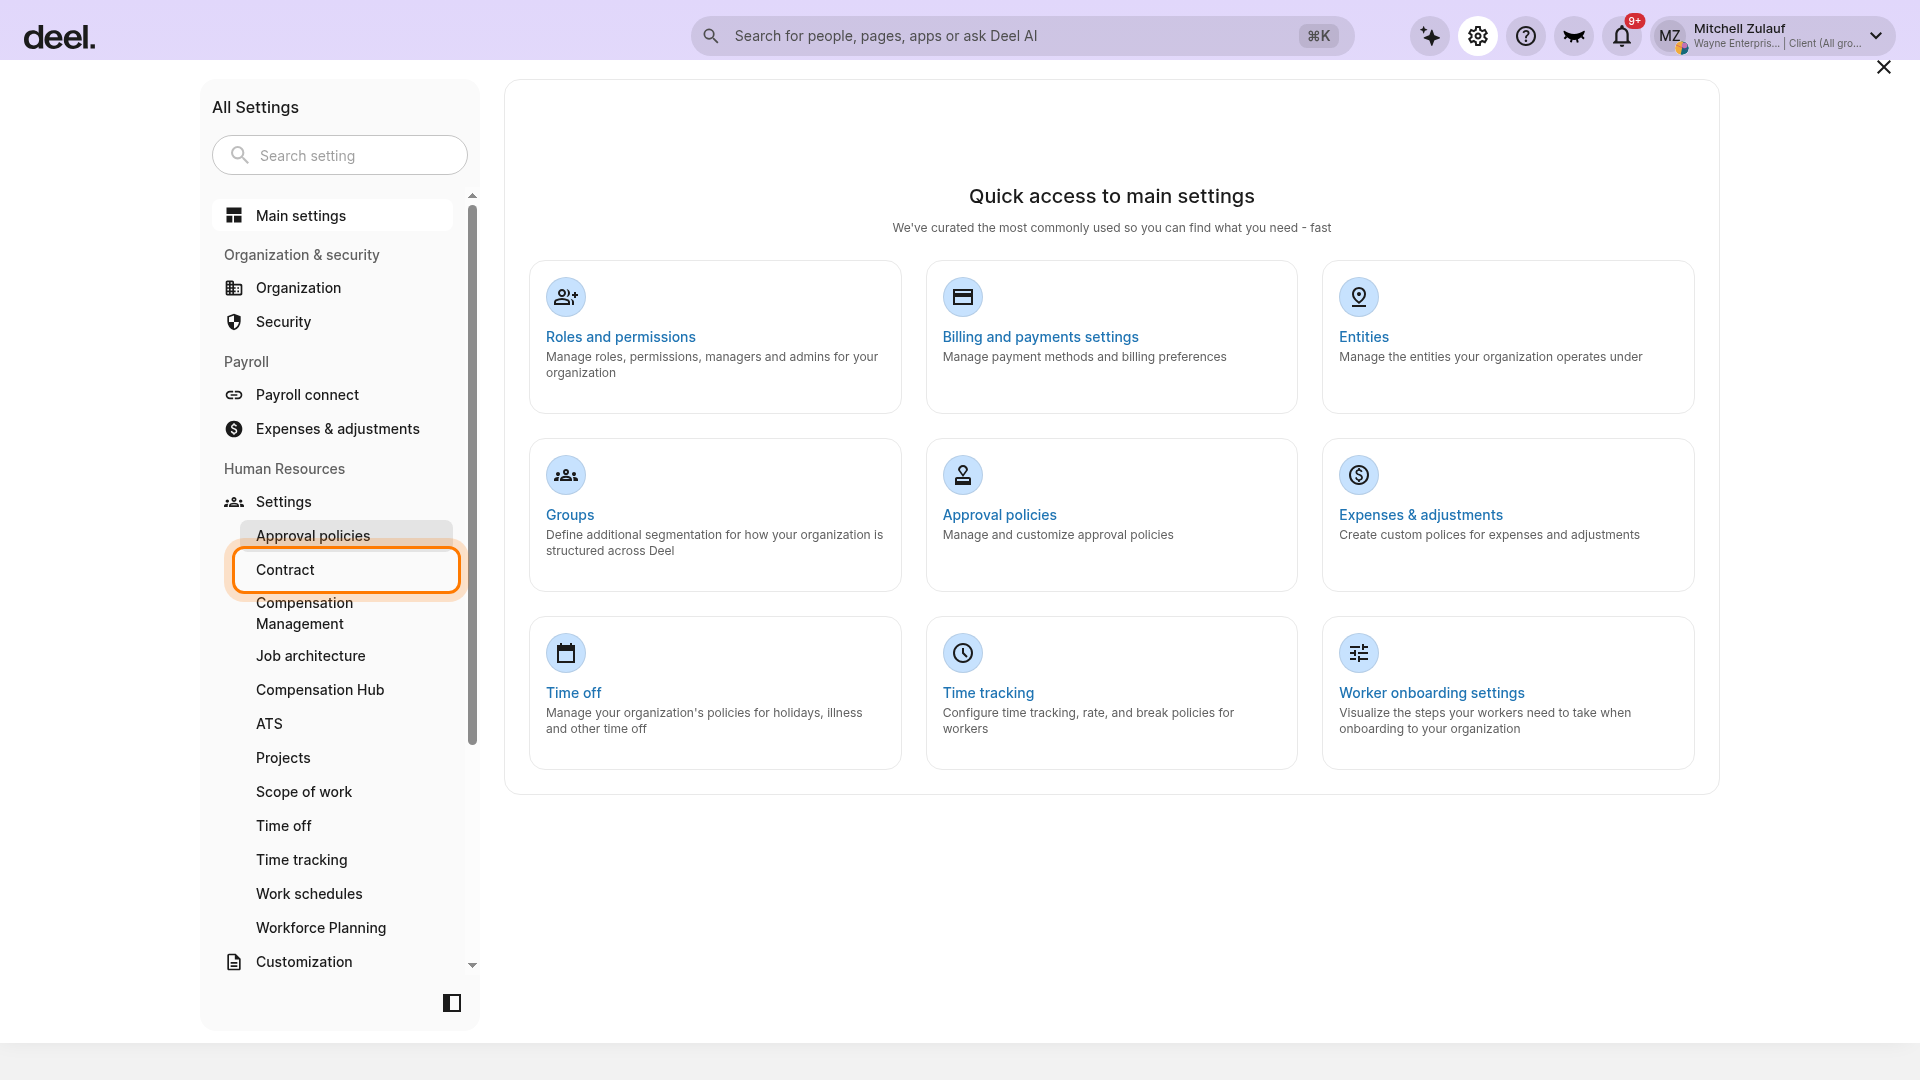
- Select Contract from the expanded Settings list.
- If Contract is not visible, scroll within the left settings panel until it appears.
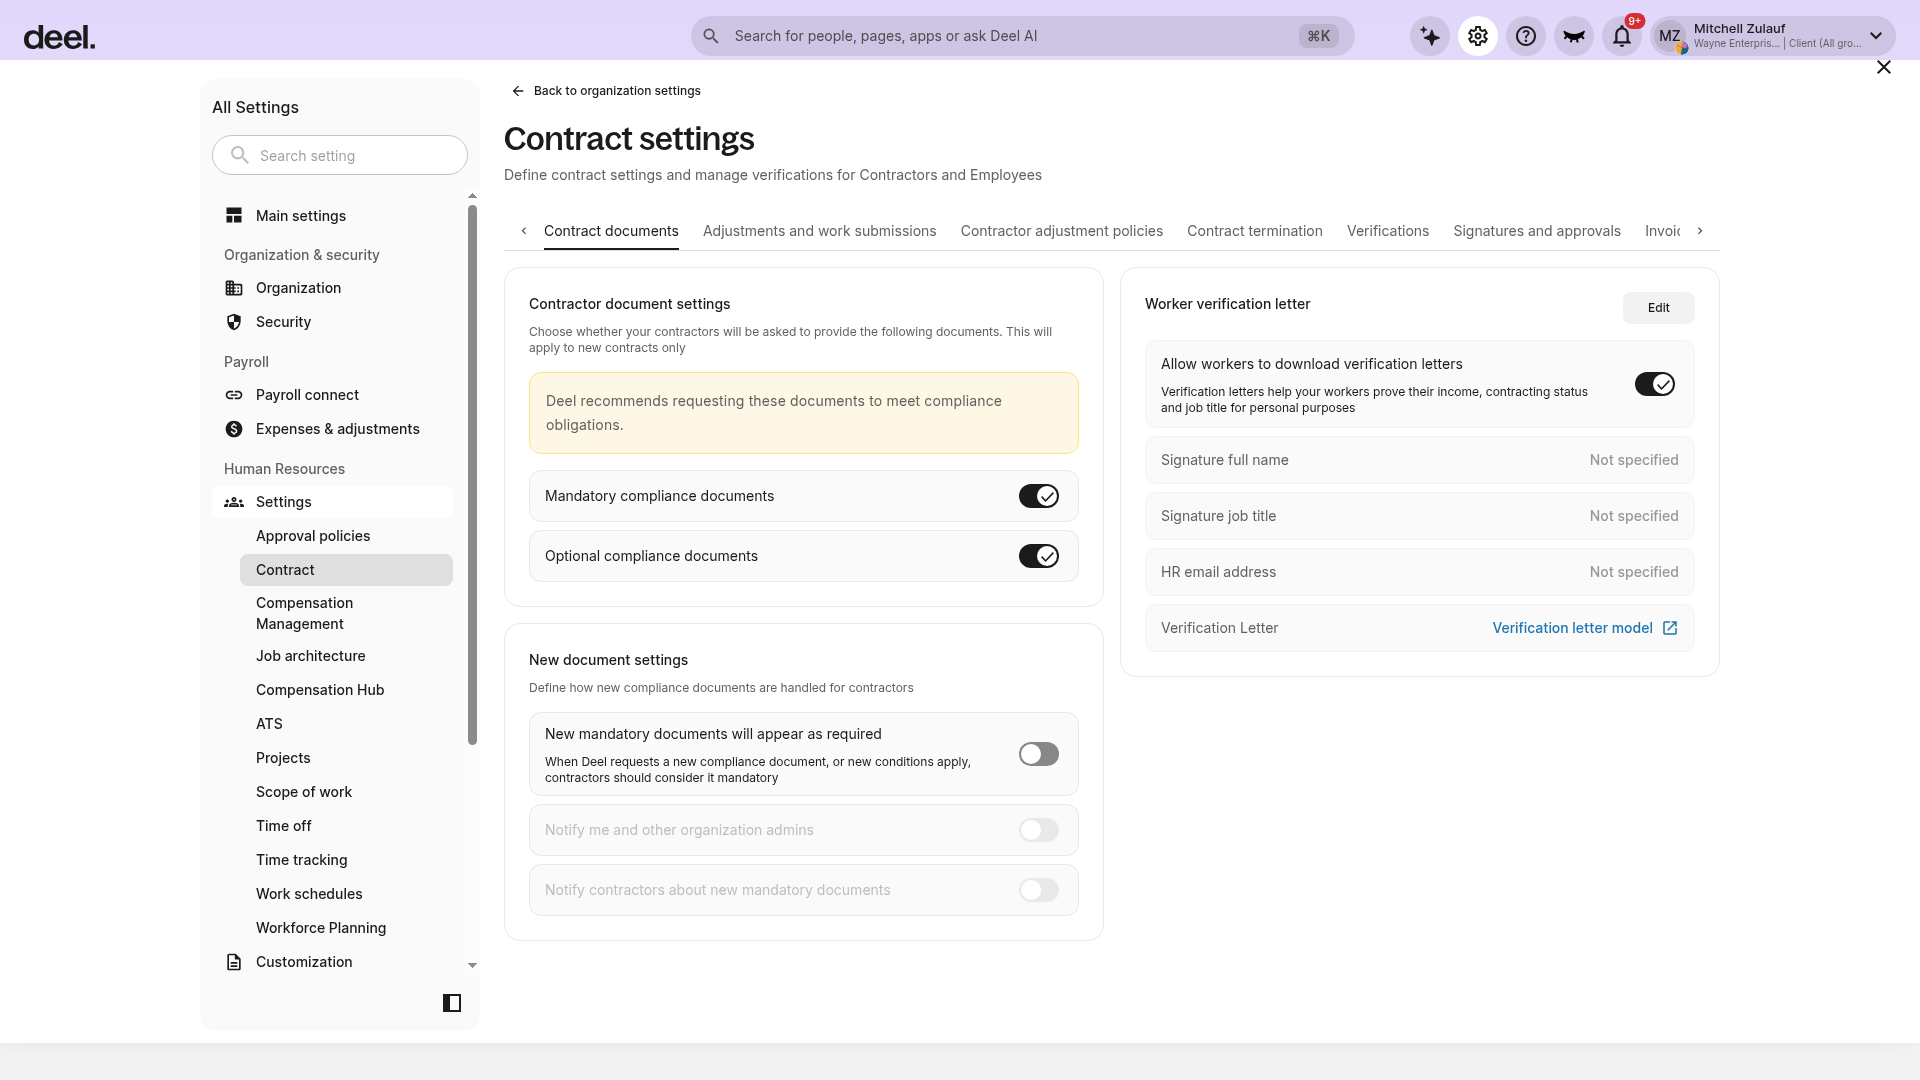
- Verify that the Contract settings page opens and that the Contract documents tab is selected.
- Confirm that the Worker verification letter section is visible before proceeding.
✅ Step 2 – Edit the worker verification letter details
Scroll down to the Worker verification letter section on the Contract settings page.
Click on View Verification Letter to view the pre-configured sample letter. You can choose between verification letter templates based on the worker's contract type.
To edit the verification letter signatory details, click on the Edit button.
✅ Step 3 – Enter the Verification letter signatory details
In this section, you can choose who should sign your worker verification letters.
Select the signatory from the available options and save.
Please note that verification letters will be signed using the contract creator's details unless specified otherwise.