
The Timesheets Auto-Approval feature, using Agentic Workflows, enables clients to automatically approve (or reject) employee timesheets when a predefined set of rules is met.
This article shows how you can configure this feature from Agentic workflows on the Deel Platform.
Once set up, compliant timesheets that meet the specified conditions will be automatically processed, helping you save time, reduce human error, and stay compliant with labor regulations across markets.
In this Article
How to Automate Timesheet Approvals using Agentic Workflows
Default Approve forecasted shifts Template
How to Automate Timesheet Approvals using Agentic Workflows
Clients can build a workflow automation for timesheet approvals (from scratch or from a template) and tailor it to their specific worker type, country, and shift conditions.
Step 1 - Access the Automation Section
Every Auto-Approval workflow, template or custom starts in Apps & Automation ▸ Agentic workflows.
From the Deel dashboard, use the left sidebar to select Apps & Automation and expand the section.
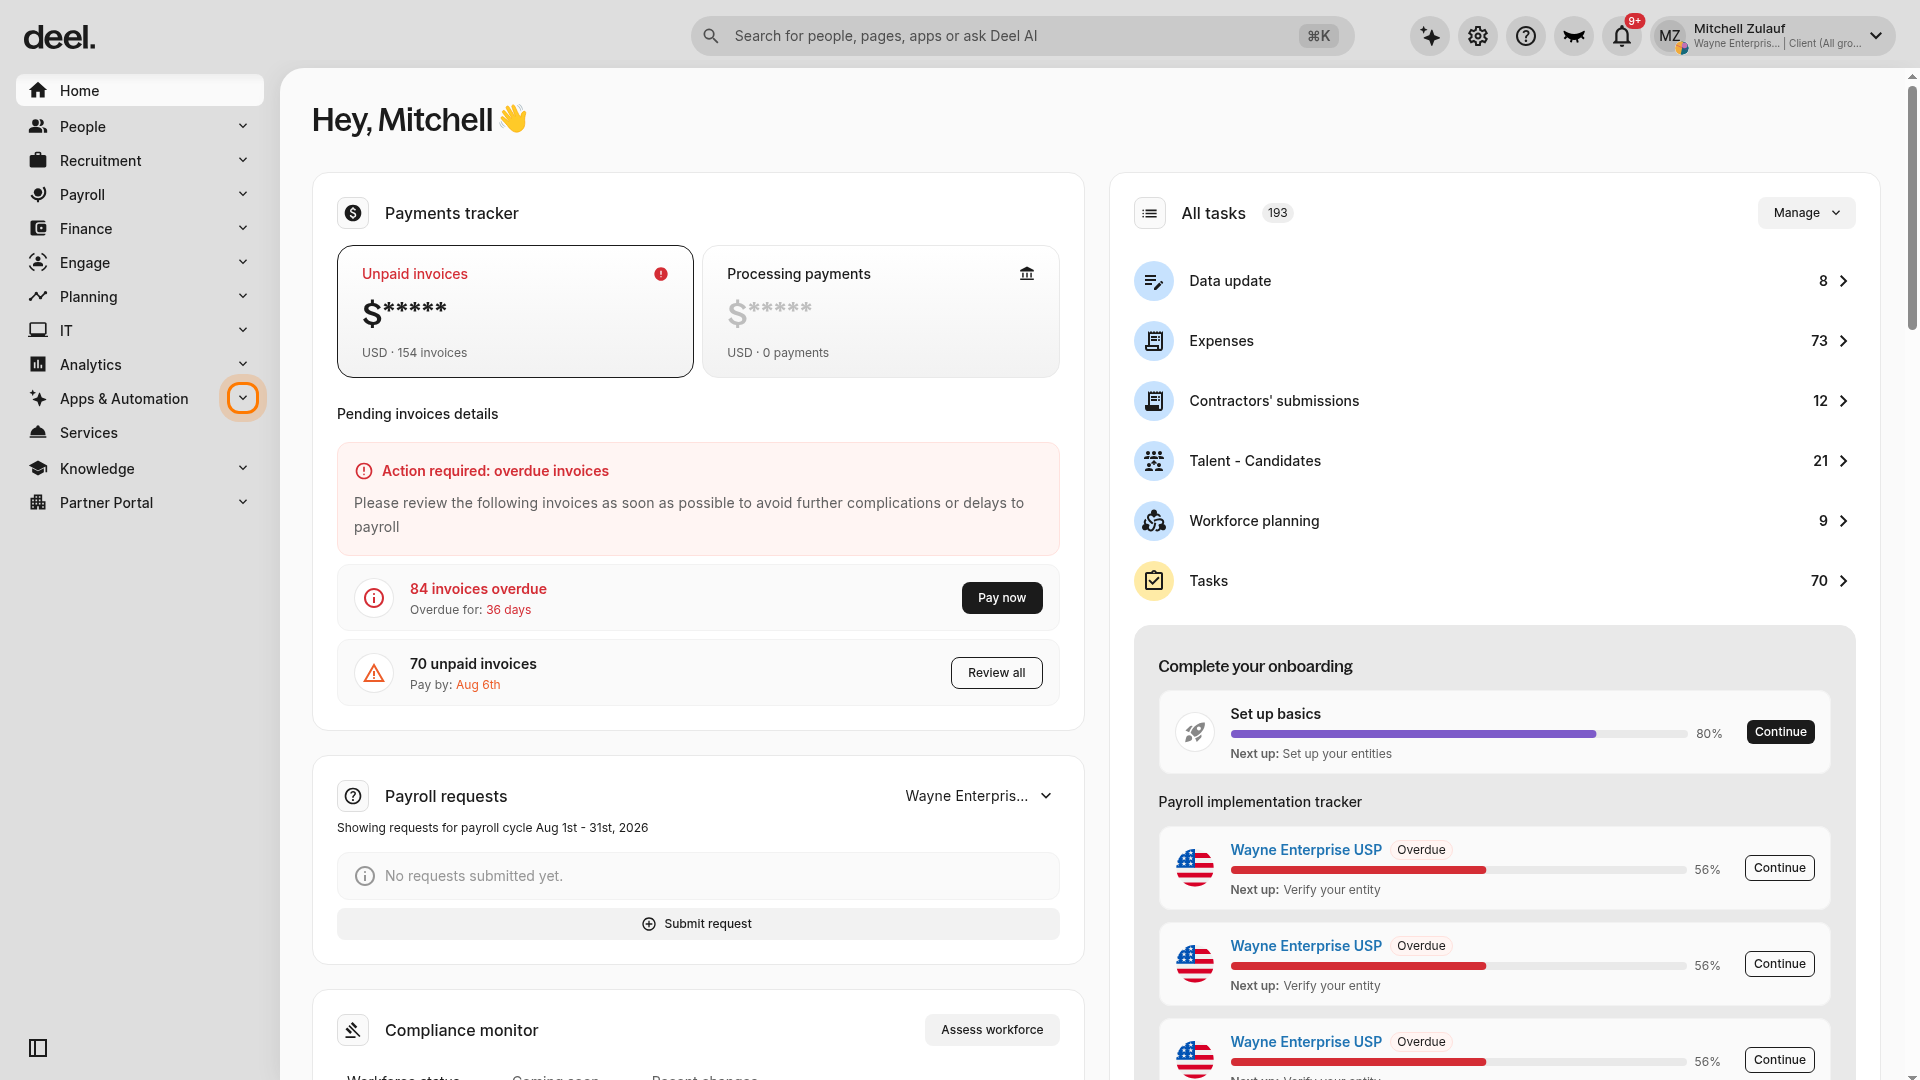
The submenu appears below it and includes App Store, Agentic workflows, and Slack/Teams Plugin.
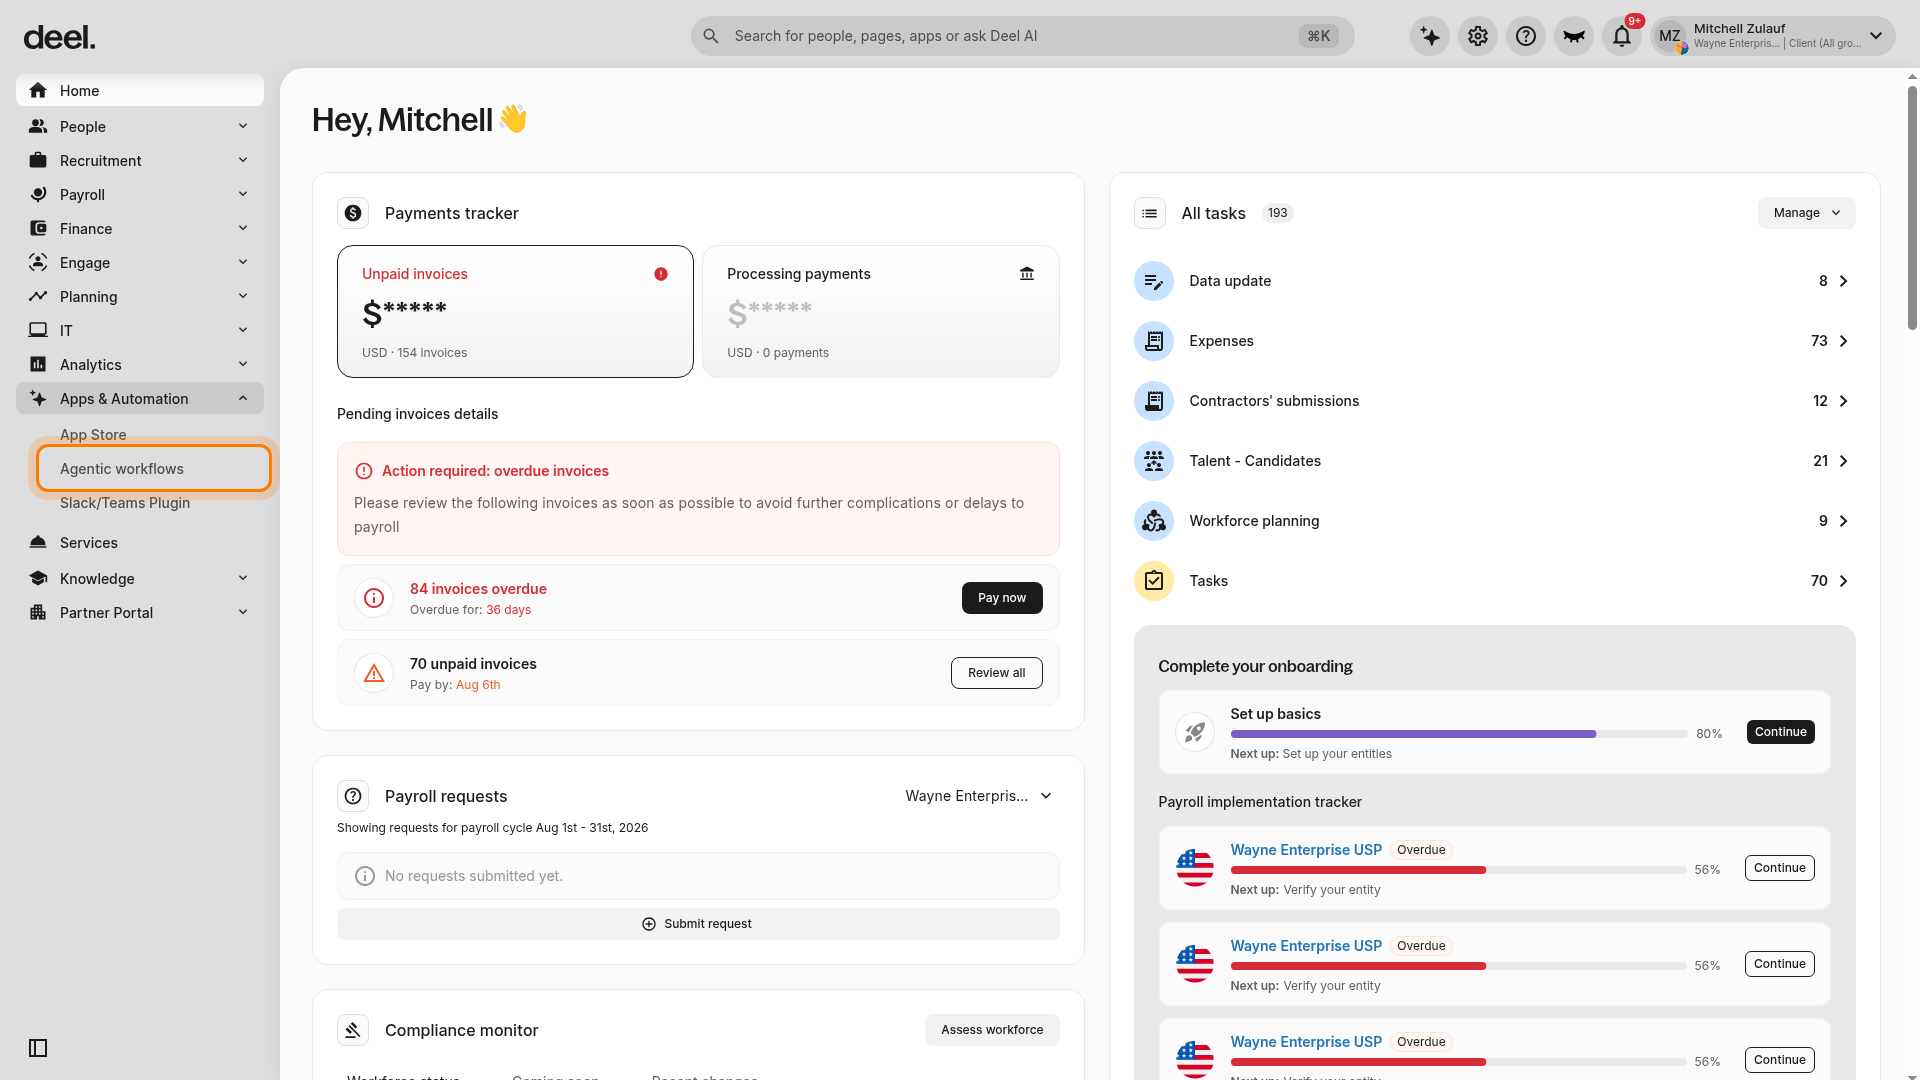
Under the expanded Apps & Automation section, select Agentic workflows.
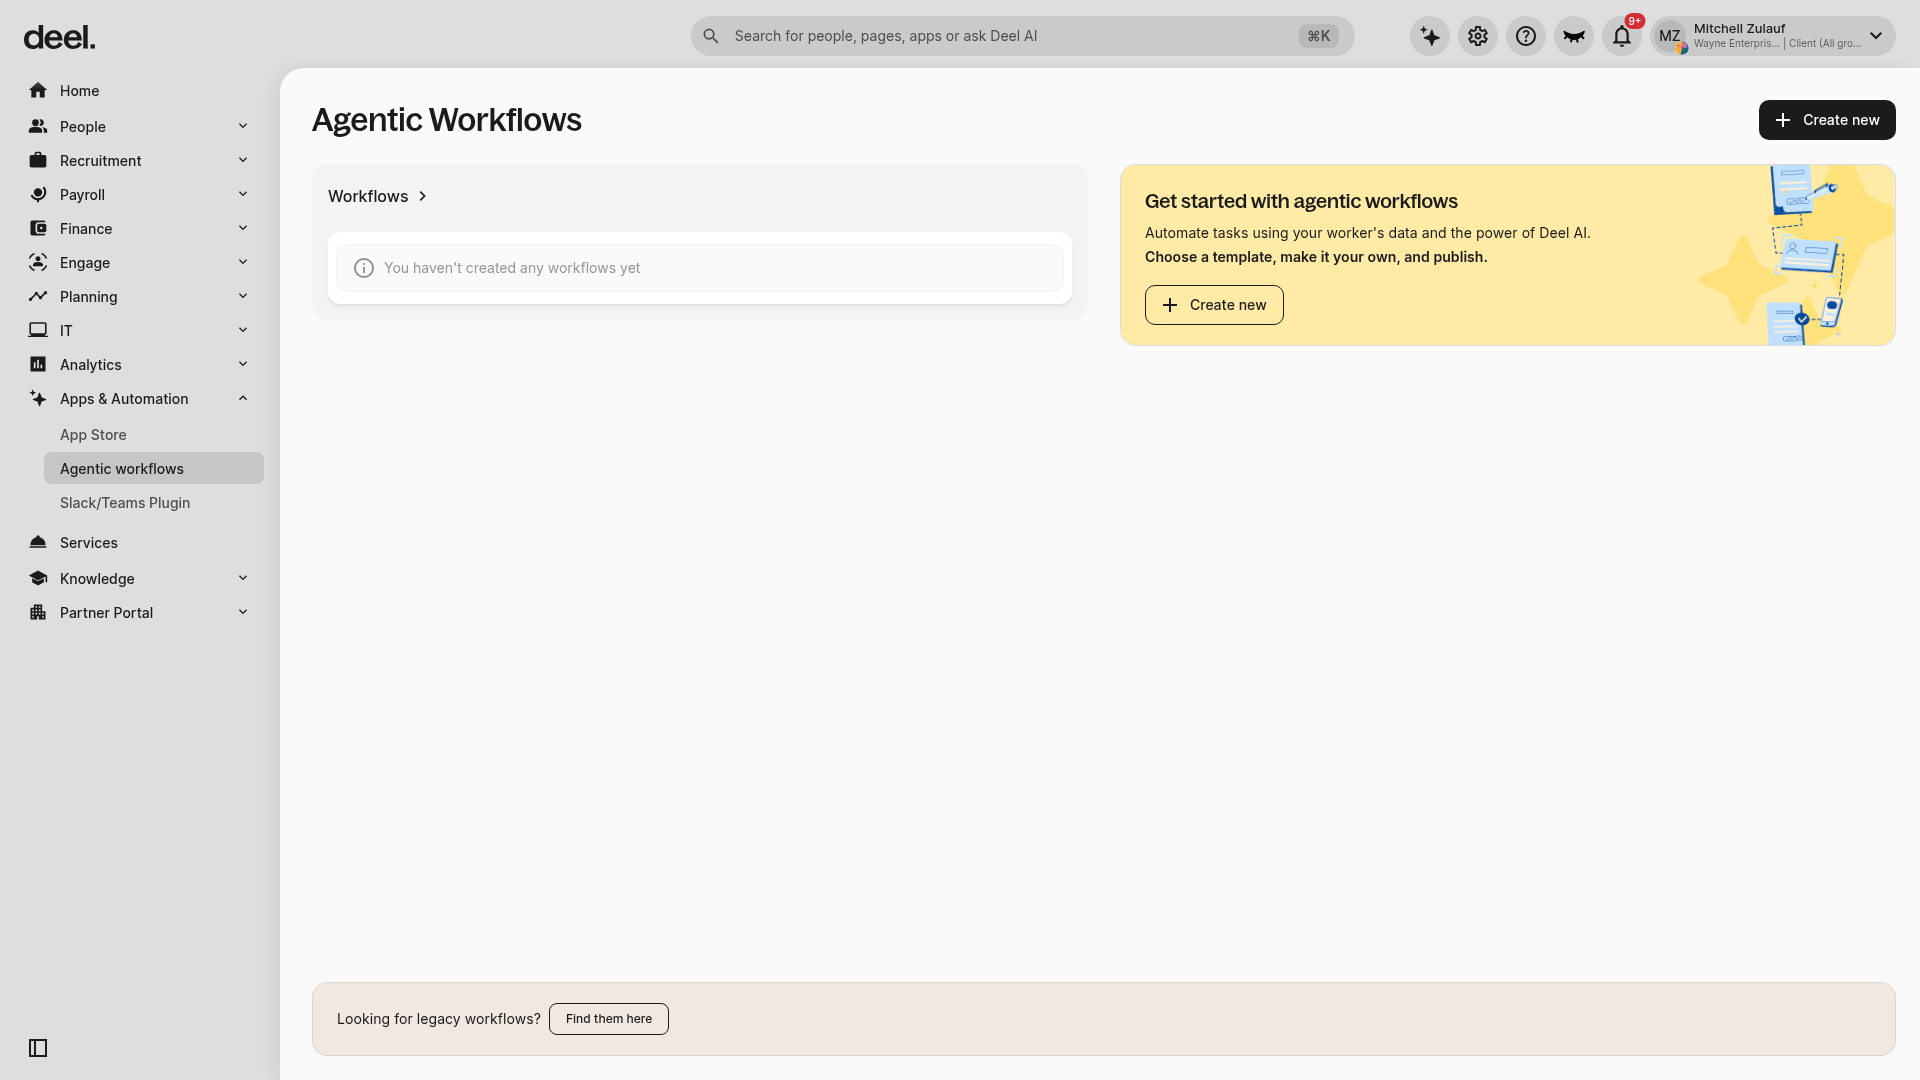
Step 2 - Create a New Workflow
To create a custom timesheet auto-approval workflow, click Create new.
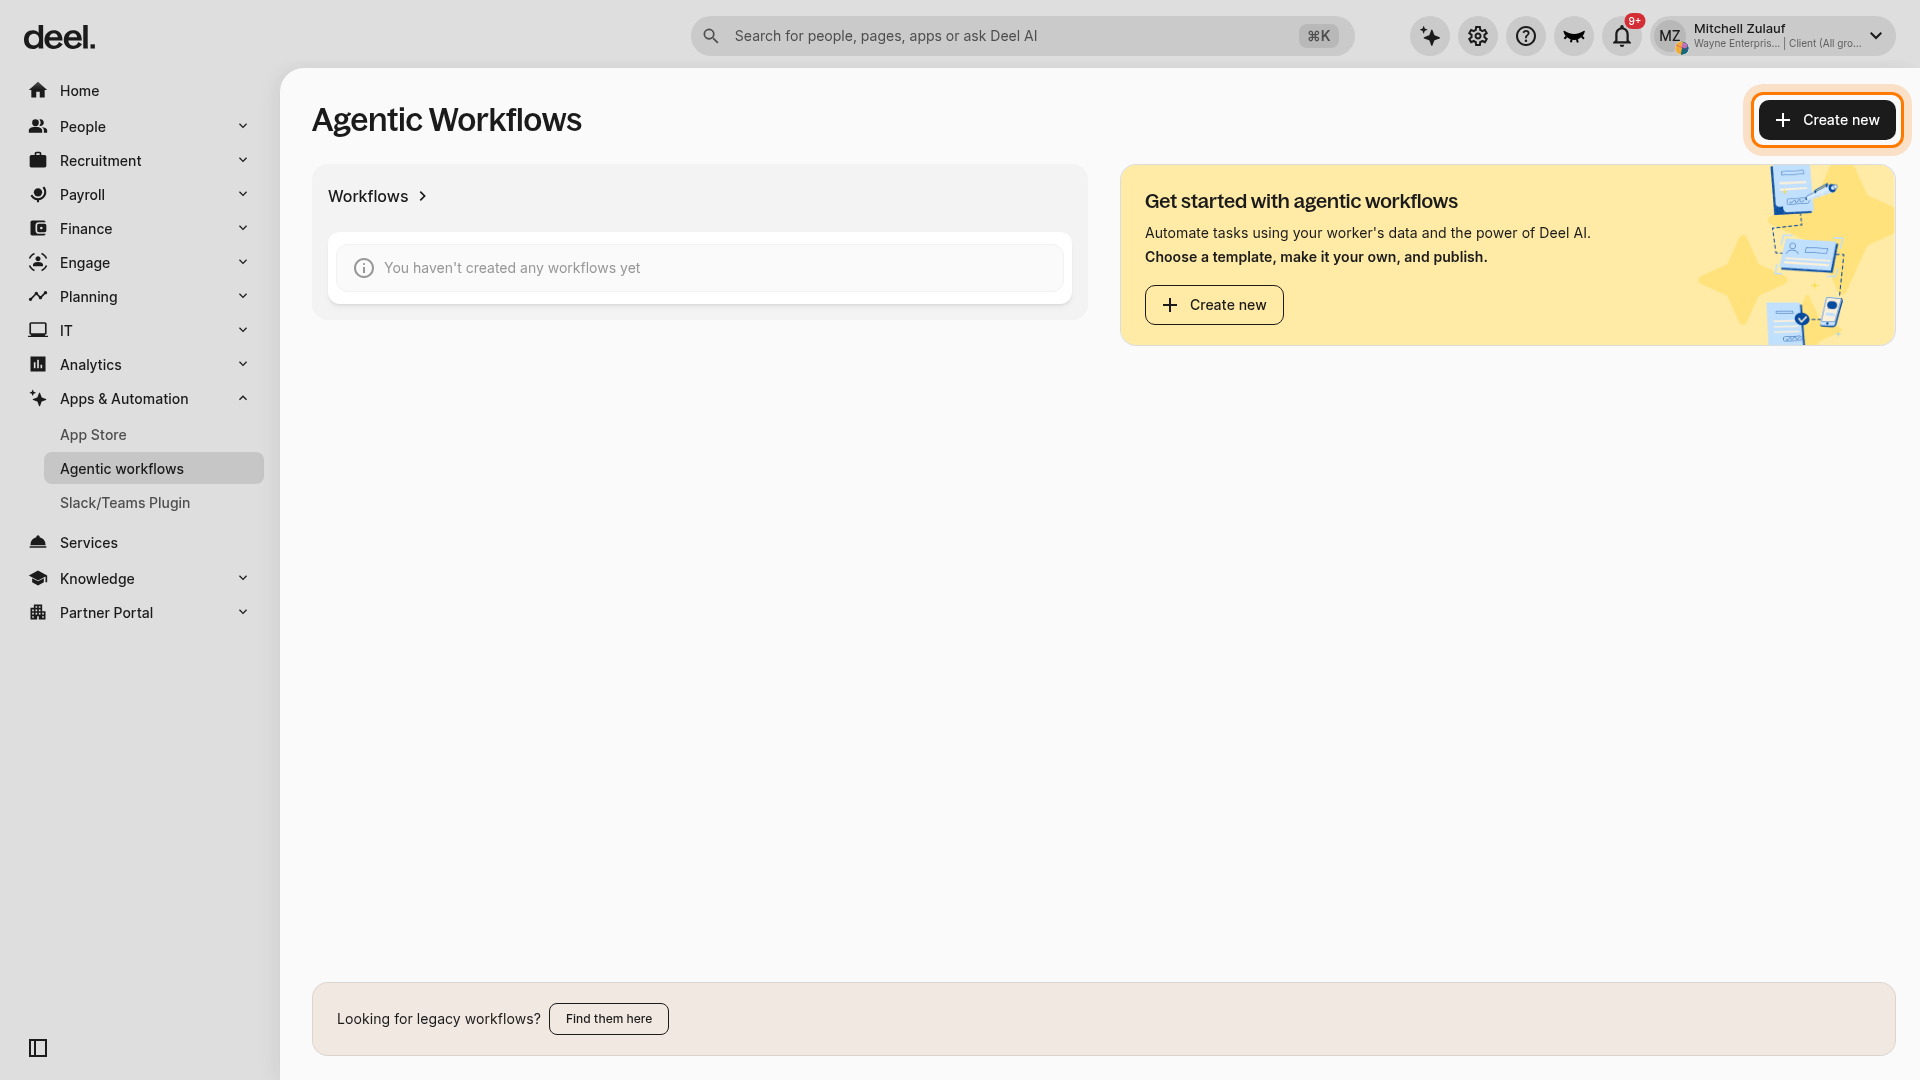
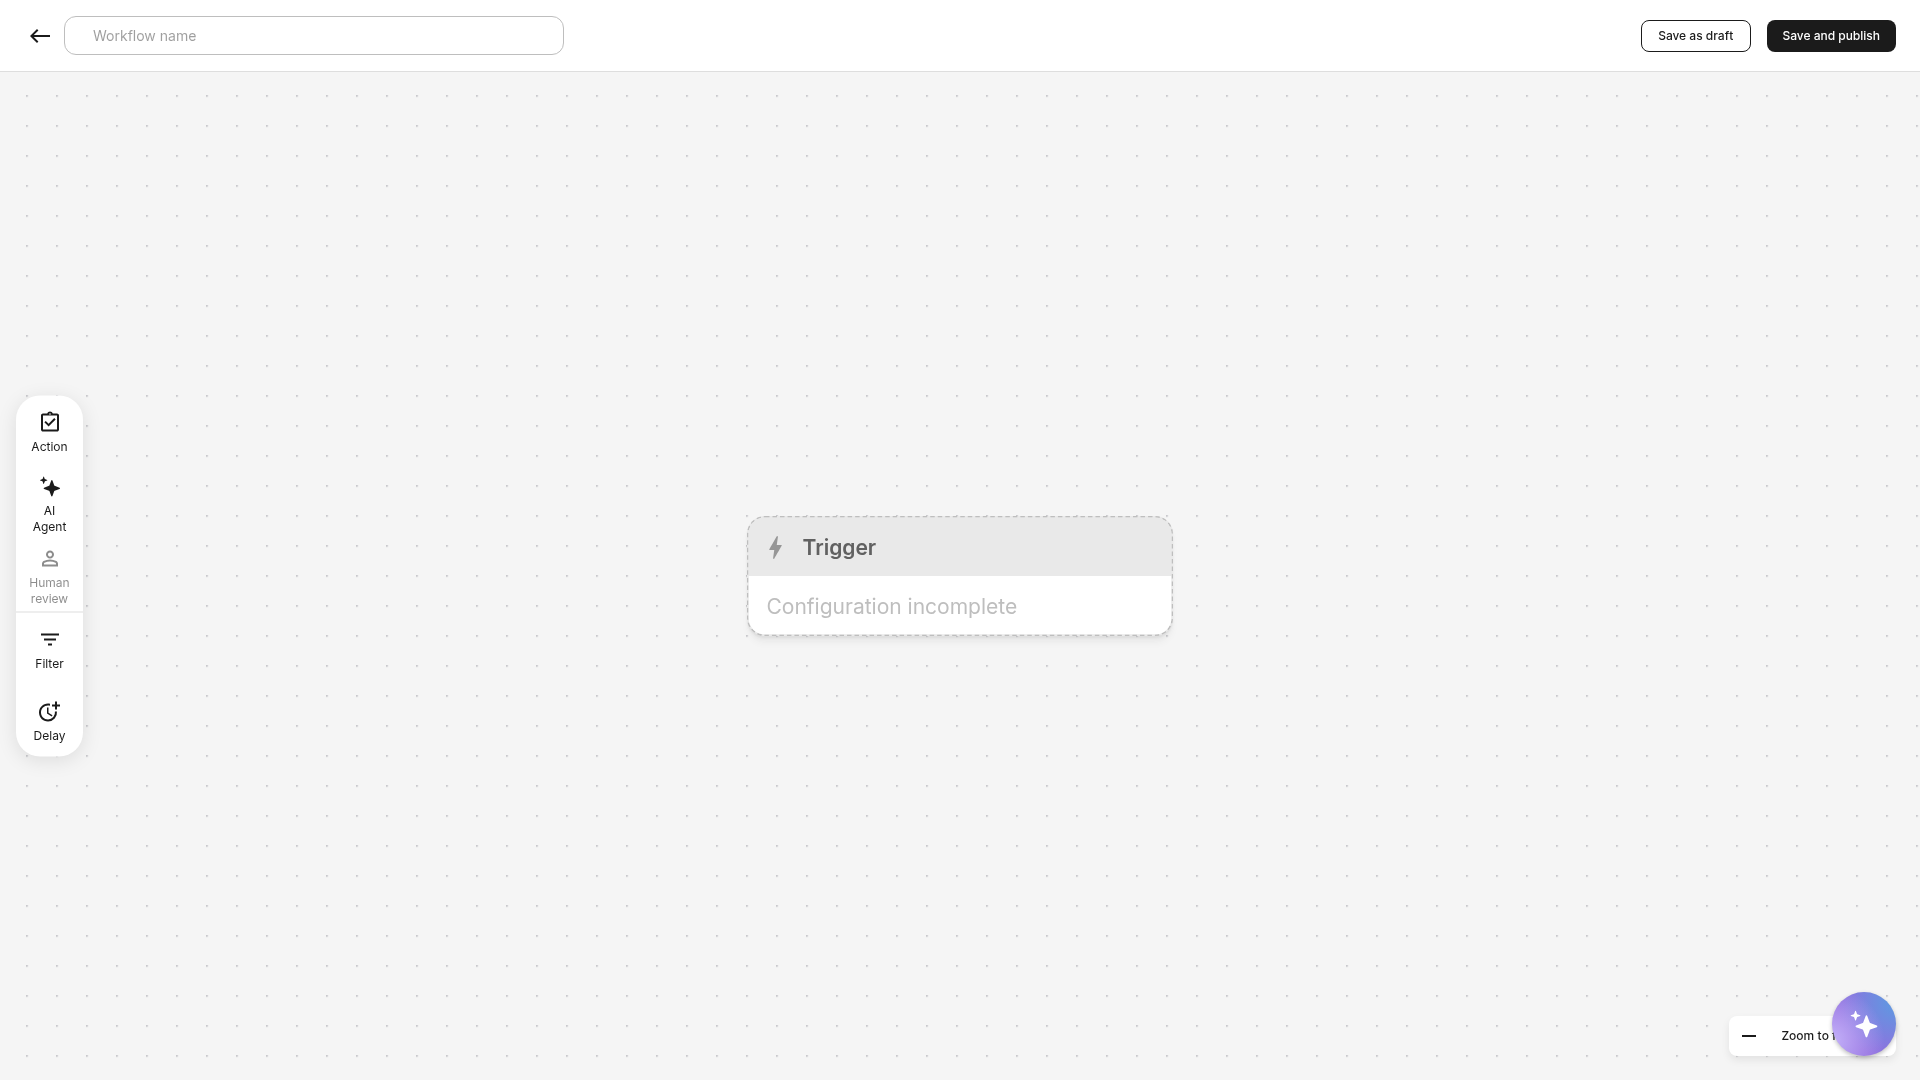
A blank workflow opens. Enter a workflow name when you are ready to finalize the workflow.
Step 3 - Add a Trigger
In the Trigger block marked Configuration incomplete, click the block to open the Add trigger panel.
Choose the relevant time-tracking trigger for timesheet status changes and configure it to start when worked time moves from Pending Approval.
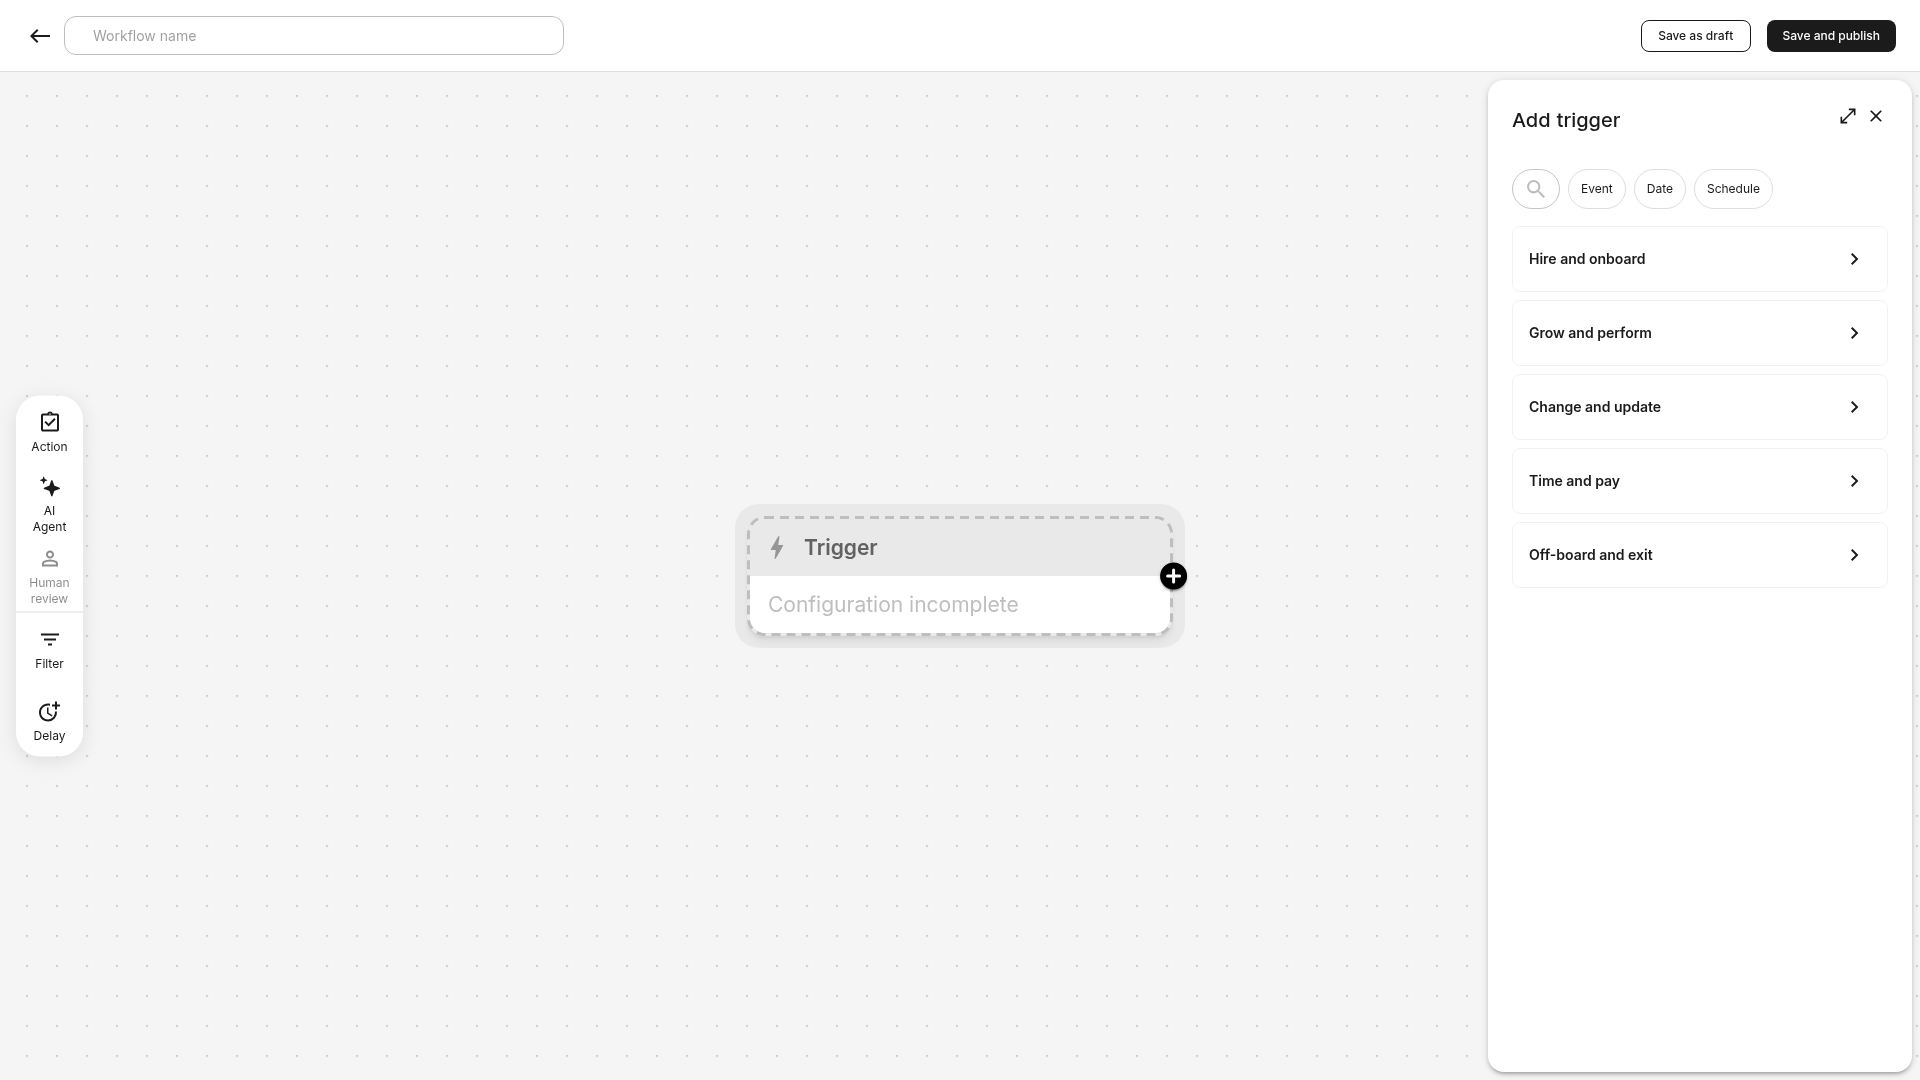
Add the trigger.
Note
The workflow will run only once per worker the first time this condition is met.
Step 4 - Add the Auto-Approval Filter and Action
Add a Filter condition so that only matching timesheets continue through the workflow.
Add Filter Condition:
- Choose Work Time Type as the field.
- Select the data value.
- Set the condition to Equals.
- Click Submit.
Add Action:
- Add an Action step.
- Choose Resolve Approval Request as the action.
- Click Continue to open the action setup.
- Define the approval outcome (e.g., auto-approve).
- Click Submit.
Step 5 - Finalise & Publish
Give the workflow a clear name and optionally add recipients for failure email notifications.
Click Save and publish to activate the workflow. To finish configuration later without activating it, click Save as draft.
You will be returned to the Agentic Workflows page, where the new workflow appears in the list.
Default Approve forecasted Shifts Template
Clients with salaried EOR that use forecasted shifts can use this pre-configured Forecasted Shifts Approval workflow to enable automated approvals for forecasted shifts. Please note that the forecasted shifts match the schedule assigned to each EOR salaried worker.
This ensures that when the status of a forecasted shift changes from Forecasted → Pending approval, the system workflow auto-approves the shift. Because these hours are auto-approved, managers cannot review, reject, or edit them.
To know more about forecasted shifts, refer to this article How to Enable and Manage Forecasted shifts
Frequently Asked Questions
[ACCORDION] How does workflow execution and notifications works?
Once activated, the workflow listens for the configured timesheet status change. Whenever a timesheet (worked or forecasted) meets your defined trigger and filter conditions, the workflow executes the configured Resolve approval request action.
If execution fails for any reason, Deel automatically sends an email to the notification recipients you configured.
[ACCORDION] Can I edit or delete the default system workflow?
No. The default workflow for forecasted hours is locked and cannot be modified or removed to ensure regulatory compliance.