This article is for Global Payroll clients who want to add new entities or new groups.
Note: This process does not apply to organizations that hire Independent Contractors and employees through Deel EOR Entities.
In this article:
Add a New Global Payroll Entity
✅ Step 1 – Add Entity
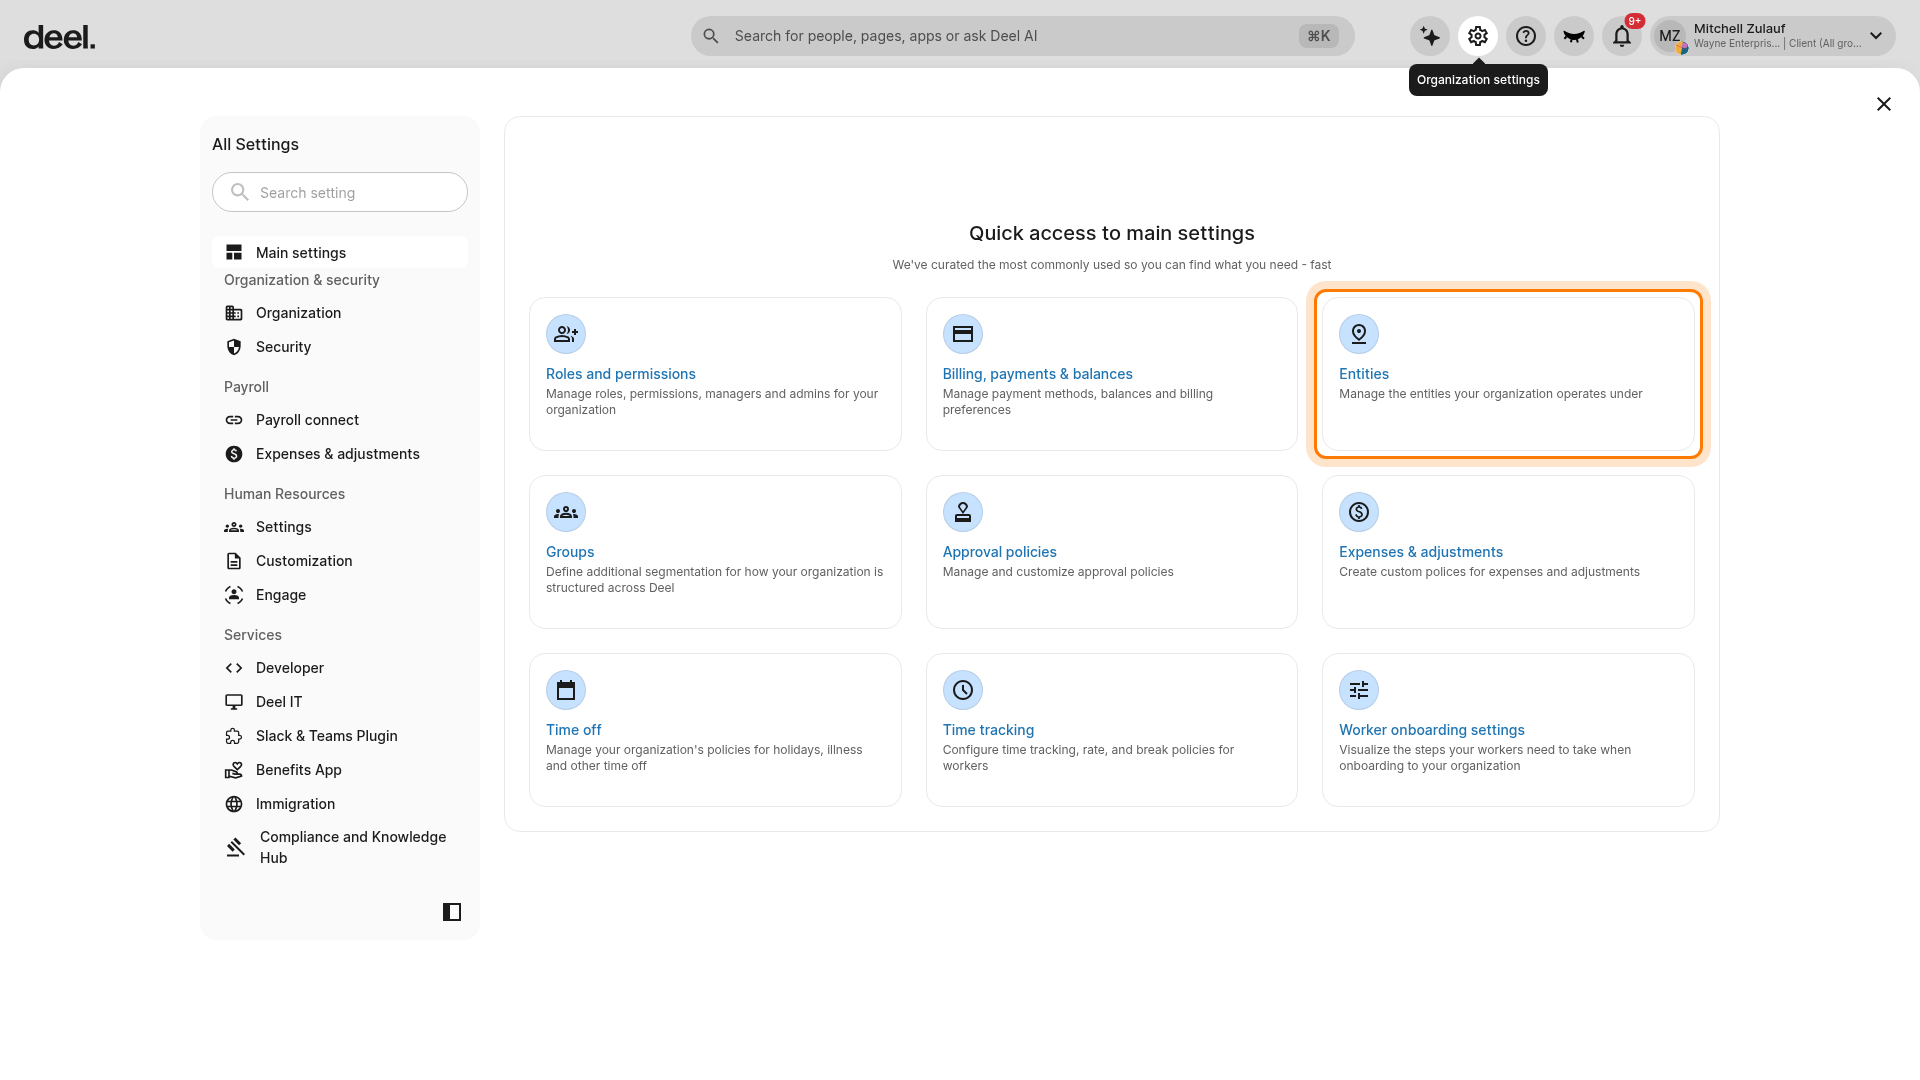
From the Deel Home dashboard, select the Organization settings gear icon in the top-right corner.
In Quick access to main settings, select Entities. The card is labeled Manage the entities your organization operates under.
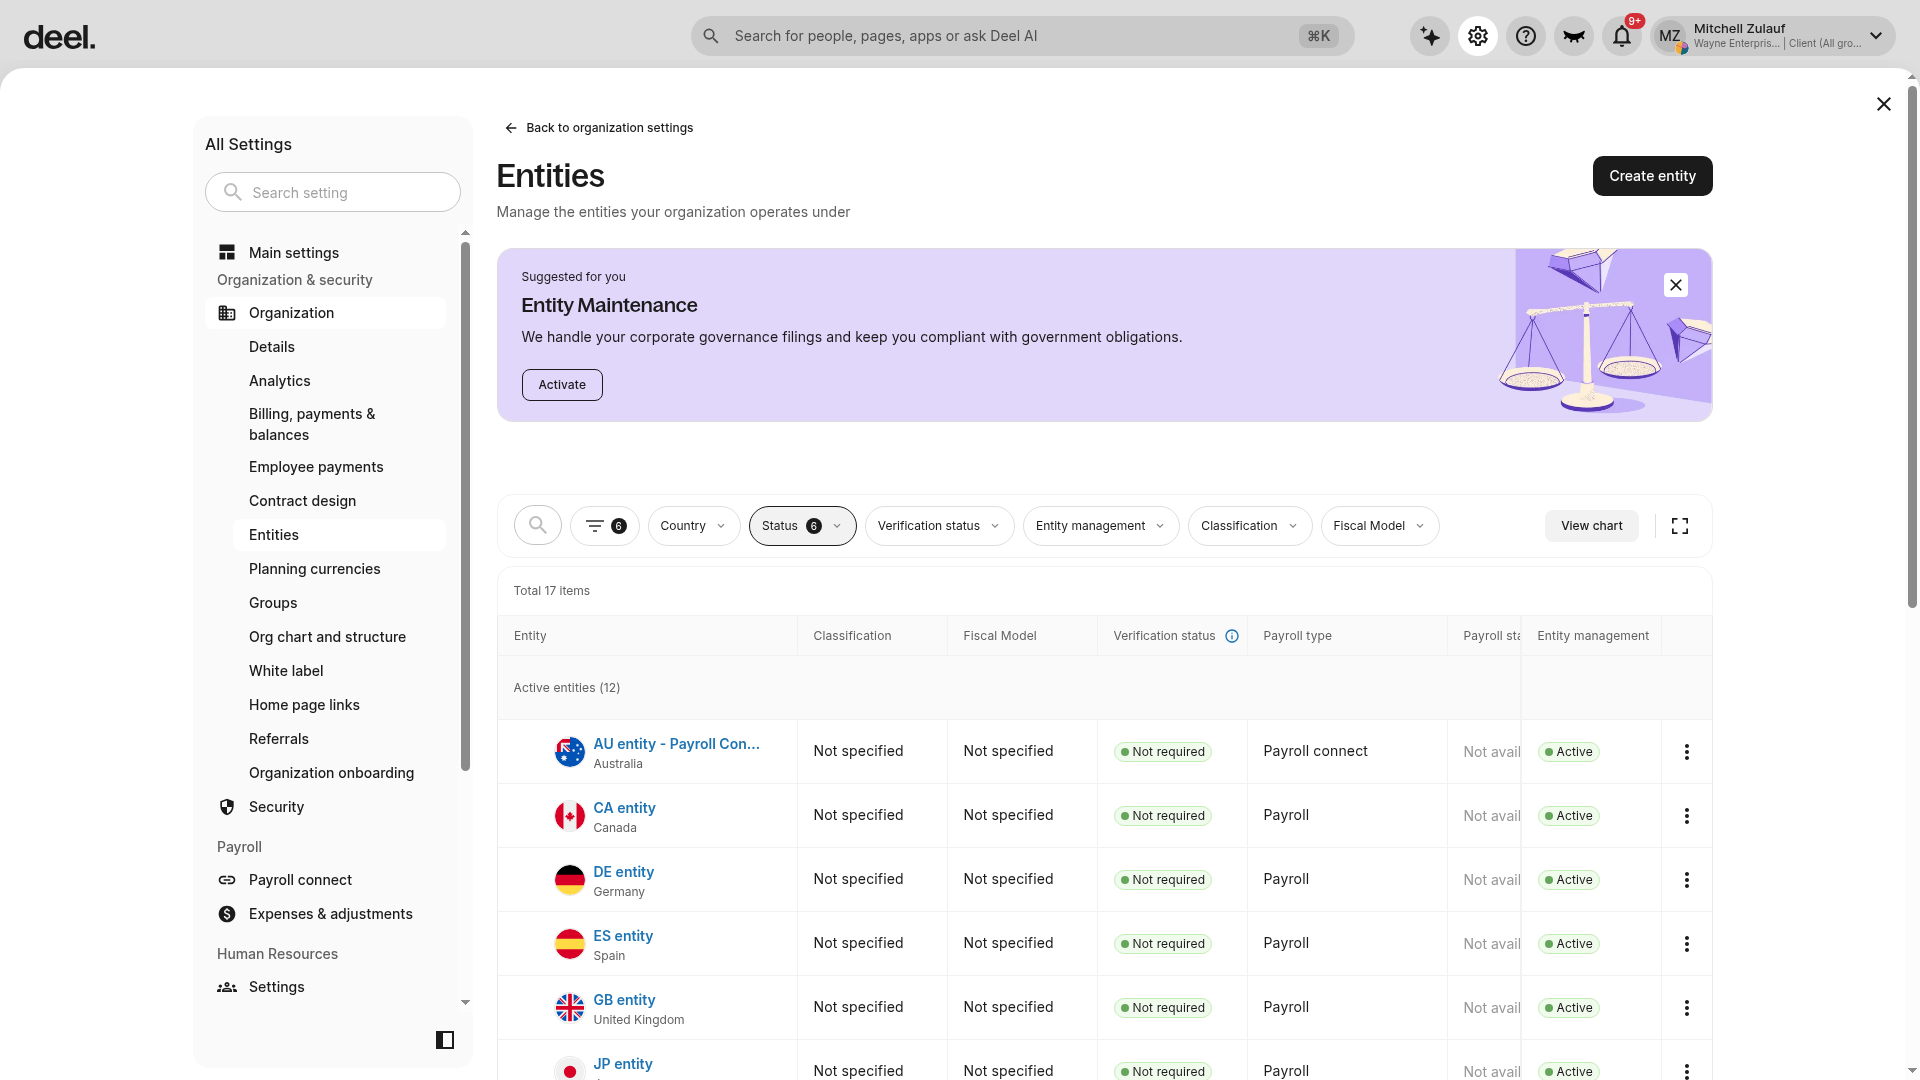
Wait for the page to load. Verify that the page heading reads Entities and that the entity-management table is displayed. The page also includes a Create entity button; the rows and total count vary by organization.
✅ Step 2 – Fill out entity details and click Add Entity
On the Entities page, select Create entity in the upper-right corner.
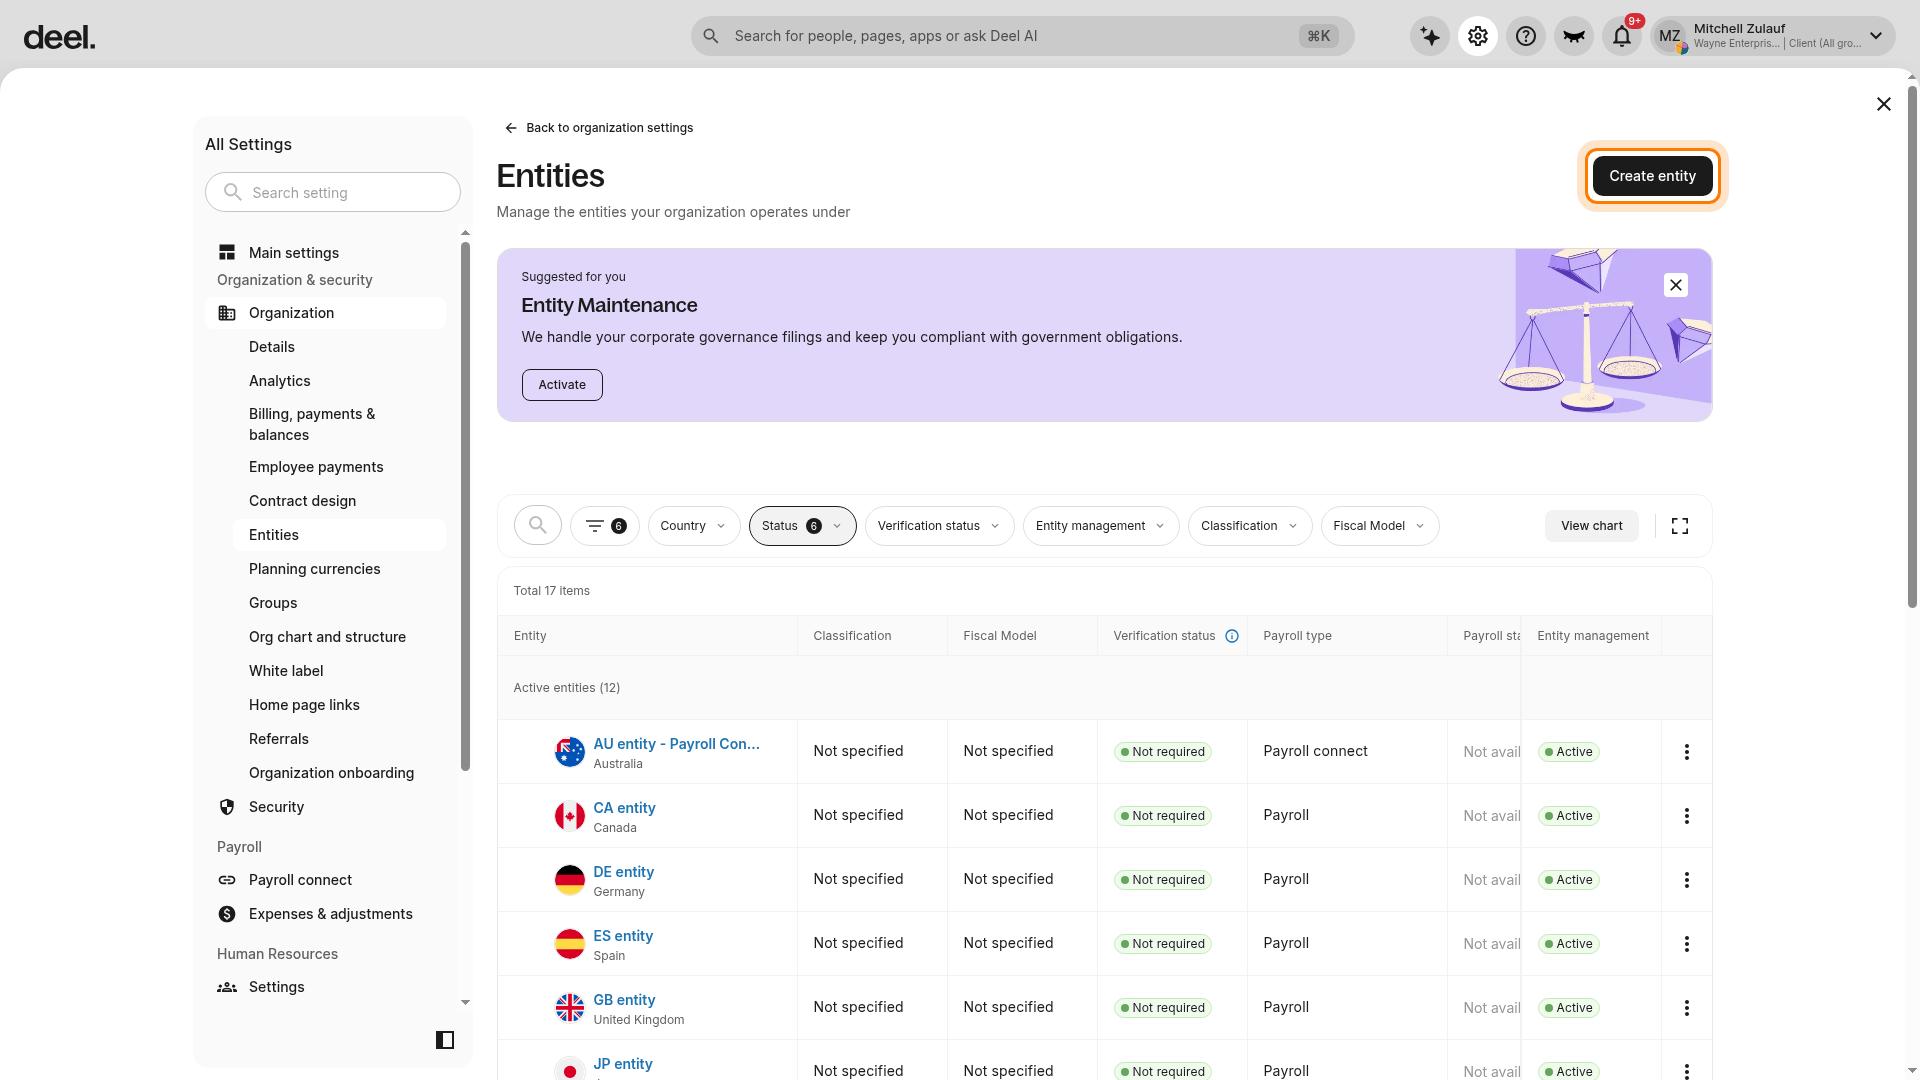
The Create entity page opens at 1 — Entity details. Enter the required information, including Country of incorporation, Entity name, Entity type, and Industry, then continue through the remaining steps.
The progress panel lists the later steps: Addresses, Product selection, Management services, Primary contact, and Review.
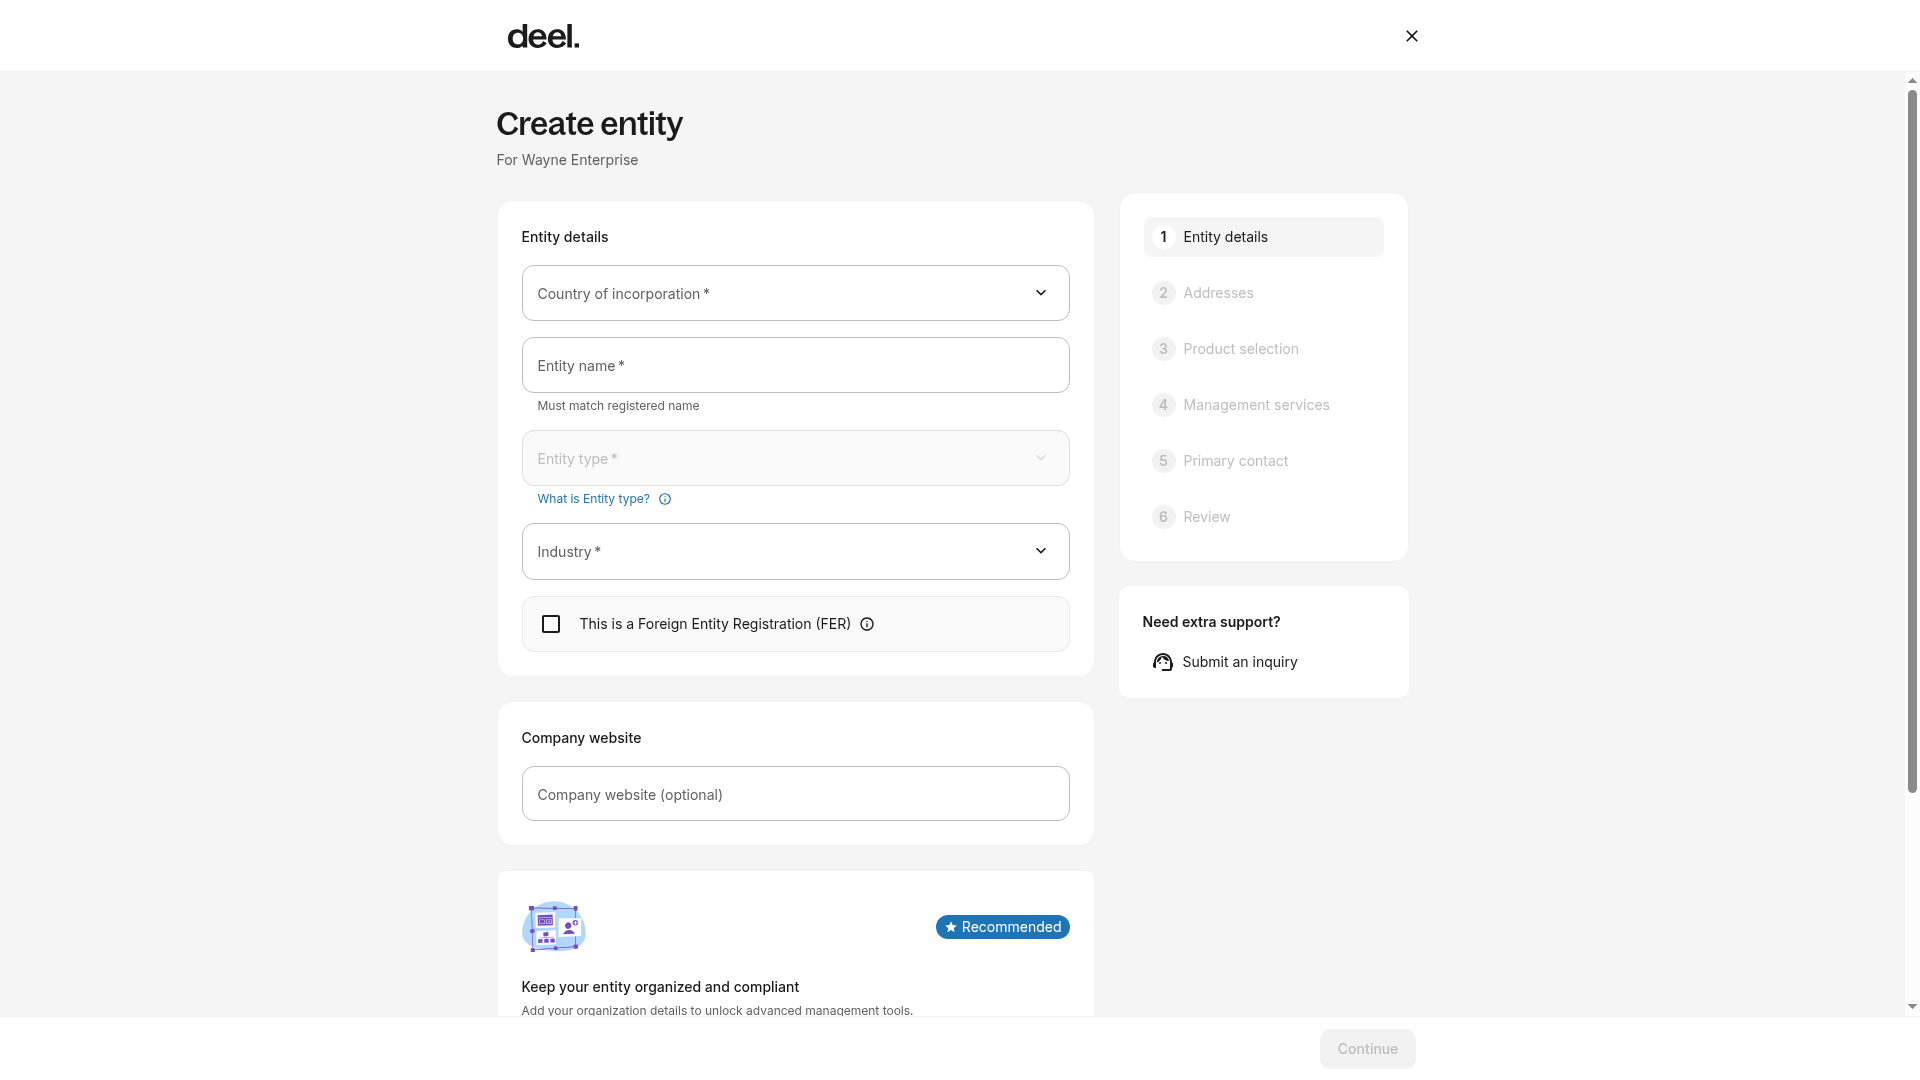
The entity will now be visible on the entities page. From here clients can review and edit details.
Please note that once a contract is linked to an entity, only specific fields will remain editable.
Once the entity has been configured, clients can add groups and group members.
Add a New Global Payroll Group
✅ Step 1 – Open the Group Menu drop down list
From the Deel Home dashboard, select the Organization settings gear icon in the top-right corner.
In Quick access to main settings, select Entities.
On the Entities page, select Organization in the left settings navigation if its submenu is not already visible. Then select Groups from the expanded submenu.
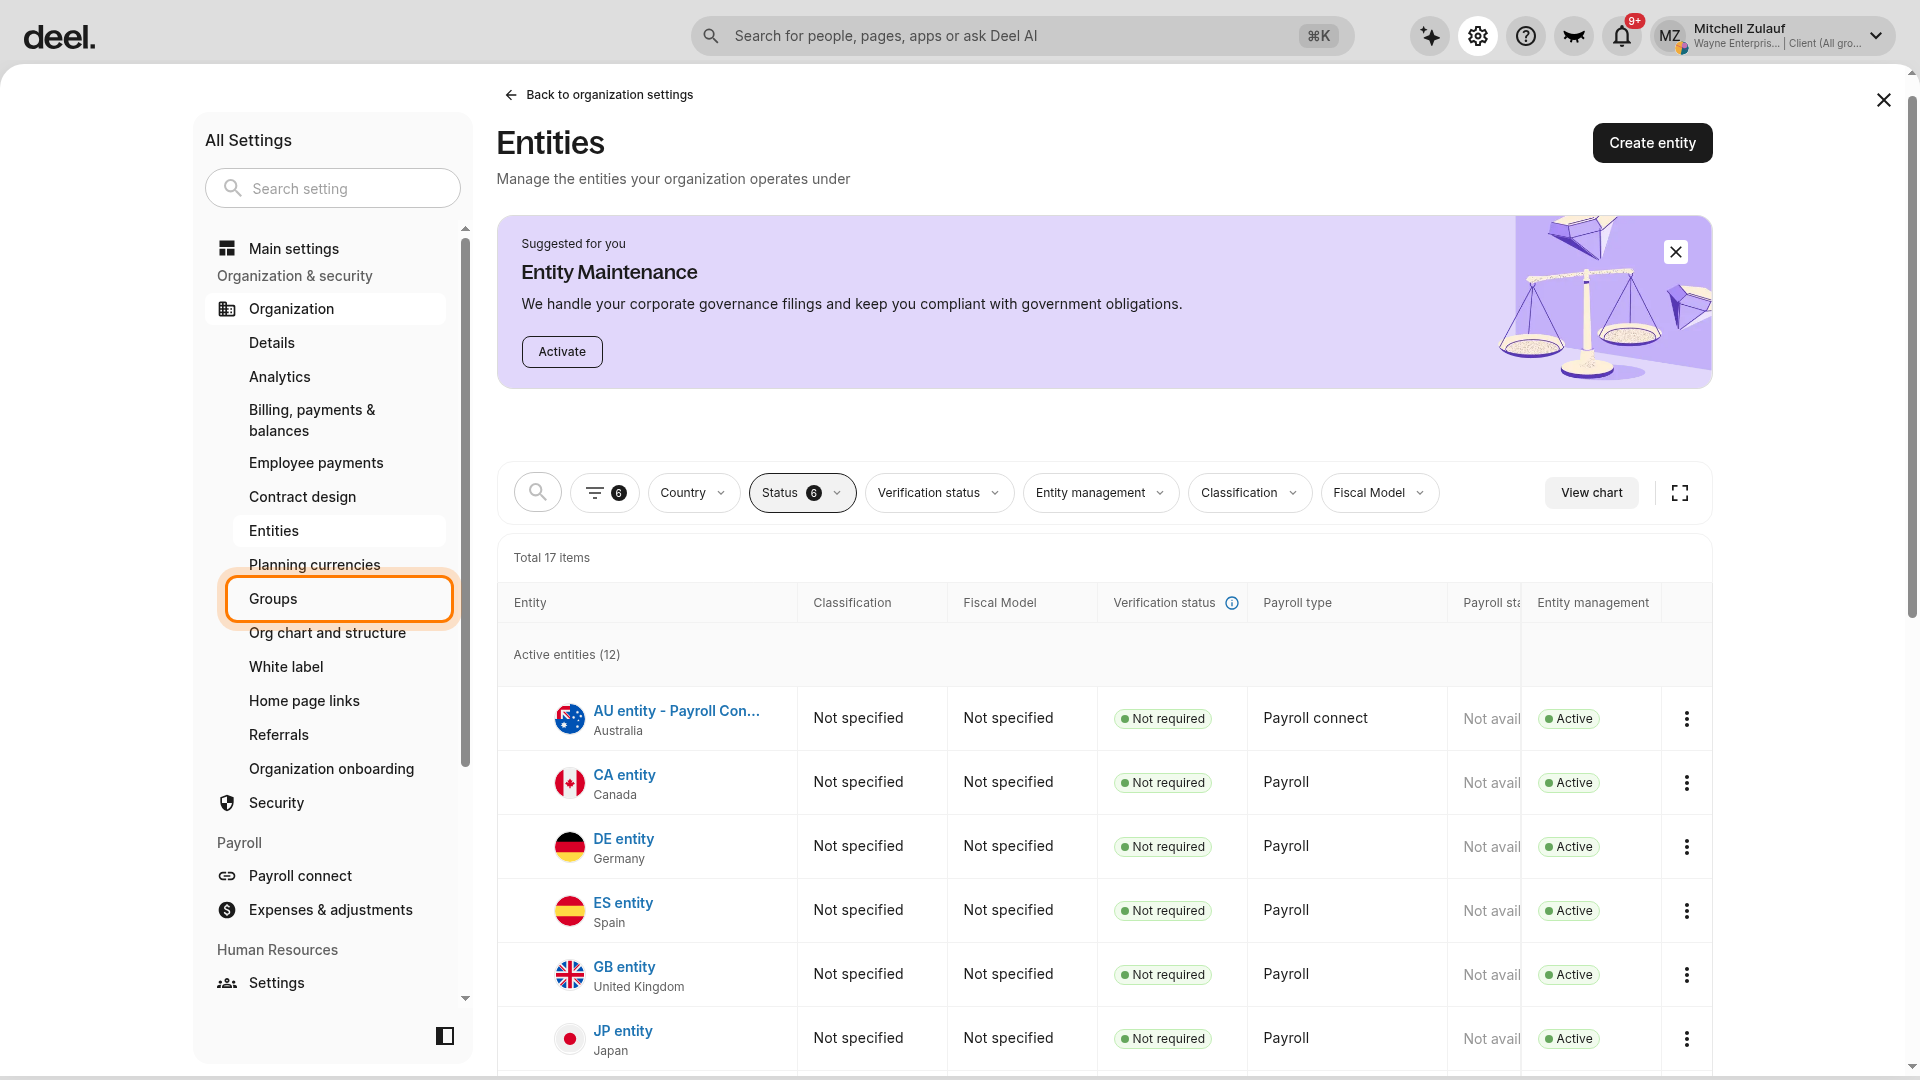
Verify that the page heading reads Groups and that the groups list is displayed.
✅ Step 2 – Add employees and select Add Group
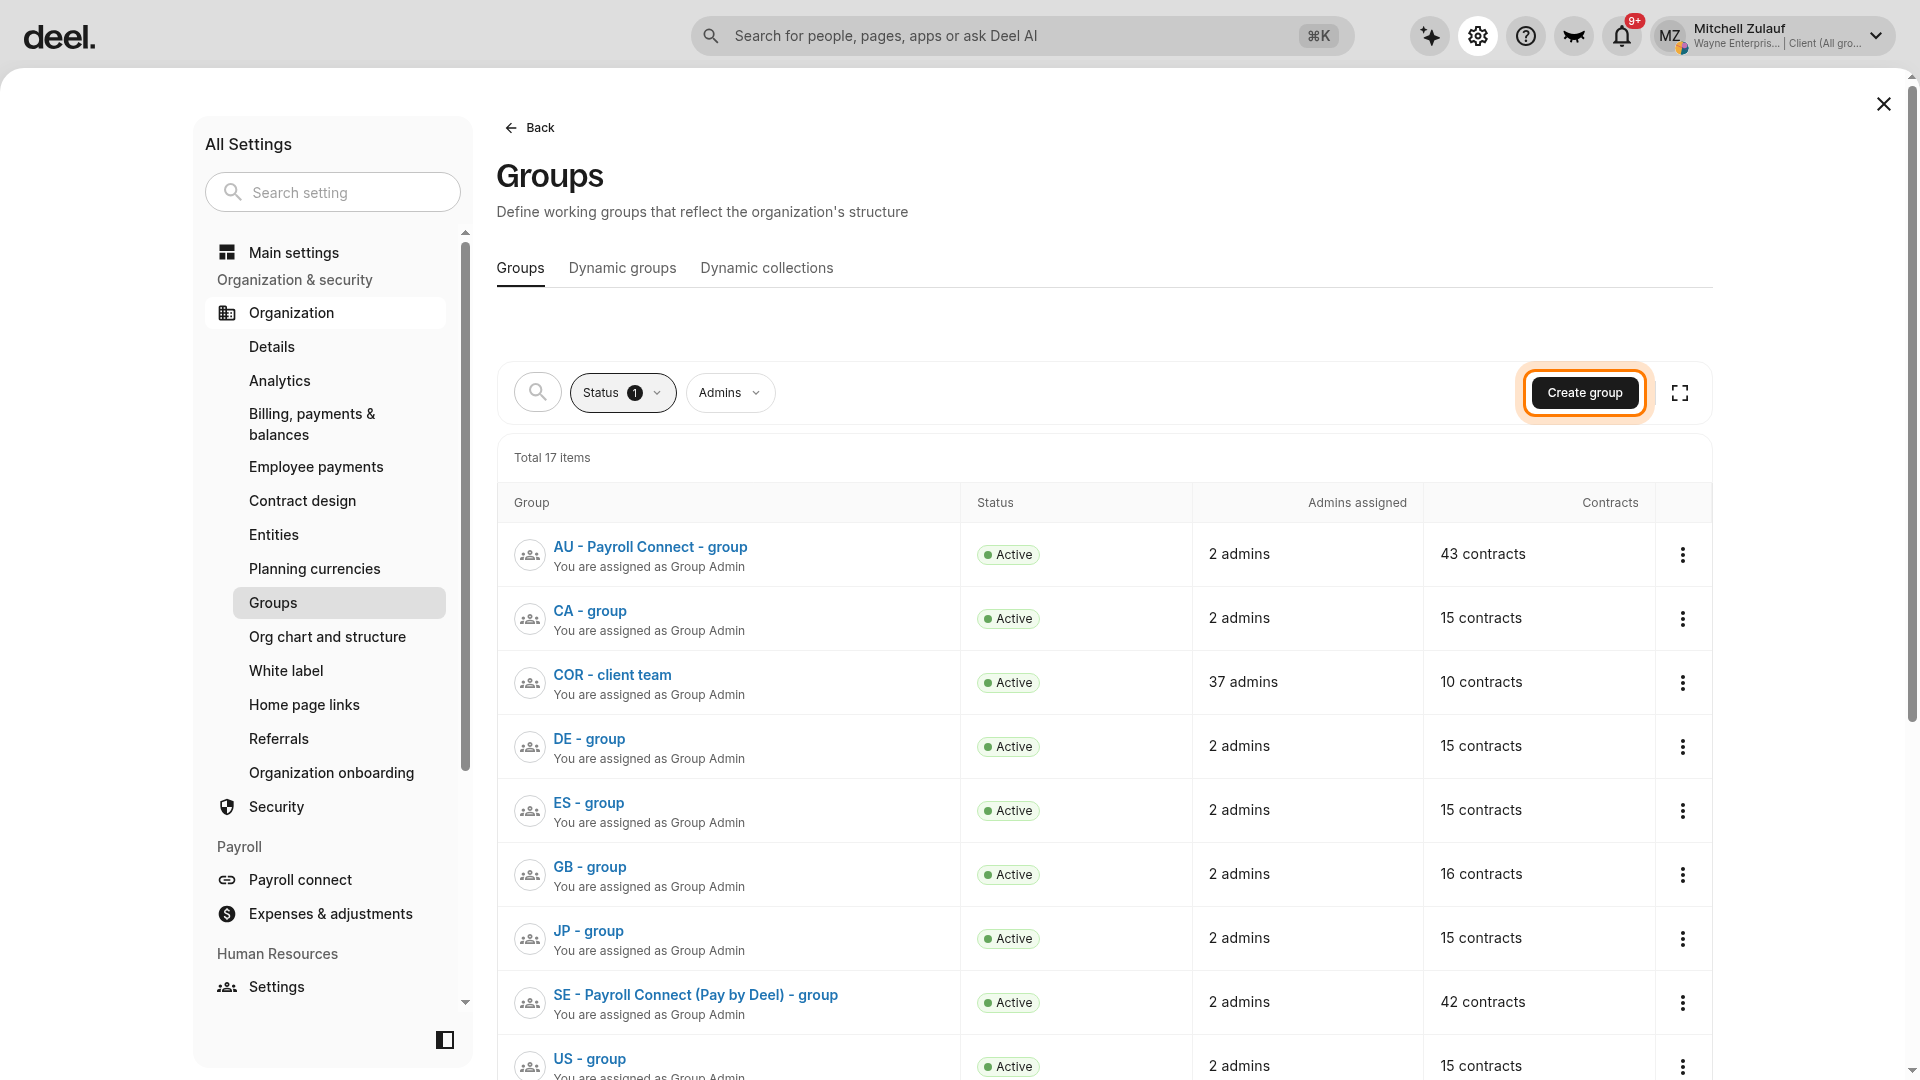
On the Groups page, select Create group in the upper-right area above the group list.
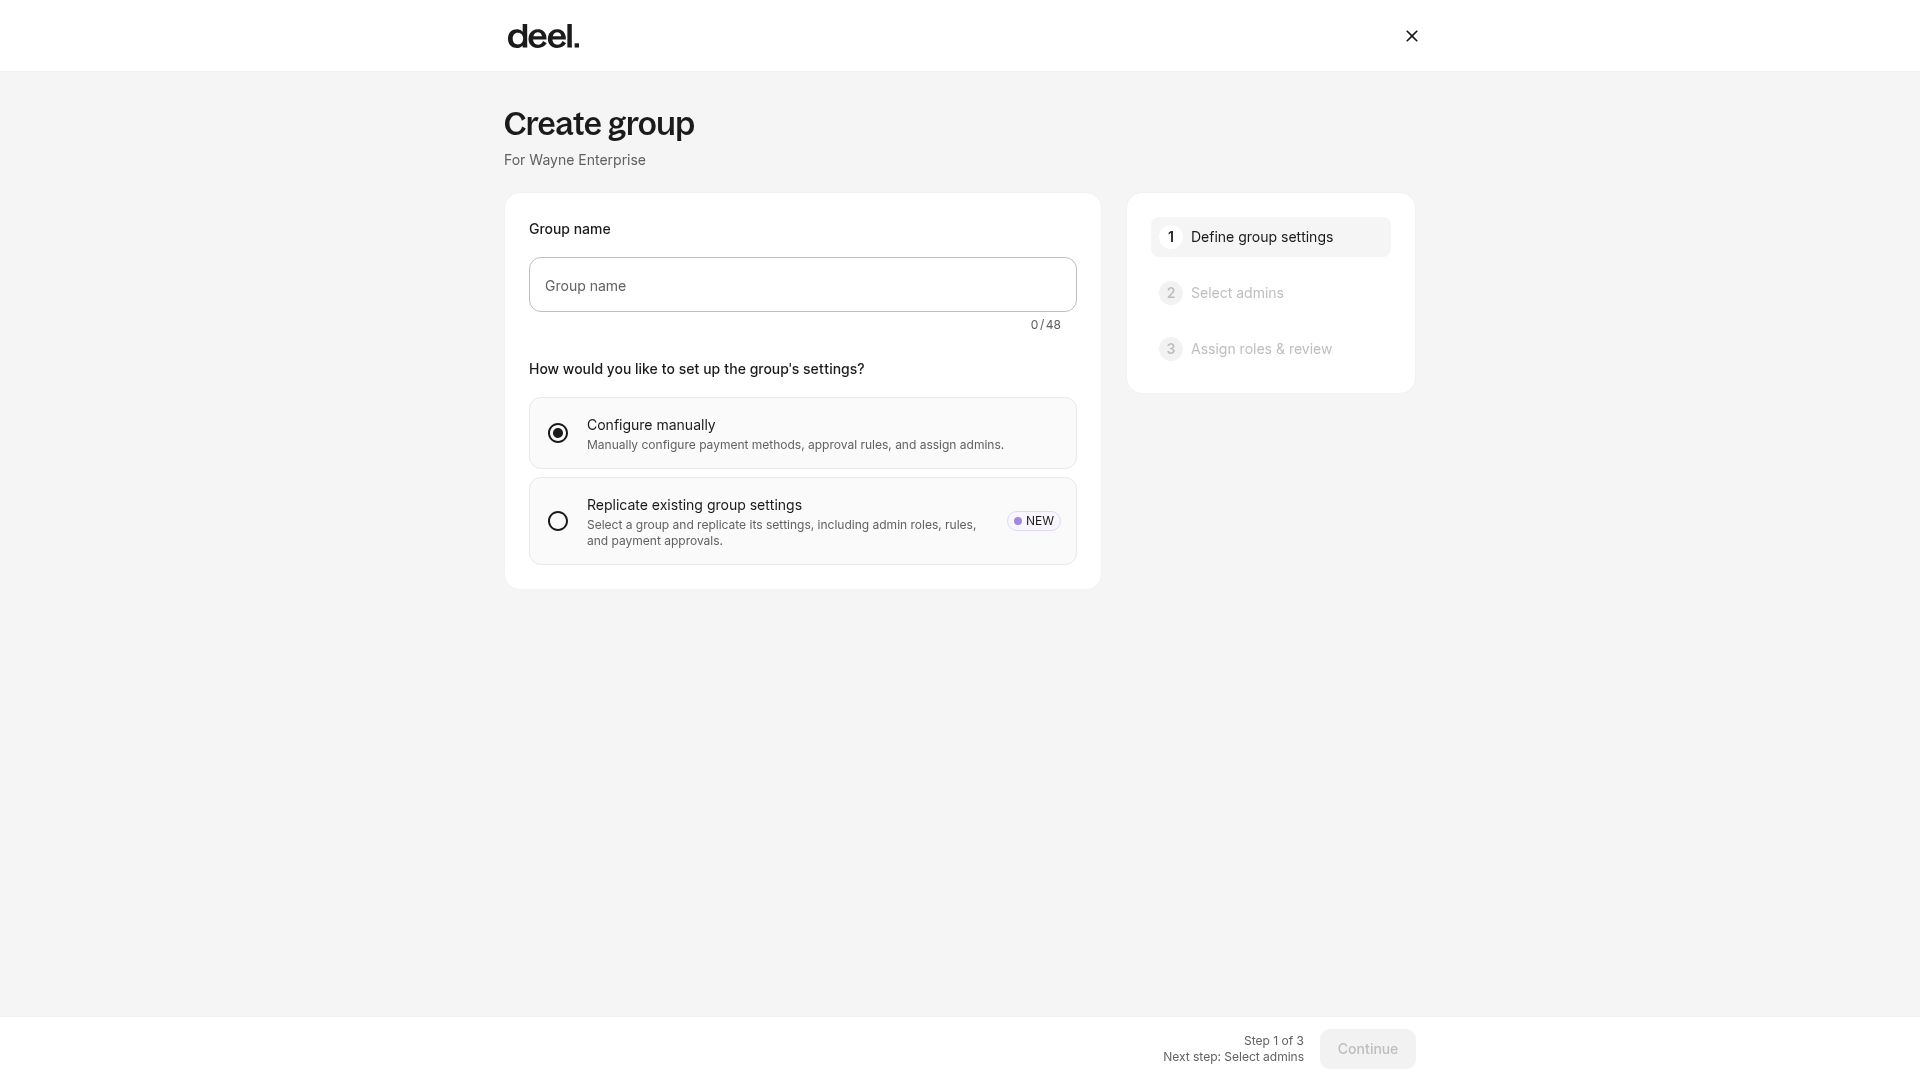
In the Create group form, enter a Group name.
Choose whether to Configure manually or Replicate existing group settings.
Continue through the remaining steps to select admins and assign roles and review the group.
Verify that the page heading reads Create group and that the form shows the Group name field, the two setup options, and the progress panel: 1 Define group settings, 2 Select admins, and 3 Assign roles & review.