
This article explains how to set up and use the SAML 2.0 Integration, so your organization can rely on Single Sign-On, using Azure as the Identity Provider, and require employees to authenticate using your Azure Users directory.
How to connect the SAML 2.0 Connector integration
To set up SSO using the SAML protocol, you need to connect to the "SAML 2.0" integration. Only organization admins are able to connect integrations on behalf of the organization.
✅ Step 1 - In the left sidebar, select Apps & Automation to expand its submenu, then select App Store.
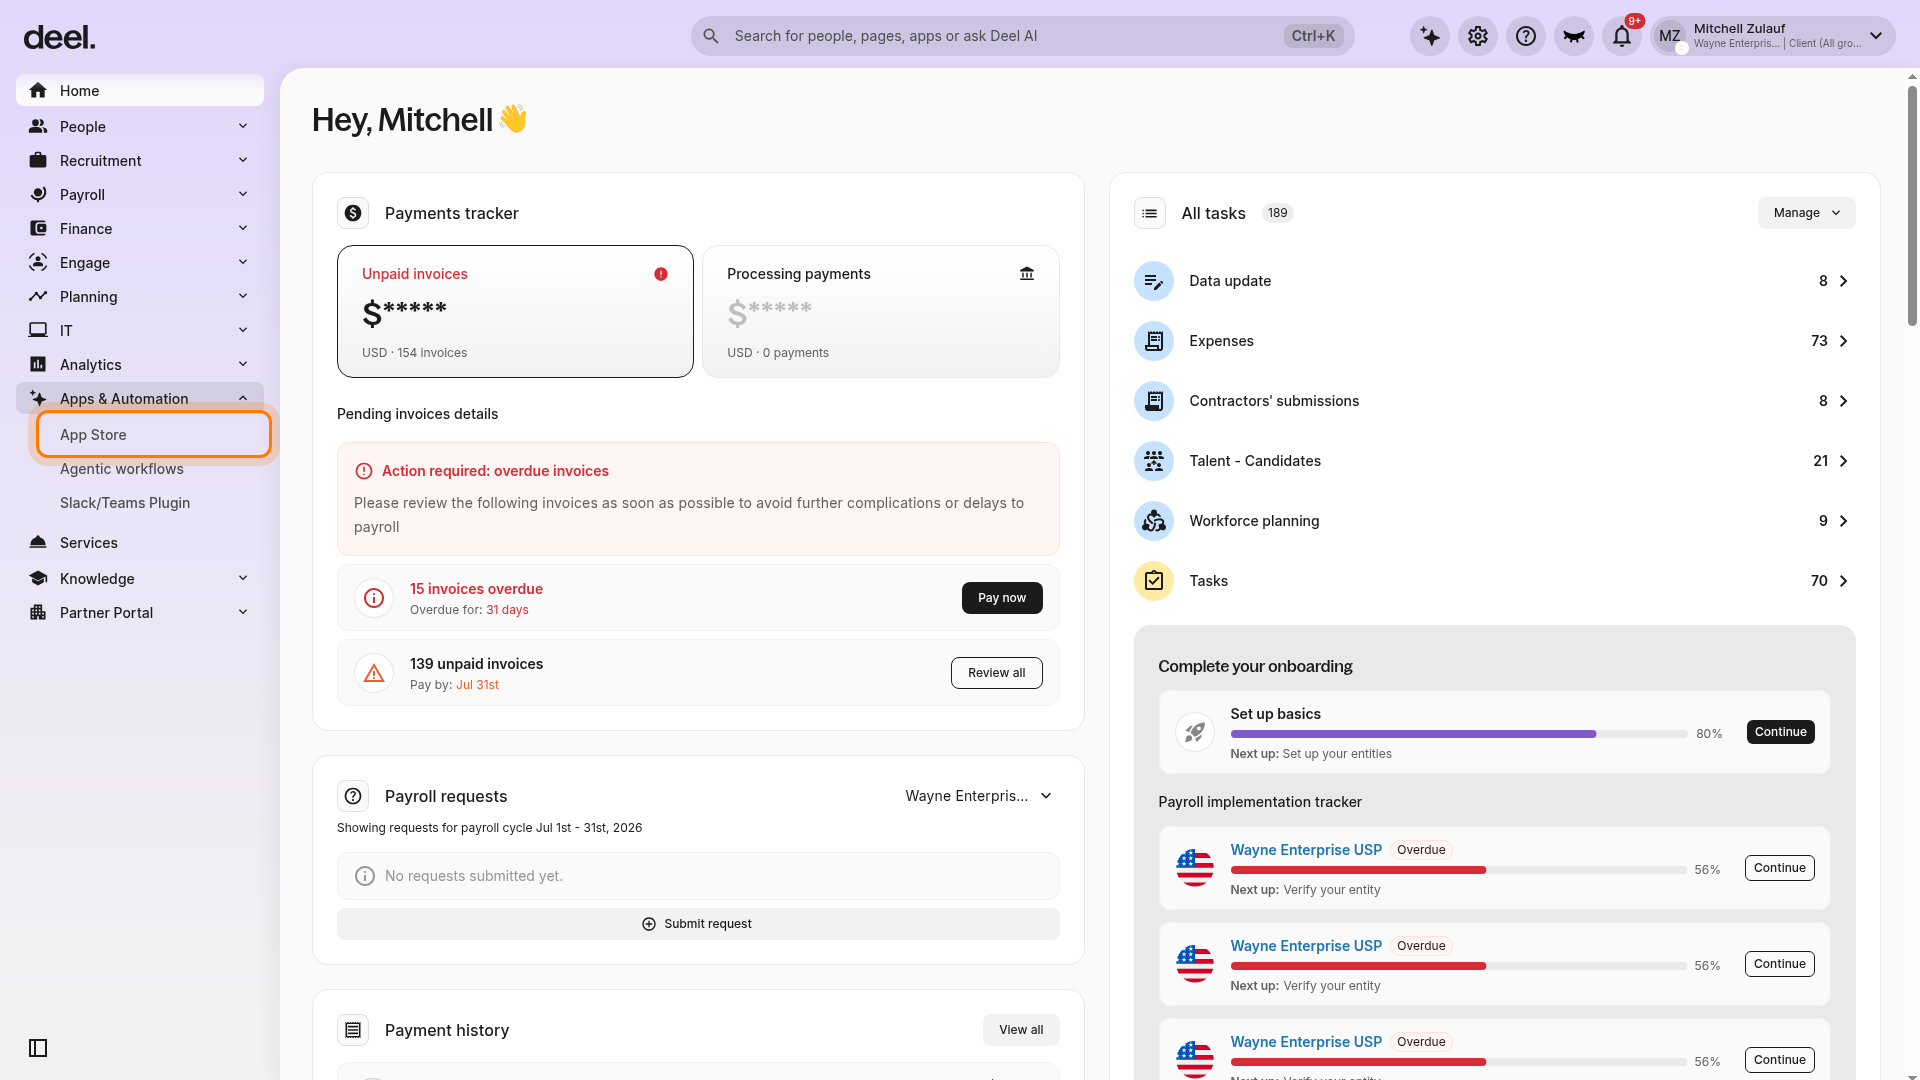
The Apps overview page opens. If a welcome dialog appears, select I’ll do that later to close it.
✅ Step 2 - In the left panel, select the Find apps search field and enter SAML 2.0.
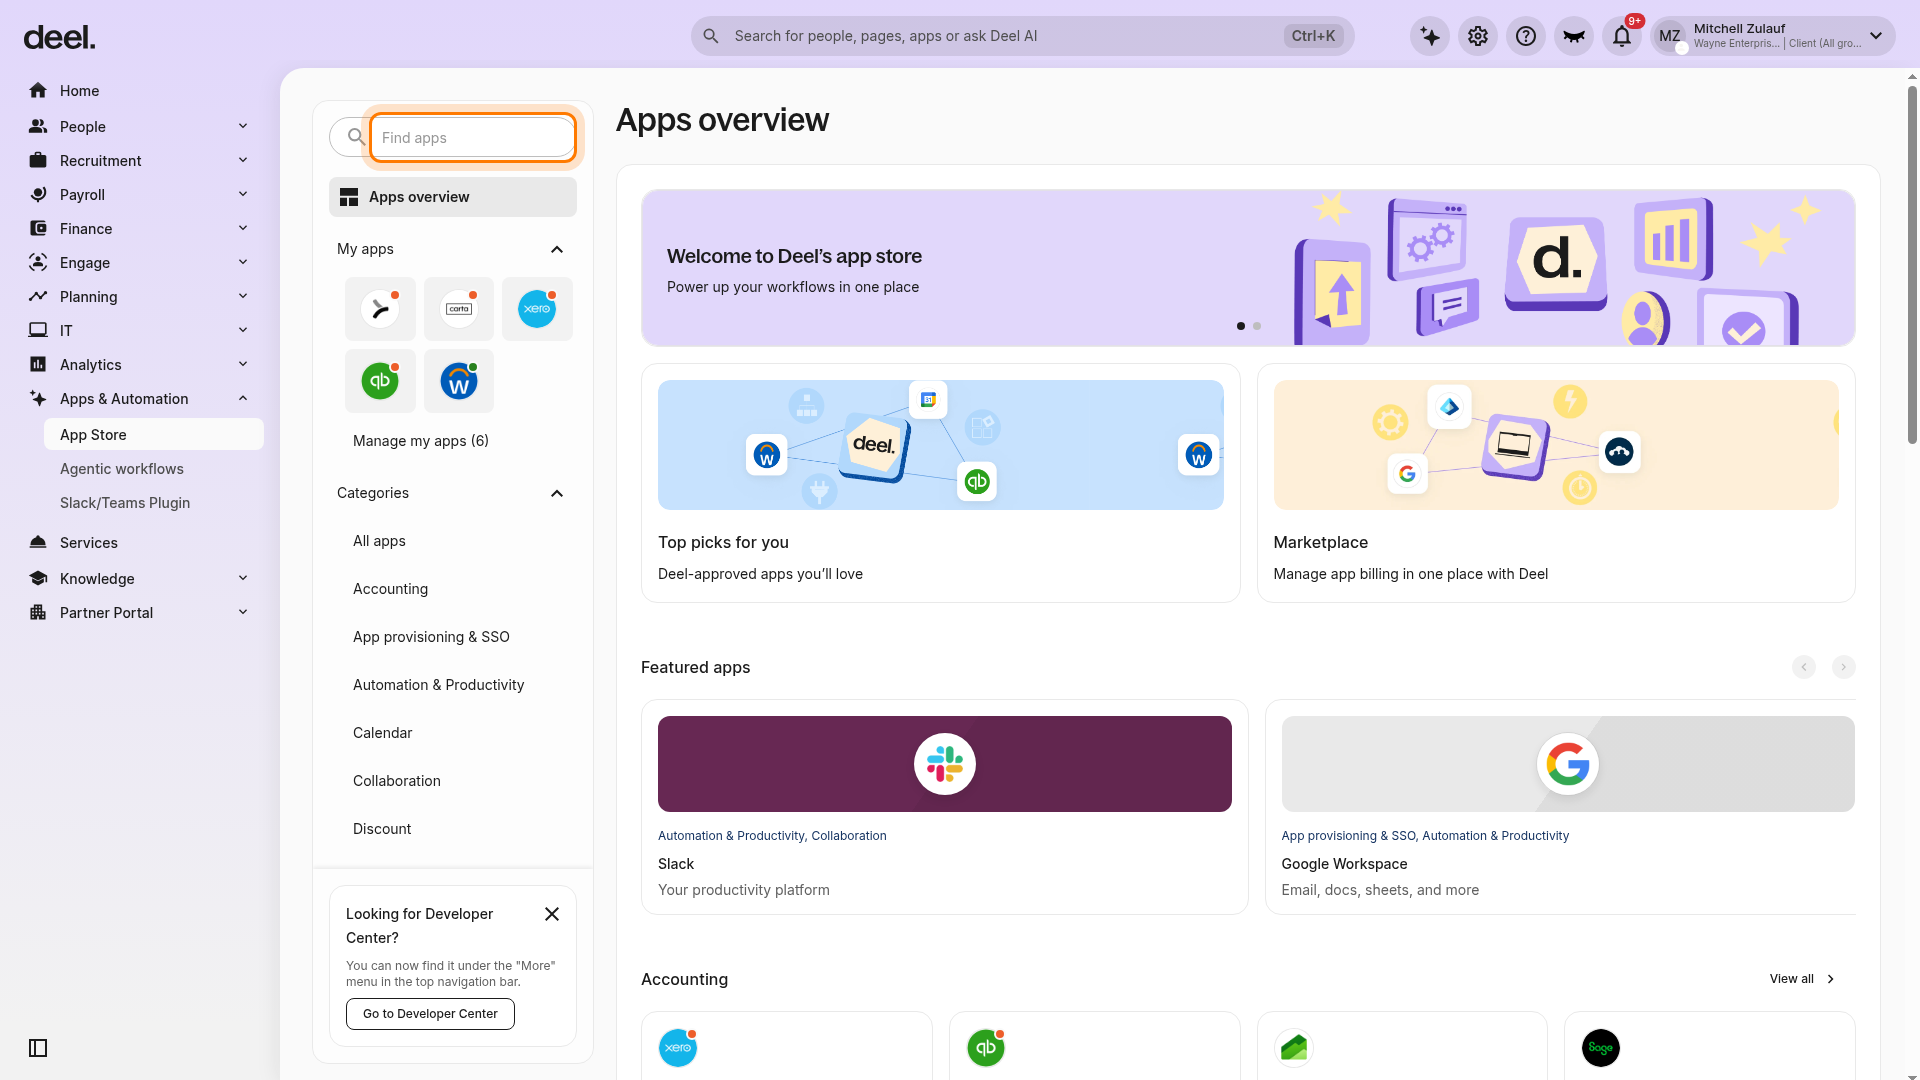
✅ Step 3 - Select SAML 2.0 Connect from the search results.
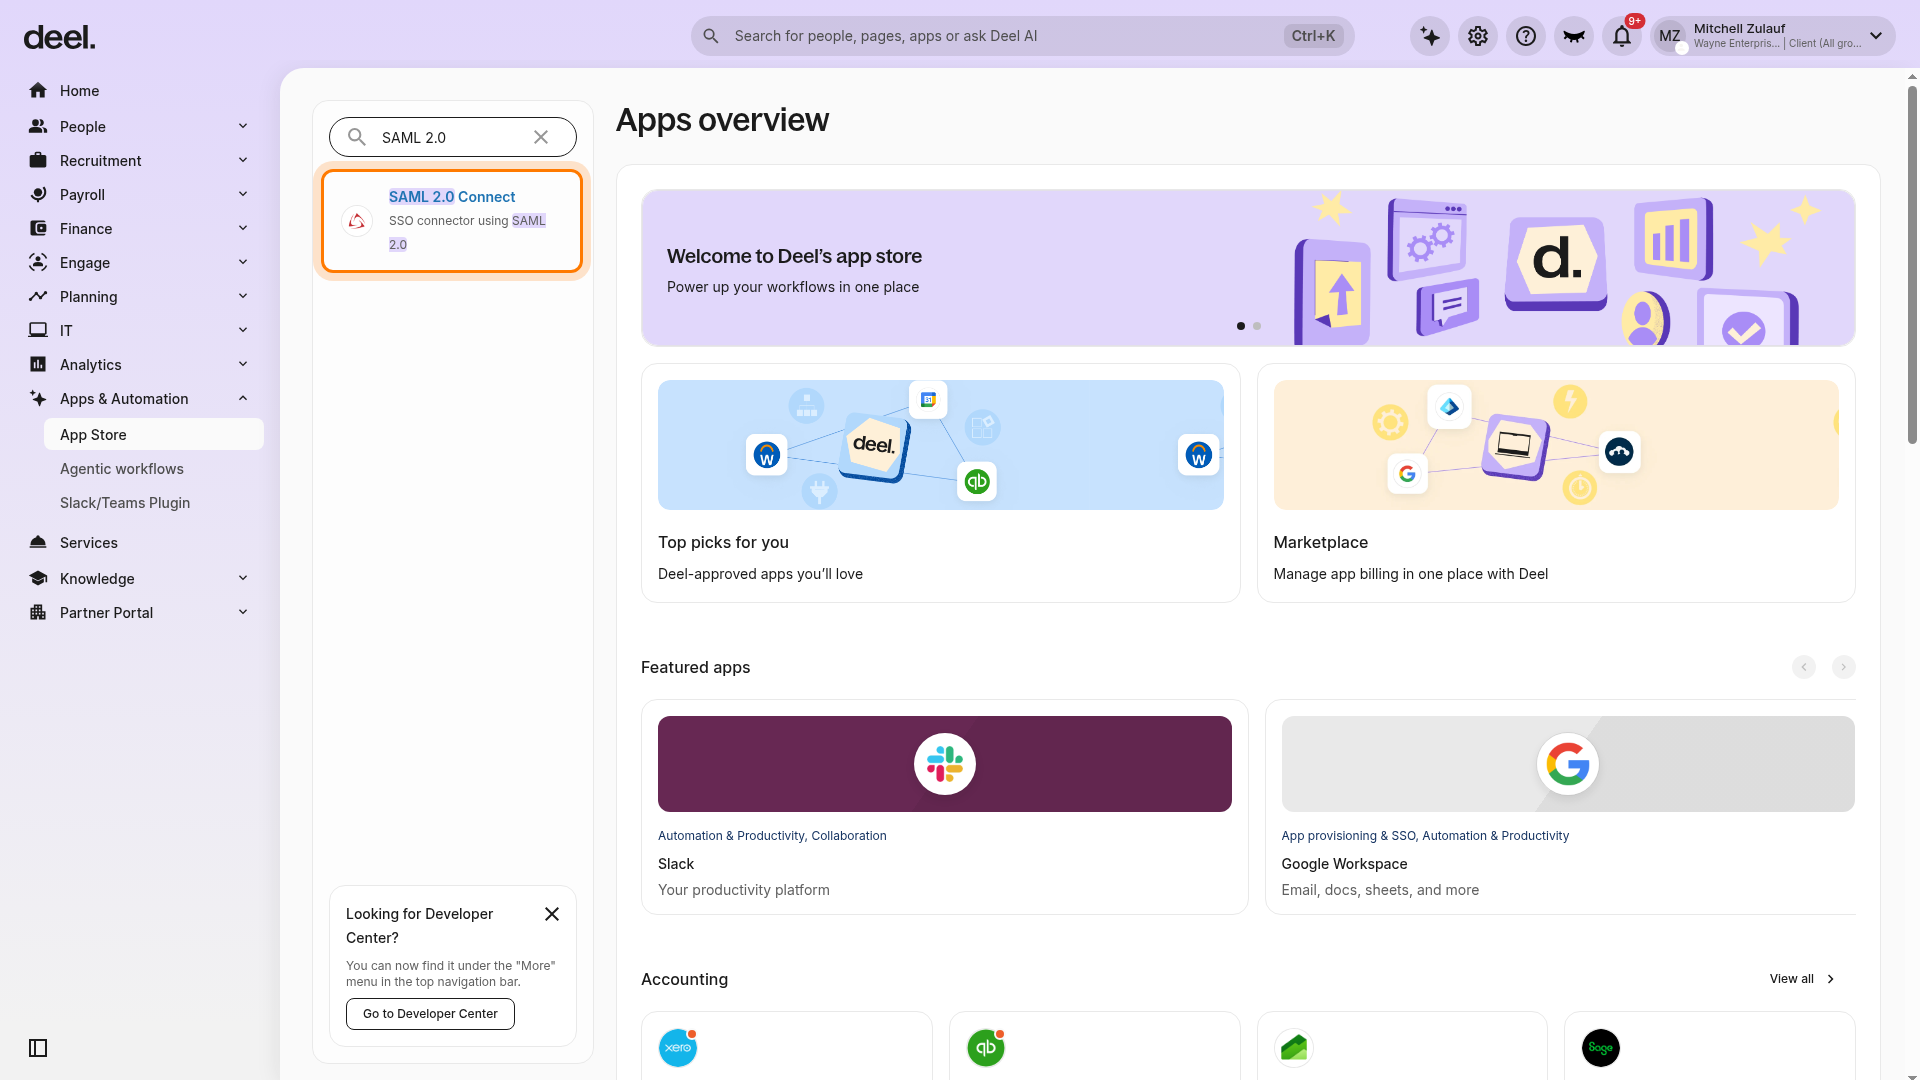
The SAML 2.0 Connect integration details page opens.
✅ Step 4 - Select Connect SAML 2.0 Connect in the upper-right corner.
The SAML 2.0 Connect setup form opens. Keep this form open while you complete the Azure configuration.
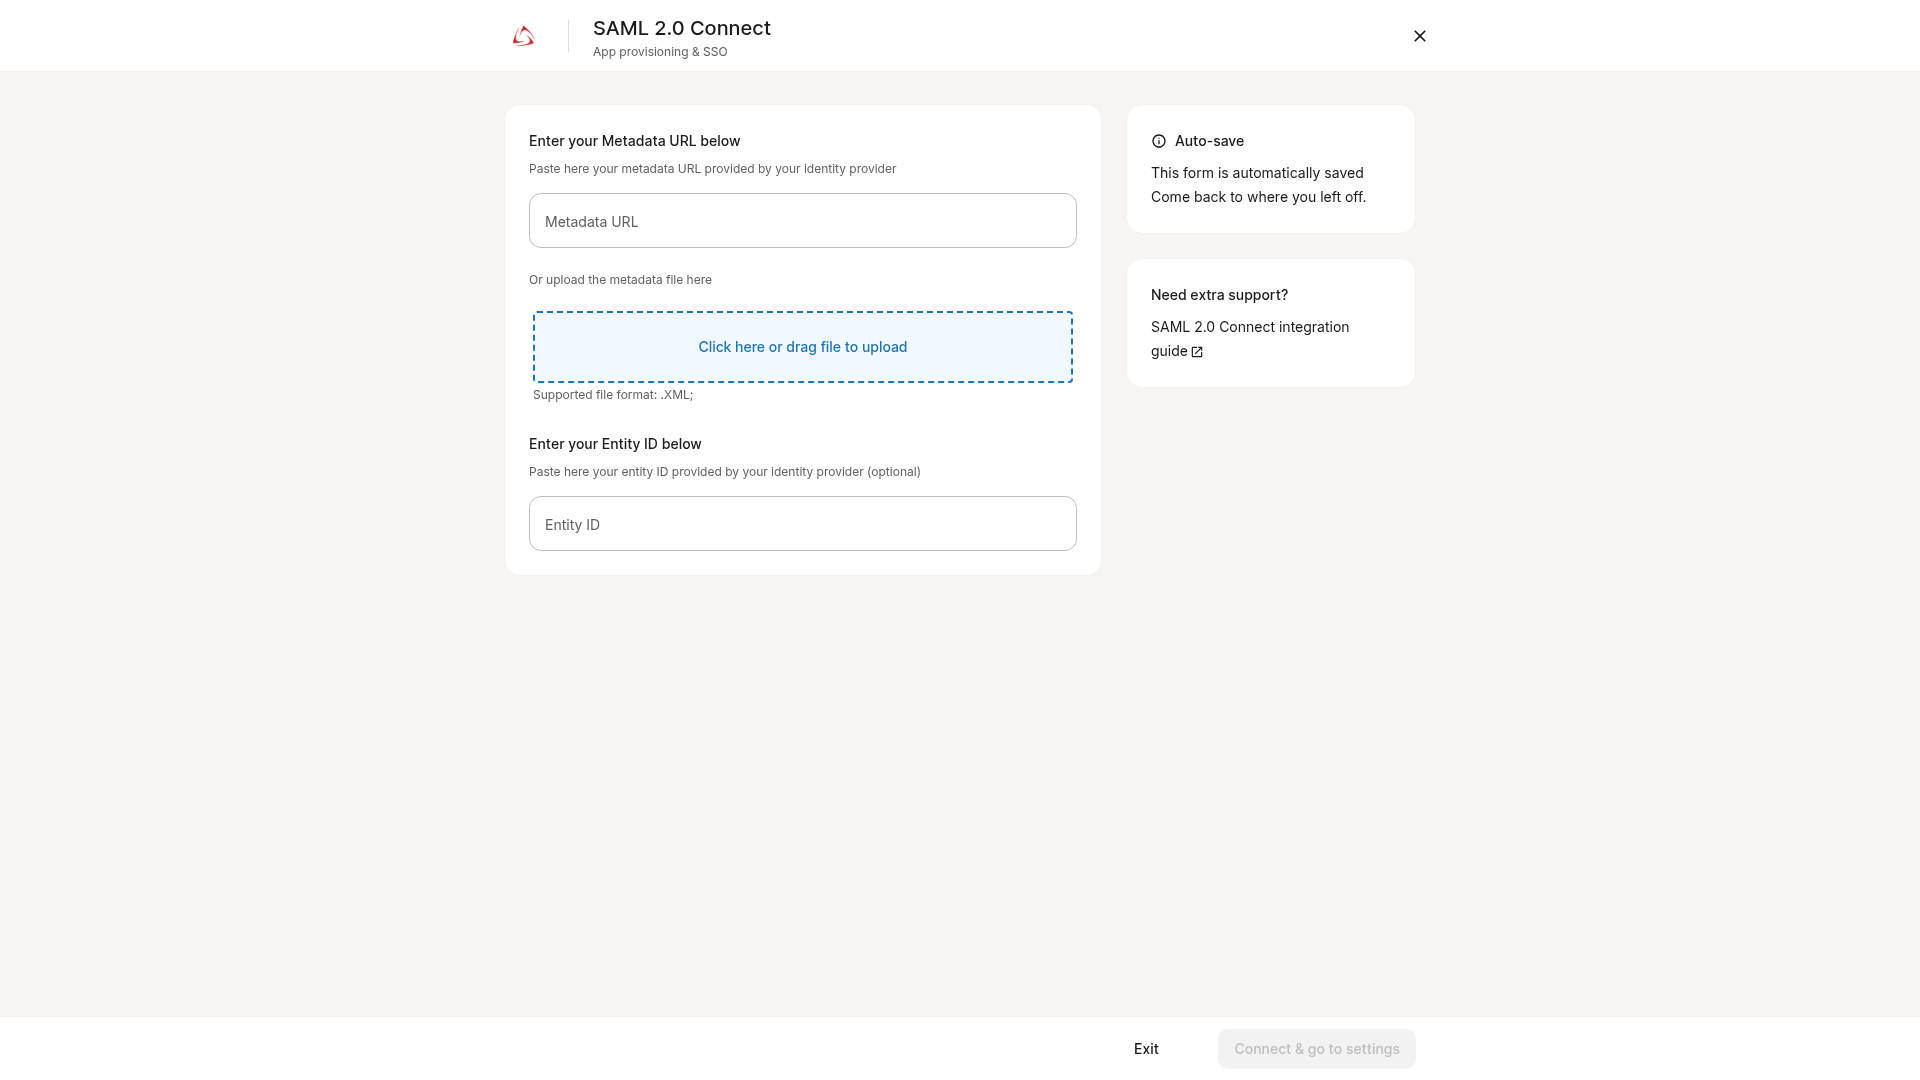
The form contains a Metadata URL field, an option to upload an XML metadata file, and an optional Entity ID field. It saves your progress automatically.
How to set up a new Azure Enterprise Application
To set up a new Enterprise Application in the Microsoft Entra ID service, follow these steps:
✅ Step 1 - Go to the Microsoft Entra ID service.
✅ Step 2 - Select Add > Enterprise application, then select Create your own application.
✅ Step 3 - Name the application, for example, Deel, and select Integrate any other application not found in the gallery (Non-gallery). After the application is created, assign the required users and groups to it.
✅ Step 4 - In the application’s left navigation, select Single sign-on, then choose SAML.
✅ Step 5 - In the SAML certificates section, copy the App Federation Metadata URL. Return to the Deel SAML 2.0 Connect setup form and paste it into the Metadata URL field. Alternatively, upload the federation metadata XML file.
✅ Step 6 - In Deel, enter an Entity ID if required for your configuration, then select Connect & go to settings. Use the same Entity ID in Azure.
✅ Step 7 - After the integration connects, name it and copy the Redirect URL shown in Deel. You will use this as the Reply URL in Azure.
✅ Step 8 - Return to Azure. In Basic SAML Configuration, select Edit.
✅ Step 9 - Under Identifier (Entity ID), select Add identifier and enter the same Entity ID used in Deel.
✅ Step 10 - Under Reply URL (Assertion Consumer Service URL), select Add reply URL and paste the Redirect URL from Deel. Save the configuration.
✅ Step 11 - In Azure, select Properties. Confirm that the application is enabled for users to sign in, configure whether it is visible to users, and set whether user assignment is required. Save your changes.
✅ Step 12 - Return to Deel’s SAML 2.0 Connect SSO settings and select Enable to enable SSO for the organization.
FAQ
[ACCORDION] Does this integration support LastPass?
No, this integration currently doesn't support LastPass.