
This article explains how to set up and use the OpenId Connect Integration, so your organization can rely on Single Sign-On, using Ping Identity as the Identity Provider, and require employees to authenticate using your Ping Users directory.
In this article
- How to connect the OpenId Connect integration
- How to set up a new Ping application
- Frequently Asked Questions
- Troubleshooting OIDC Authentication Errors
How to connect the OpenId Connect integration
To set up SSO using the OIDC protocol, you need to connect to the OpenId Connect integration. Only organization admins are able to connect integrations on behalf of the organization.
Before you begin, make sure you can access the Deel App Store and Ping admin dashboard at the same time. Confirm that all affected users are provisioned in Ping and assigned access to the Deel application before enabling SSO.
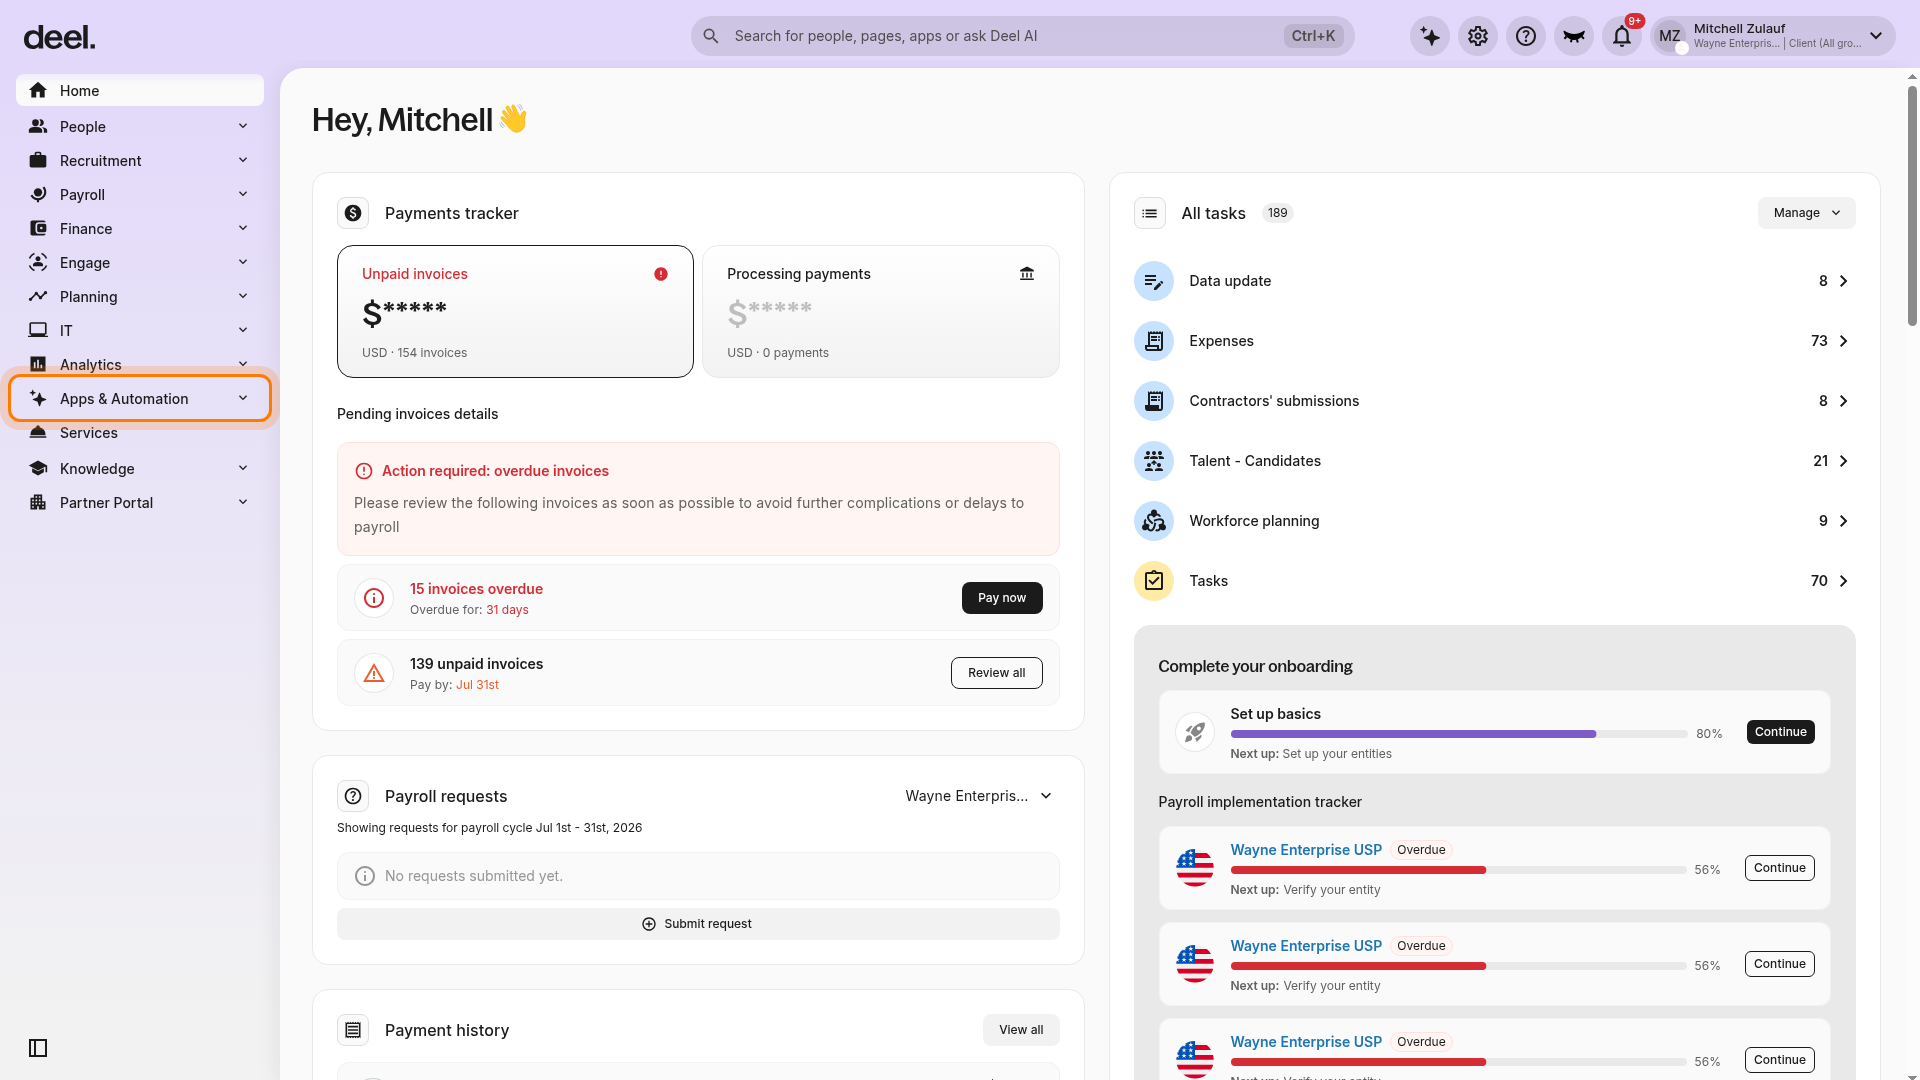
In Deel’s left sidebar, select Apps & Automation to expand the menu.
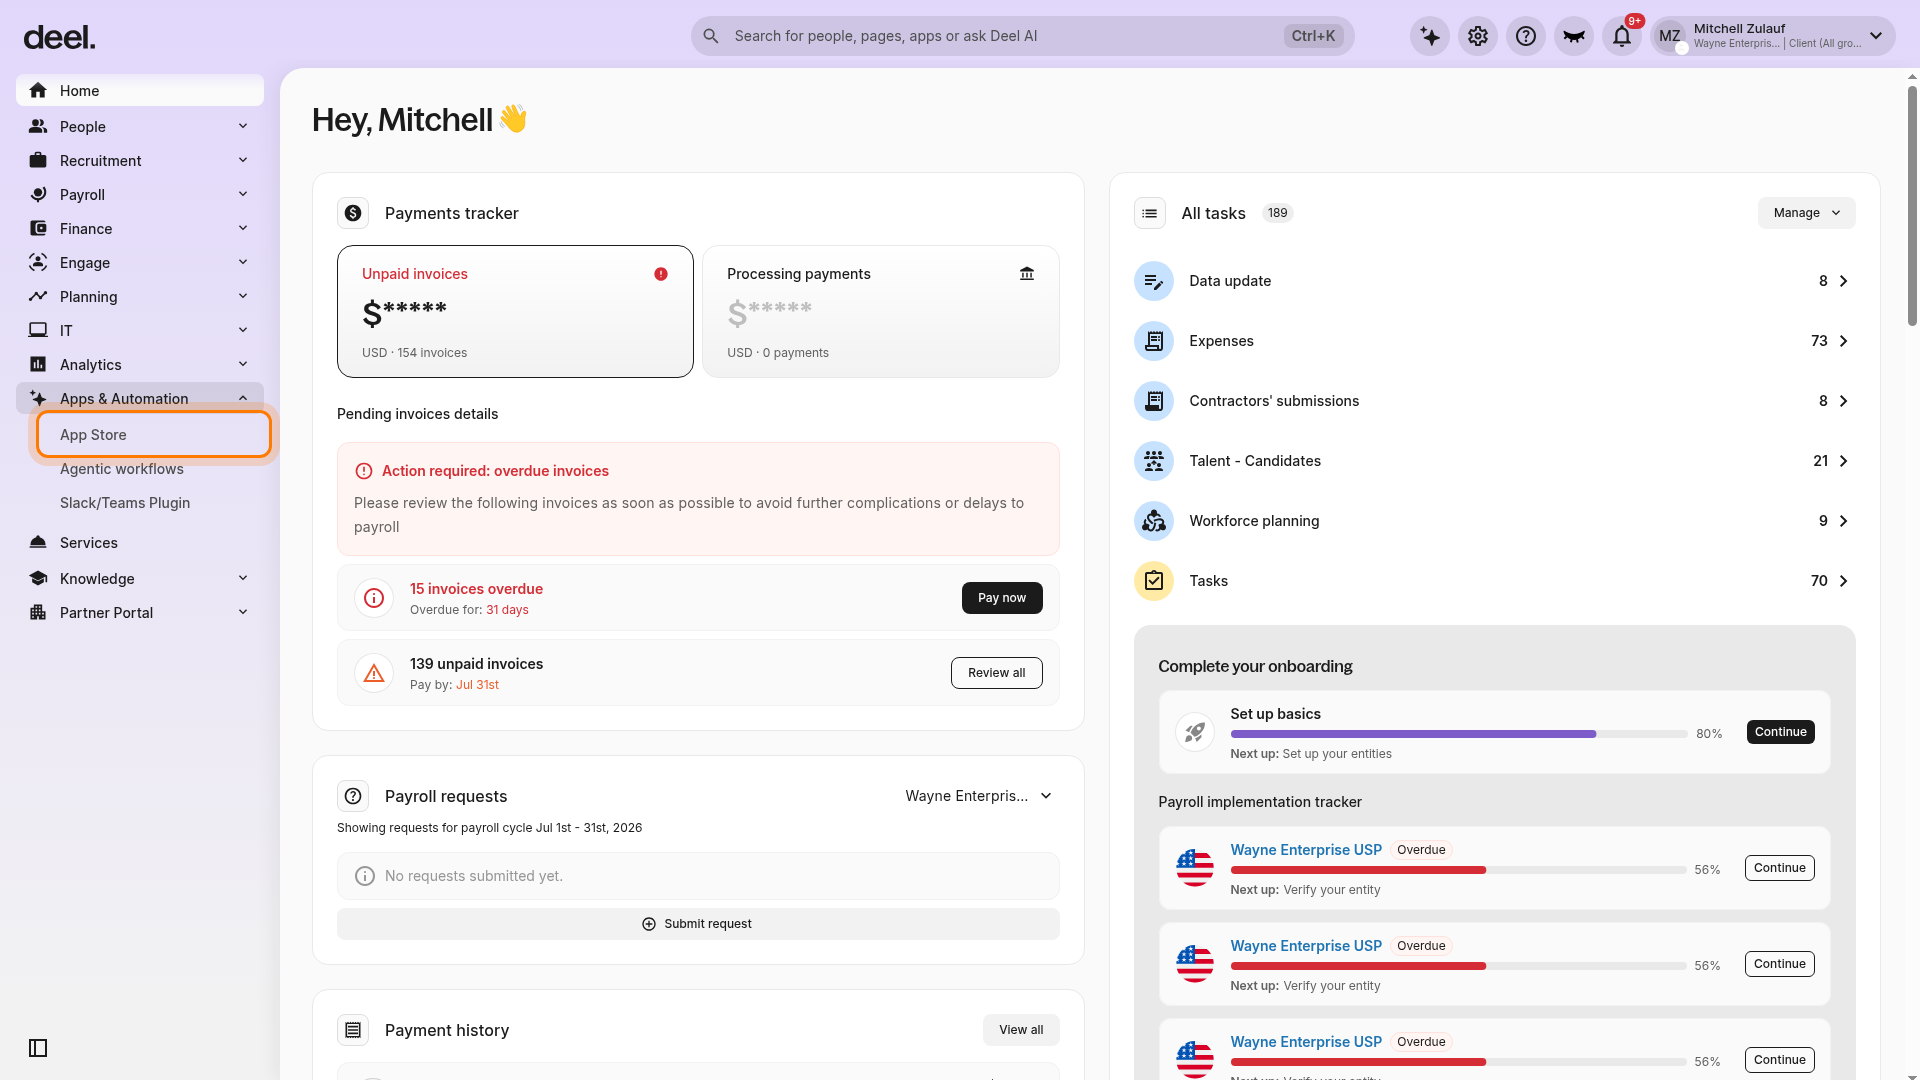
Select App Store from the expanded menu. The Apps overview page opens. If a welcome dialog appears, close it using the X in the upper-right corner. This optional dialog does not affect the connection process.
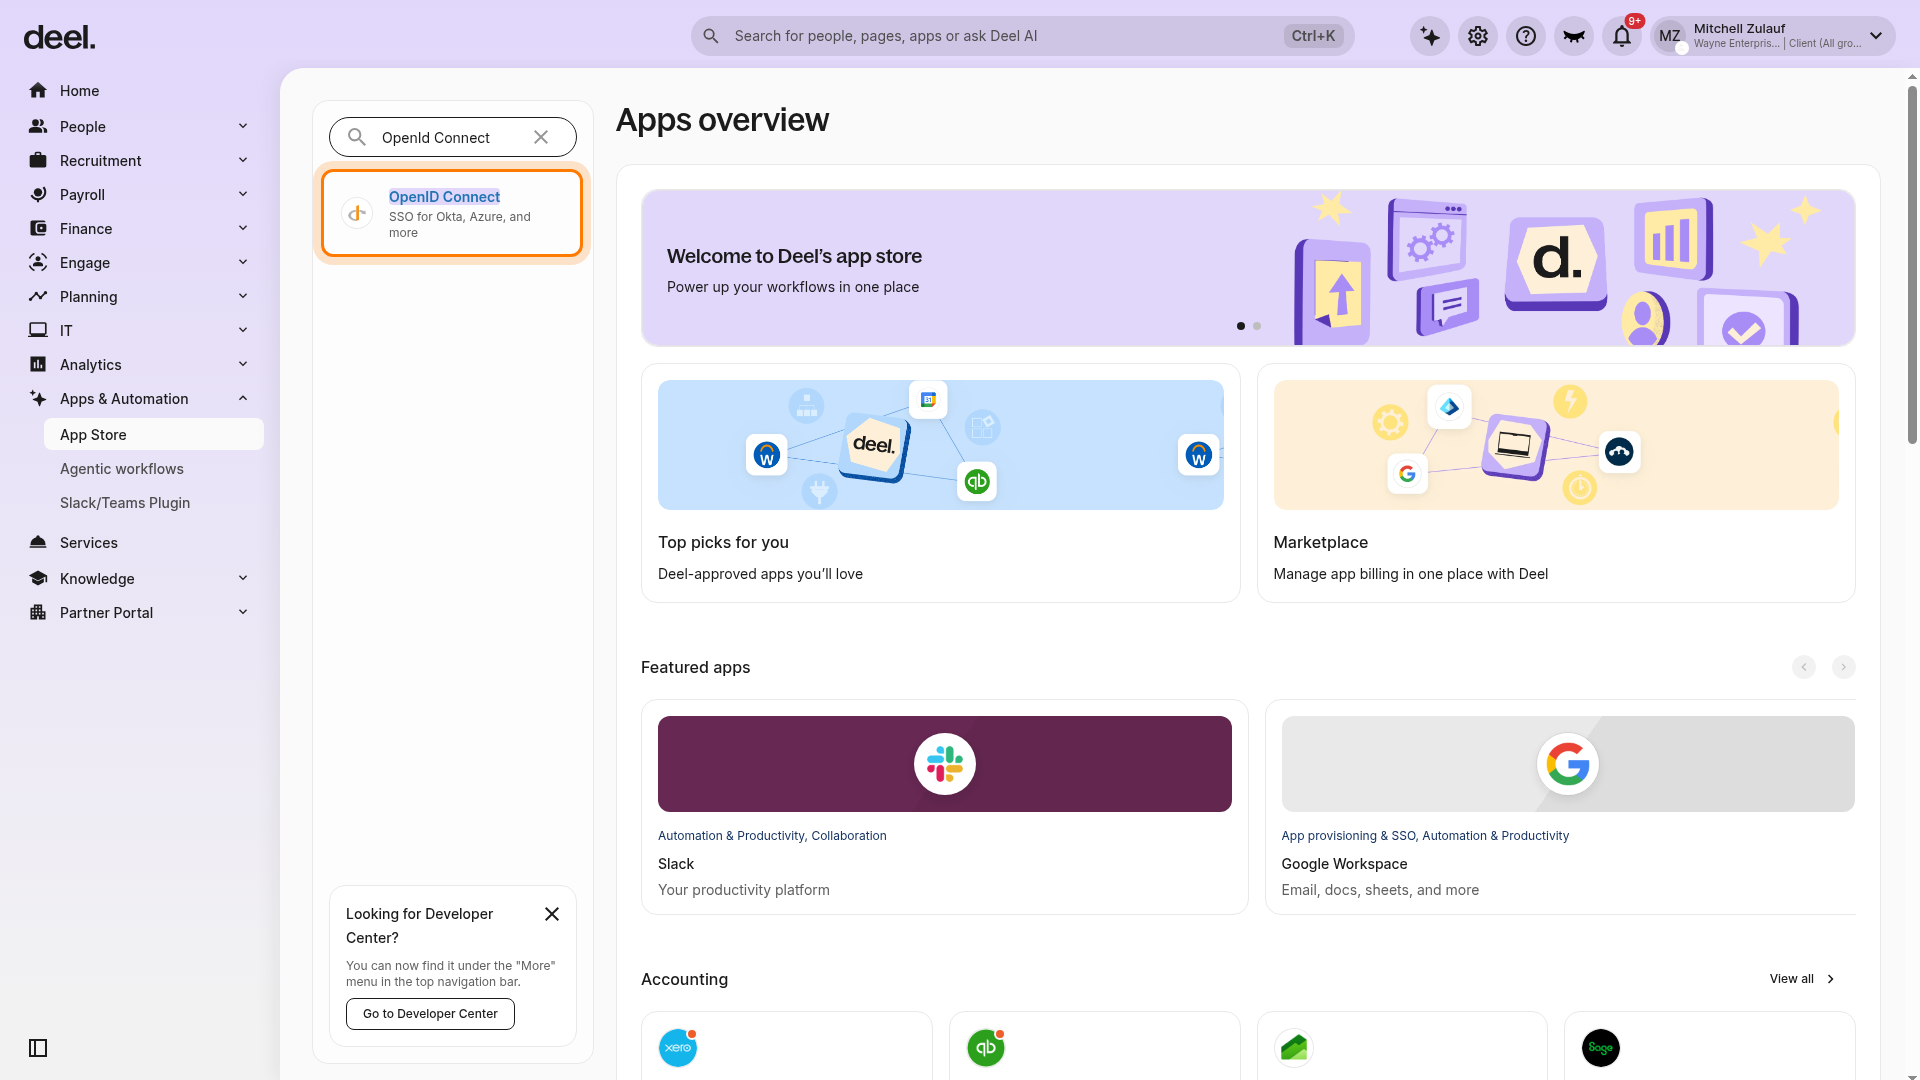
In the Find apps search field, enter OpenId Connect and press Enter. Select the result named OpenID Connect, described as SSO for Okta, Azure, and more.
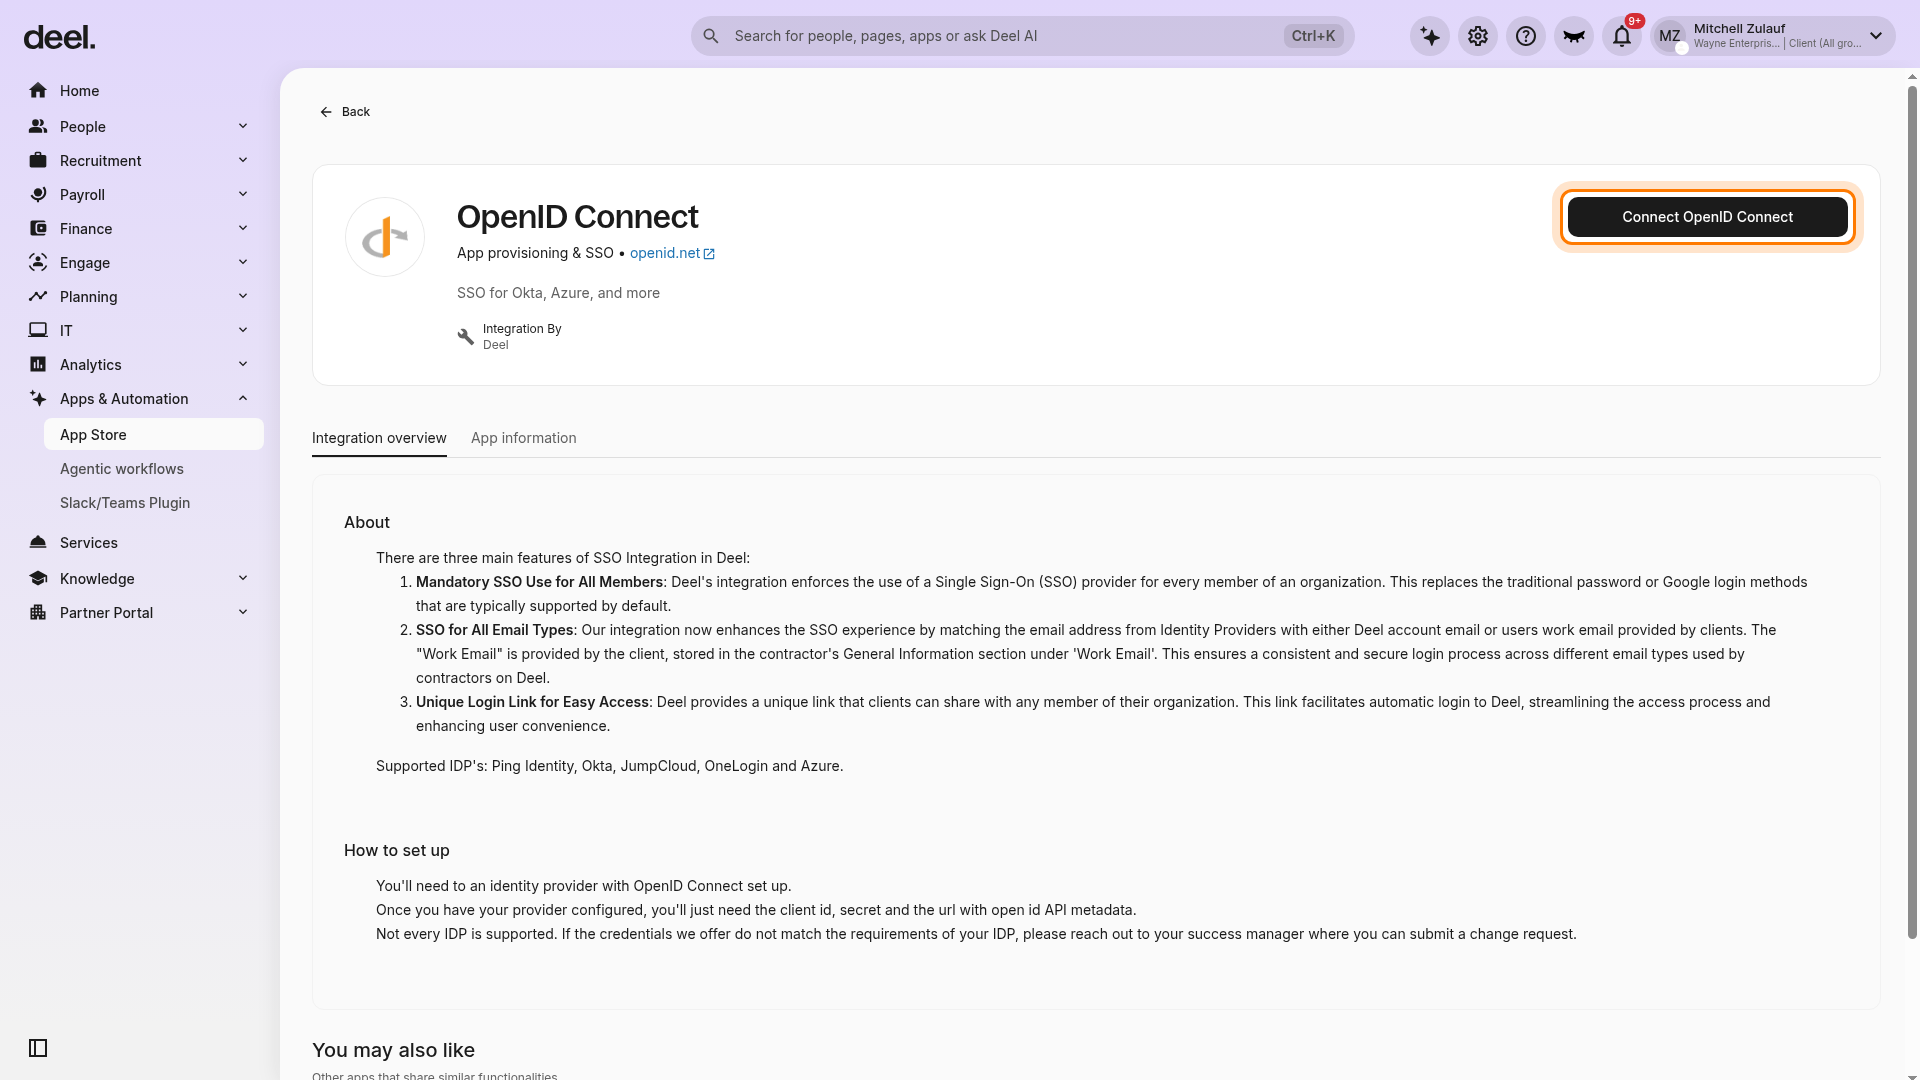
On the integration details page, confirm the page title is OpenID Connect. Select Connect OpenID Connect in the upper-right corner.
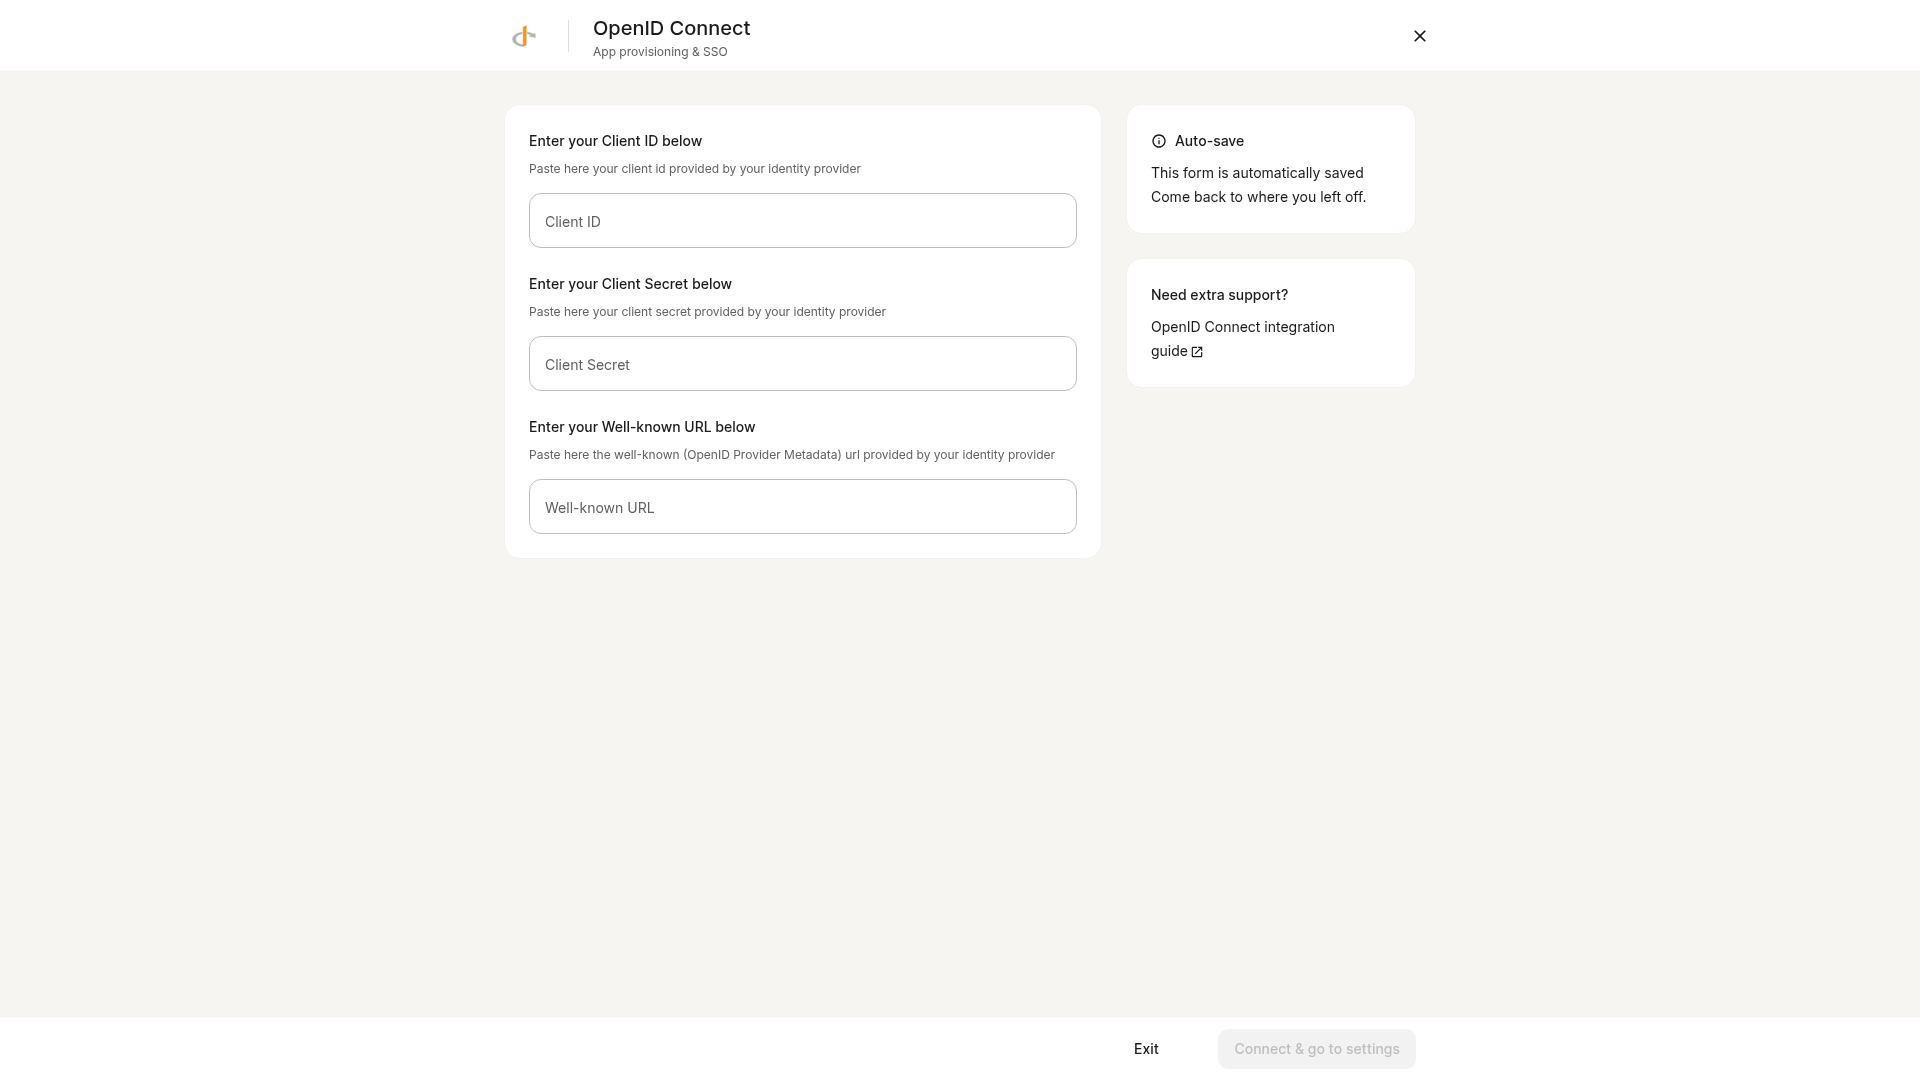
Keep the setup screen open while you configure Ping. Confirm that it shows fields for Client ID, Client Secret, and Well-known URL. The Well-known URL is the OpenID Provider Metadata URL supplied by Ping. The form auto-saves values entered later.
How to set up a new Ping application
To enable Deel to authenticate users via Ping using OIDC protocol, we'll need to create a new application, following these steps:
- Go to the Ping admin dashboard.
- Navigate to Applications > Applications, and click on the "+" button to create a new application.
- Enter the display name for the application, for example, "Deel", and select OIDC Web App. Click "Save".
- Copy the "Client ID" text and paste it in the corresponding field in Deel's connection settings.
- Copy the "Client Secret" and paste it in Deel's settings.
- Click the "Configuration" tab, expand the "URLs" menu, and copy the "OIDC Discovery Endpoint". Paste it in the "Well-known URL" input in Deel's settings, and click on "Connect & Go to Settings".
- In the Single Sign-On configurations panel, enter the name to identify the SSO method in your organization, and copy the Redirect URL.
- Go back to Ping, and click on the pencil button under the "Configuration" tab to edit the details for your OIDC application.
- Paste the redirect URL from Deel in the "Redirect URIs" field.
- In "Token Endpoint Authentication Method", select "Client Secret Post".
- Paste the redirect URL from Deel in the Initiate Login URL, and click "Save".
- Go to the "Resources" tab, and click on the pencil to edit the "Allowed Scopes". Select "Email" and click "Save".
- Go to the "Access" tab to configure group assignments so intended users can access the application.
- Lastly, enable your application by clicking on the switch button on the top-right.
- Back in Deel's SSO configuration panel, click on "Enable" to enable SSO login.
Once enabled, your organization will require SSO for any employee to login.
Caution: After SSO is enabled, all employees in your organization must use SSO to log in. Employees who cannot authenticate through Ping cannot log in to Deel. Before enabling SSO, ensure all users are provisioned in Ping, assigned access to the Deel application, and included in the configured group assignments.
To disable SSO at any given time, in Deel’s left sidebar expand Apps & Automation, then select App Store. Search for OpenId Connect and select OpenID Connect from the results. On the connected integration, select the More icon, then select Disconnect. Stop when the disconnect confirmation modal appears. Review the impact and confirm the disconnection only if you are authorized to finalize the change.
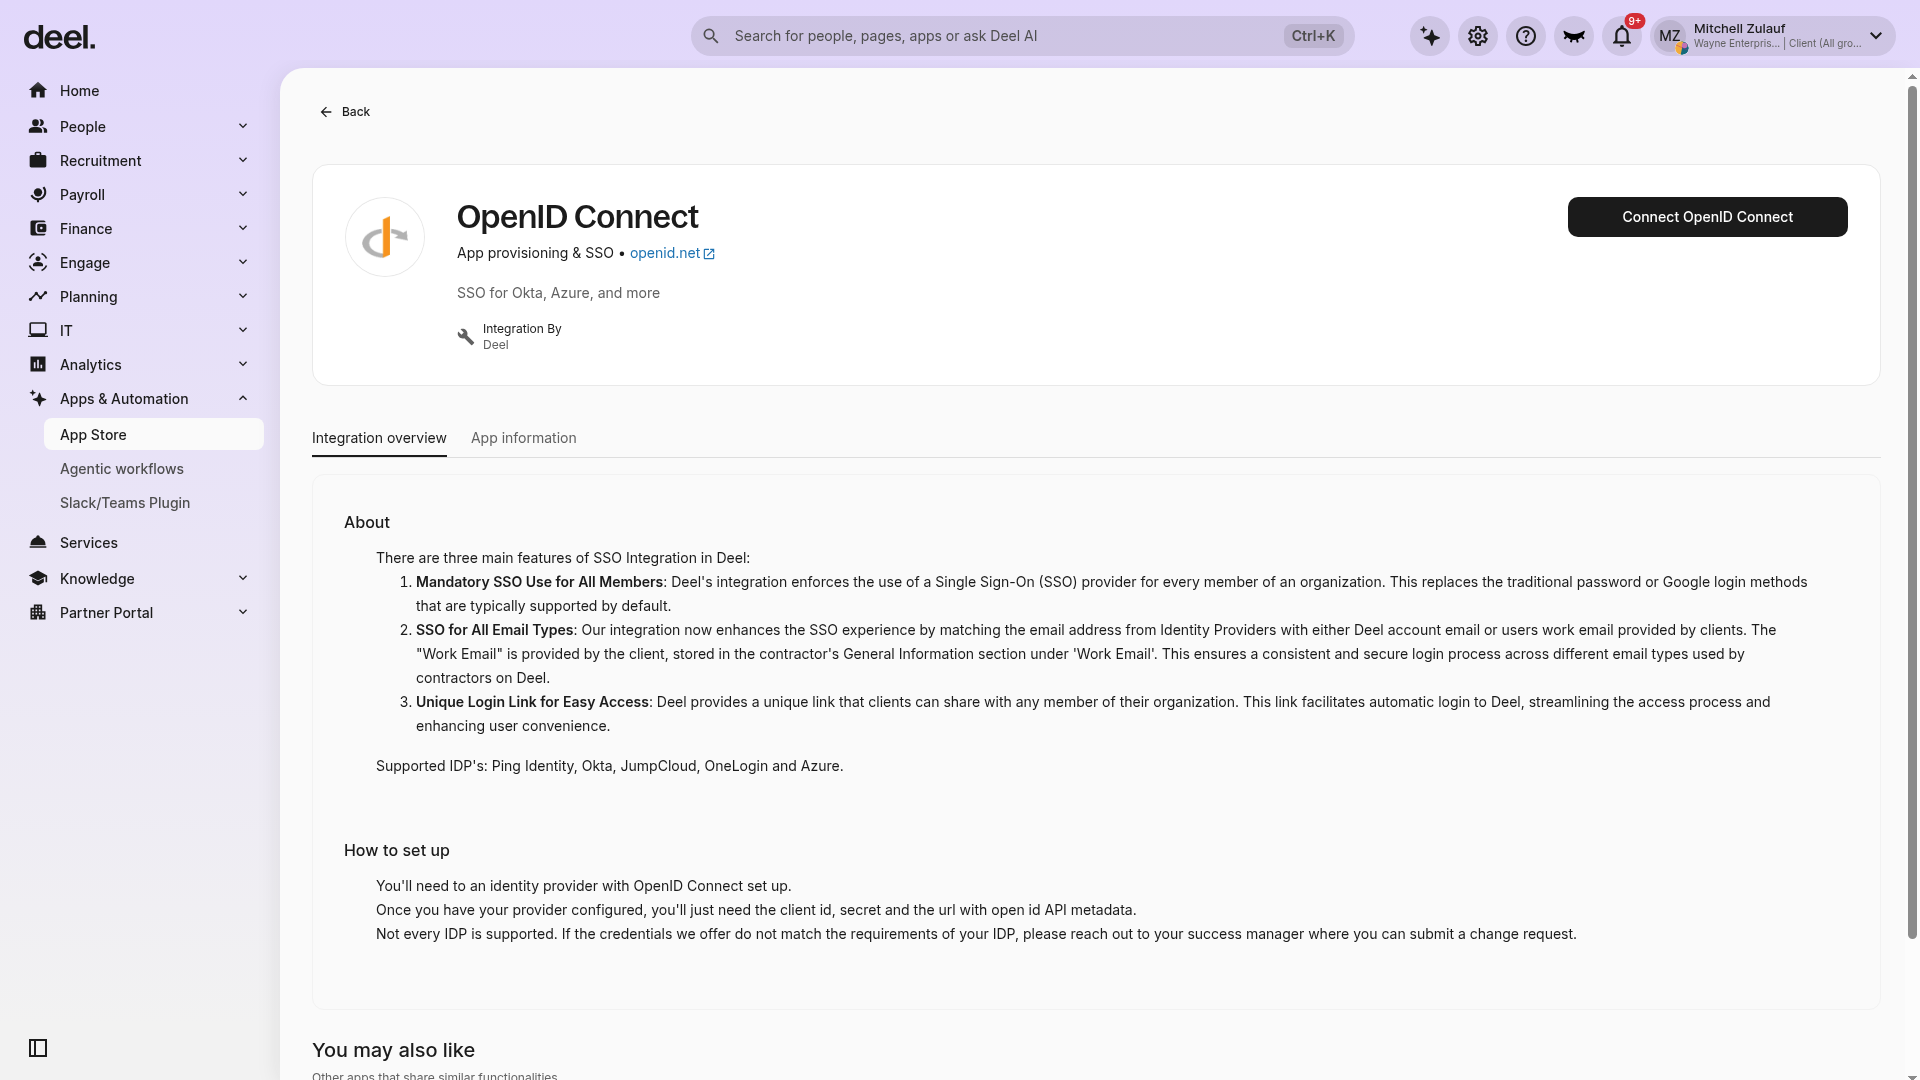
If the integration details page displays Connect OpenID Connect instead of a More icon and Disconnect, OpenID Connect is not connected in the organization. There is nothing to disconnect.
Frequently Asked Questions
Who can connect integrations on behalf of an organization in Deel?
Only Org Admins with permission to manage organization apps and integrations can connect integrations in the Deel App Store.
How do I disable SSO after it has been enabled?
Open Apps & Automation in the left sidebar, select App Store, search for and open OpenID Connect, then select More > Disconnect. Deel displays a disconnect confirmation modal. Review the access impact and confirm only when you are authorized to complete the change.
If Connect OpenID Connect is displayed instead, the integration is already disconnected or has not been configured.
What happens to employees who cannot access Ping Identity after SSO is enabled?
Employees who cannot authenticate through Ping cannot log in to Deel. Before enabling SSO, ensure all users are provisioned in Ping, assigned access to the Deel application, and included in the configured group assignments.
Troubleshooting OIDC Authentication Errors
| Problem | Did you try? | How to fix |
|---|---|---|
| The Connect OpenID Connect button is not visible | Confirming you have Org Admin permissions and opened the OpenID Connect integration details page | Ask your Org Admin to verify your role. In Deel, expand Apps & Automation, select App Store, search for OpenId Connect, select the OpenID Connect result, and then look for Connect OpenID Connect in the upper-right corner. |
| The OpenID Connect result does not appear | Verifying the search term | Enter OpenId Connect in Find apps, wait for results to refresh, and select OpenID Connect with the description SSO for Okta, Azure, and more. |
| A welcome dialog blocks the App Store | Checking for the close control | Select the X in the dialog’s upper-right corner. The dialog is informational and can be dismissed safely. |
| The Redirect URL is not accepted by Ping | Checking that the URL was copied exactly from Deel’s SSO configuration panel | Re-copy the Redirect URL from Deel and paste it into both Redirect URIs and Initiate Login URL in Ping. |
| Employees cannot log in after SSO is enabled | Confirming all employees are provisioned in Ping and the Ping application is enabled | Verify that the Ping application is enabled, group assignments are configured, and the Email scope is selected under Allowed Scopes. |
| Disconnect is unavailable | Checking whether OpenID Connect is connected | If the details page shows Connect OpenID Connect, the integration is not currently connected and no disconnect action is available. |
If you experience 400 authentication errors after OIDC is enabled, this typically indicates that the stored credentials (Client ID or Client Secret) are no longer valid or have been regenerated.
Re-entering OIDC Credentials
If authentication fails with a 400 error:
- In Deel’s left sidebar, expand Apps & Automation, select App Store, and search for OpenID Connect.
- Click on the existing OpenID Connect integration.
- Click More › Edit Settings (or Manage).
- You will see the fields for Client ID, Client Secret, and Well-Known URL.
- In Ping Identity, generate new credentials if needed:
- Go to Applications and open your Deel OIDC application.
- Under the Configuration tab, locate Client Information.
- Regenerate the Client Secret if required.
- Copy the Client ID and new Client Secret.
- Return to Deel and paste the updated Client ID and Client Secret into the corresponding fields.
- Click Save or Update to apply the changes.
- Test authentication by logging out and attempting to log back in via SSO.
If 400 errors persist after re-entering credentials, verify in Ping that:
- The Redirect URI in Deel's integration settings matches the Redirect URIs configured in Ping's OIDC application.
- The service account has the correct permissions enabled.
- The OIDC Discovery Endpoint URL is still valid and accessible.