
This article explains how to set up and use the SAML 2.0 Connect integration so your organization can use Single Sign-On (SSO) with OneLogin as the identity provider. Employees can authenticate through your OneLogin user directory.
How to connect the SAML 2.0 Connector integration
To set up SSO using the SAML protocol, connect to the "SAML 2.0" integration. Only organization admins are able to connect integrations on behalf of the organization.
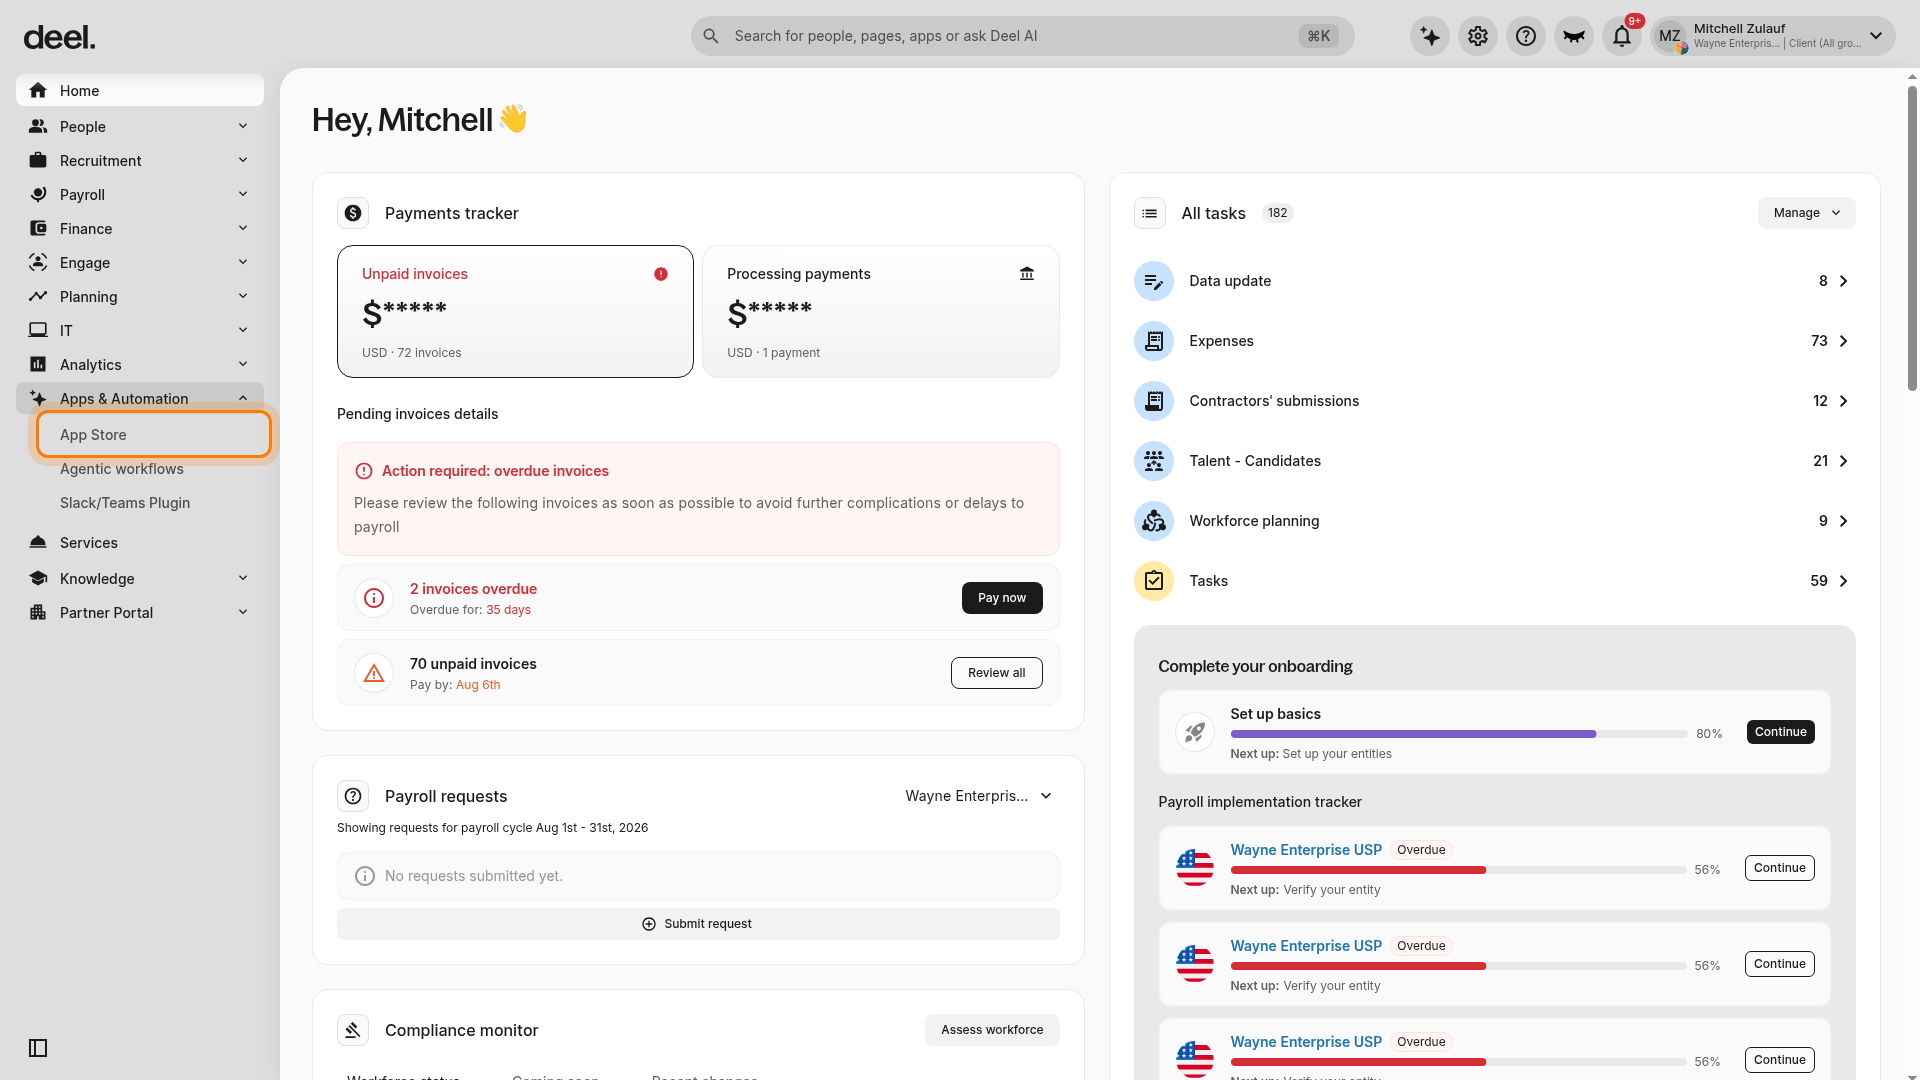
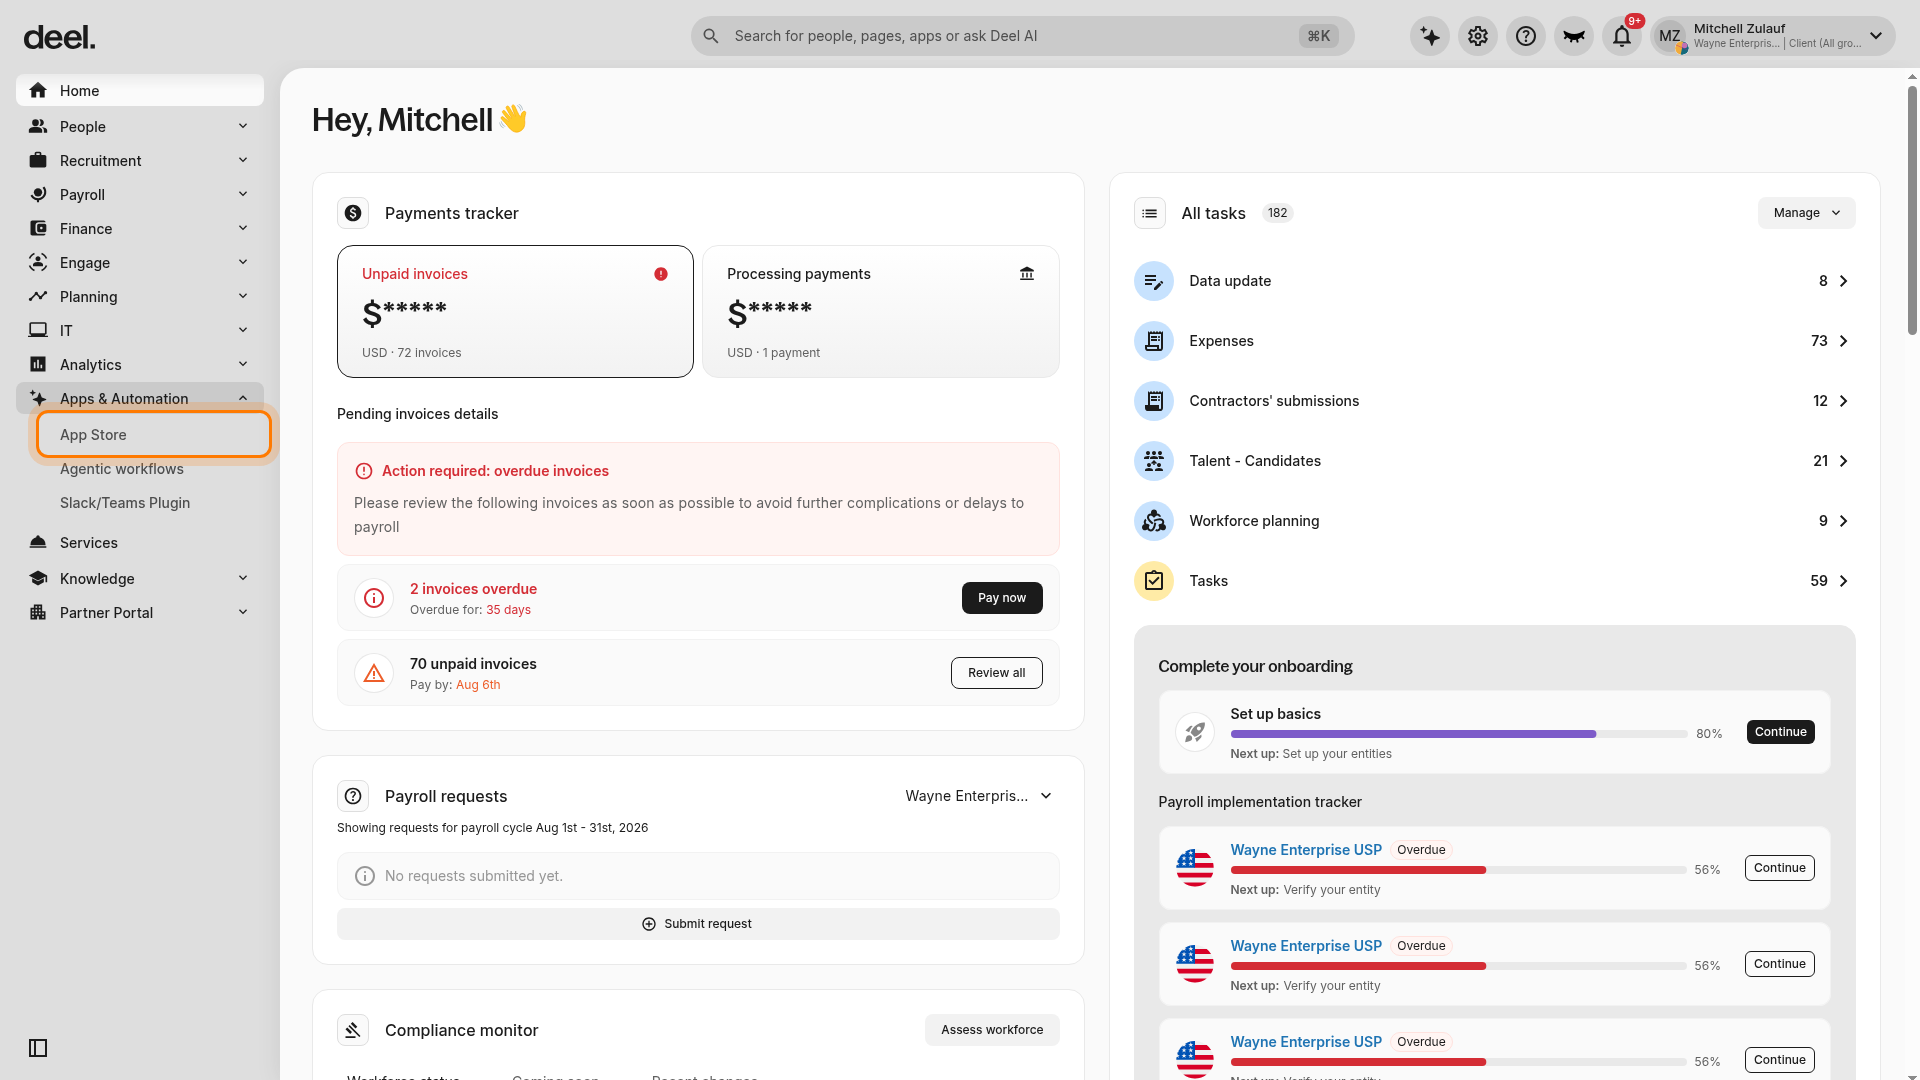
✅ Step 1 - In the left sidebar, select Apps & Automation to expand the section, then select App Store.
Expected result: The Apps overview page opens.
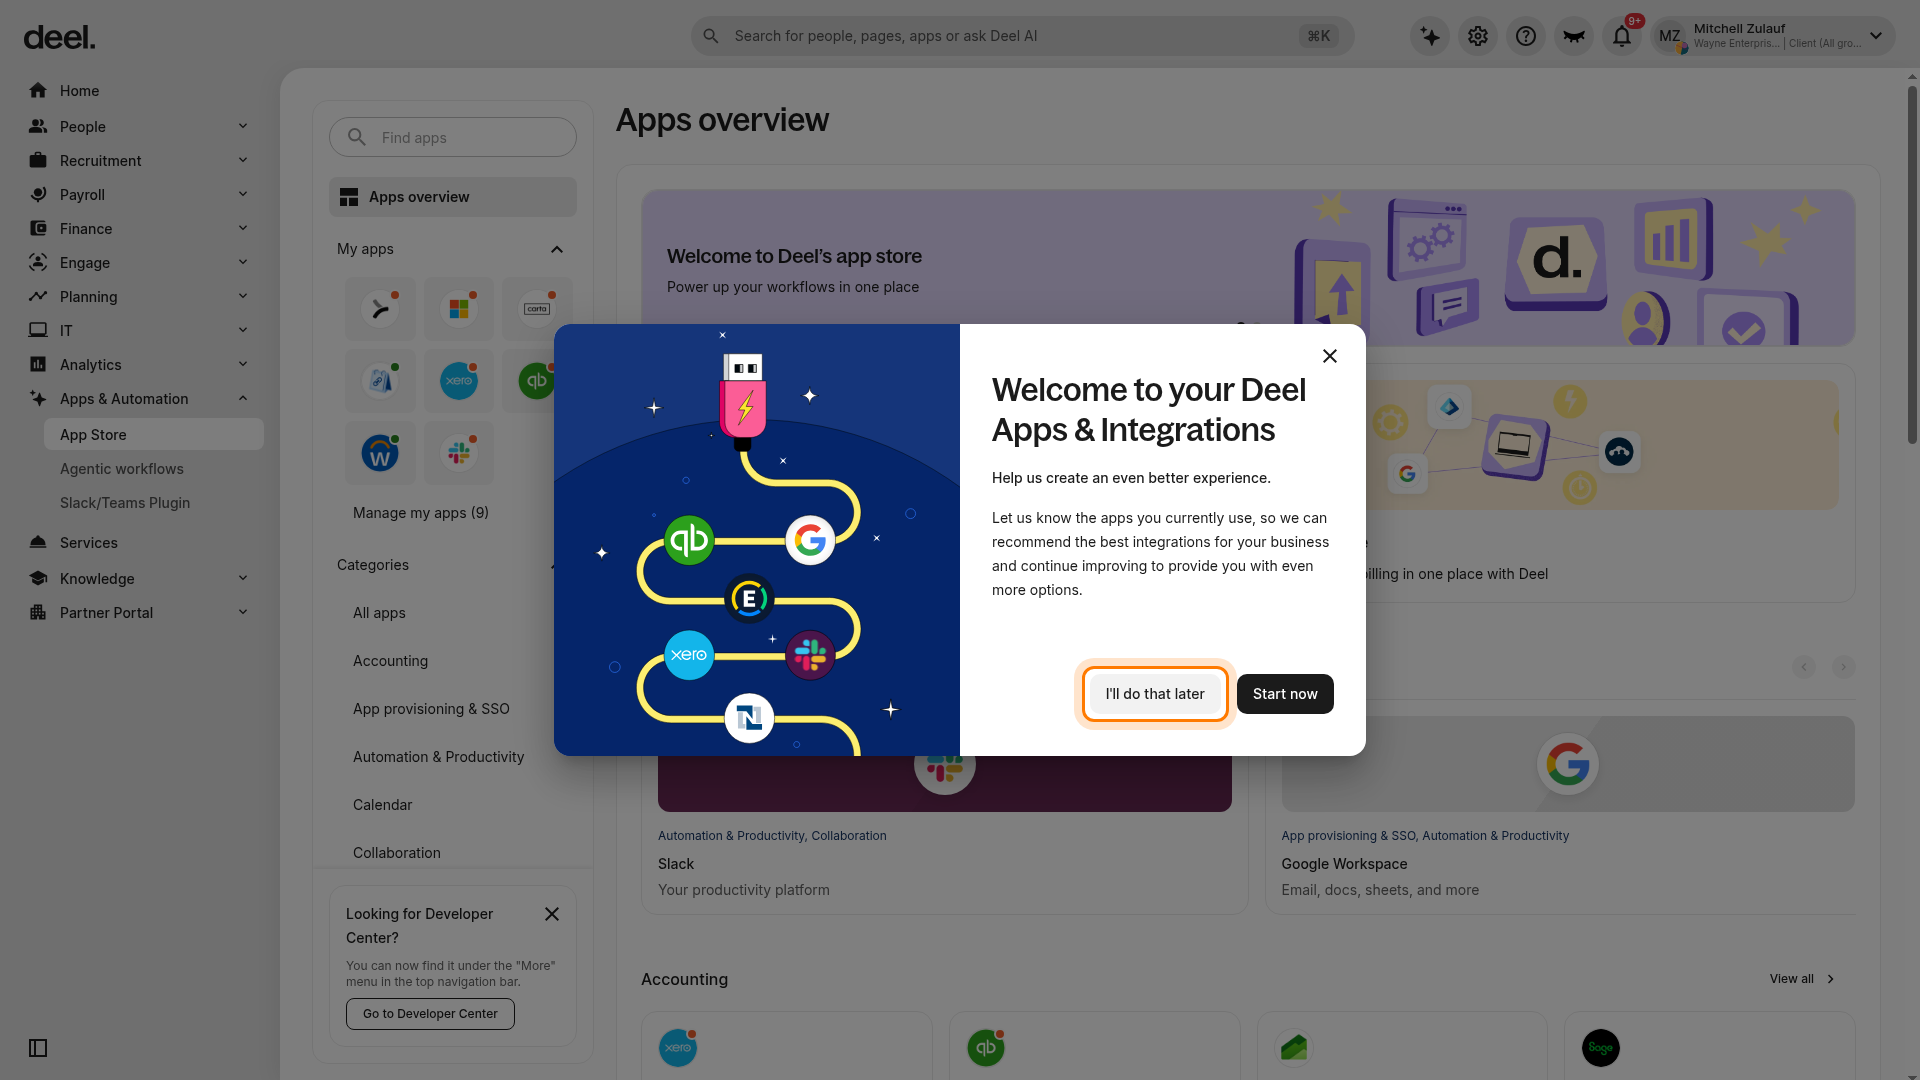
✅ Step 2 - If the Welcome to your Deel Apps & Integrations dialog appears, select I'll do that later. The dialog may not appear for every organization or on later visits.
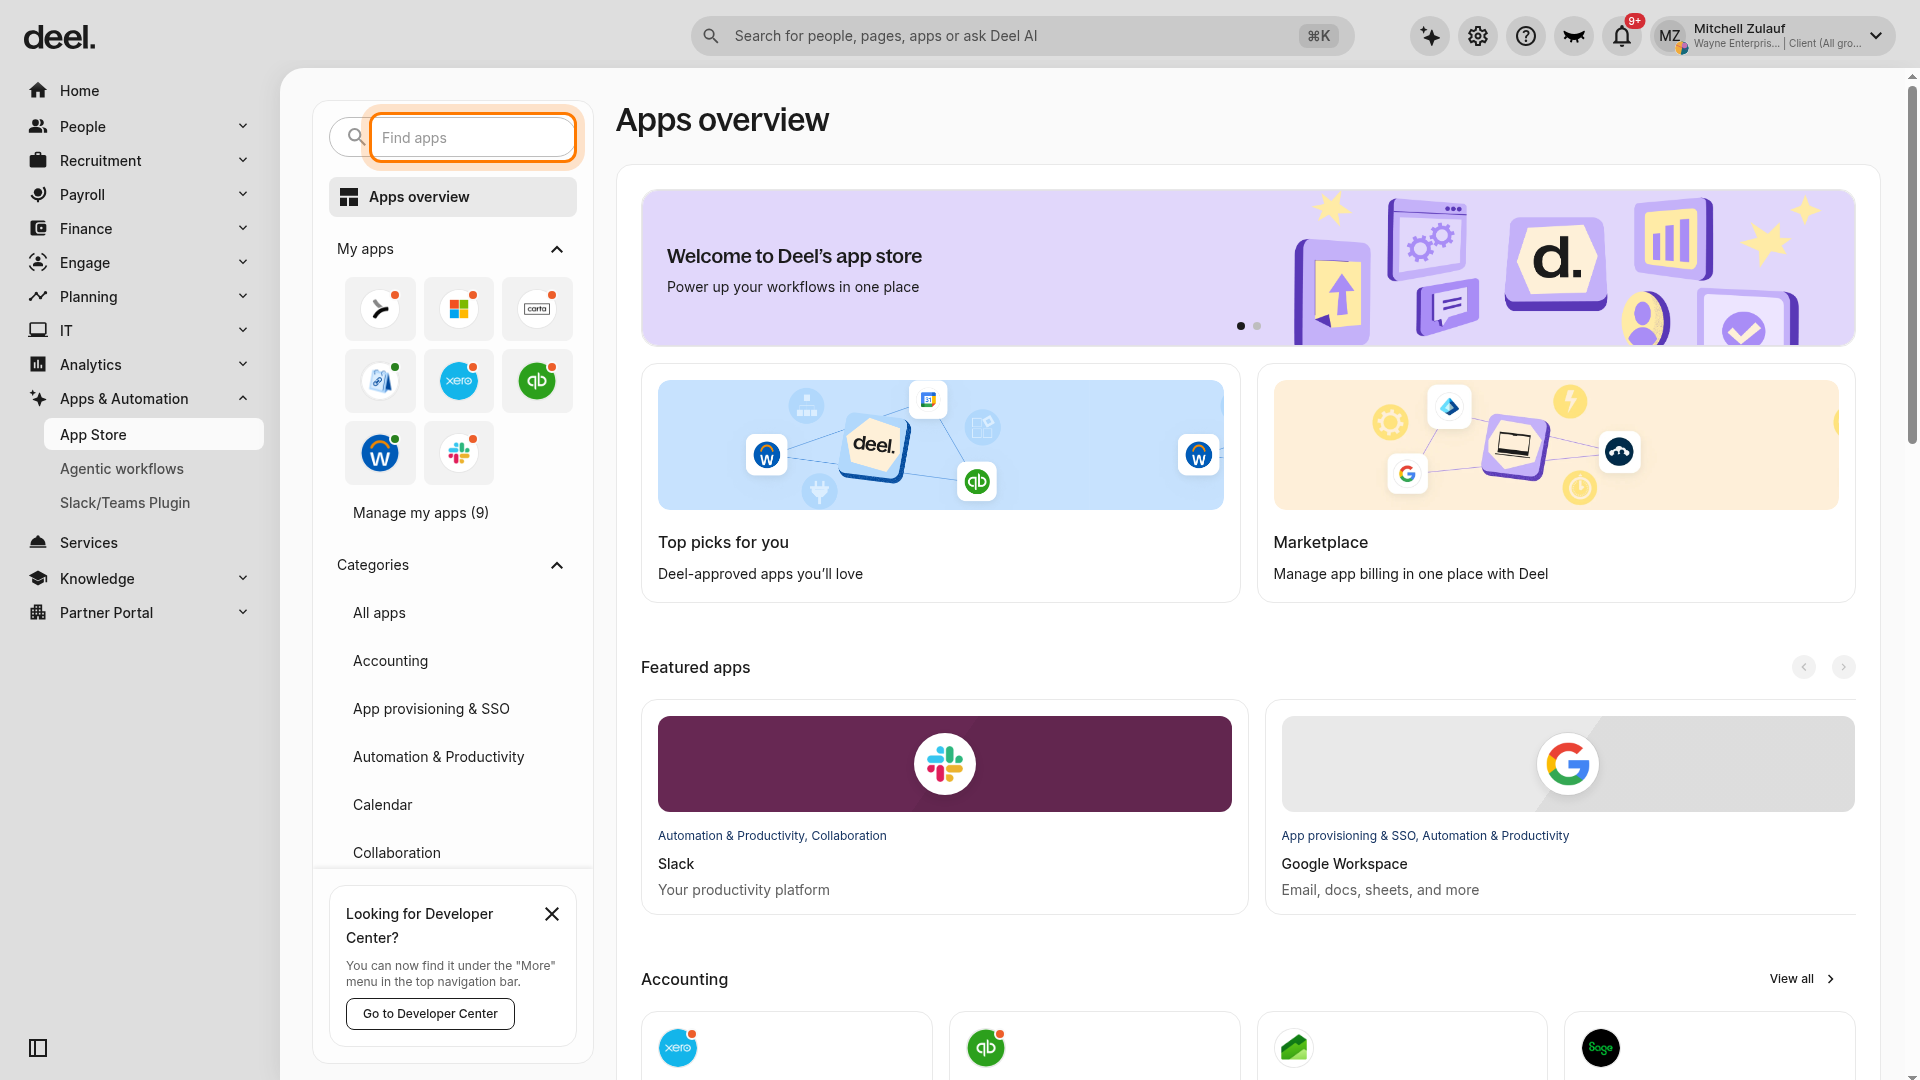
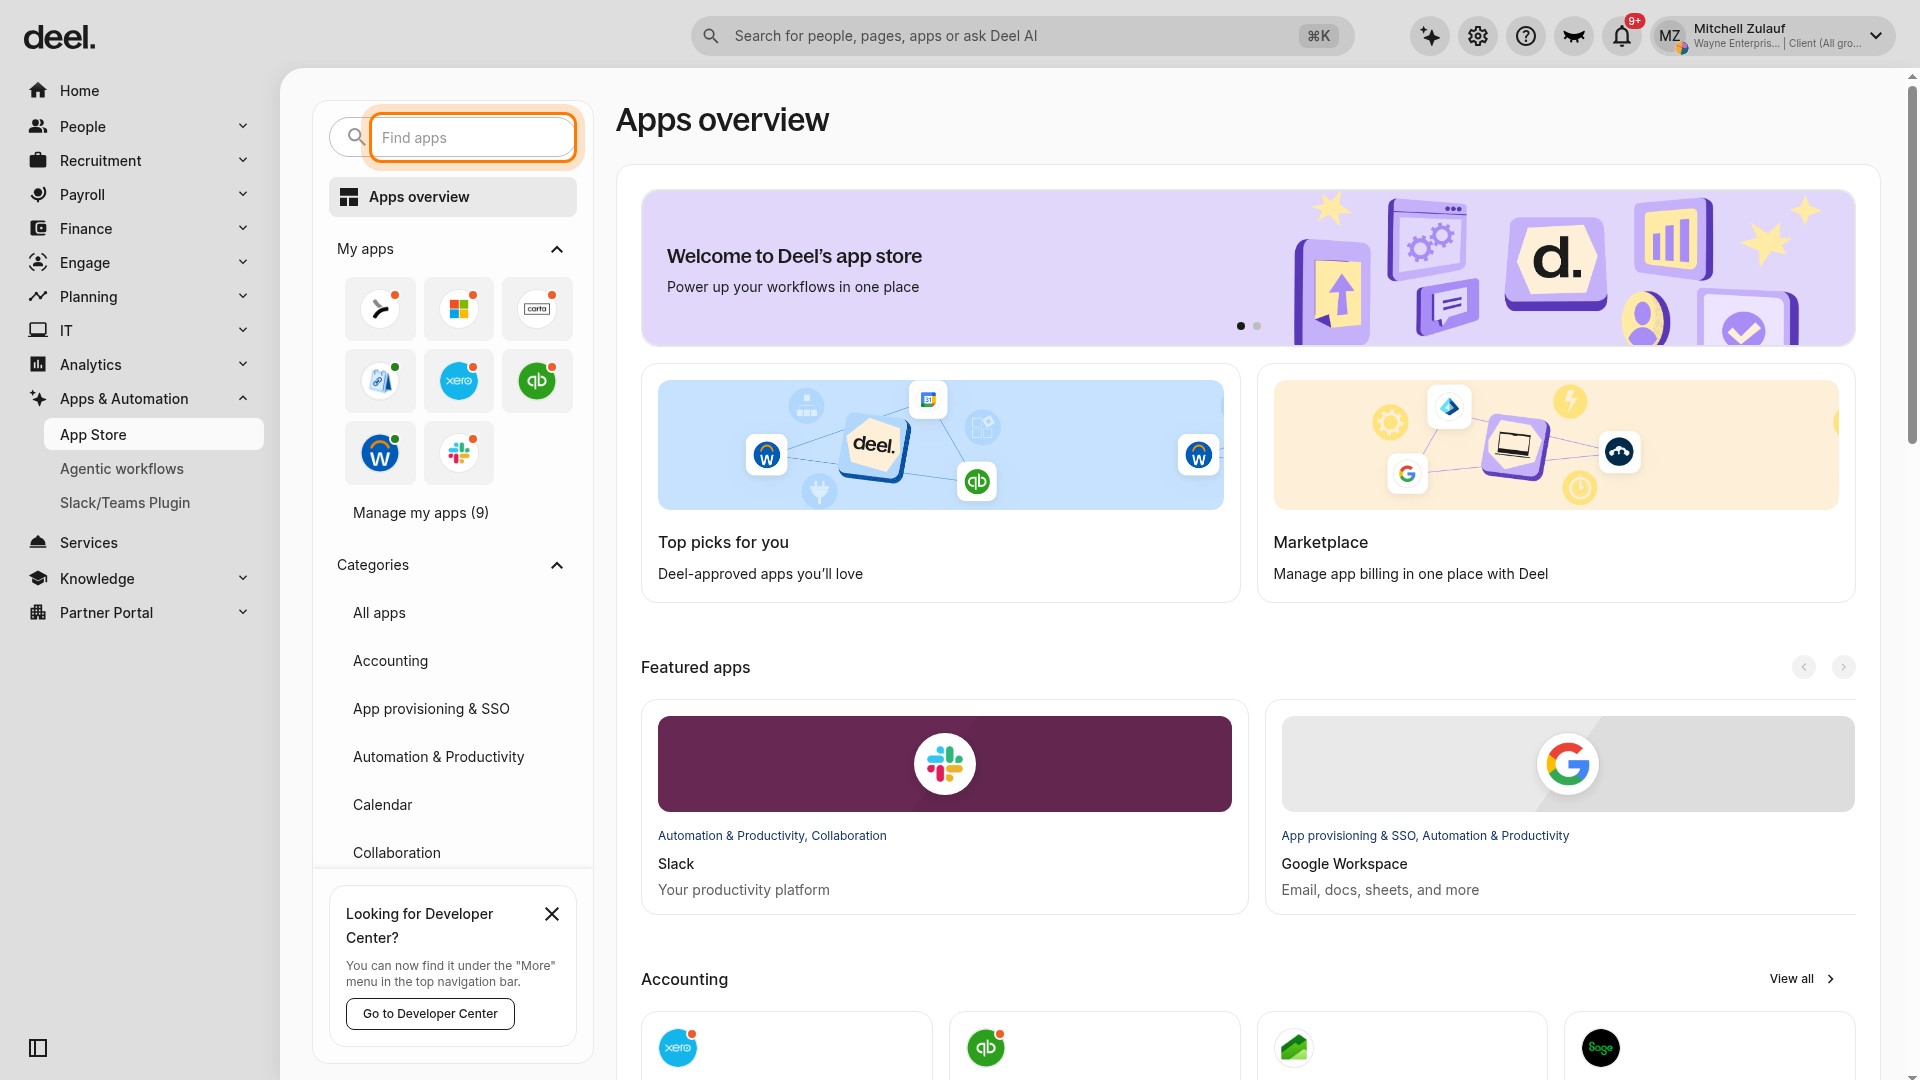
✅ Step 3 - On the Apps overview page, enter SAML 2.0 in the Find apps field in the App Store panel.
Expected result: The app list filters as you type.
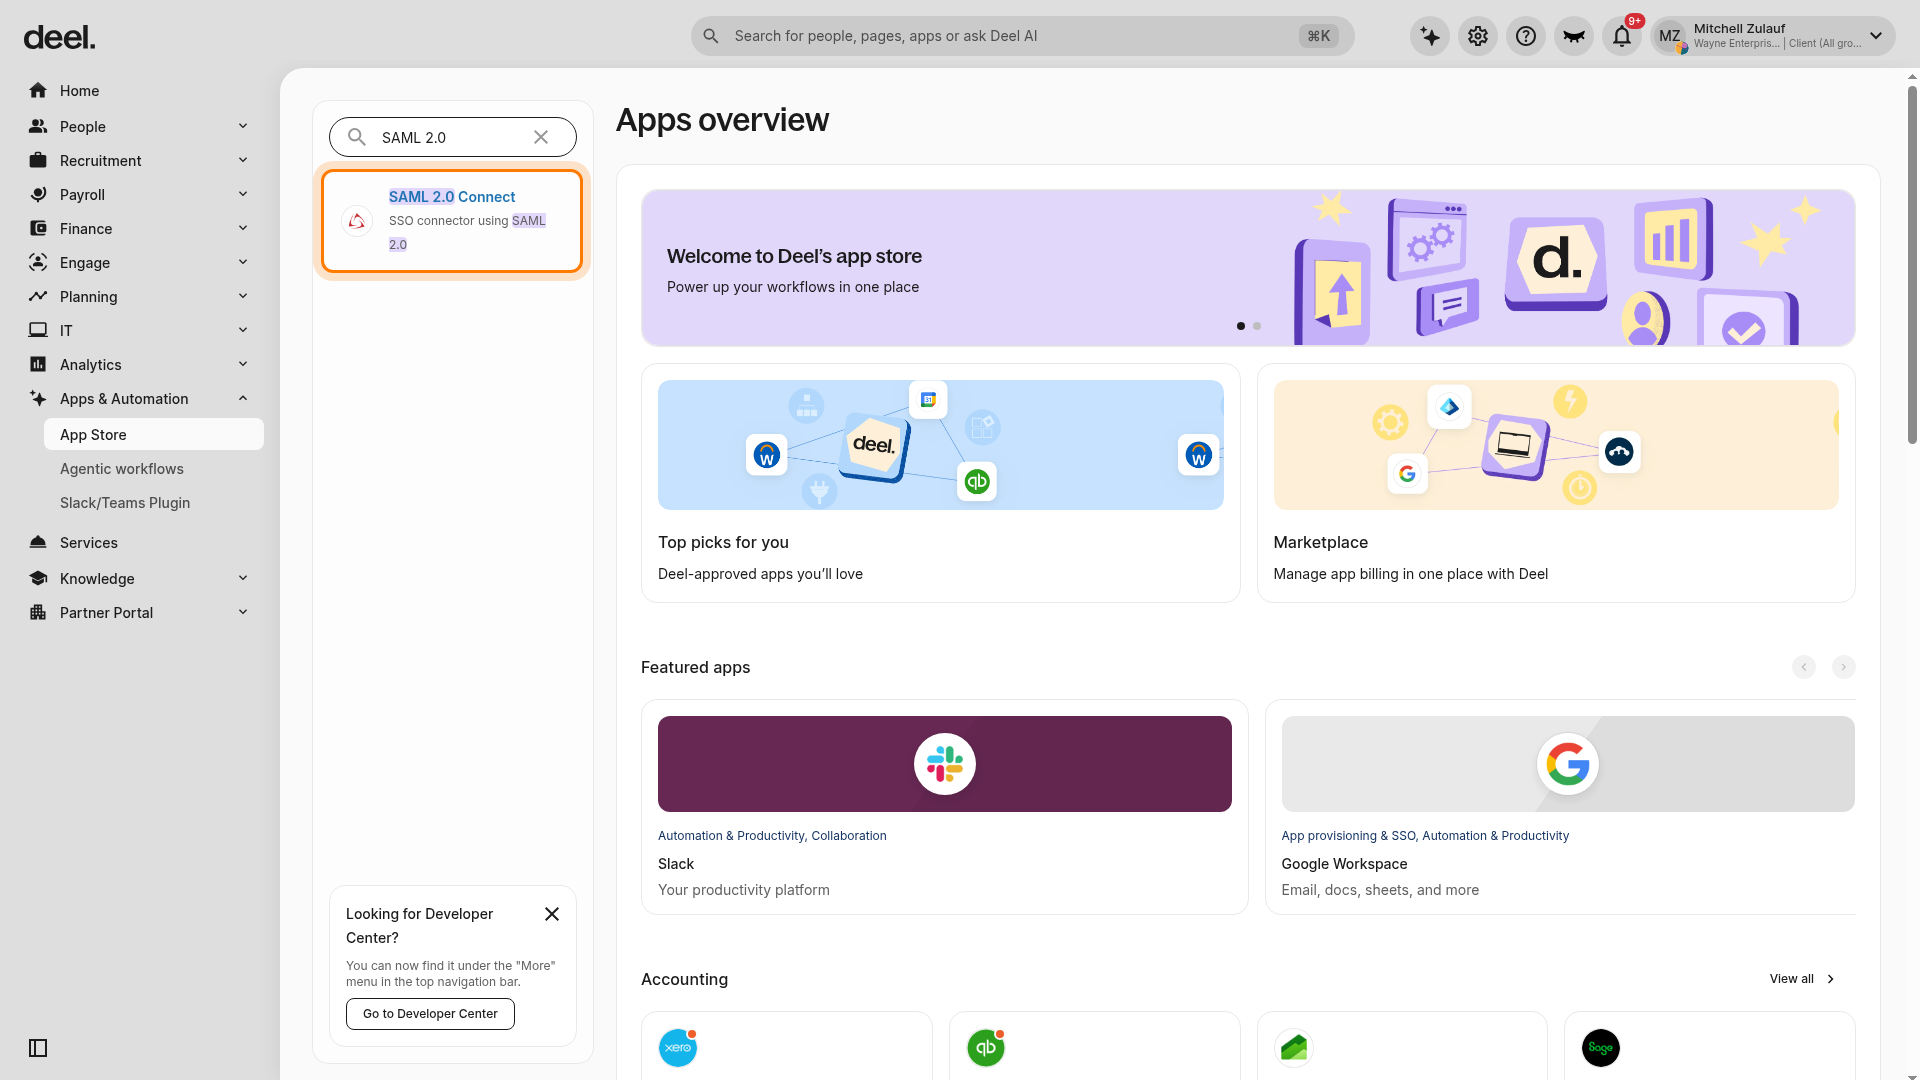
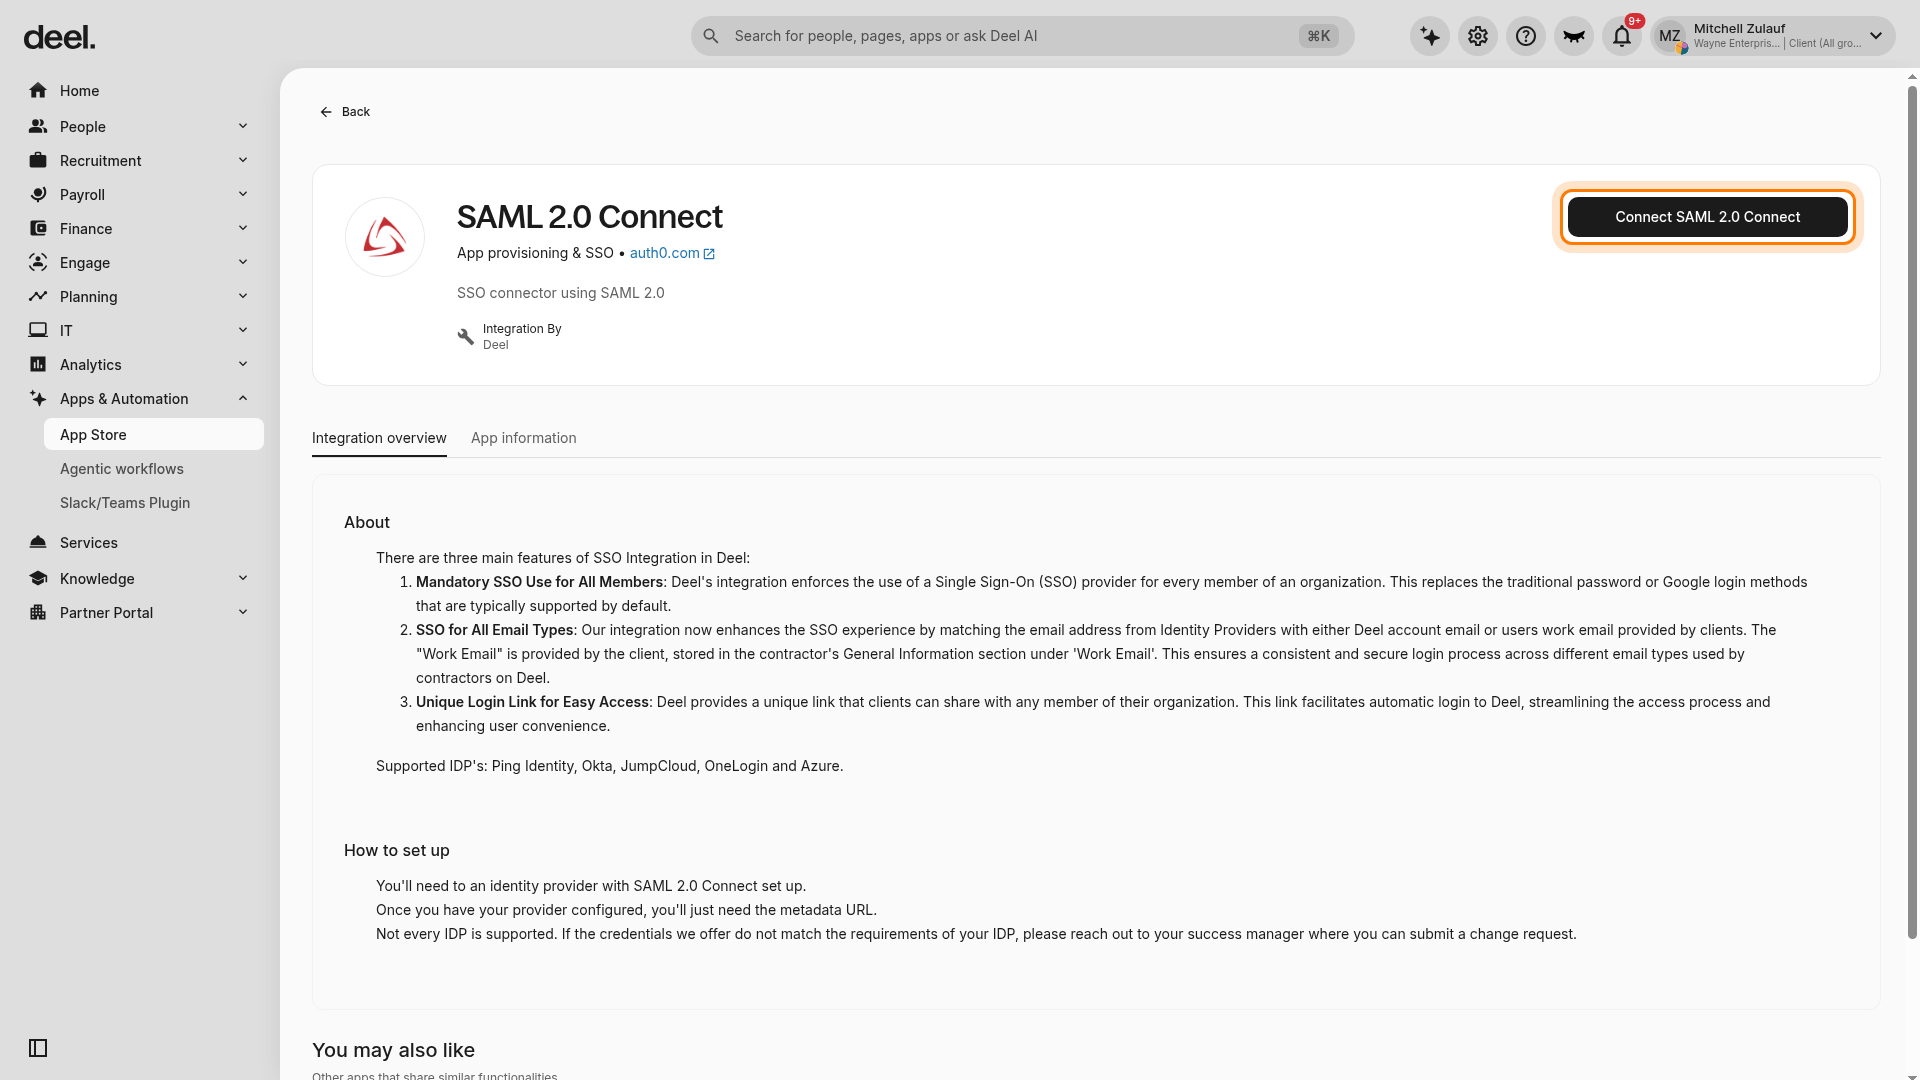
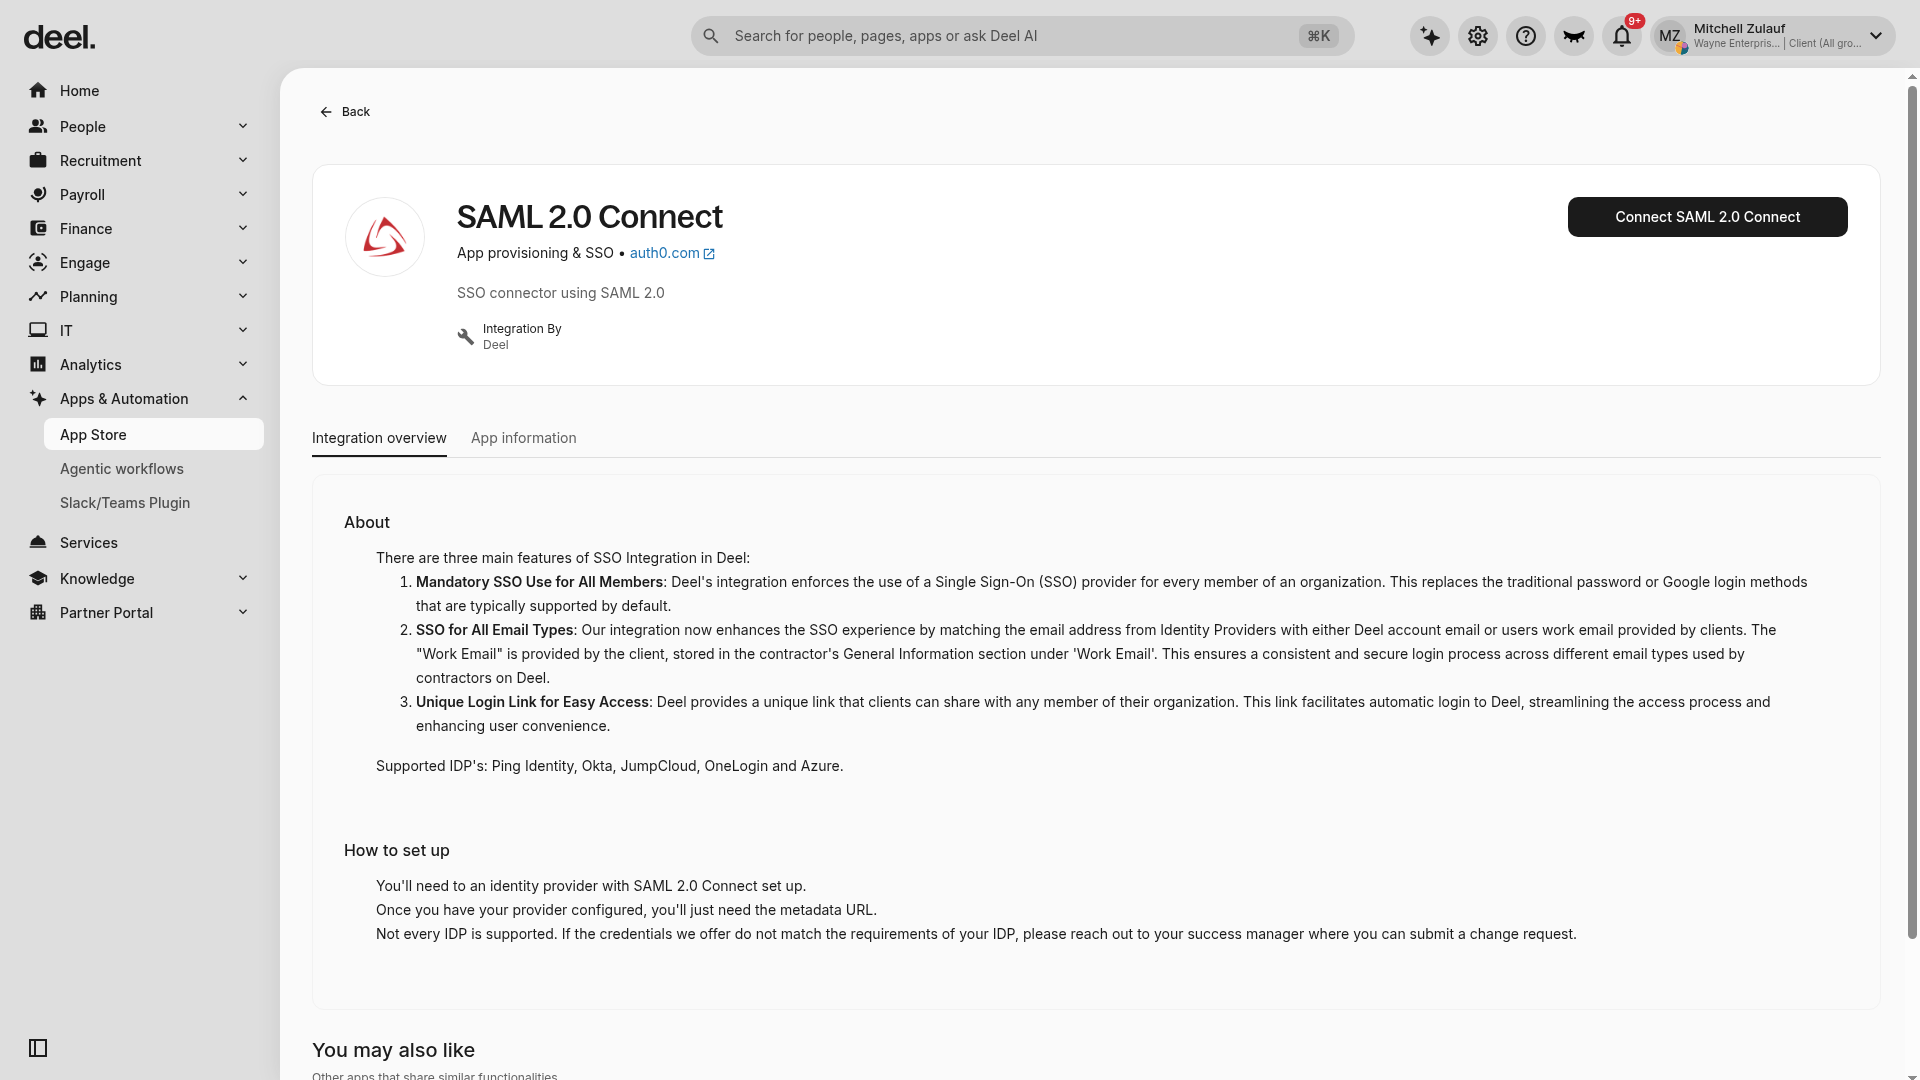
✅ Step 4 - Select SAML 2.0 Connect from the filtered results. Confirm that its description is SSO connector using SAML 2.0.
Expected result: The SAML 2.0 Connect integration overview page opens.
✅ Step 5 - On the integration overview page, select Connect SAML 2.0 Connect in the upper-right corner.
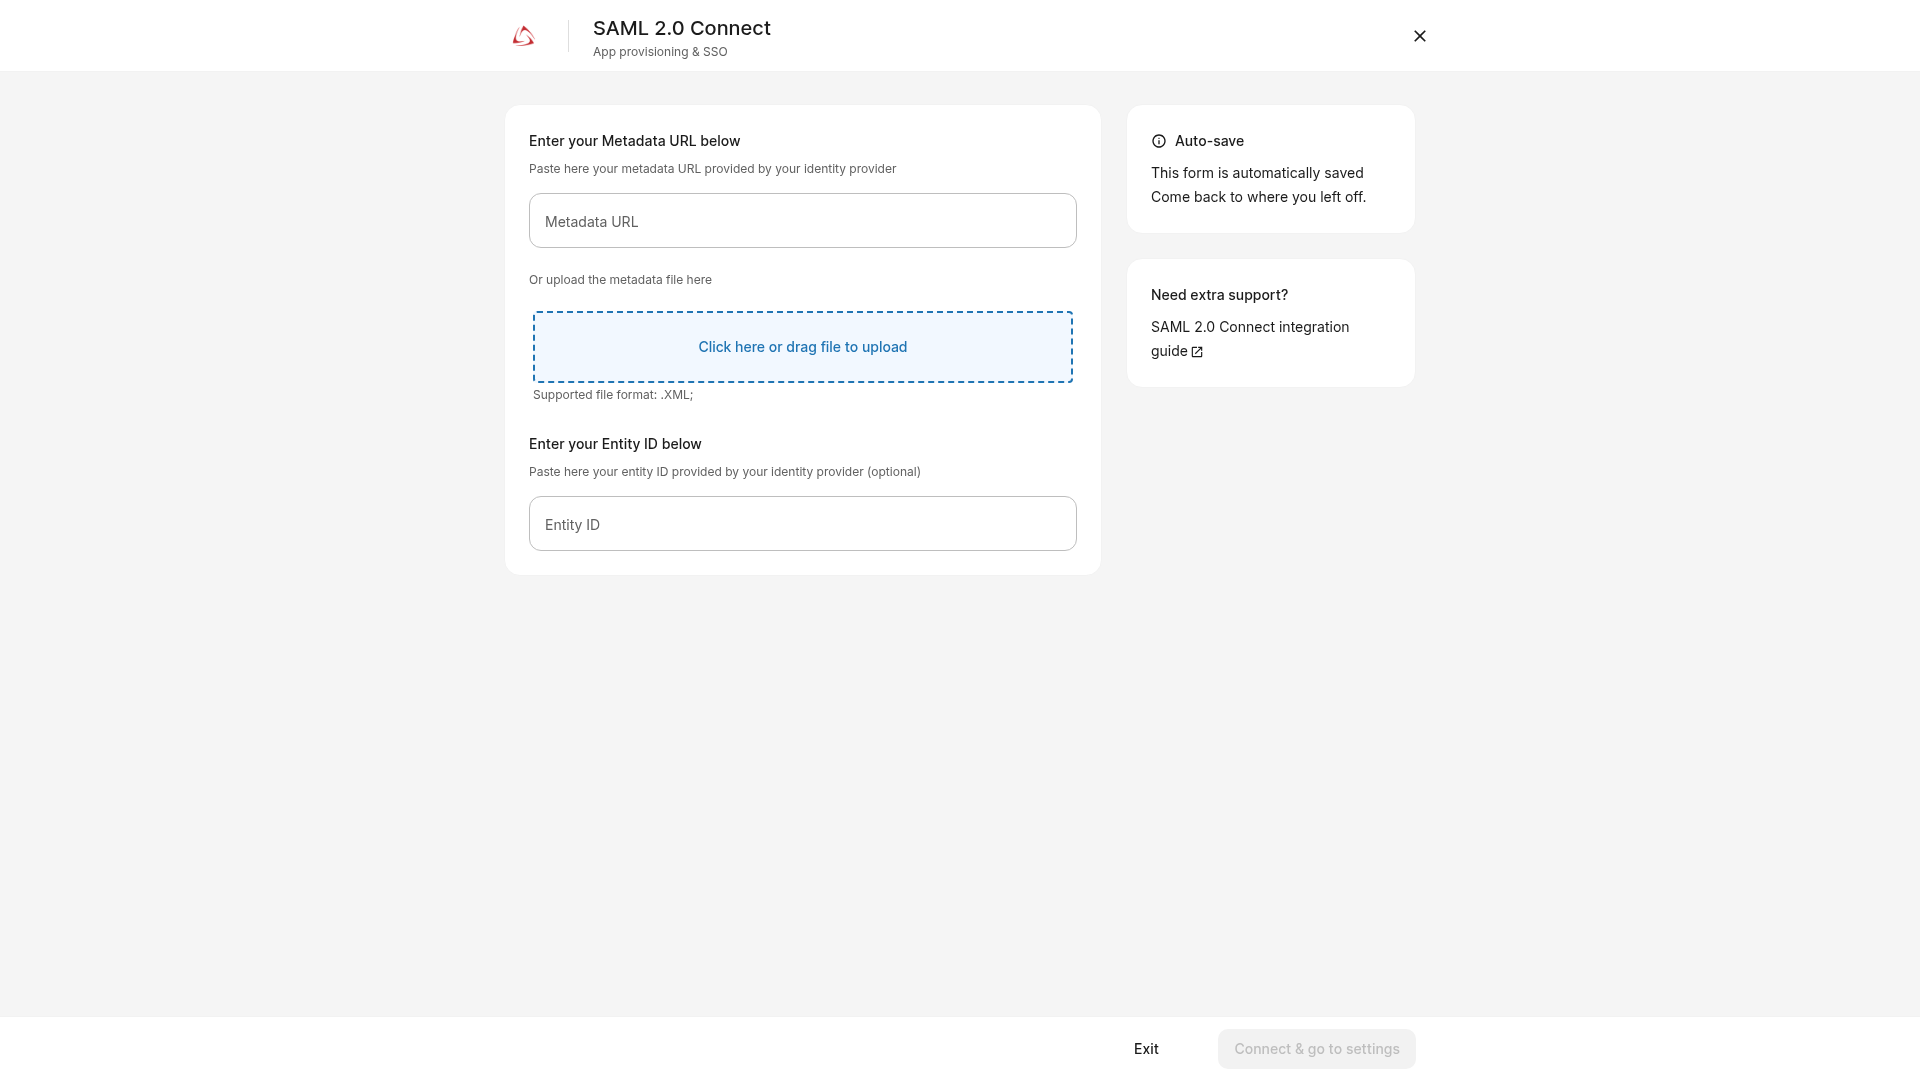
The setup form includes a Metadata URL field for the URL supplied by OneLogin, an upload area labeled Click here or drag file to upload for an XML metadata file, an optional Entity ID field, and an Auto-save notice.
Enter the OneLogin metadata URL or upload its XML metadata file. Enter an Entity ID to identify the integration in OneLogin, then select Connect & go to settings. Keep the Deel setup screen open because you will need the Entity ID and Redirect URL when configuring OneLogin.
How to set up a new OneLogin application
To enable Deel to authenticate users via OneLogin using SAML 2.0 SSO protocol, create a new application following these steps:
✅ Step 6 - In OneLogin, open Applications, then select Add App.
✅ Step 7 - Search for SAML and select SAML Custom Connector (Advanced) by OneLogin, Inc.
✅ Step 8 - Enter an application display name, such as Deel, and ensure Visible in portal is selected.
✅ Step 9 - In OneLogin, select SSO in the left navigation and copy the Issuer URL. Paste this value into the Metadata URL field in Deel’s SAML 2.0 configuration form.
✅ Step 10 - In Deel’s SAML setup form, enter an Entity ID to identify the integration in OneLogin, then select Connect & go to settings. Use this exact Entity ID in OneLogin.
✅ Step 11 - After the SAML integration is connected, name the integration and copy the Redirect URL. You will use this URL in OneLogin.
✅ Step 12 - Return to OneLogin and select Configuration. In Audience (EntityID), enter the Entity ID from Deel. Paste the Redirect URL into both ACS (Consumer) URL Validator and ACS (Consumer) URL, then select Save.
✅ Step 13 - Assign the application to the required users or roles in OneLogin.
✅ Step 14 - Return to Deel’s SAML 2.0 settings and select Enable to require SSO for the organization.
Once enabled, organization members must use SSO to sign in.
Important: Use this workflow only to begin disconnection. Stop when the disconnect confirmation dialog opens; do not select the final confirmation unless you intend to change the organization’s SSO configuration.
✅ Step 15 - To disconnect the integration, in the left sidebar, select Apps & Automation to expand the section, then select App Store.
Expected result: The Apps overview page opens.
✅ Step 16 - If the Welcome to your Deel Apps & Integrations dialog appears, select I'll do that later. In the Find apps field, enter SAML 2.0 and wait briefly for the results to filter. Confirm that SAML 2.0 Connect appears with the description SSO connector using SAML 2.0.
✅ Step 17 - Locate SAML 2.0 Connect and select its three-dot actions menu. Do not select the result itself, because that opens the integration details page.
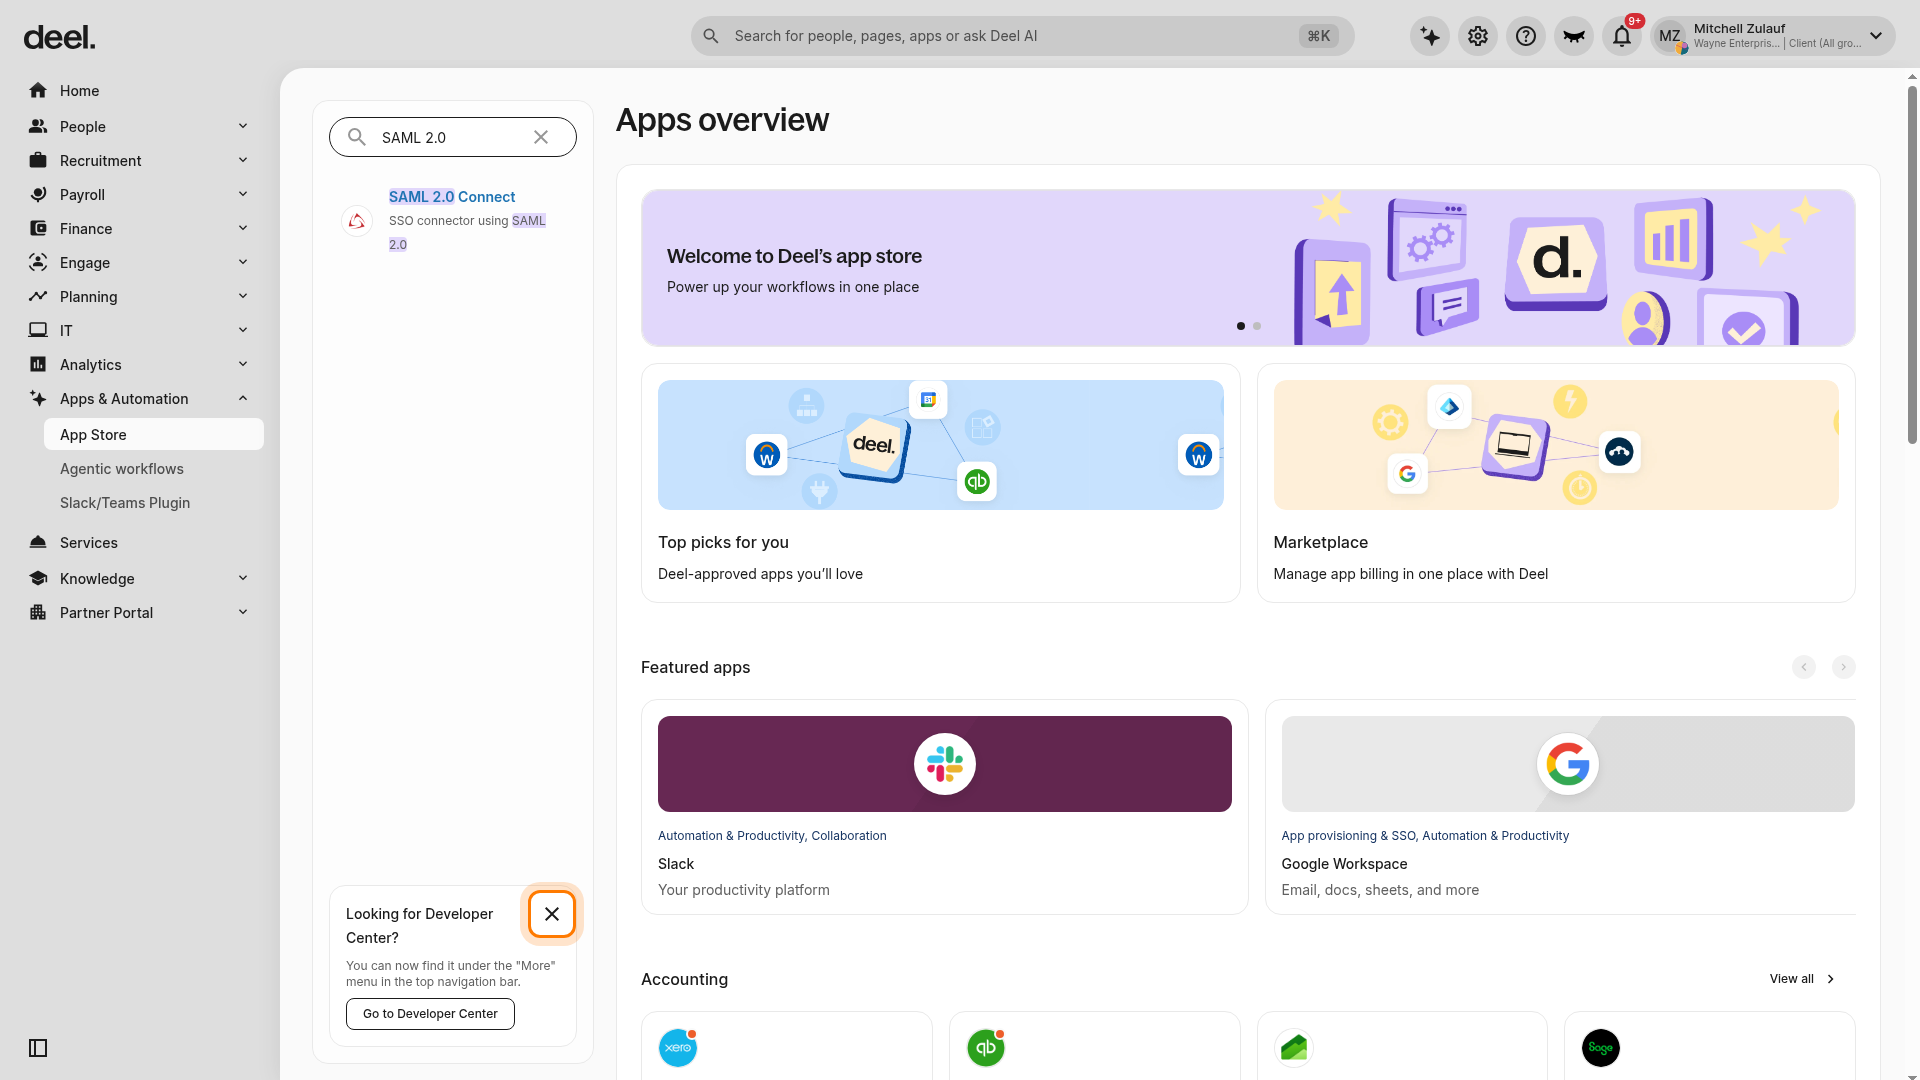
✅ Step 18 - If the integration is connected, select Disconnect from the actions menu.
If Disconnect is unavailable, open SAML 2.0 Connect to view its details. If the page displays Connect SAML 2.0 Connect, the integration is not connected and there is nothing to disconnect.
✅ Step 19 - When the disconnect confirmation dialog appears, stop. Select the final confirmation option only if you intend to complete the disconnection.
FAQ
[ACCORDION] Does this integration support LastPass?
No, this integration currently doesn't support LastPass