
The Deel platform allows clients to easily and compliantly track and manage their entity's shareholder information and shares.
Clients can manage:
- Share Capital – Record the entity's total issued capital, including detailed accounts of each issuance and alteration throughout its history.
- Share Classes – Categorize shares into different classes with distinct rights and privileges, essential for managing the equity structure and voting rights.
- Shareholders – Help track all shareholders, their shareholdings, and changes over time, including share issuance and transfers.
Accessing an Entity and Its Share Information
Follow the steps below to open an entity’s details page, where share-related tabs (Share Capital, Share Classes, Shareholders) are located.
Prerequisites
• You must have permission to open Organization Settings and view entity information.
Step-by-Step
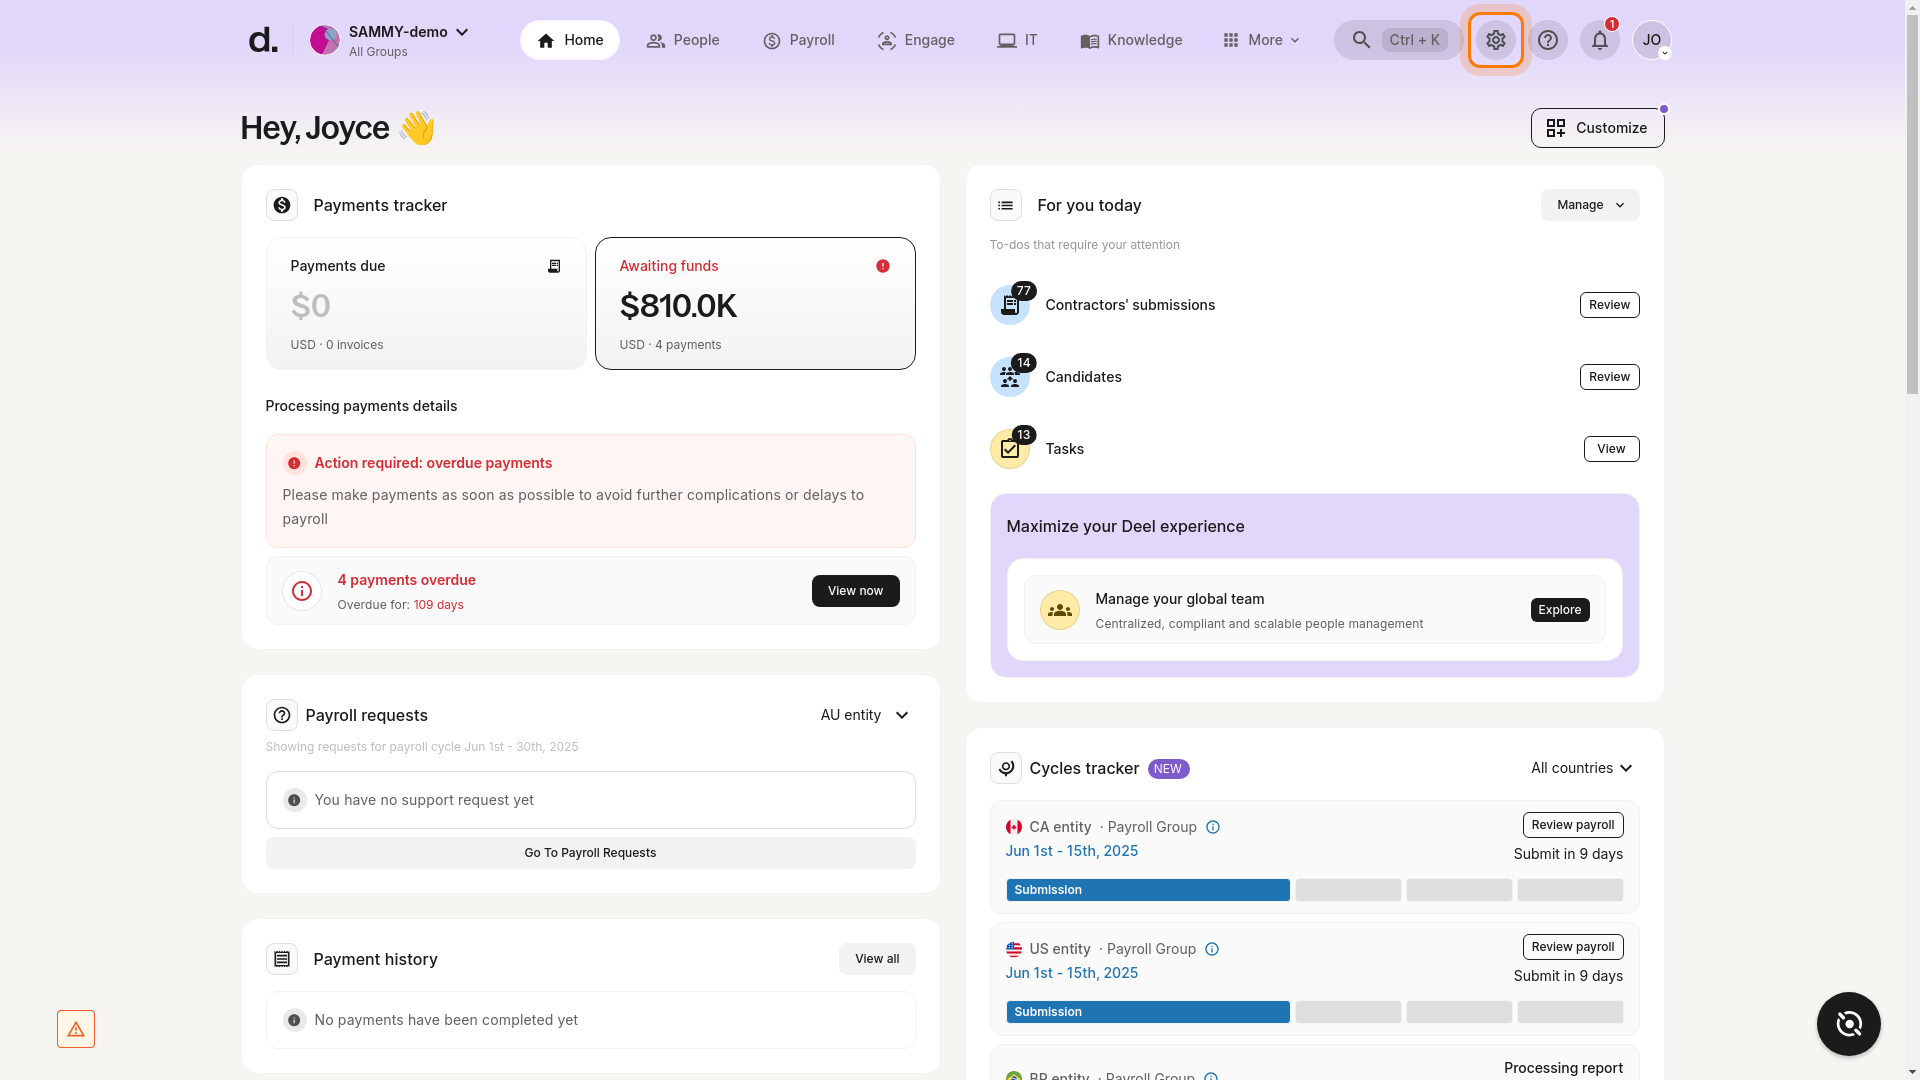
- Open Organization Settings
From the Deel dashboard, click the gear icon in the top header.
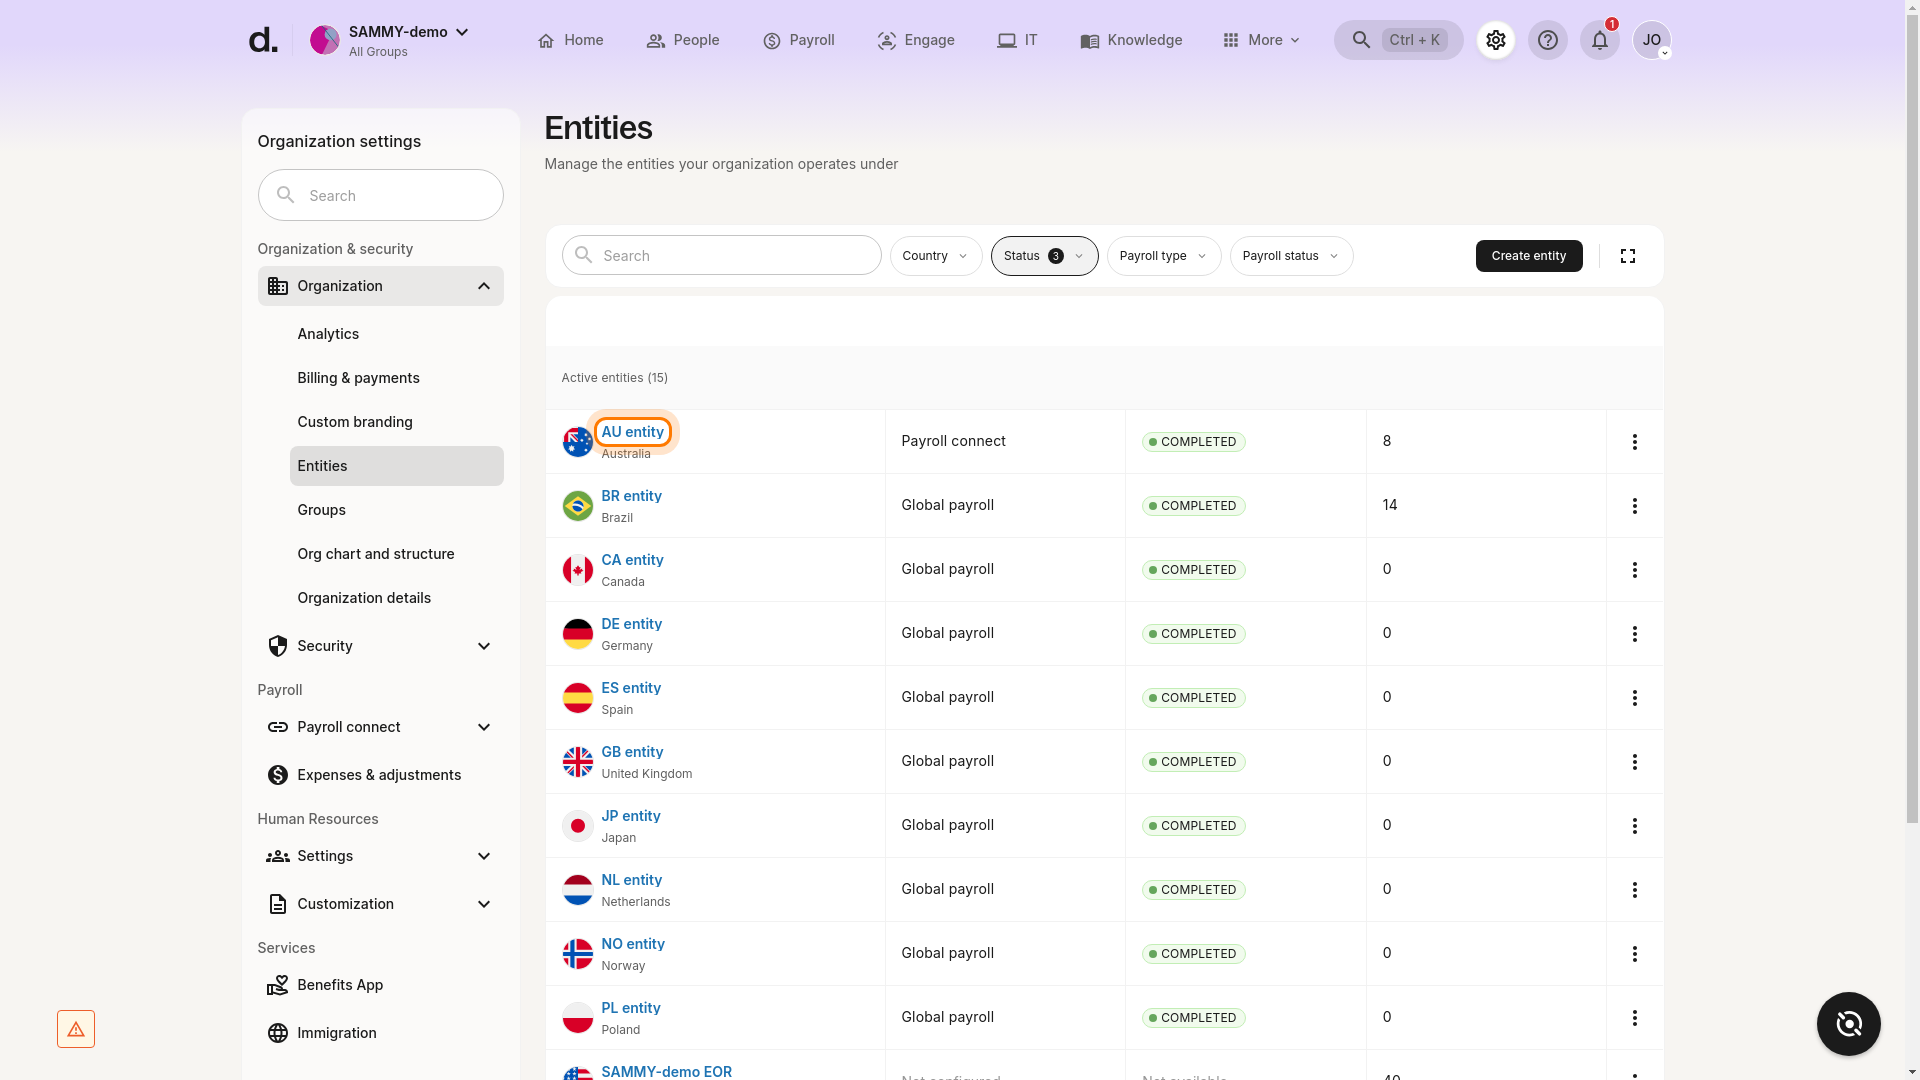
- Navigate to the Entities section
In the left sidebar, under Organization & security, click Entities.

- Select the desired entity
In the entities list, click the name of the entity you want to manage.
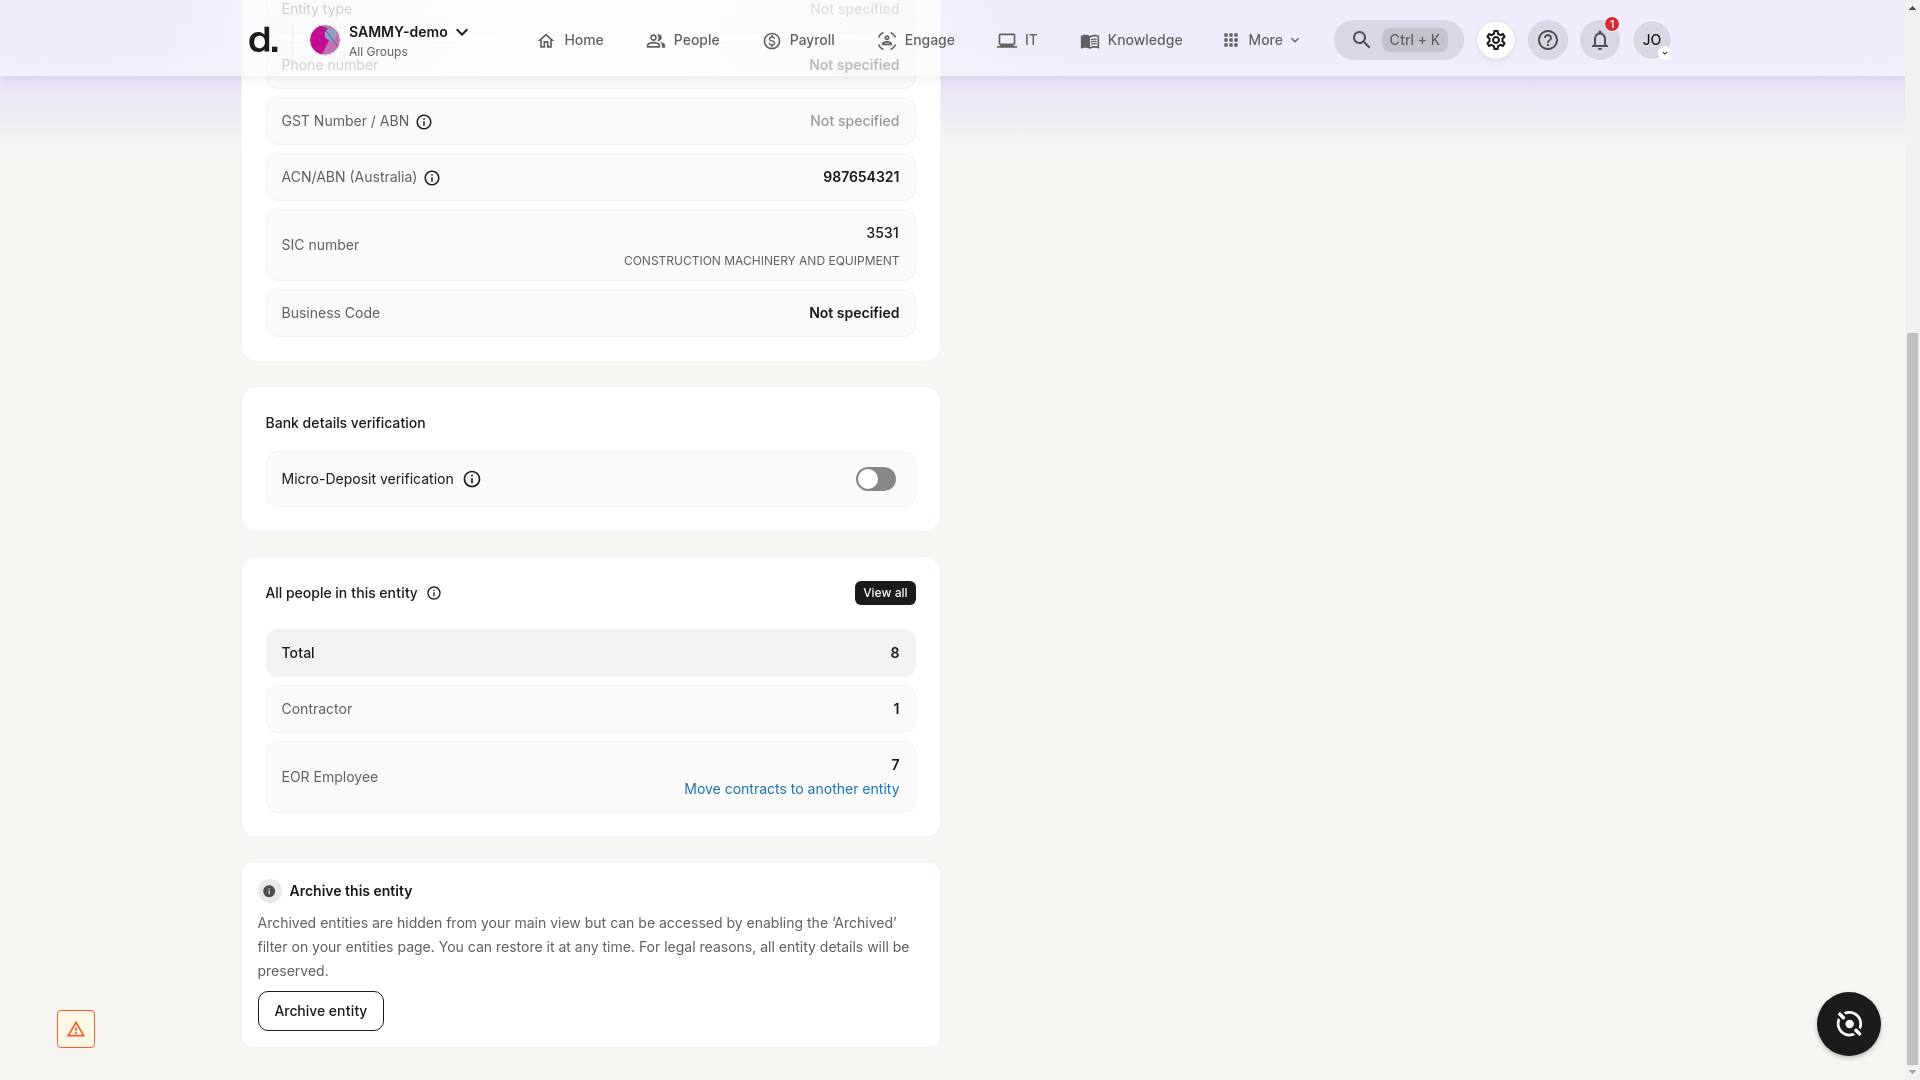
- Review the Entity details page
Scroll through the page. At the top you will see general entity information; farther down are tabs for Share Capital, Share Classes, and Shareholders.
Note: If a dedicated shareholder section is not visible, it may be disabled for your entity or hidden due to permissions. Contact your Deel admin or support if needed.
Troubleshooting
• Cannot see the Entities option – Verify your role includes Organization Settings access.
• No Shareholder information visible – It may be disabled for the entity; confirm with your administrator.
• Wrong entity selected – Use the browser’s back button or return to the entities list and choose the correct entity.
Share Capital
Share capital represents the total amount of funds raised by an entity through the issuance of shares.
From the Share Capital tab, click Add Share Capital / Add Record and enter the required details to create a share-capital record. Once added, you can view:
- Authorised and issued shares
- Nominal value
- Paid-up capital
- Approver of the record
You can also click View as Report, choose a date range, and download the resulting report for audit or compliance purposes.
Share Classes
Before adding share classes, you must first record the entity’s share capital.
Once share capital exists, open the Share Classes tab and click Add Classes. Provide:
- Class name
- Number of shares
- Price per share
- Issue date
- Economic rights (if applicable)
After classes are created you can, from the same tab:
- Edit a class
- View its history
- Track issuances
- Delete the class (if no longer needed)
A class-level report can be generated with View as Report and a chosen date range.
Shareholders
From the Shareholders tab (visible after share classes are created) you can add shareholders, issue shares, and transfer shares.
Adding a Shareholder
- Click Add Shareholder
- Select the shareholder type – either Entity or Person
- Enter contact details
- Add share classes
• Add shares now by specifying class, number, issue date, and PPS; or
• Skip for now and, after the shareholder is created, click the three-dot menu next to their name and select Issue Shares.
Additional Shareholder Actions
- Edit or transfer shares
- Edit or delete shareholders
- Generate a shareholder report