
To ensure compliance with local regulations, Deel will request that clients upload certain documents. This article explains how clients can manage the registration files requested by Deel.
How to Know Which Documents Need to Be Uploaded
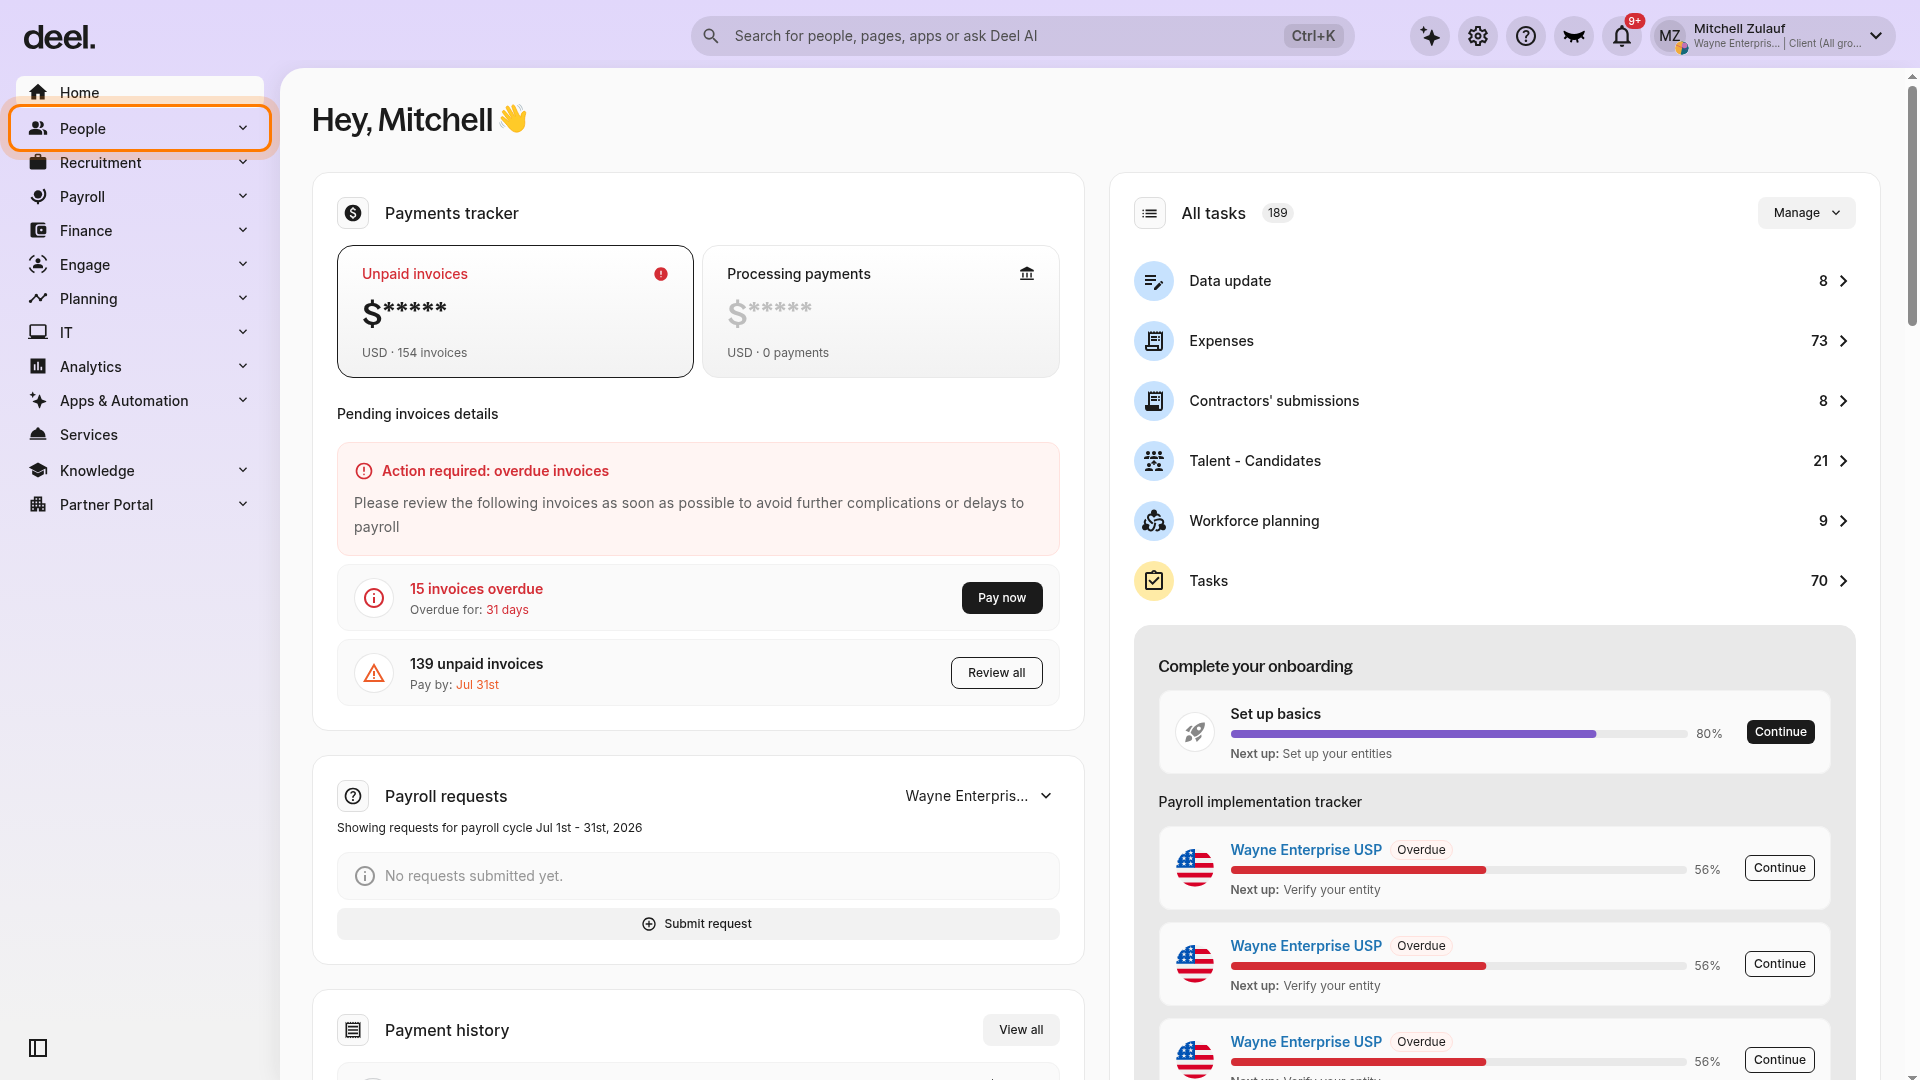
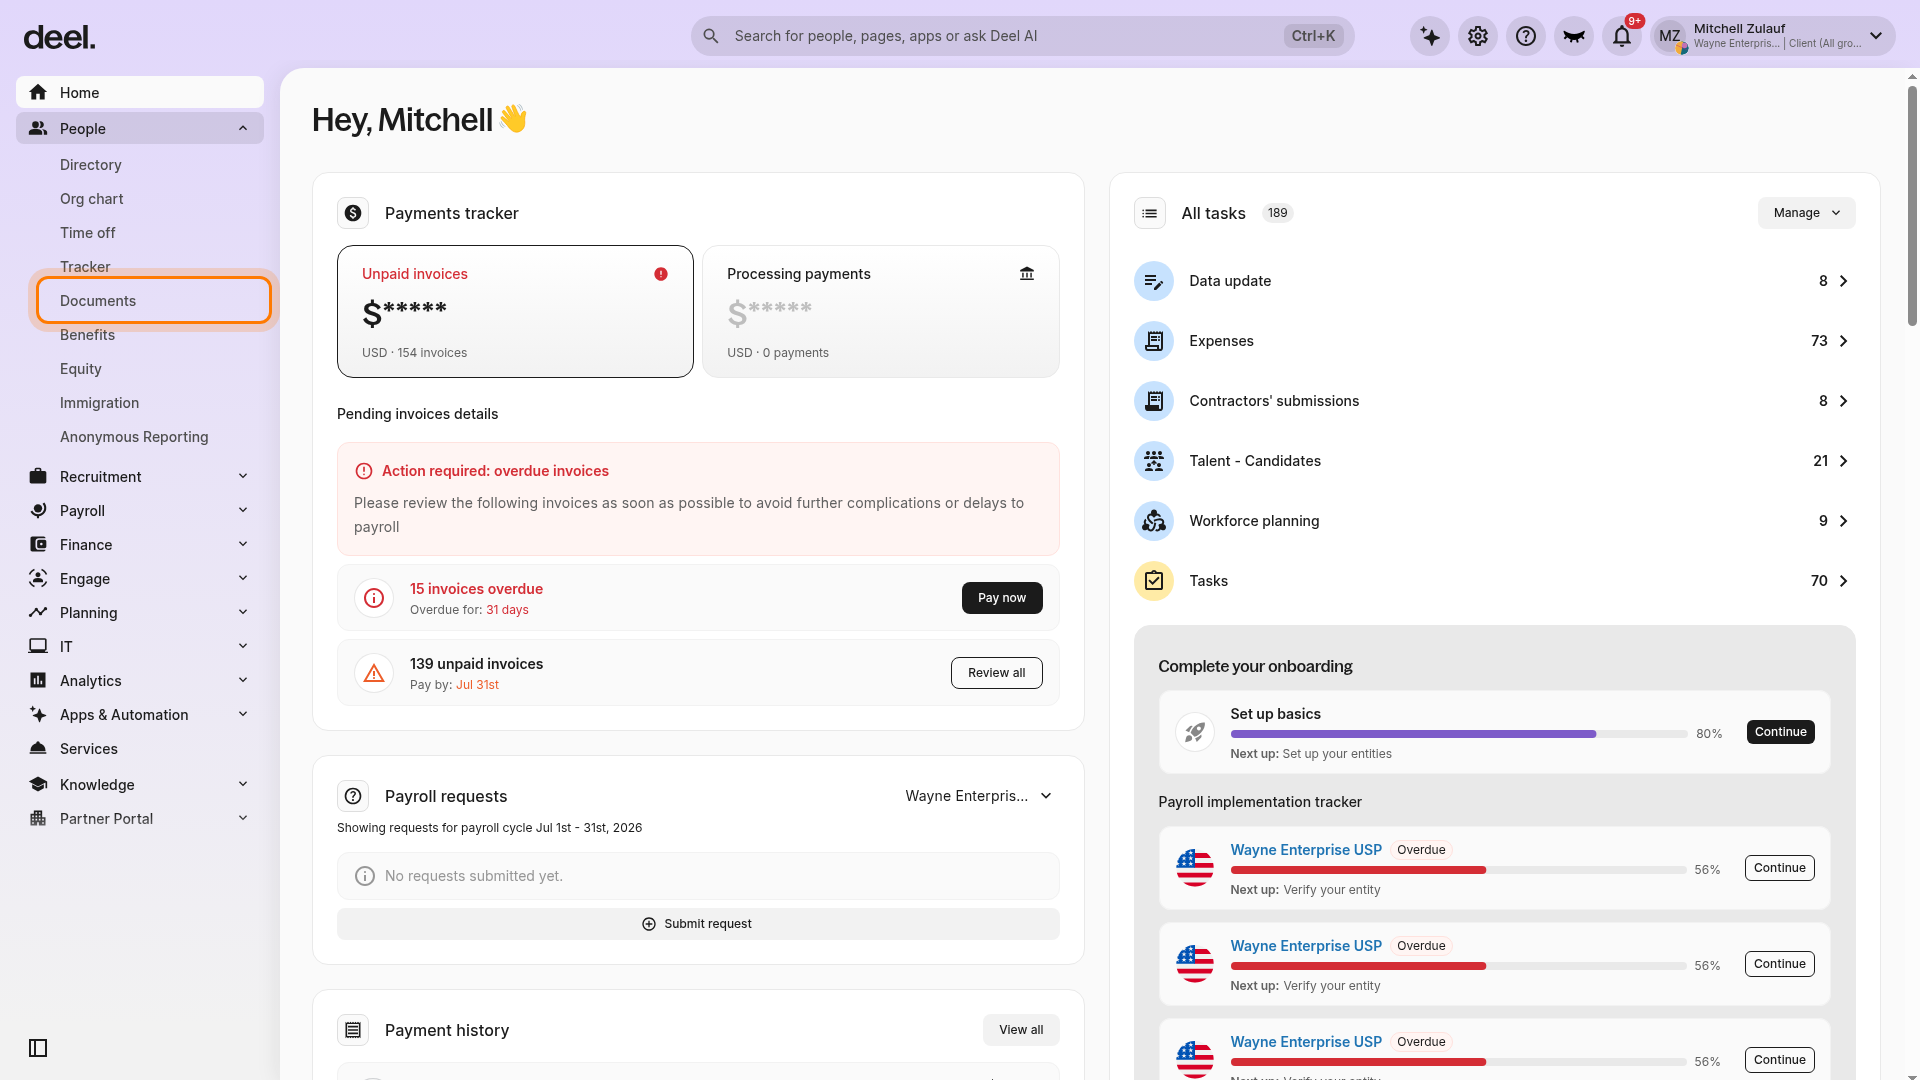
✅ Step 1 - Click on the People Icon and Select the Documents tab
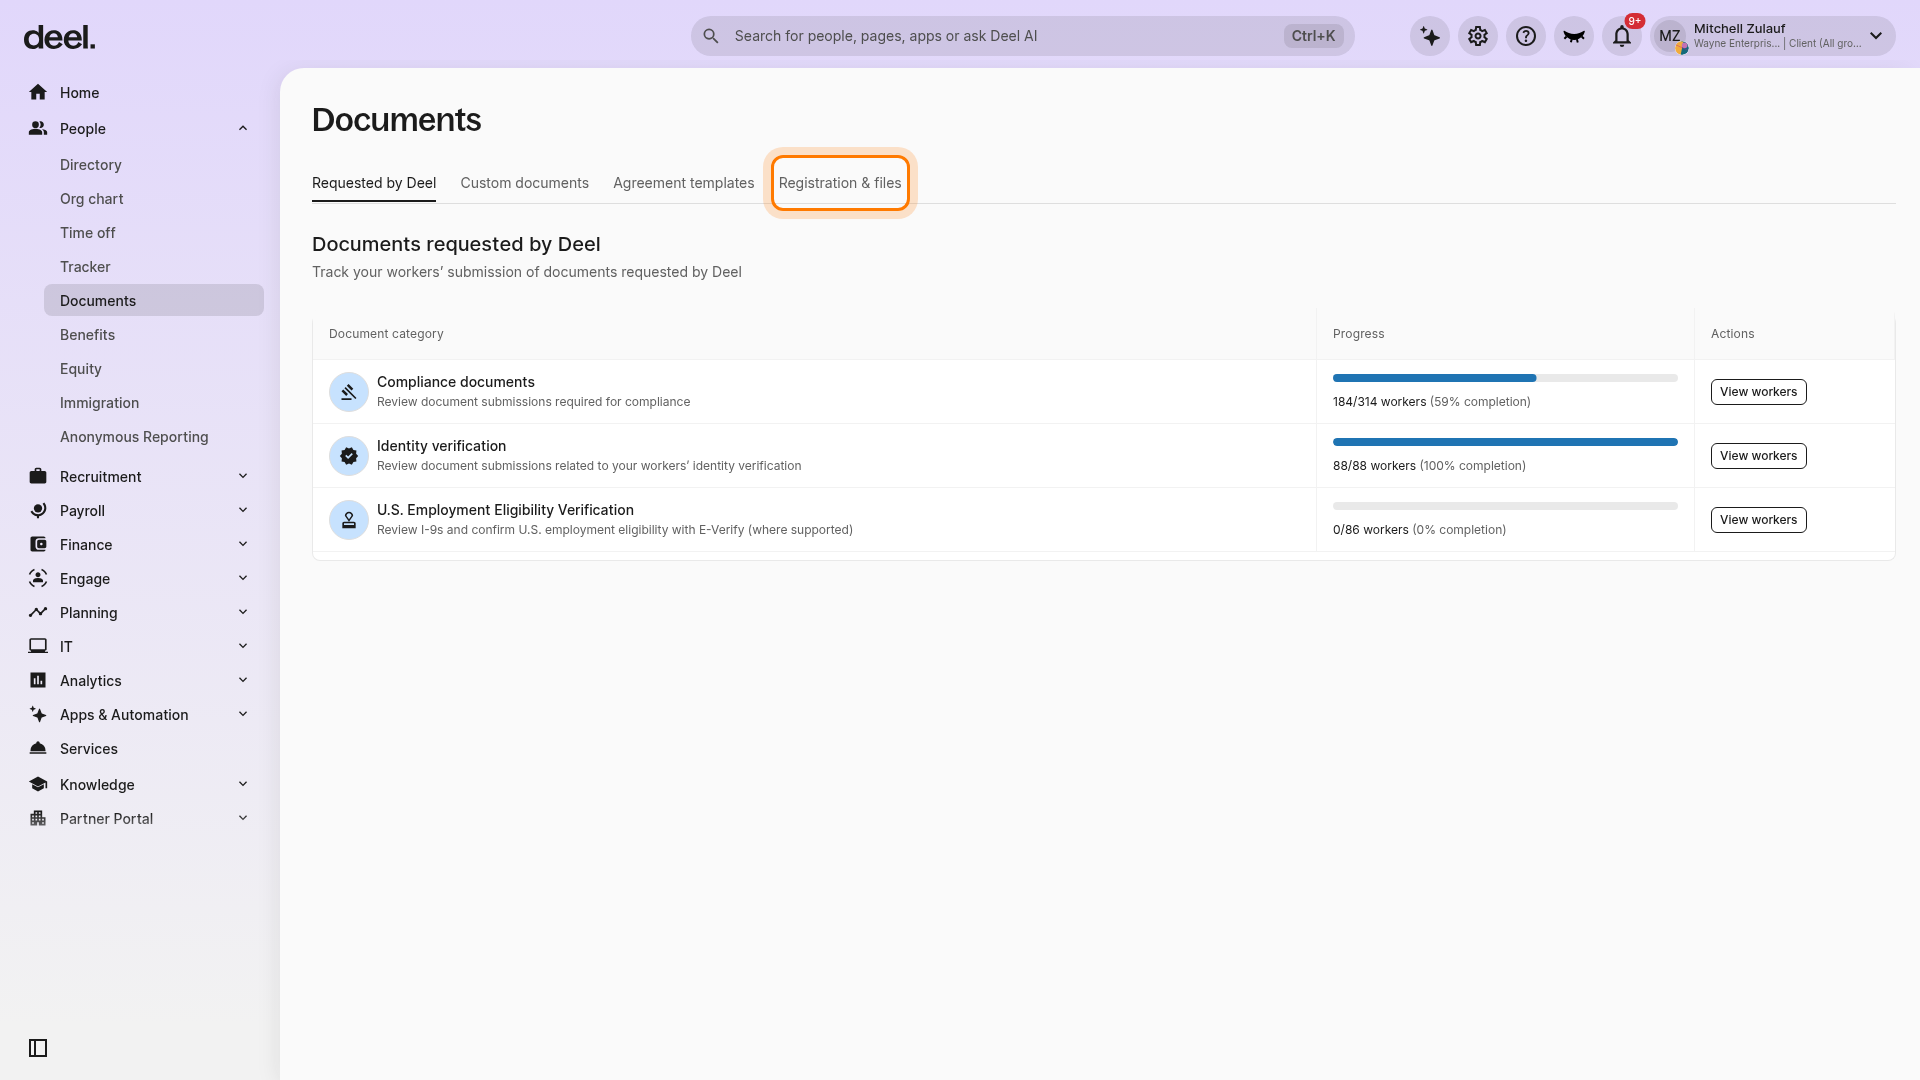
In the left sidebar, select People to expand the submenu, then select Documents. At the top of the Documents workspace, select the Registration & files tab.
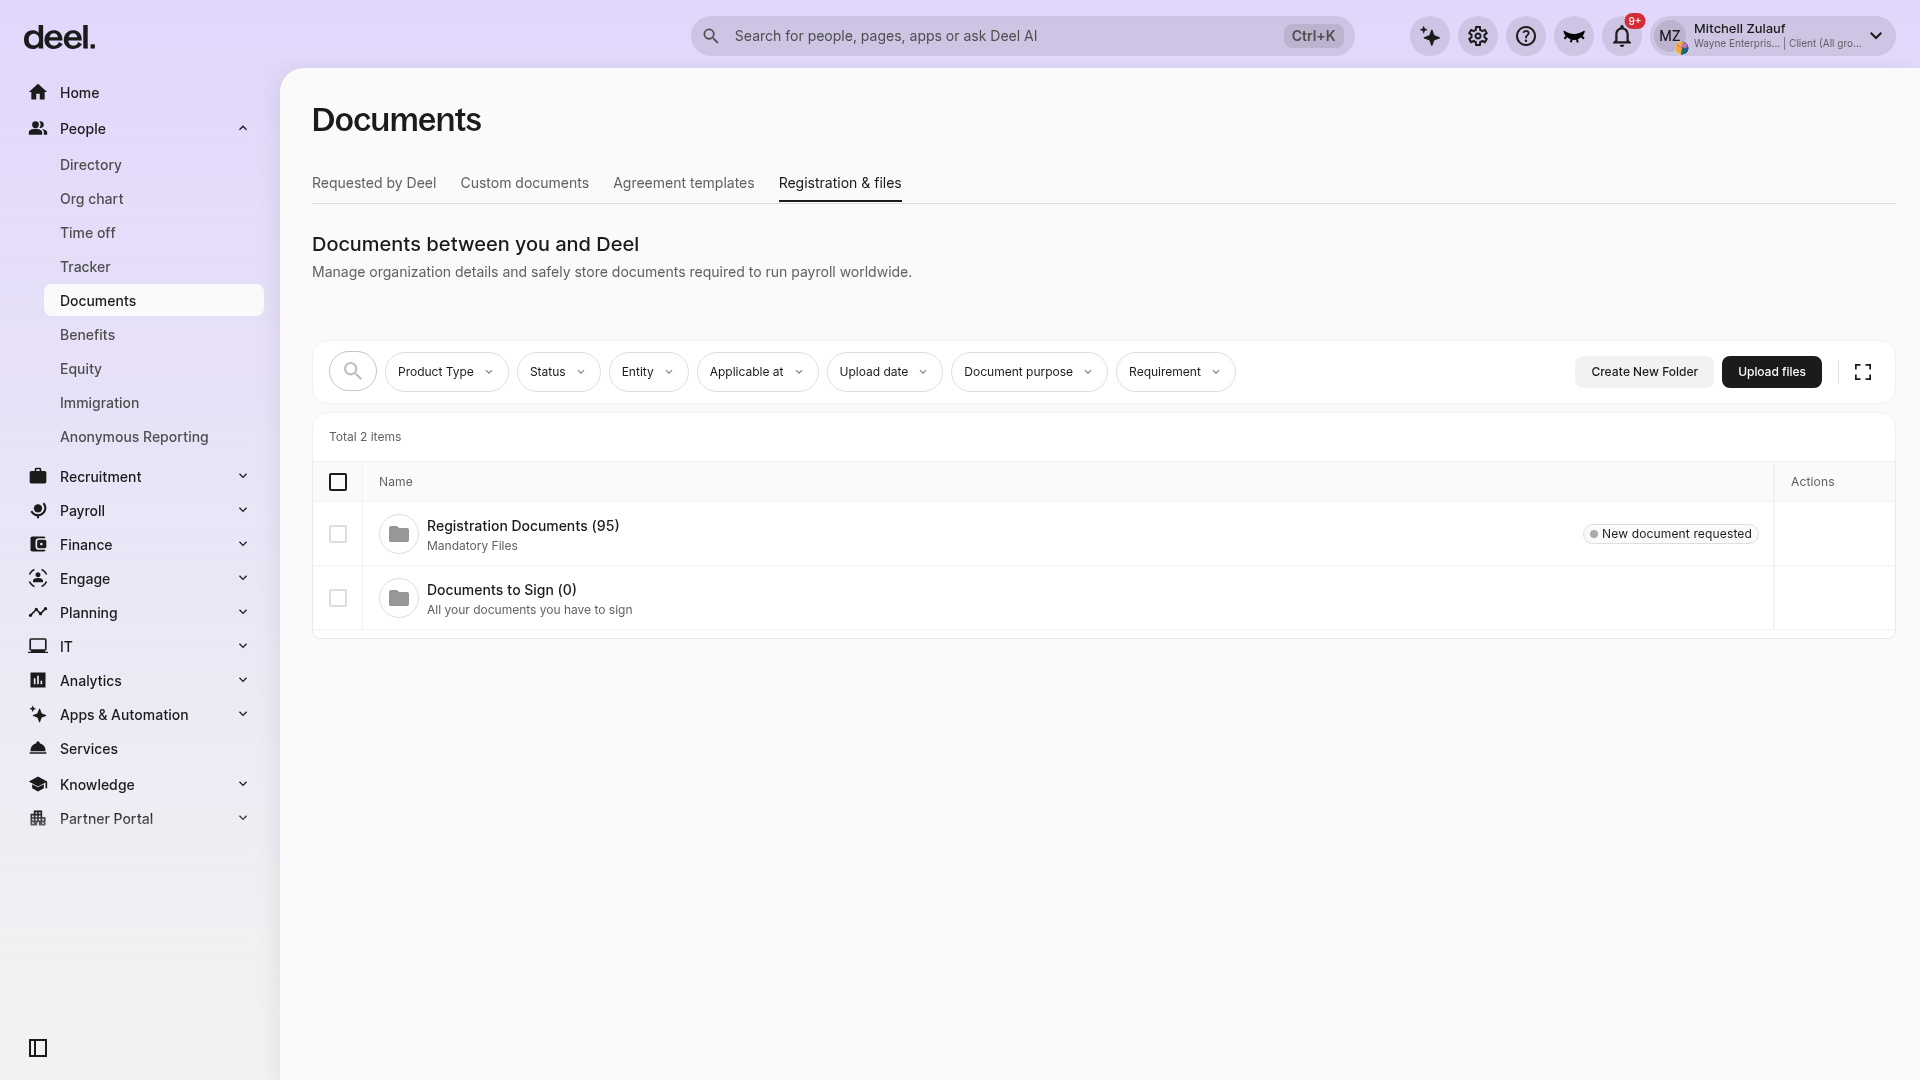
The Registration & files tab is active when the page heading reads Documents between you and Deel. The document list may include folders such as Registration Documents and Documents to Sign, as well as Create New Folder and Upload files controls.
✅ Step 2 - Managing registration documents
All entity-related documents requested by Deel can be found there. In this section, clients will be able to manage and upload documents, as well as check the review status.
The statuses are:
- Requested
- Under Review
- Accepted
- Rejected (If a document is rejected, clients can click on it to see the reason for rejection and to re-upload it.)
Additionally, clients can see the document details by clicking on its name and download or remove them by selecting Manage.
Within the Registration & Files tab, users can create folders to better organize documents. Inside these folders, clients can also create subfolders and rearrange them by selecting Move Folder or Move File to relocate documents.
Bulk Uploading Registration Documents
Within the Registration & Files tab, clients can bulk-upload registration documents by following these steps:
✅ Step 1 - Click Batch Upload
Select Upload files. This action replaces the former Batch Upload option.
✅ Step 2 - Select the entity and upload the files
The Upload files dialog opens at Step 1 of 2. Select the entity, then select files or drag them into the upload area.
✅ Step 3 - Assign files to the registration document
At this stage, based on the file title, some documents will be automatically assigned with the assistance of Deel AI. Clients will be asked to confirm or reassign these if they are incorrect. If Deel AI does not suggest an assignment, clients can click Assign to manually allocate the files.
✅ Step 4 - Upload files
Once the files have been assigned and reviewed, click Upload to complete the process.
FAQs
[ACCORDION] How long will it take for an uploaded document to be reviewed?
The review process can take up to 48 hours. Once that’s done, clients will be notified in-app and via email.
[ACCORDION] What happens if clients do not upload a mandatory document?
Deel will not be able to onboard the entity and this can lead to delayed or failed payroll processing.
[ACCORDION] Is it possible to upload more than one file per registration document?
Yes. Clients can upload up to 20 files per submission.
- Supported file format: .jpg, .doc, .xls, .zip, .csv, .pdf, .jpeg, .png, .heic, .docx, .xlsx;
- Maximum file size: 10MB
[ACCORDION] Is it possible to manage the visibility of entity documents?
Yes – Clients can manage entity documents via Roles and permissions in their Organization Settings by following these steps:
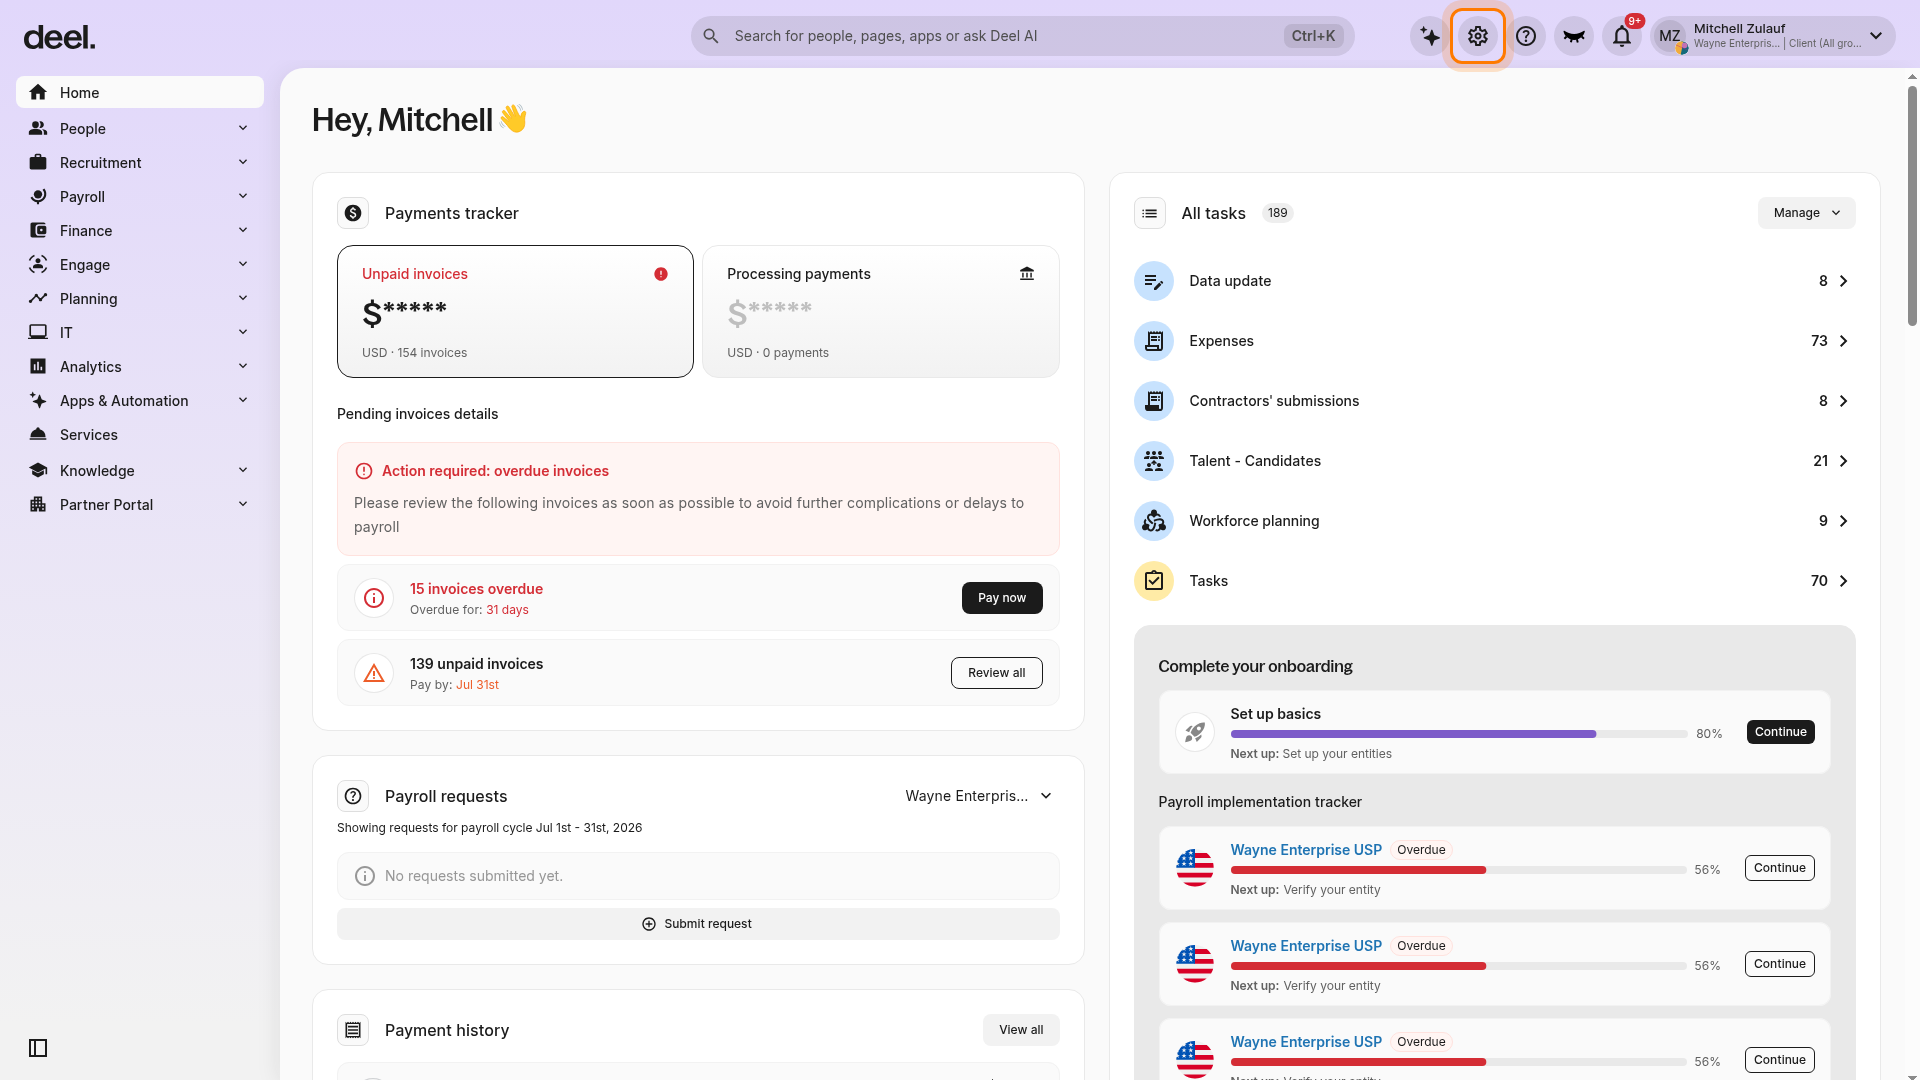
-
Select the Organization settings gear icon in the top-right corner.
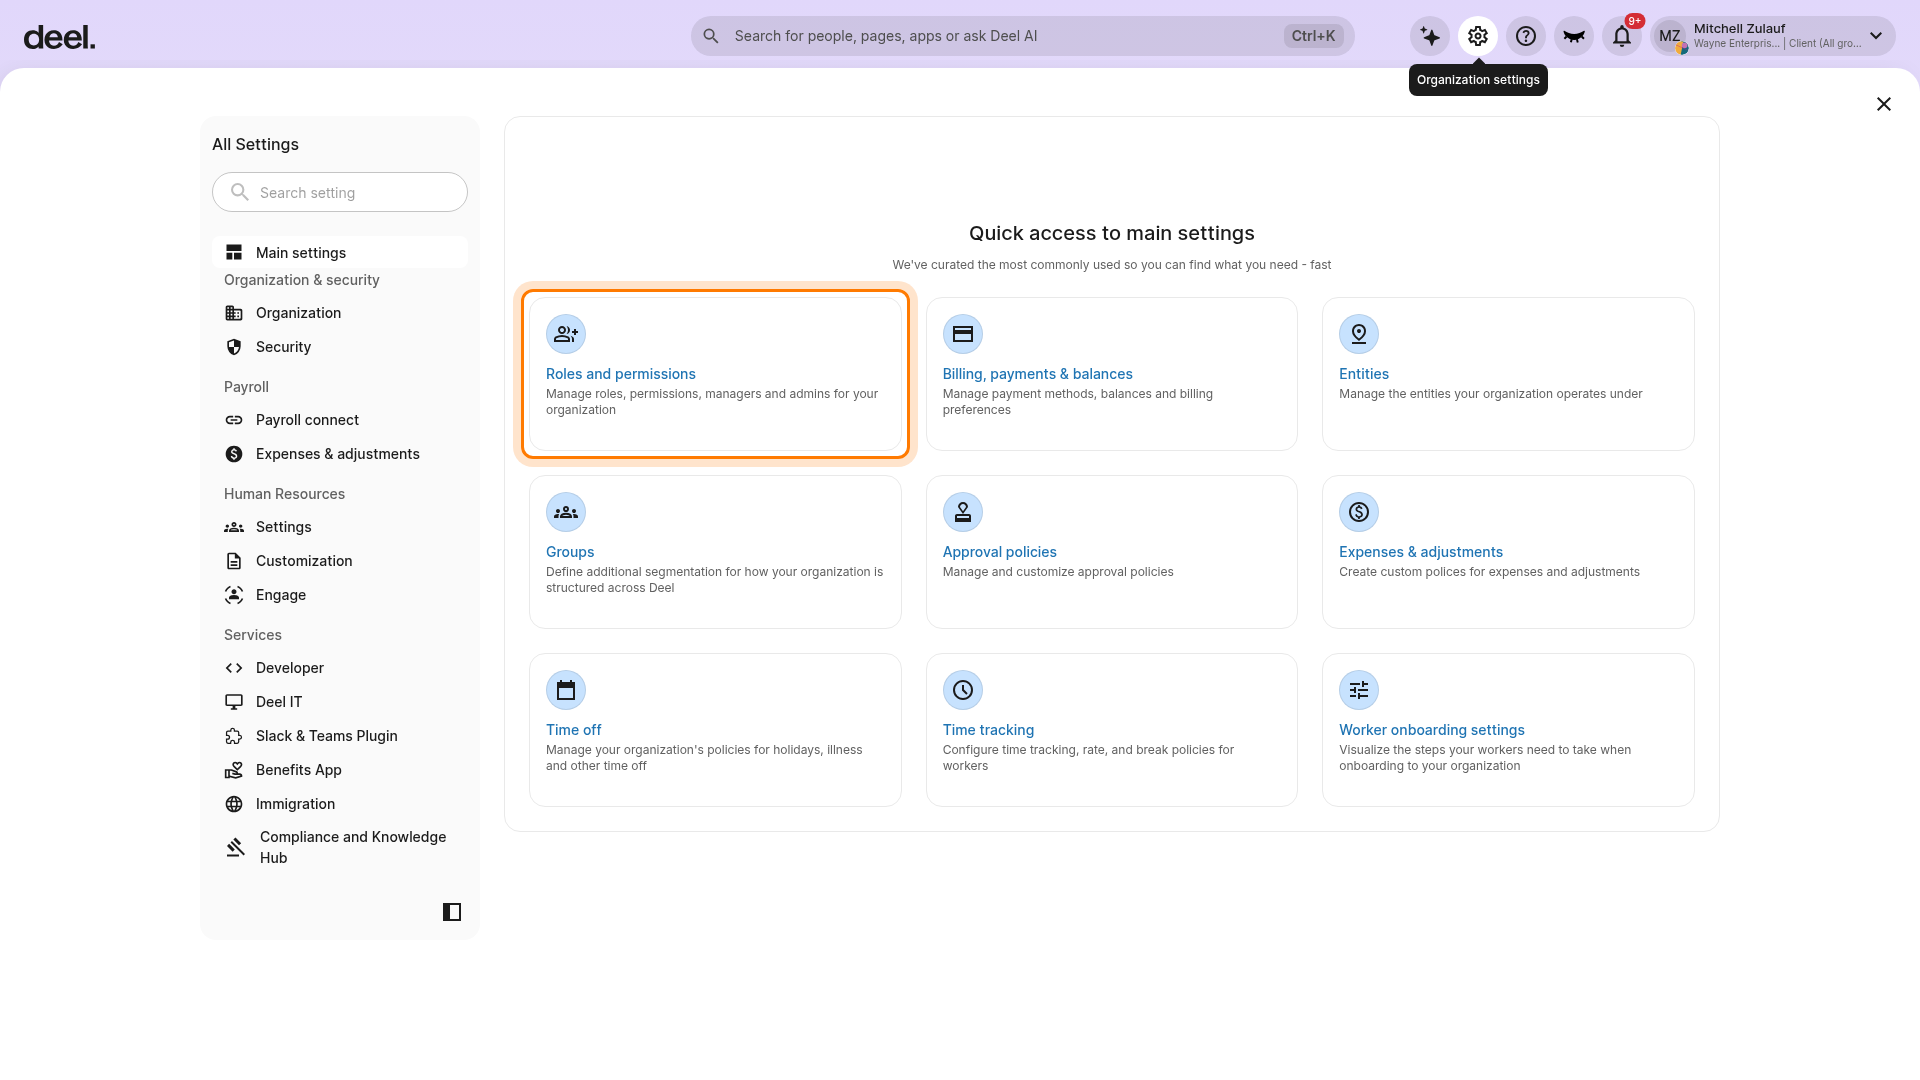
-
In All Settings, select Roles and permissions.
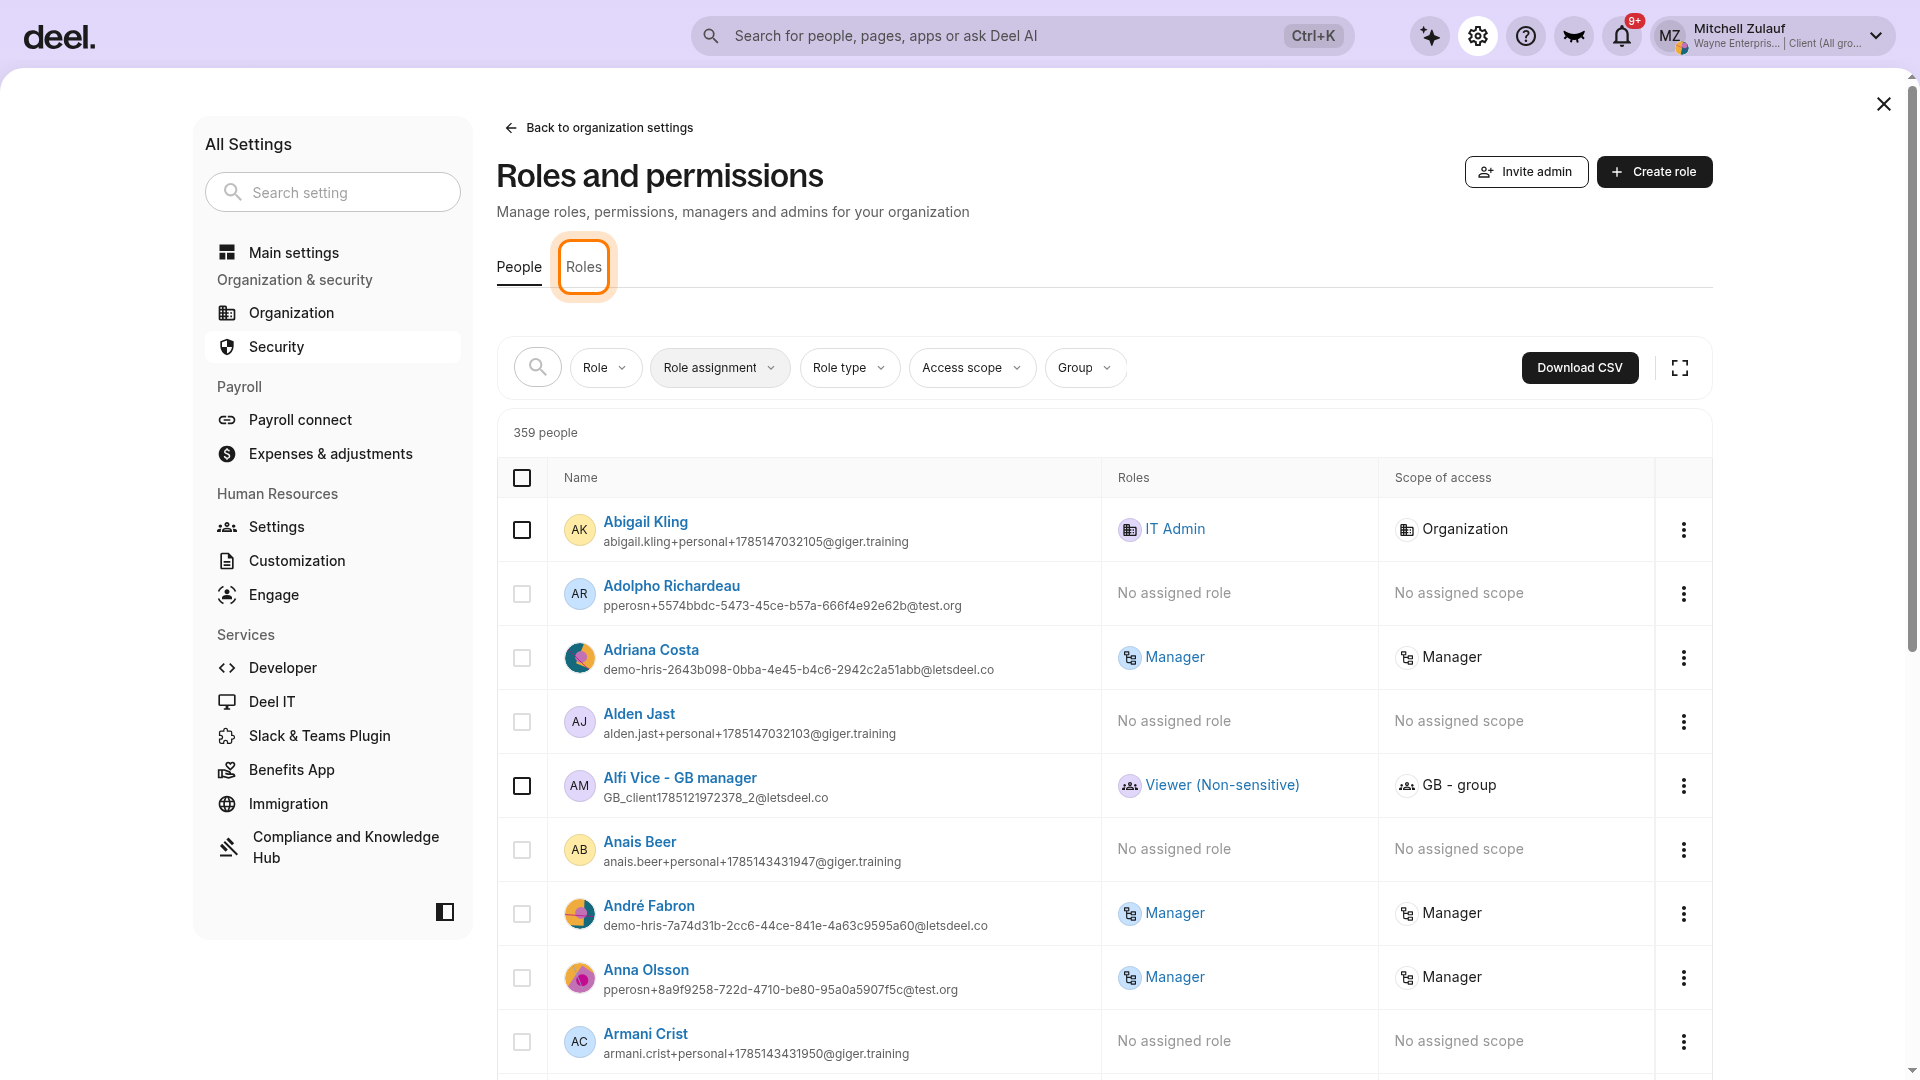
-
Select the Roles tab.
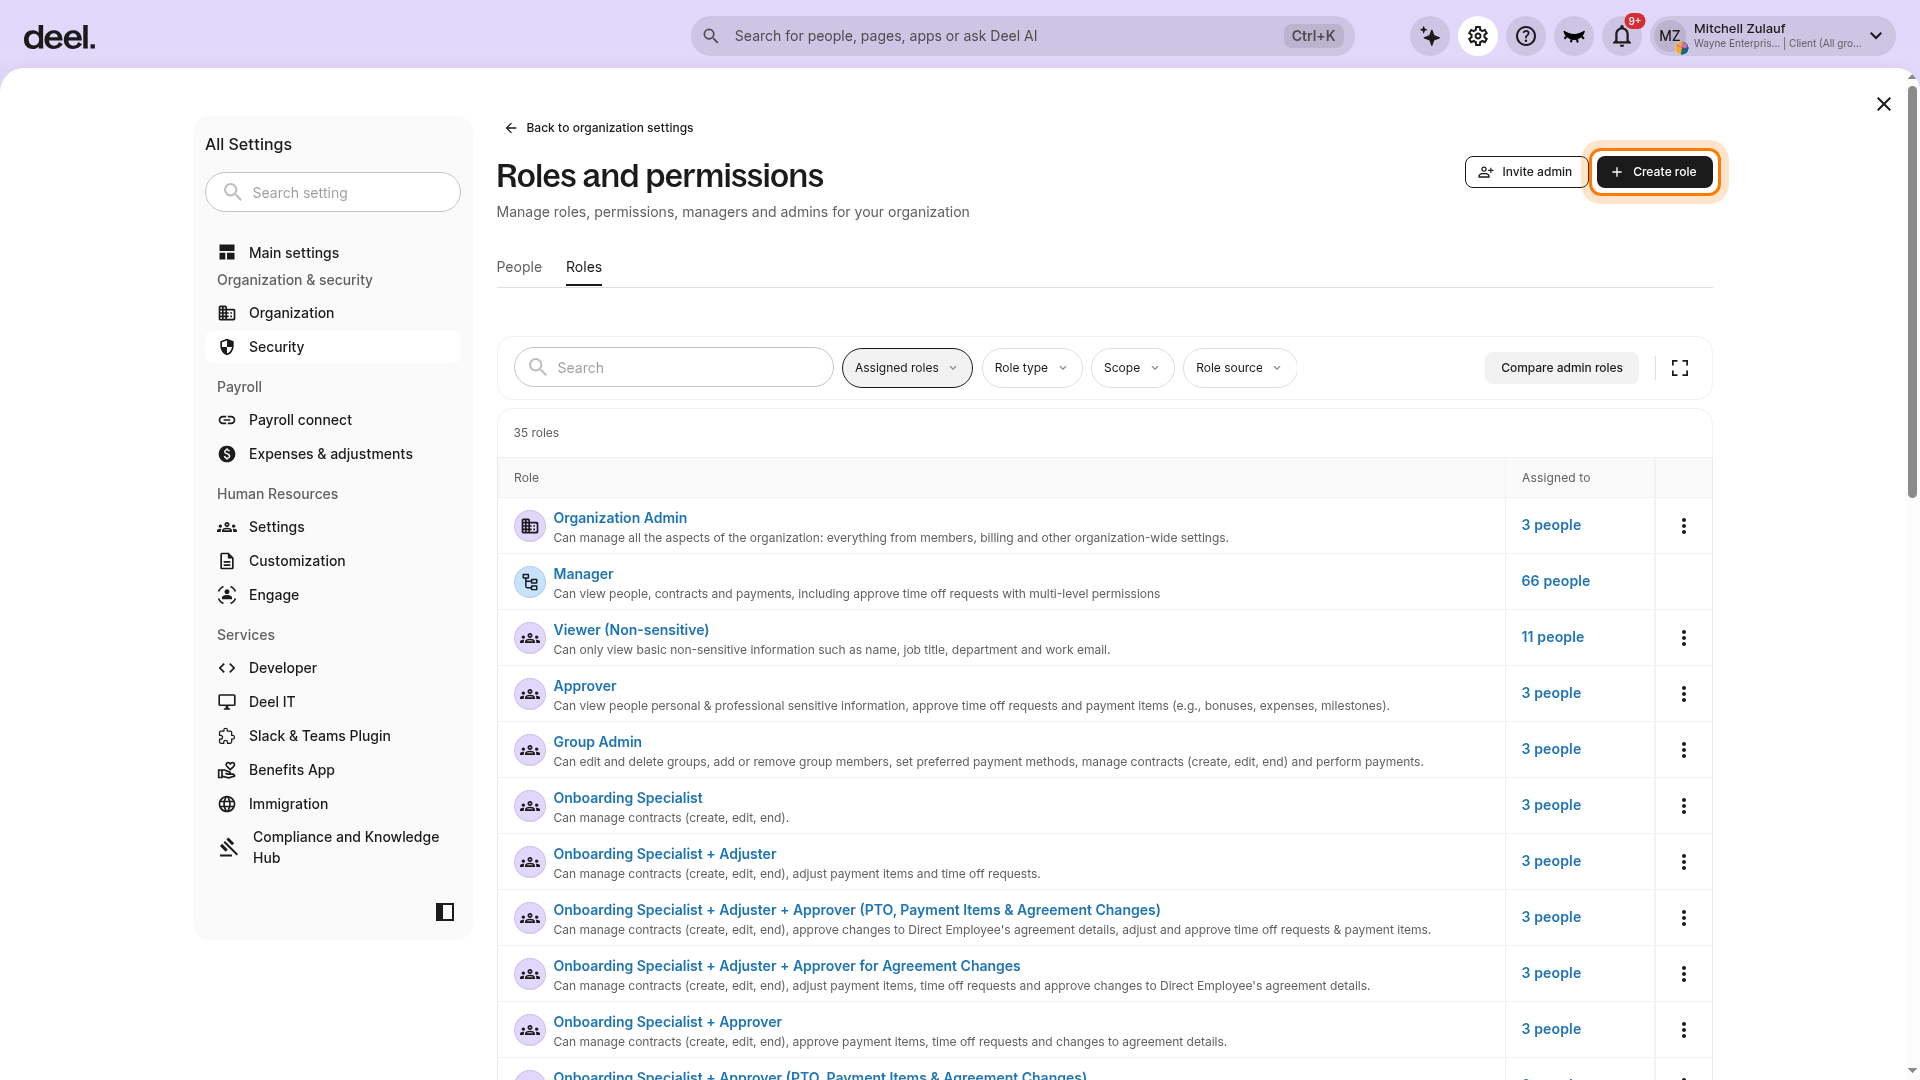
-
Click Create role.
-
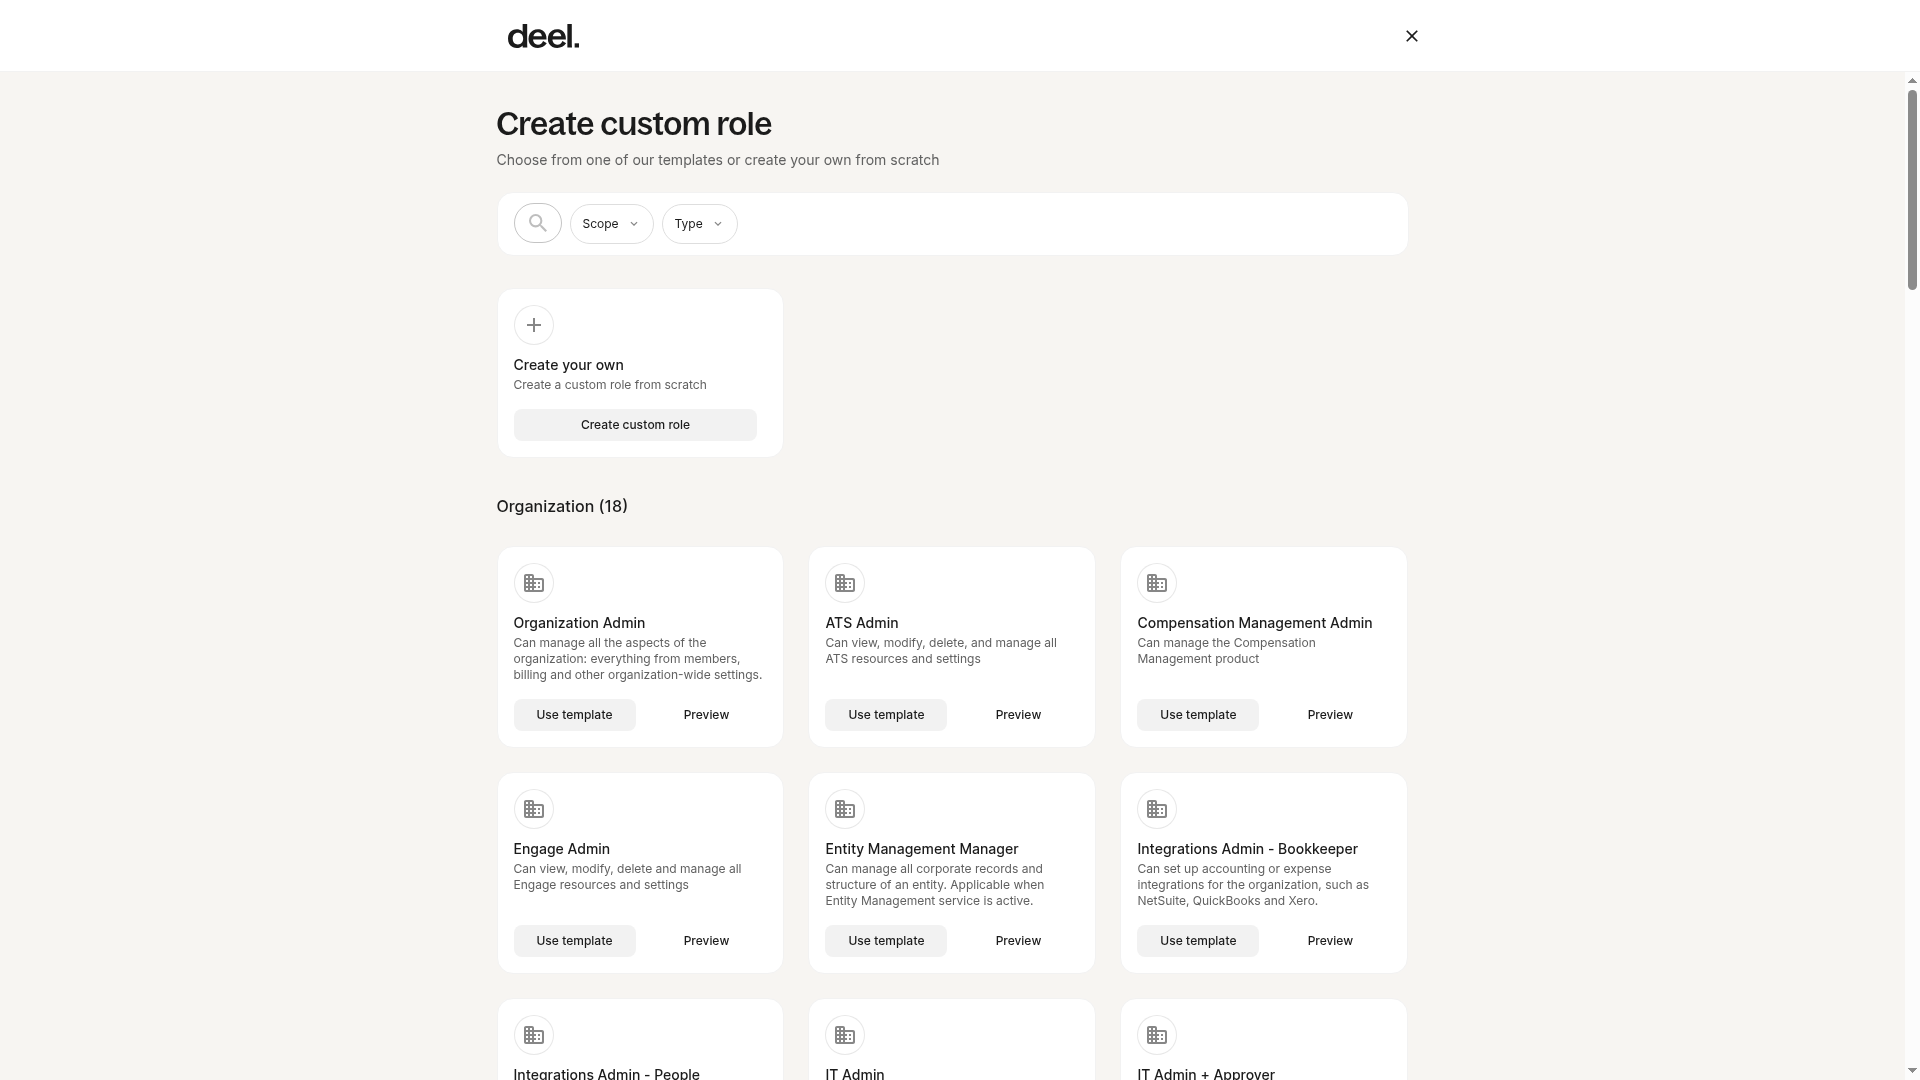
Either select Create custom role to create a role from scratch or select Use template for an available role template.
-
Select the Scope.
-
Configure the Documents permission option.