
Workday provides the ability to enable employees to access their external tax documents directly from the Workday UI. Workday invokes the external payroll-vendor REST APIs in real-time to retrieve those documents, allowing employees to view and download them without the files ever being stored in Workday.
When a Workday user navigates to Worker Profile → Pay → Tax Documents, Workday requests a list of documents from the external vendor. Selecting an individual document triggers a second call that streams the file back to Workday for display or download.
Setting up the Integration
IMPORTANT – Role requirements • You must be an Org Admin, Integrations Admin, or Integrations Admin – People in Deel. • You also need the appropriate security role(s) in Workday to create external payroll-vendor objects and key pairs.
✅ Step 1 – Connect the Workday app in Deel
(replaces former, shorter description)
Prerequisites
• Workday must appear under My apps in Deel. If it does not, contact your Deel administrator.
Detailed steps
- Open the “More” menu
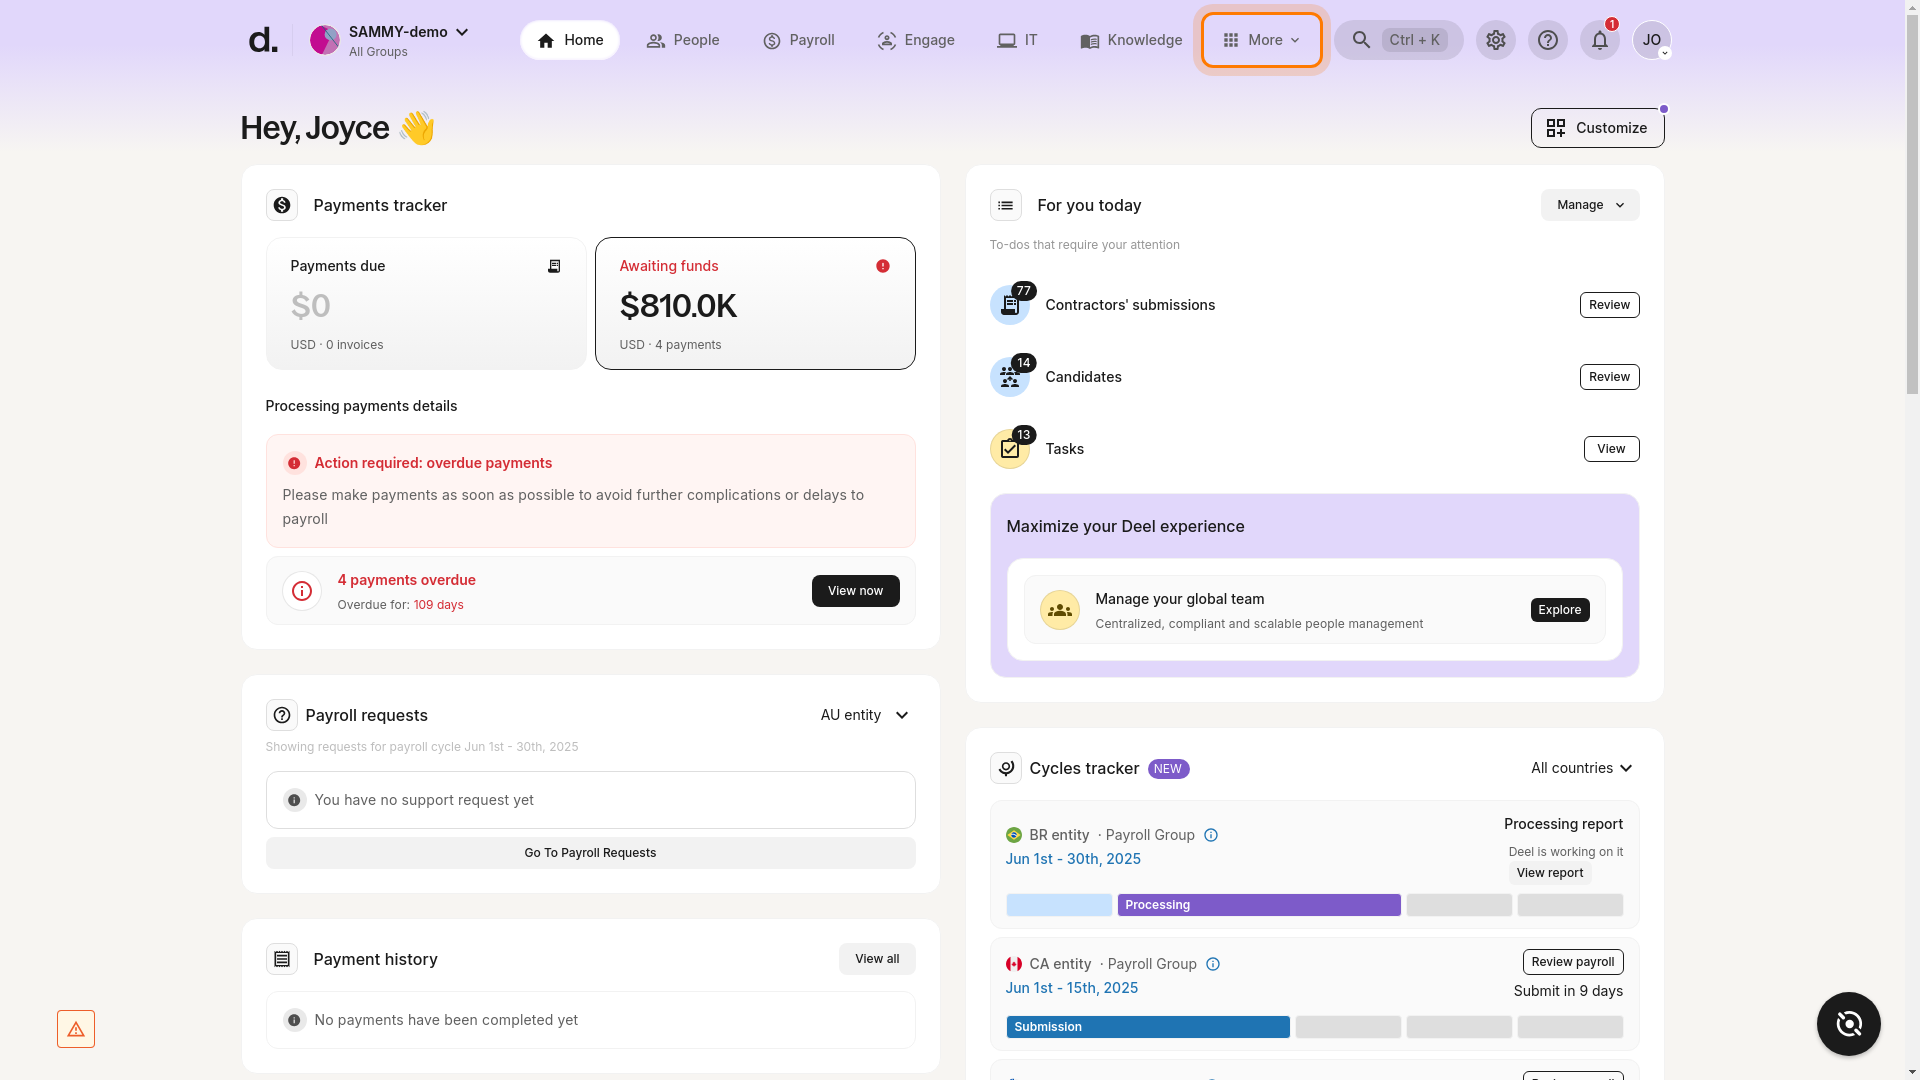
- Select “Apps” from the drop-down.
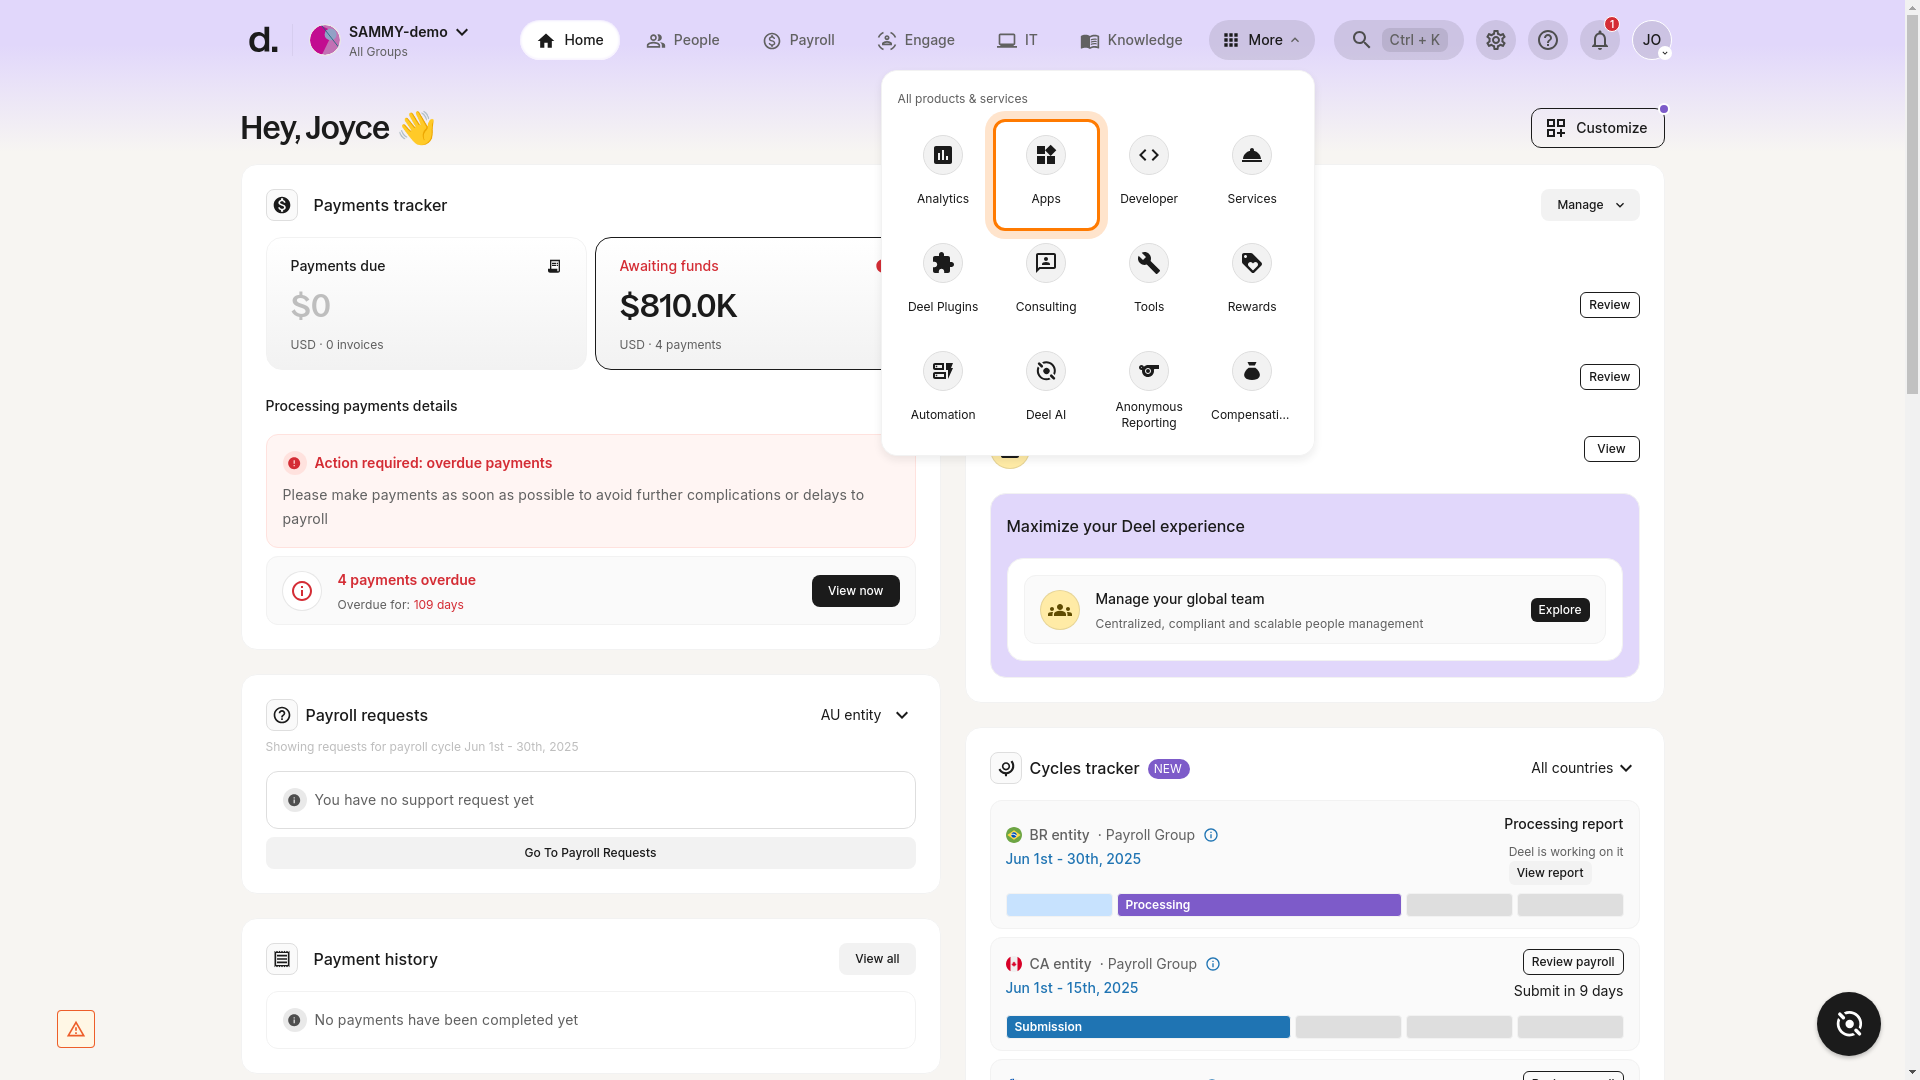
- Click the Workday app under My apps.

- Verify that the Workday app page shows Connected (or click Connect if it is not yet connected). You should also see a list of available plugins.
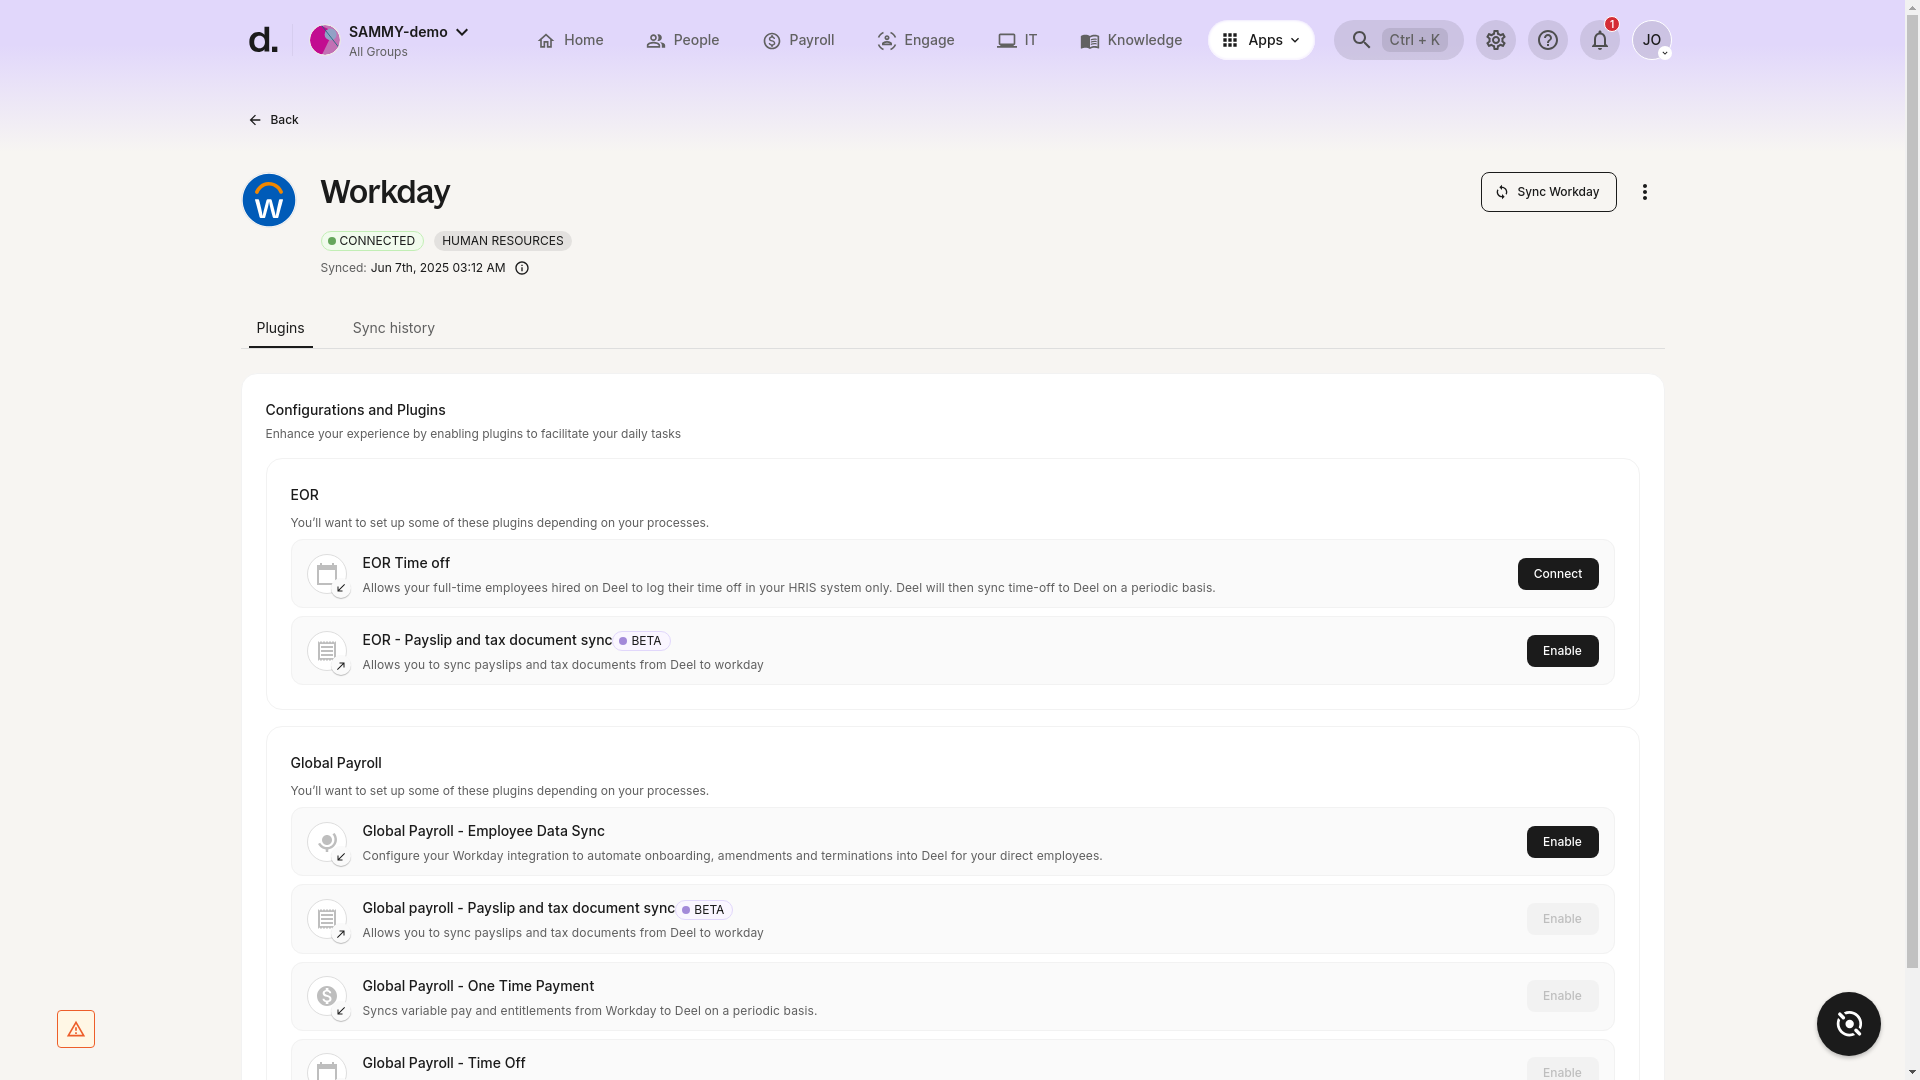
Success criteria
• Workday app displays a Connected status and the EOR – Payslip and tax document sync plugin appears under Configurations and Plugins.
Troubleshooting
• App not visible – ensure you have permission or ask your Deel admin to enable the Workday app.
• No Connect button / greyed-out options – confirm your Deel role includes integration management.
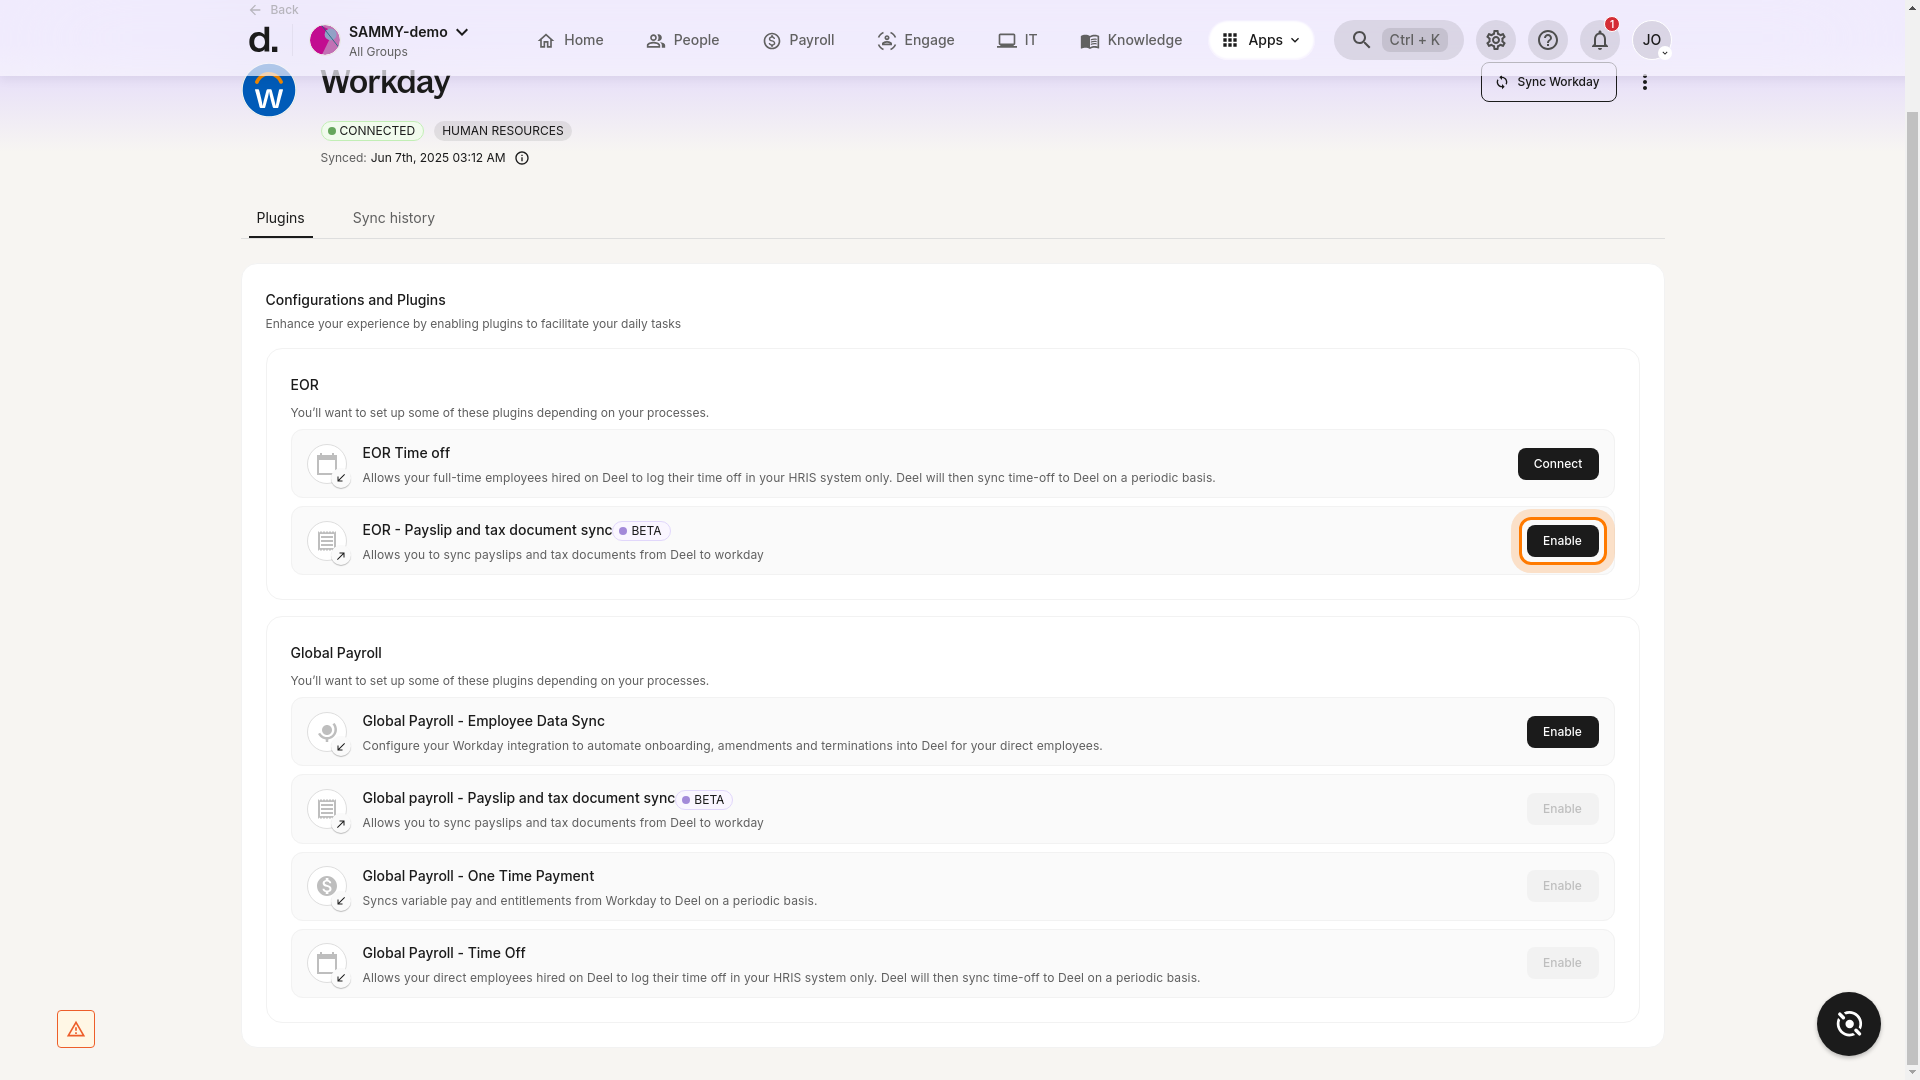
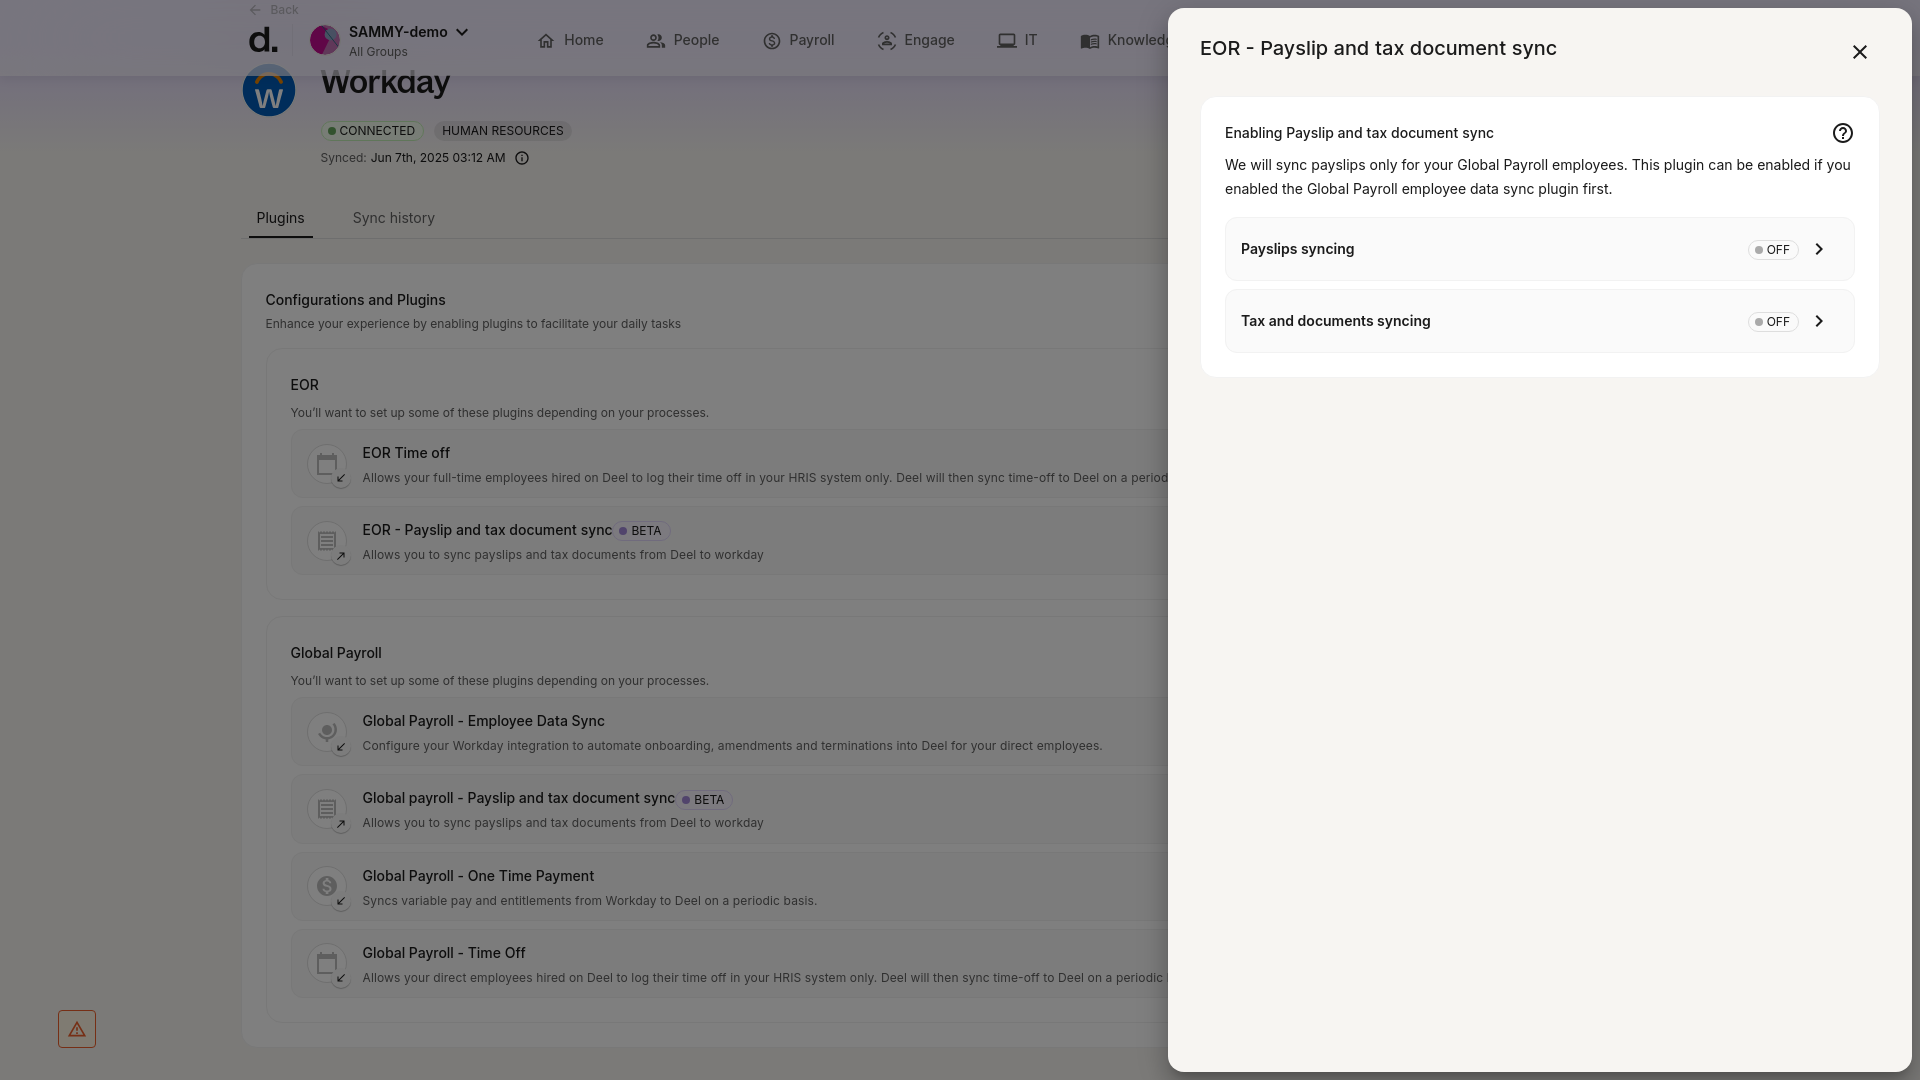
✅ Step 2 – Enable the EOR – Payslip and Tax document sync plugin
- Still on the Workday app page, scroll to EOR → EOR – Payslip and tax document sync.
- Click Enable.
- A configuration panel opens. Both Payslips syncing and Tax and documents syncing are initially set to OFF. Leave them OFF for now – you will return after Steps 3-7.
Tip – If you accidentally close the modal, you can reopen it any time by clicking the plugin name.
✅ Step 3 – Create External Payroll Vendor in Workday
If External Payslip is already configured, edit the existing vendor instead of creating a new one and proceed to Step 6.
Otherwise, in Workday Create External Payroll Vendor: 1. Name the vendor (for example, Deel). 2. Select External Tax Documents as the Feature.
✅ Step 4 – Create External Payroll Vendor Mapping
Map the vendor you just created to each required Workday environment.
- Open the vendor.
- Choose Maintain Mapping and assign the correct environment (Sandbox, Implementation, Production, etc.).
✅ Step 5 – Create Public / Private Key Pairs
- In the vendor configuration, click OK and follow the prompt to generate key pairs.
- Name the key pair and select Do Not Allow Regeneration.
- Mark the key pair Active.
- Copy the Public Key – you will paste it into the Deel plugin modal (Step 8).
✅ Step 6 – Feature Configuration in Workday
- In the vendor record, open Feature Configuration.
- Add External Payslips (if not present).
- For the Attribute choose Retrieval Endpoint.
- Paste the URL that Deel displays in the plugin modal under Tax & Documents Retrieval URL (from Step 2).
✅ Step 7 – Maintain Pay-Group / Vendor Associations
Associate every relevant Workday Pay Group with the external payroll vendor you created.
✅ Step 8 – Return to Deel and final-enable syncing
- Go back to More → Apps → Workday → EOR – Payslip and tax document sync.
- Open the configuration panel again.
- Paste the Public Key copied in Step 5.
- Toggle Tax and documents syncing to ON (and Payslips syncing if required).
- Click Enable / Save. The plugin status should change to Enabled.
Tax-Document Security Access
Workday administrators cannot view employees’ tax documents retrieved via this REST-API method. Only the individual employee (Employee Self Service user) can access their own documents while logged in.