
Workday provides the ability to enable employees to access their external tax documents directly from the Workday UI. When an employee navigates to Worker Profile > Pay > Tax Documents, Workday calls the external payroll vendor’s REST APIs in real-time to retrieve the list of available documents. When the employee selects a document, Workday invokes the vendor’s endpoint again to stream the PDF inside Workday. (No documents are stored in Workday.)
Setting up the Integration
You will complete a sequence of eight Workday + Deel configuration steps.
Steps 1–2 are performed in Deel, while Steps 3–7 are performed in Workday.
Step 8 re-enables the Deel plugin once everything is connected.
✅ Prerequisites (applies to the entire workflow)
• Administrator permissions in Deel (Org Admin, Integrations Admin, or Integrations Admin – People)
• Ability to create or update External Payroll Vendor records in Workday
• Workday REST API credentials (Endpoint, Client ID, Client Secret, Refresh Token)
✅ Step 1 – Initiate the integration in Deel
Follow these in-app steps to place Deel into “ready-to-connect” mode and supply your Workday API credentials.
-
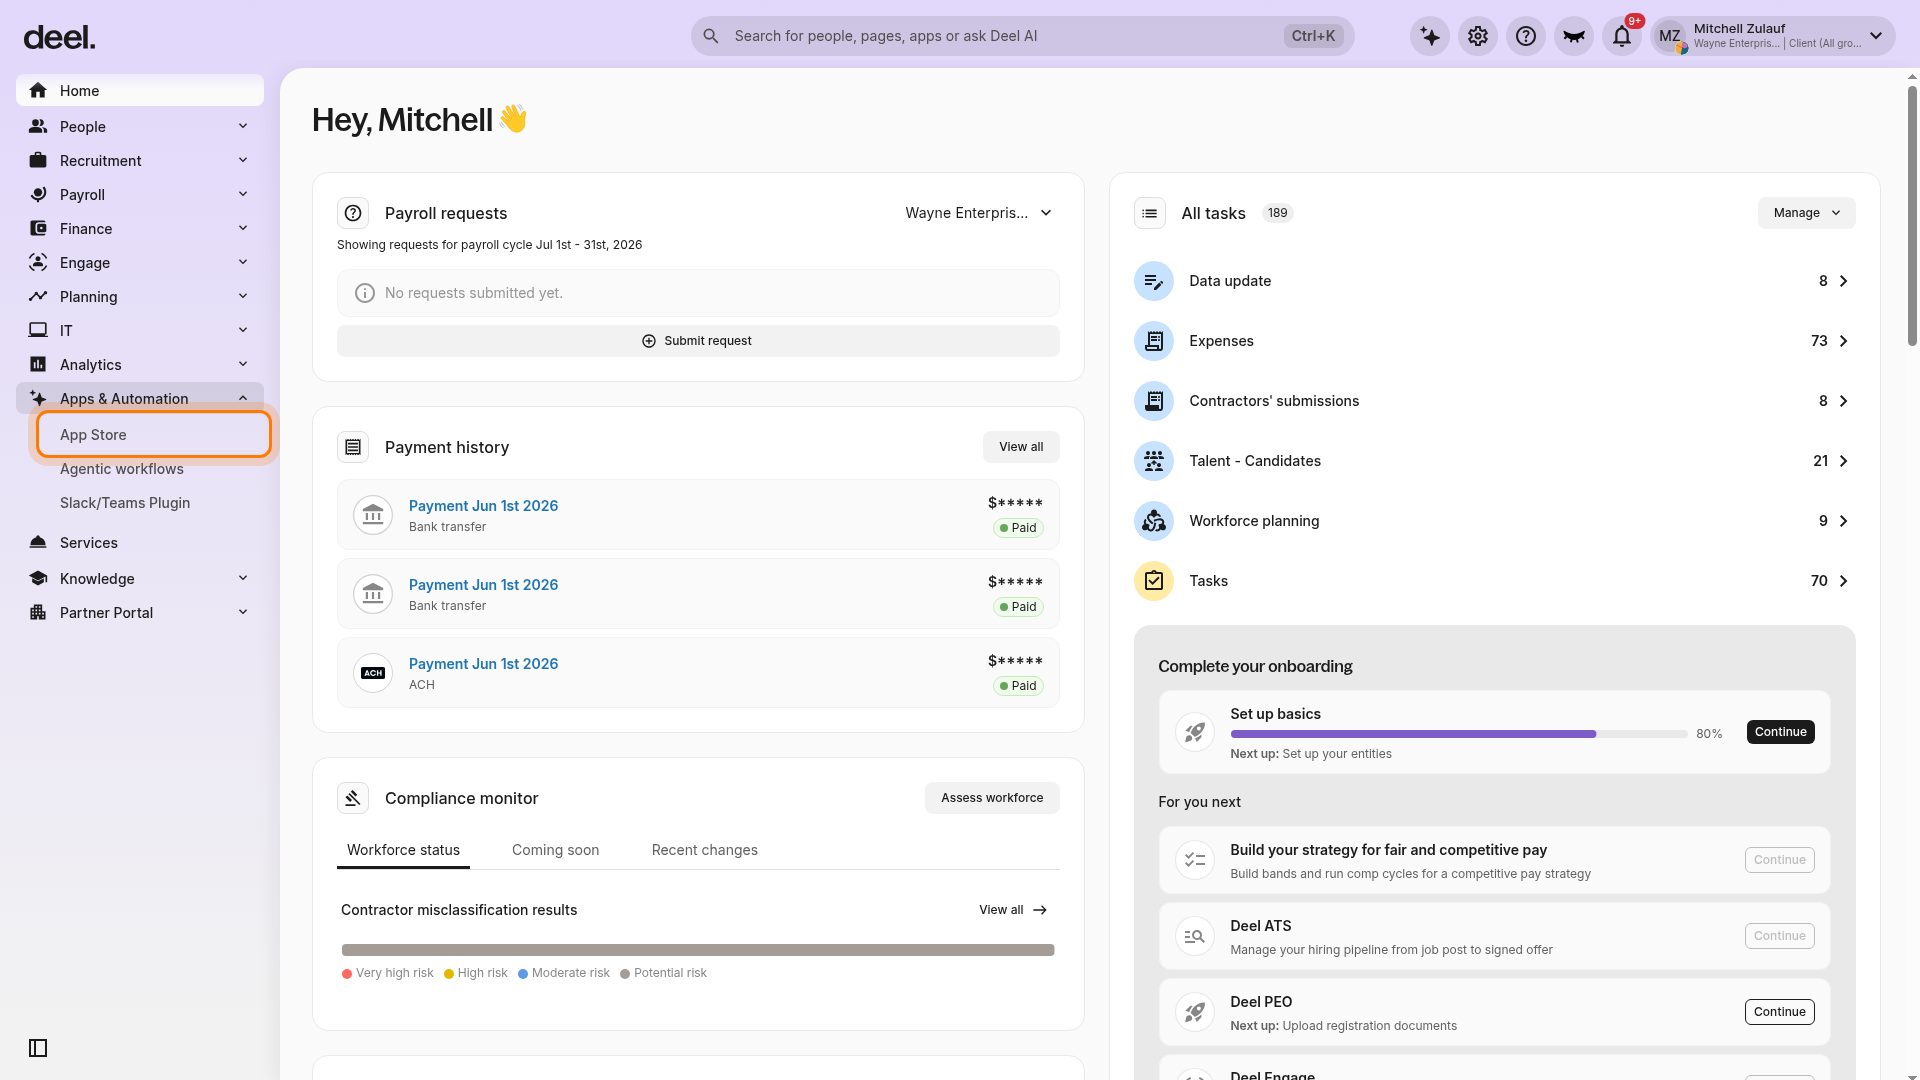
Open the App Store
From the Deel home page, expand Apps & Automation in the left sidebar and select App Store.
-
Dismiss the welcome dialog if it appears
If the Welcome to your Deel Apps & Integrations dialog appears, select I’ll do that later.
-
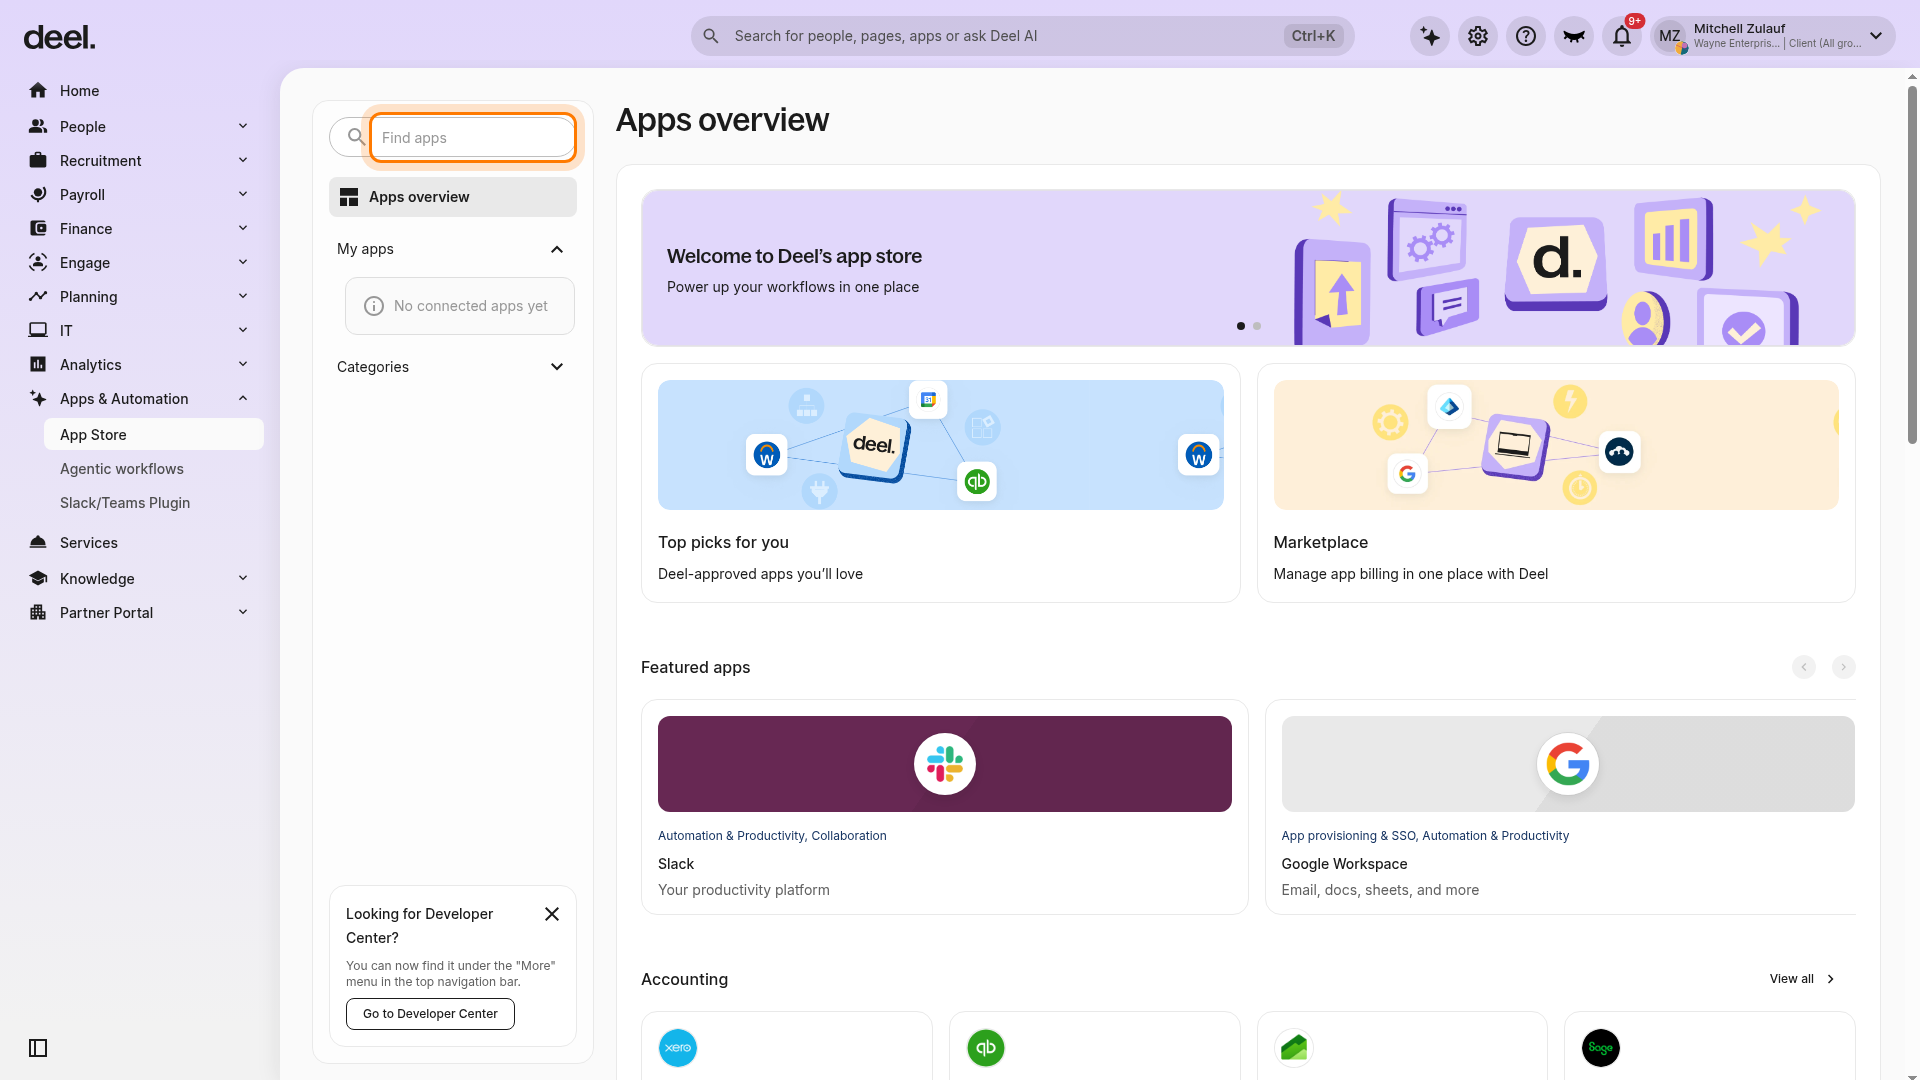
Search for Workday
On the Apps overview page, use Find apps and type “Workday.”
-
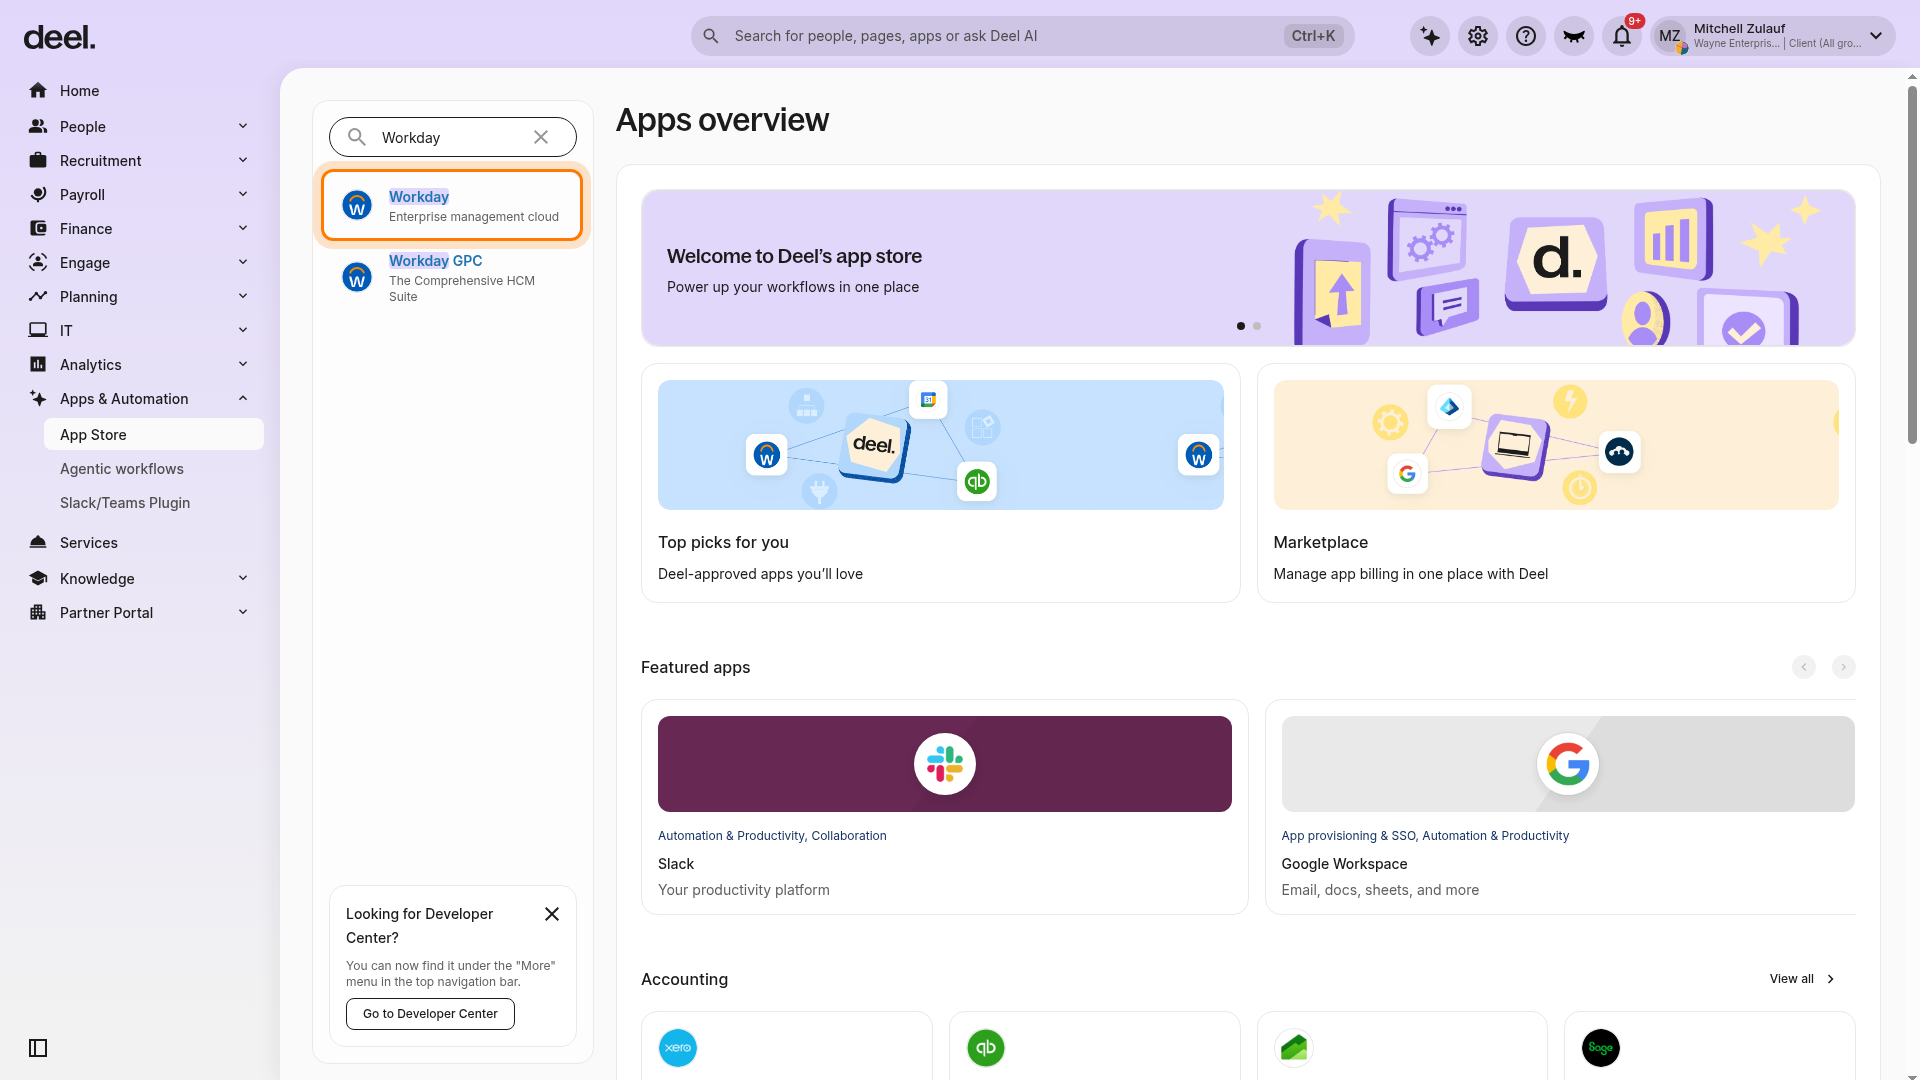
Open the Workday app
Select Workday with the subtitle Enterprise management cloud. Do not select Workday GPC, which is a different integration.
-
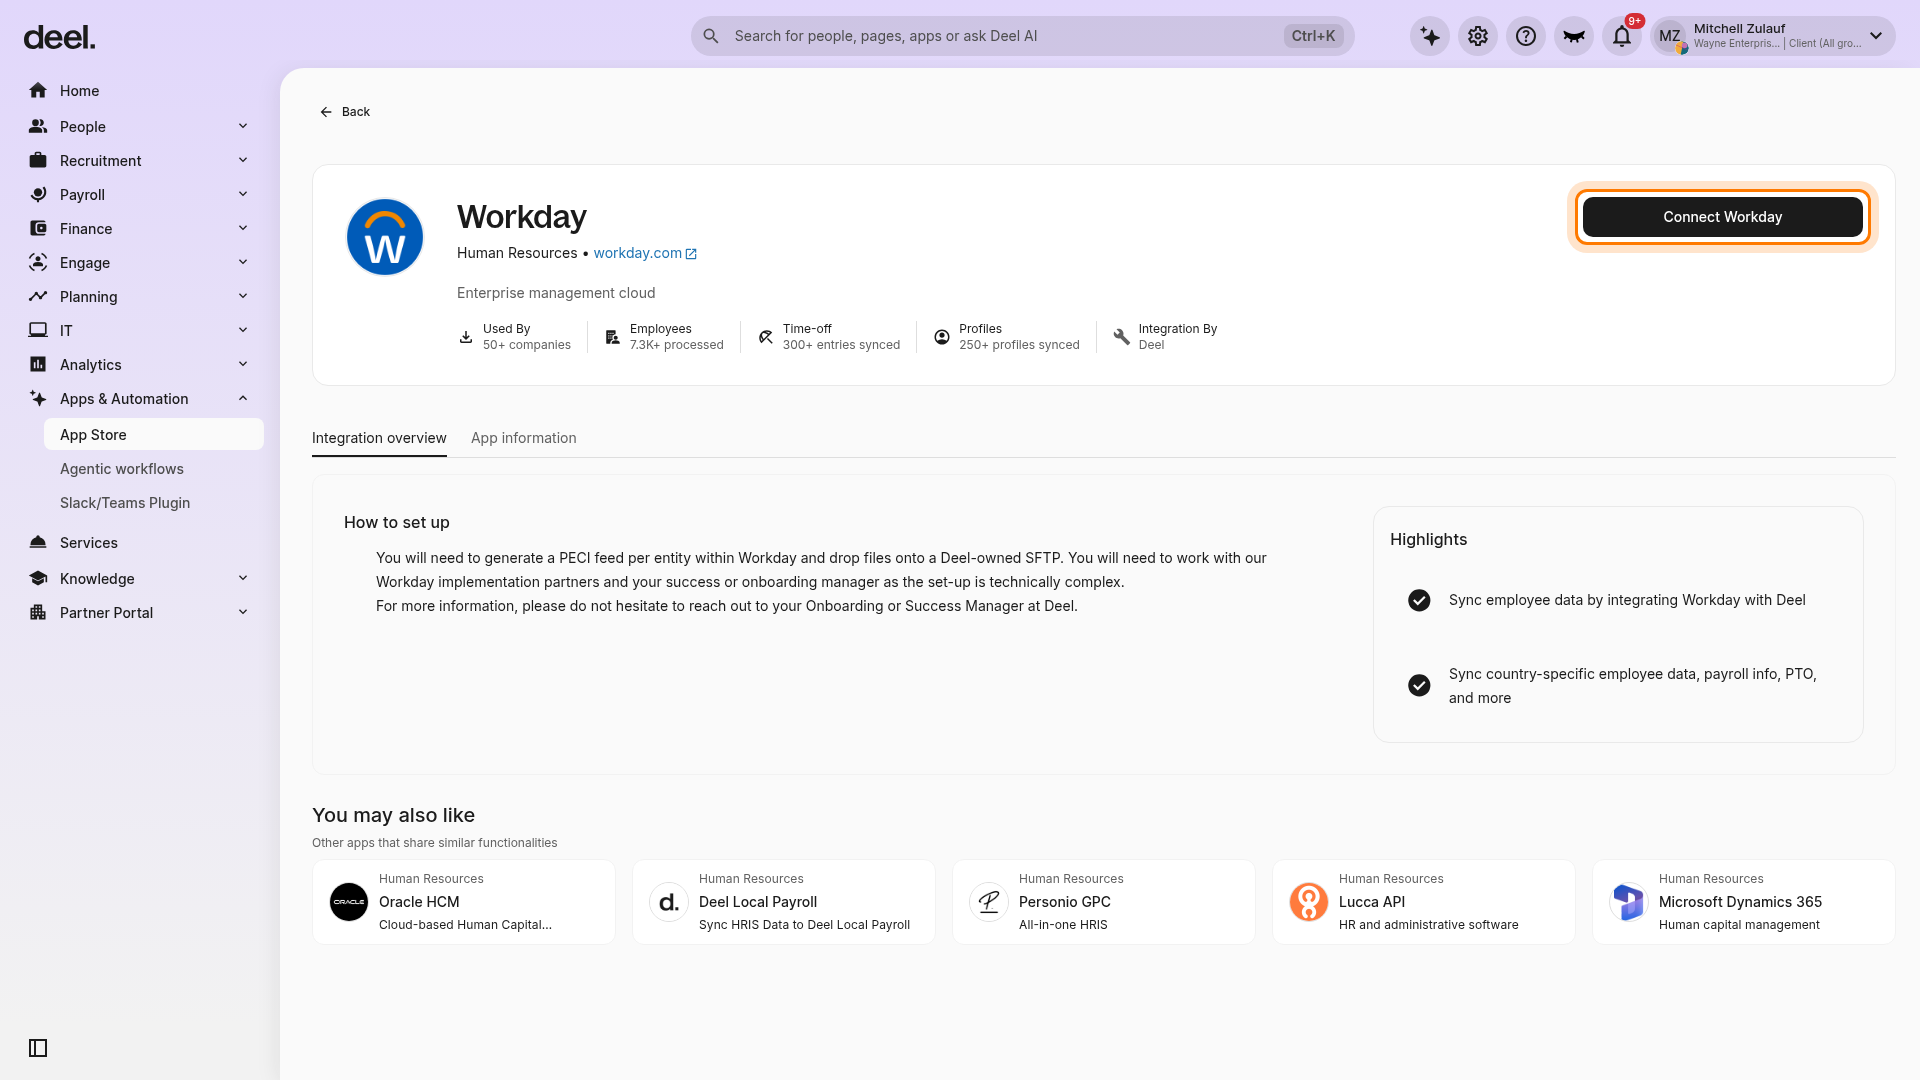
Connect Workday
On the Workday integration page, select Connect Workday.
-
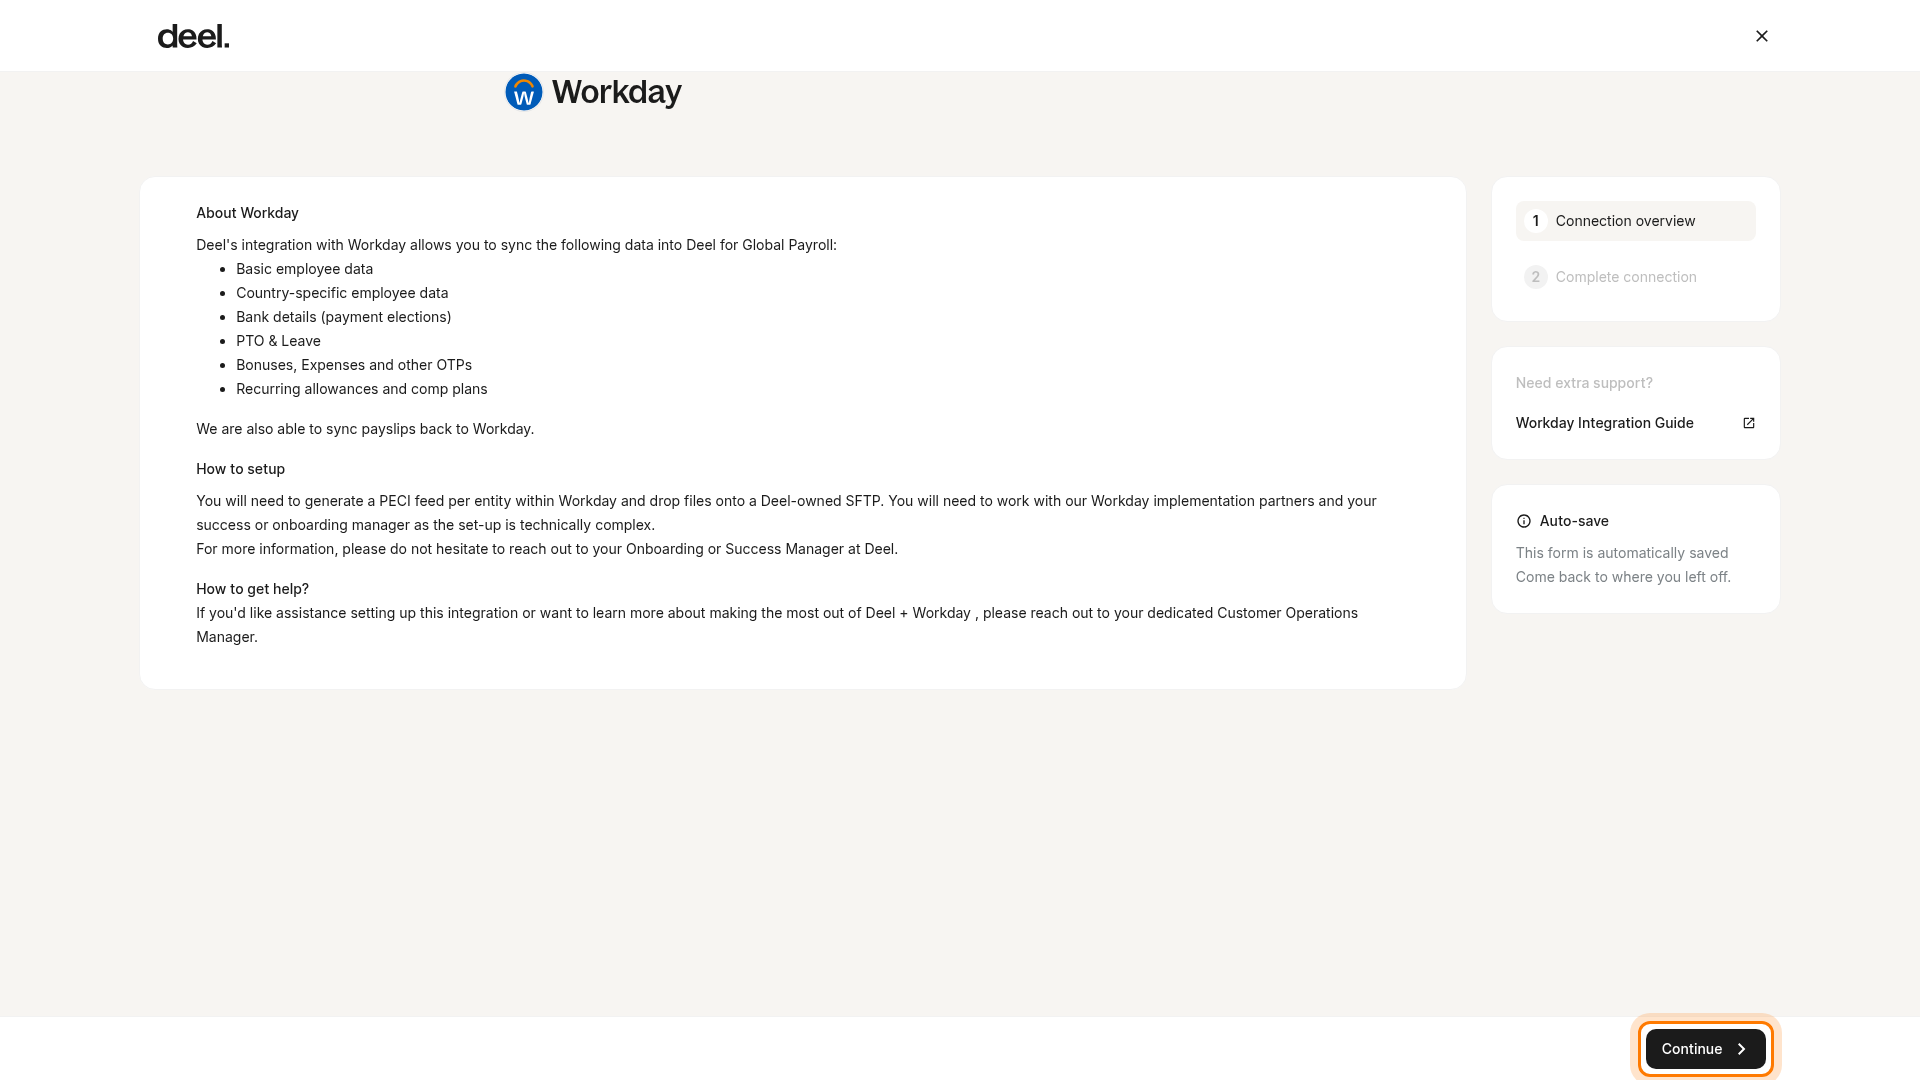
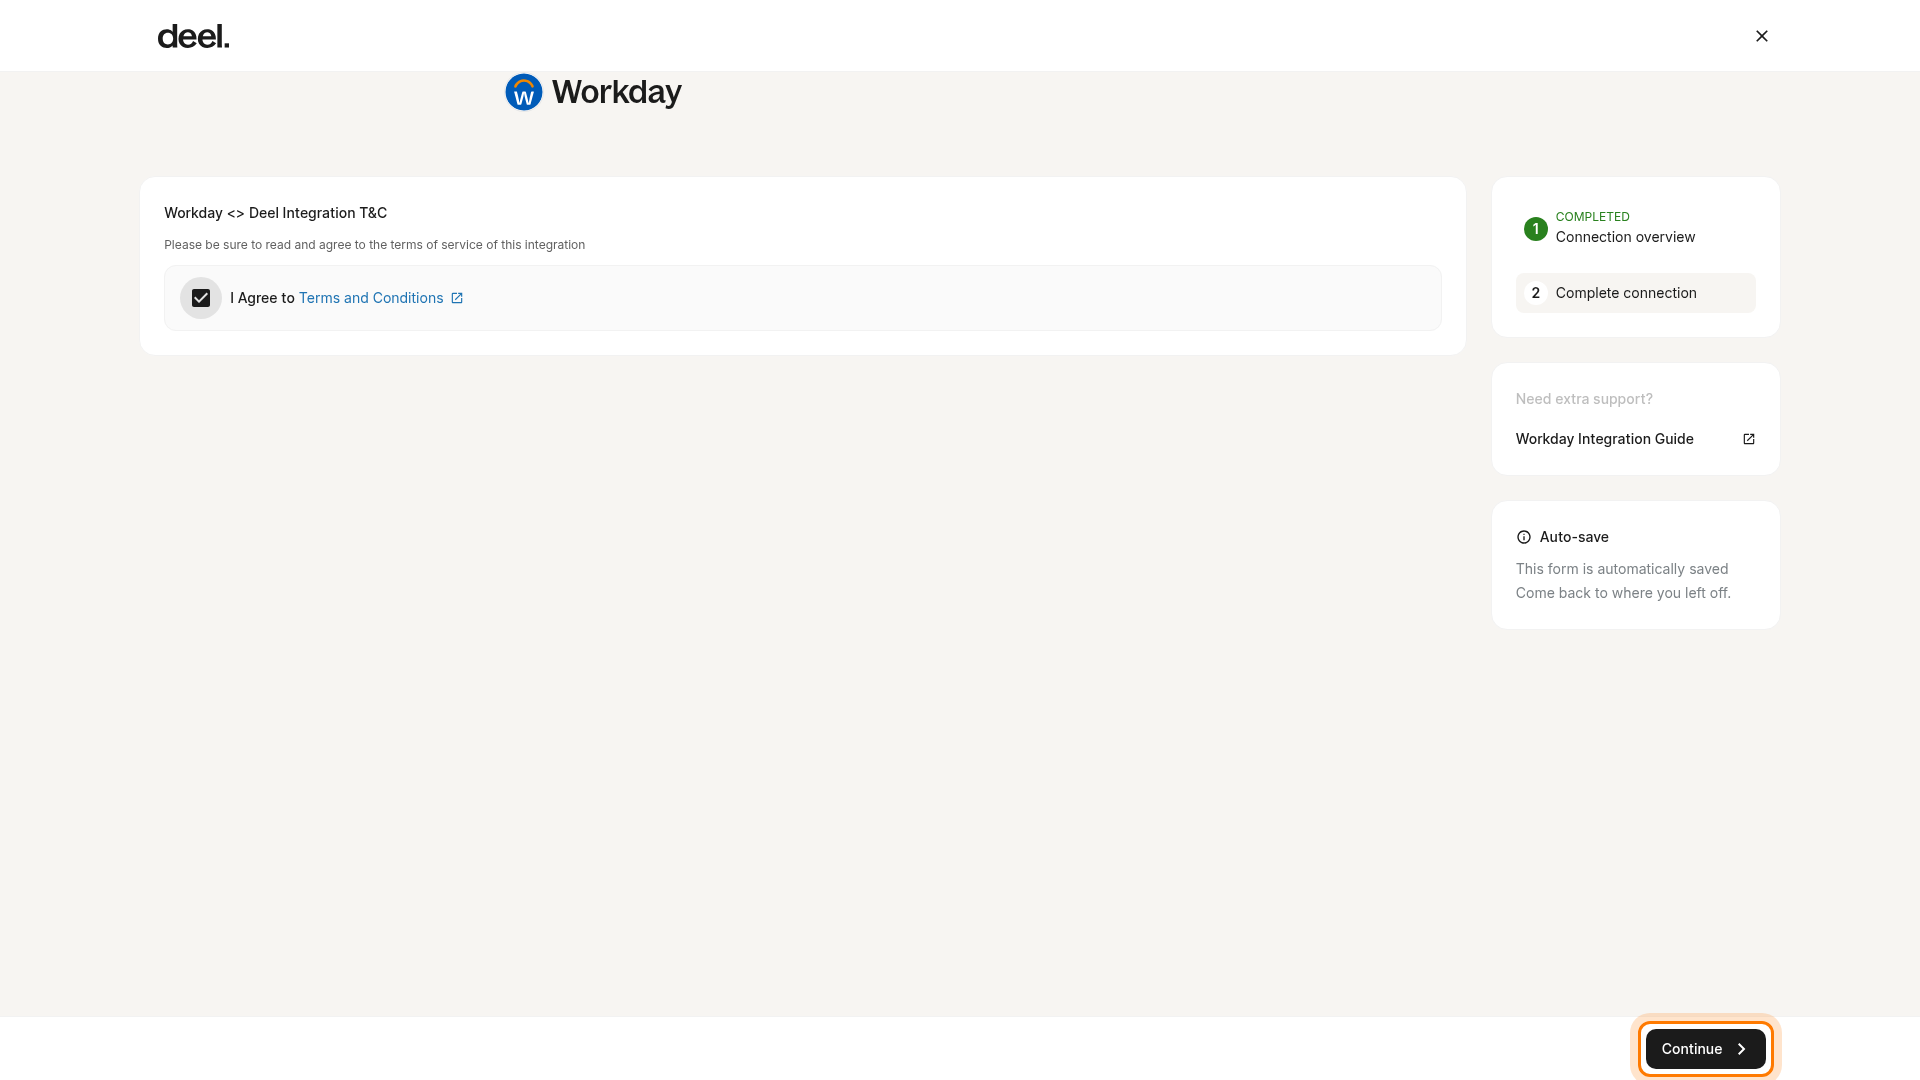
Review the connection overview and accept the terms
Review the Connection overview and select Continue. On Workday <> Deel Integration T&C, select I Agree to Terms and Conditions, then select Continue. The connection form is automatically saved, so you can return later if needed. If a connection confirmation appears, select OK.
-
Enter Workday API credentials
On the Plugins page, locate the applicable plugin connection action that opens the Integrate with Workday API modal. Supply:
• Workday REST API Endpoint
• Client ID
• Client Secret
• Refresh Token
Click Submit.
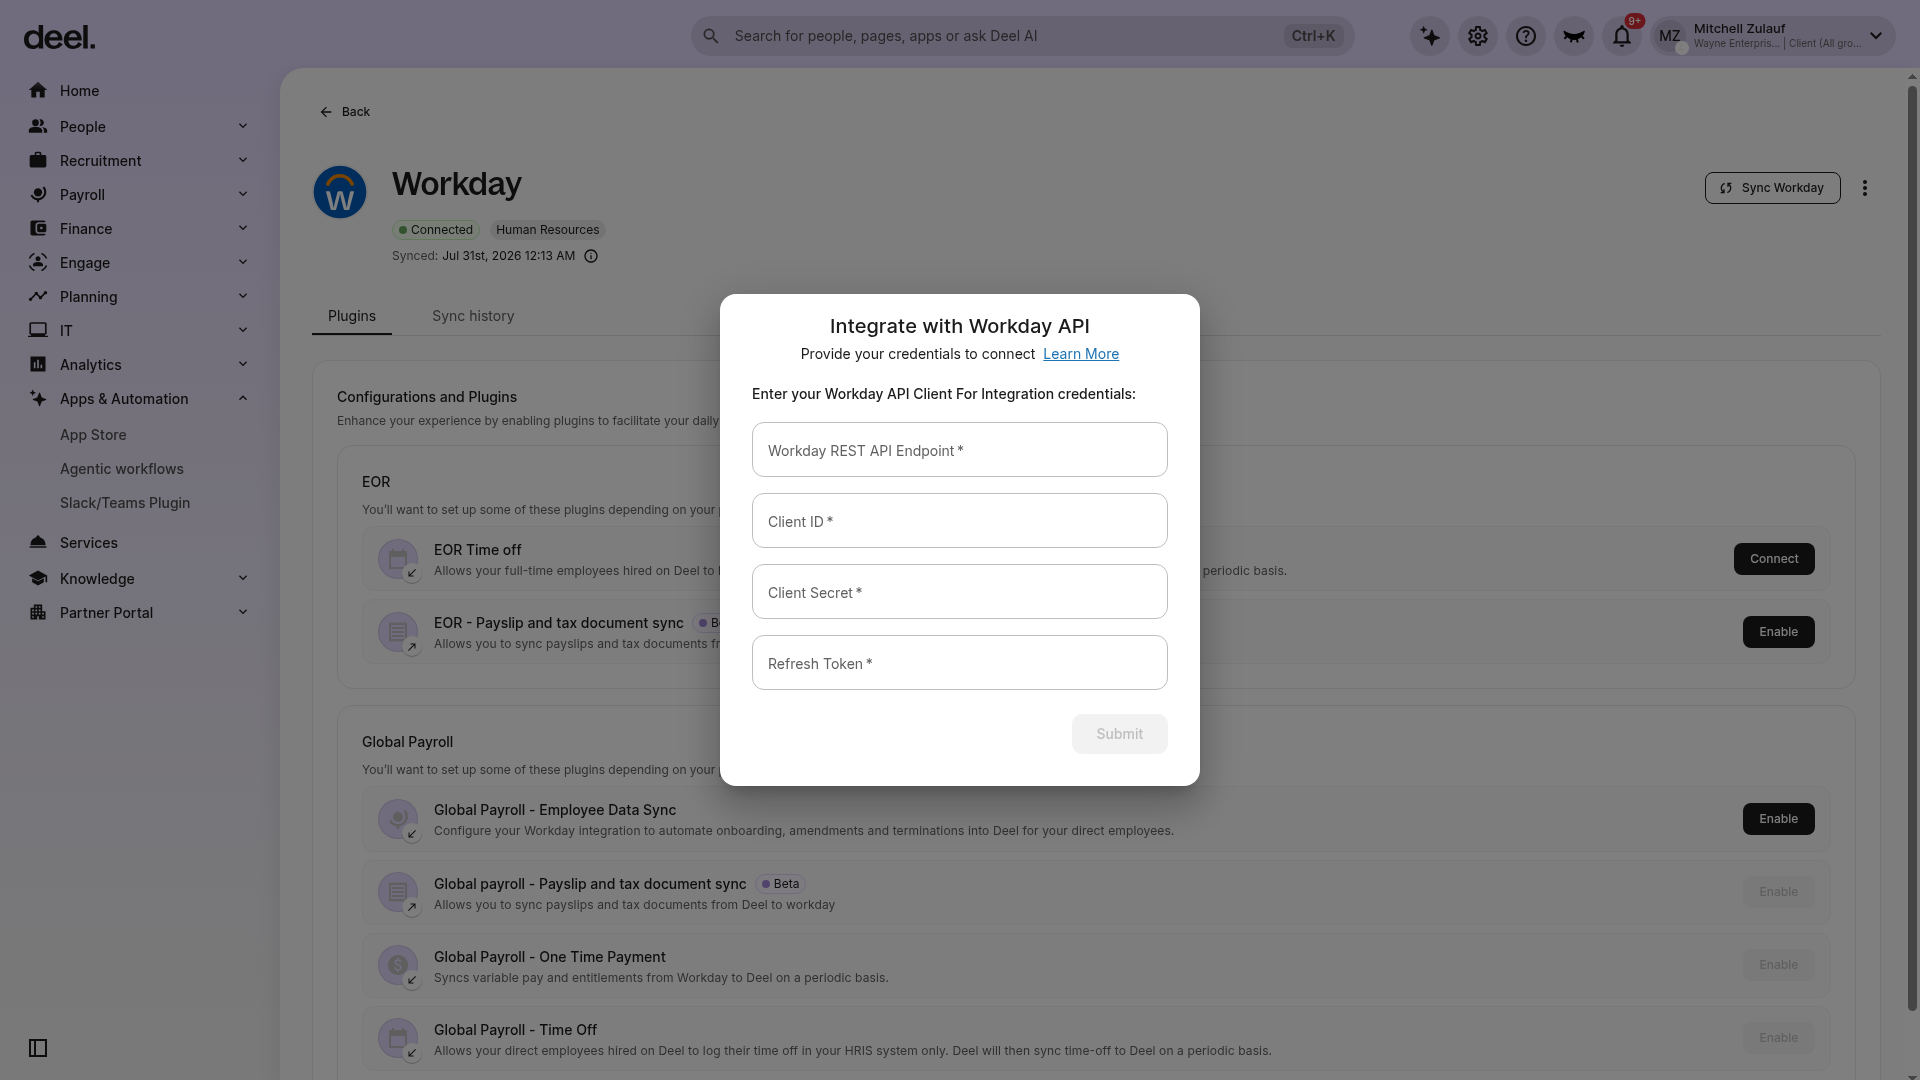
Expected outcome: Workday is connected in Deel and the Plugins page is available.
Troubleshooting – Step 1
• Connect Workday button missing? Ensure you have the required admin role and the integration is not already connected.
• Credential errors? Double-check endpoint URL, client ID/secret, and refresh token values.
• If issues persist, refresh the page or contact Deel Support.
✅ Step 2 – Open the Global Payroll – Payslips & Tax Document Sync plugin
- On the Workday Plugins page, scroll to the Global Payroll section and locate Global payroll - Payslip and tax document sync, described as allowing payslips and tax documents to sync from Deel to Workday.
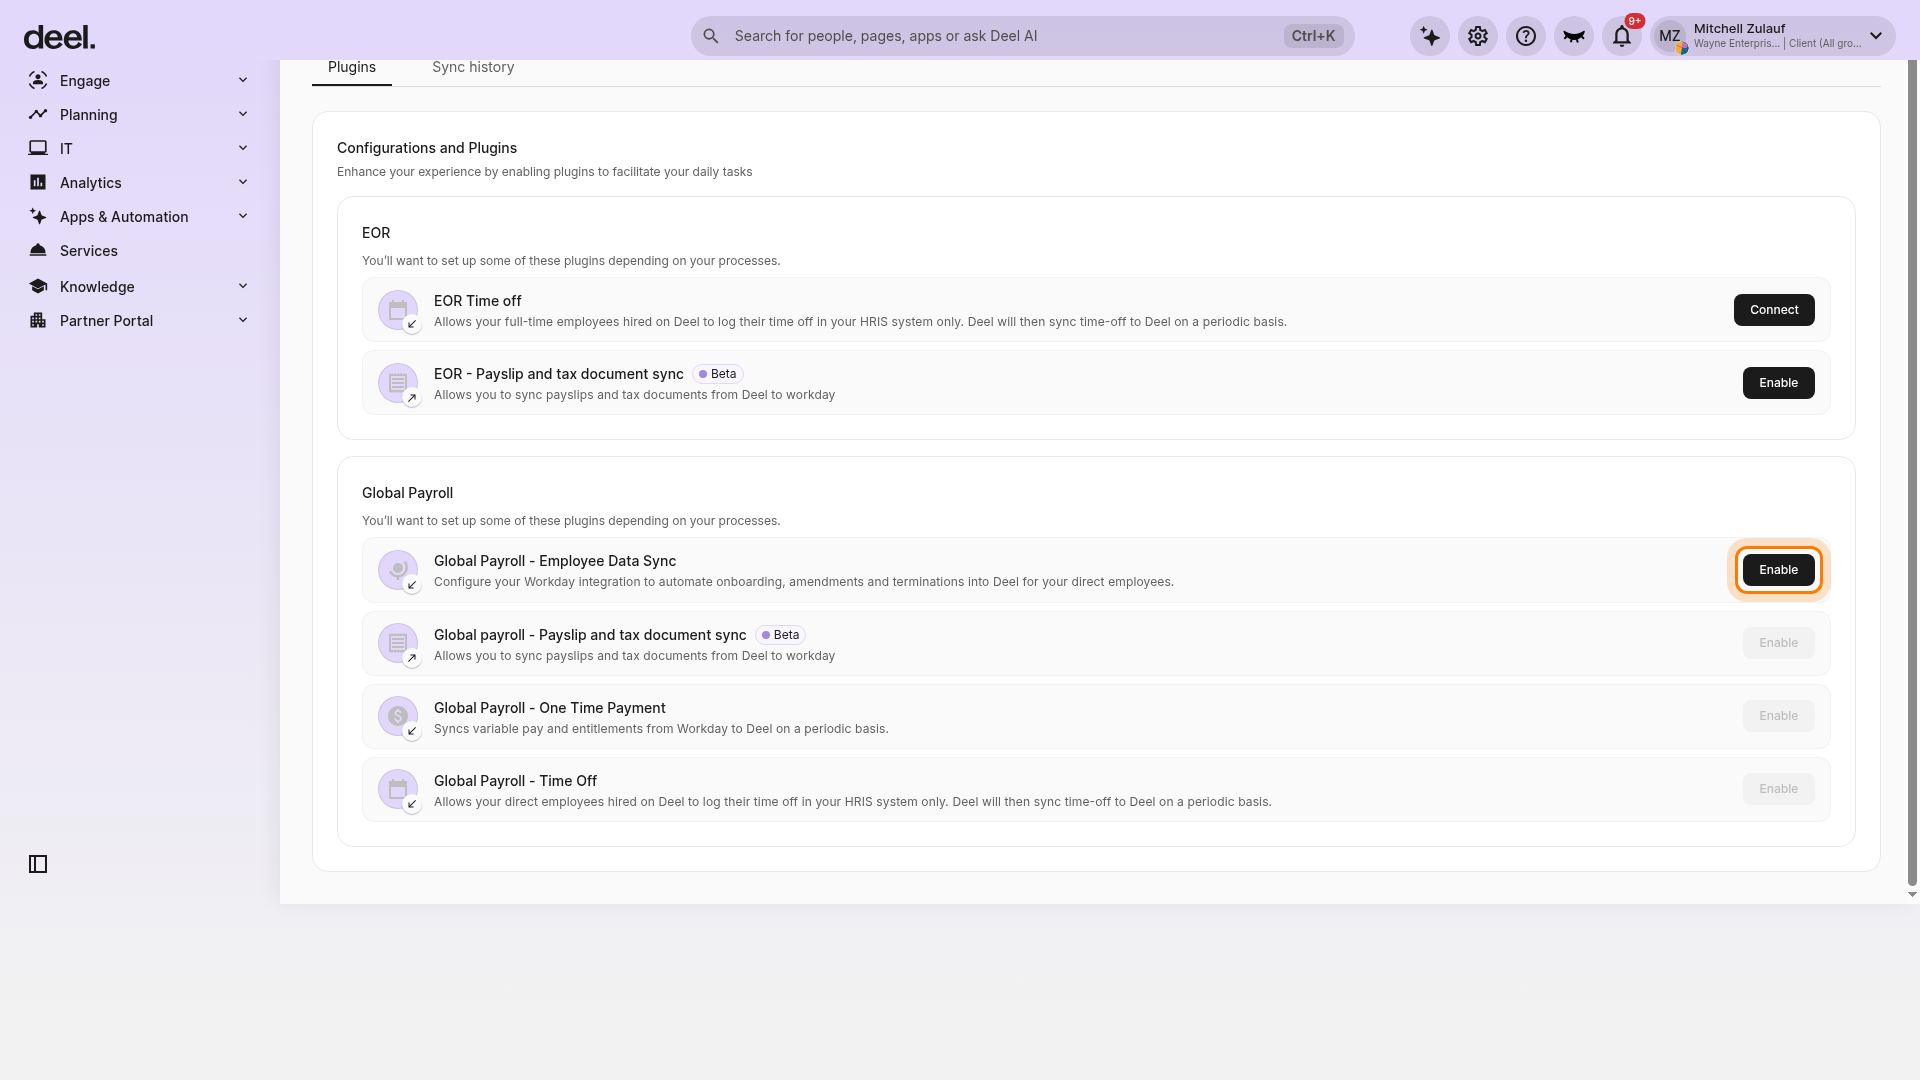
- Click Enable. If Enable is unavailable, the plugin may depend on Global Payroll - Employee Data Sync. Enable that prerequisite only if you are authorized. If Deel indicates that the prerequisite can be enabled only by an onboarding manager or customer support manager, select Email Support or contact your Deel onboarding manager, customer support manager, or Deel Support. After the prerequisite is enabled by an authorized party, return to the Plugins page and enable Global payroll - Payslip and tax document sync.
- After the plugin is enabled, open its configuration and click the Tax & Documents Syncing tile to display the Tax and Documents Retrieval URL and Public Key fields. You will use the Retrieval URL in Step 6 and the Public Key in Step 5.
✅ Step 3 – Create (or edit) the External Payroll Vendor in Workday
If you have already configured the External Payslip feature, simply edit that Vendor record to add the External Tax Documents feature and skip to Step 6.
Otherwise:
1. In Workday, create a new External Payroll Vendor.
2. Set Name to “Deel” (or a name of your choice).
3. Under Features, select External Tax Documents.
✅ Step 4 – Create External Payroll Vendor Mapping
Map the vendor you just created to every Workday Environment that requires access (Implementation, Sandbox, Production, etc.).
✅ Step 5 – Create Public / Private Key Pairs in Workday
- While editing the Vendor record, click OK. You will be prompted to create key pairs.
- Enter a Key Pair Name and select Do Not Allow Regeneration.
- Activate the key pair.
- Copy the Public Key value and paste it into the Public Key field in Deel’s Tax & Documents Syncing tile.
✅ Step 6 – Feature Configuration in Workday
- In the Vendor record, open Feature Configuration.
- For the External Tax Documents feature, add an attribute row where:
• Attribute = Retrieval Endpoint
• Value = the URL displayed in Deel’s Tax and Documents Retrieval URL field (from Step 2).
✅ Step 7 – Maintain Pay Group ↔ Vendor Associations
In Workday, link every Pay Group that should surface Tax Documents to the new External Payroll Vendor you configured.
✅ Step 8 – Enable Deel’s plugin (finalize sync)
Return to Deel through Apps & Automation > App Store > Workday. On the Plugins page, open Global payroll - Payslip and tax document sync and click Enable if it is not already enabled. Deel will now begin responding to Workday’s REST-API requests for Tax Documents.
Tax Document Security Access
Only the employee (Employee Self-Service) can view their own Tax Documents inside Workday. Administrators cannot access employee PDFs through this API-driven flow.