
Clients can now create and assign projects to pay-as-you-go contractors and other employees. This feature helps you:
• Track and report timesheet hours on a per-project basis
• Give workers the right project codes when they log shifts
• Analyse project costs in the Time Tracking Summary report
Employees can select a project when manually submitting shifts or by using the time tracker.
In this Article
How to assign projects to workers
Verify worker hour details related to a project
Frequently asked questions
How to Assign Projects to Workers
✅ Step 1 – Open Organisation Settings and select the Projects card
- From the Deel home page, click the gear icon in the top-right corner to open Organisation Settings.
- In the settings landing page, locate the Projects card and click View.
Troubleshooting
• I don’t see the Projects card – Your workspace may not have the Projects feature enabled, or your role may not have sufficient permissions. Contact your Deel admin to request access.
• In older UI layouts the Projects option appeared in the left-hand sidebar. If it is not there, use the card grid shown above.
✅ Step 2 – Create a new project
- Click Create project.
- Enter the project name, description, and any internal codes you use for reporting.
- Choose the Project assignment type.
• For EOR employees, Direct Employee Payroll, Direct Employee HRIS and PEO employees, select Reporting only so the project is used purely for timesheet reporting. - Click Save.
✅ Step 3 – Assign workers to the project
- On the project page, click Assign workers.
- Select individual workers, or choose a Worker group to bulk-assign.
- Review the details and click Submit.
Once created, the project will be available in the shift-logging dropdown for all assigned workers.
Verify Worker Hour Details Related to a Project
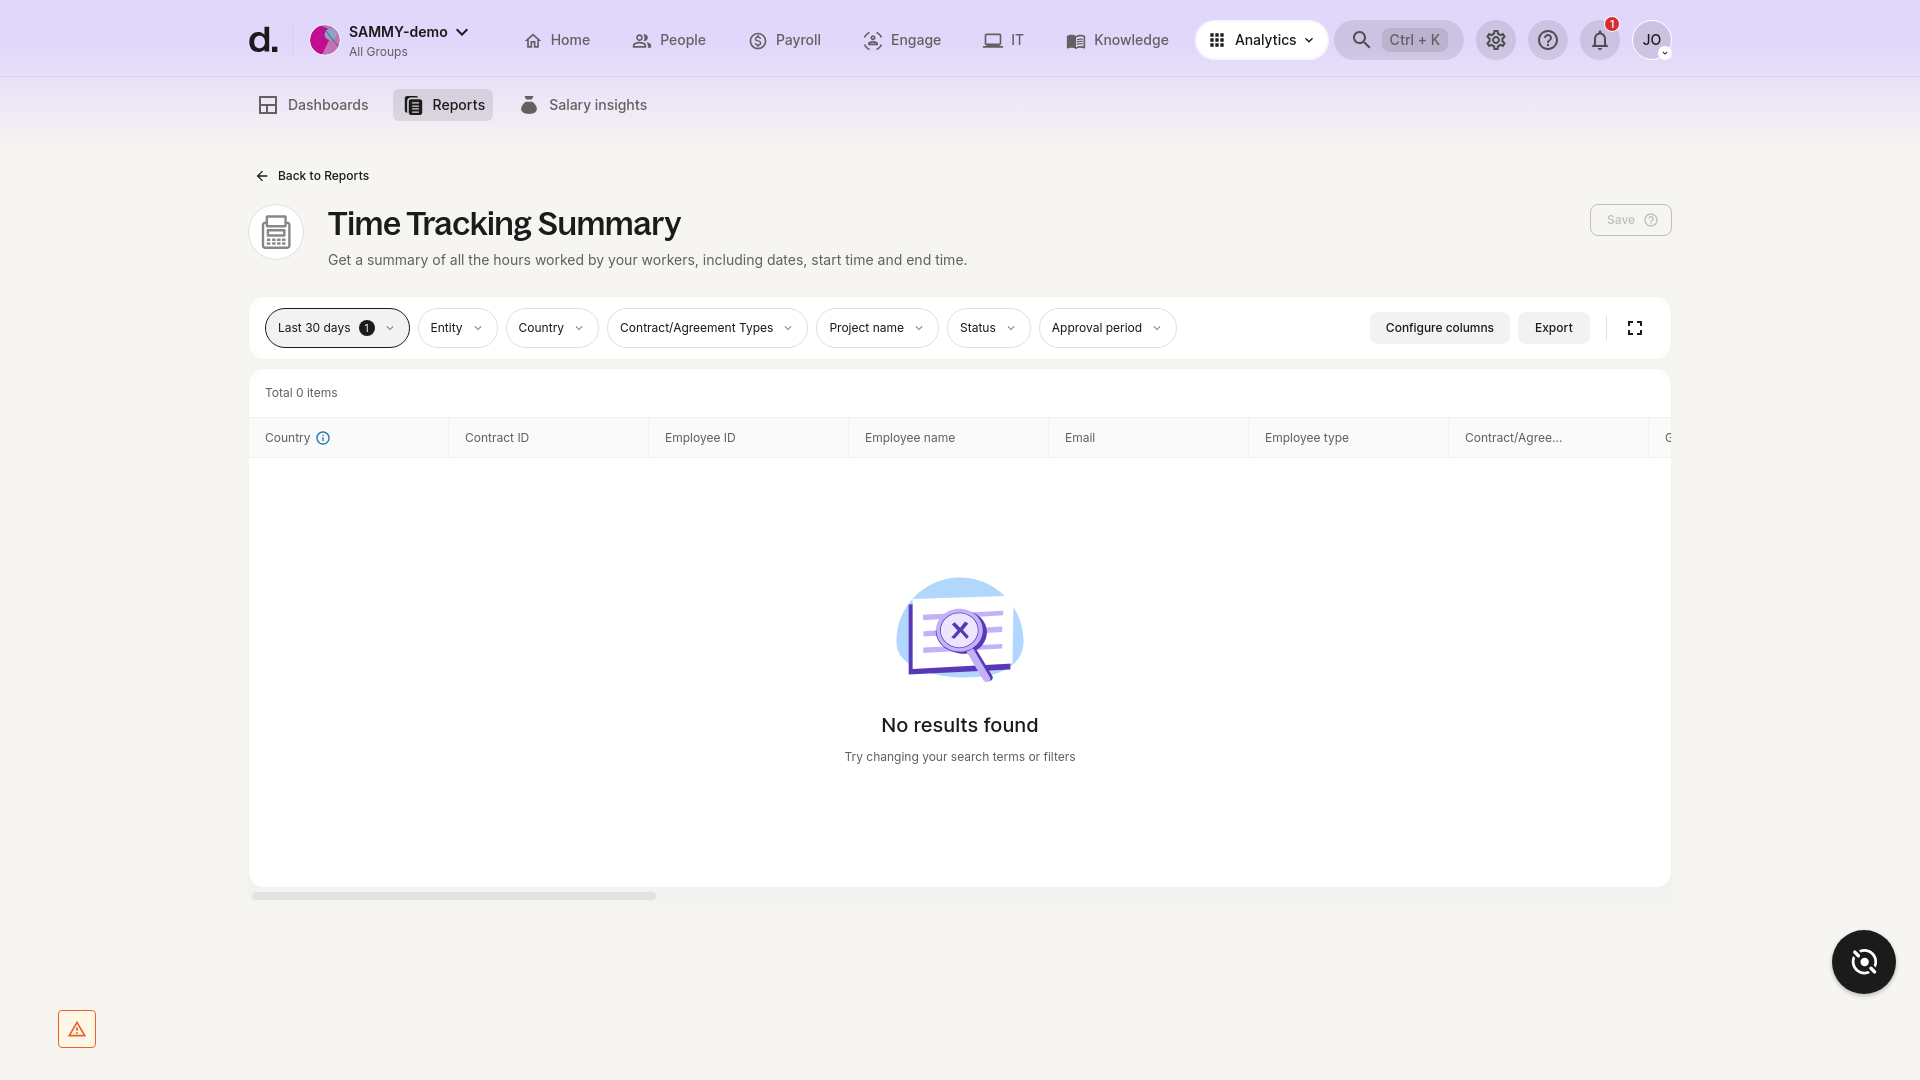
Use the Time Tracking Summary report to see how many hours each worker has booked to every project.
Prerequisites
• You need permission to access Analytics → Reports.
Step-by-step instructions (≈ 5 minutes)
-
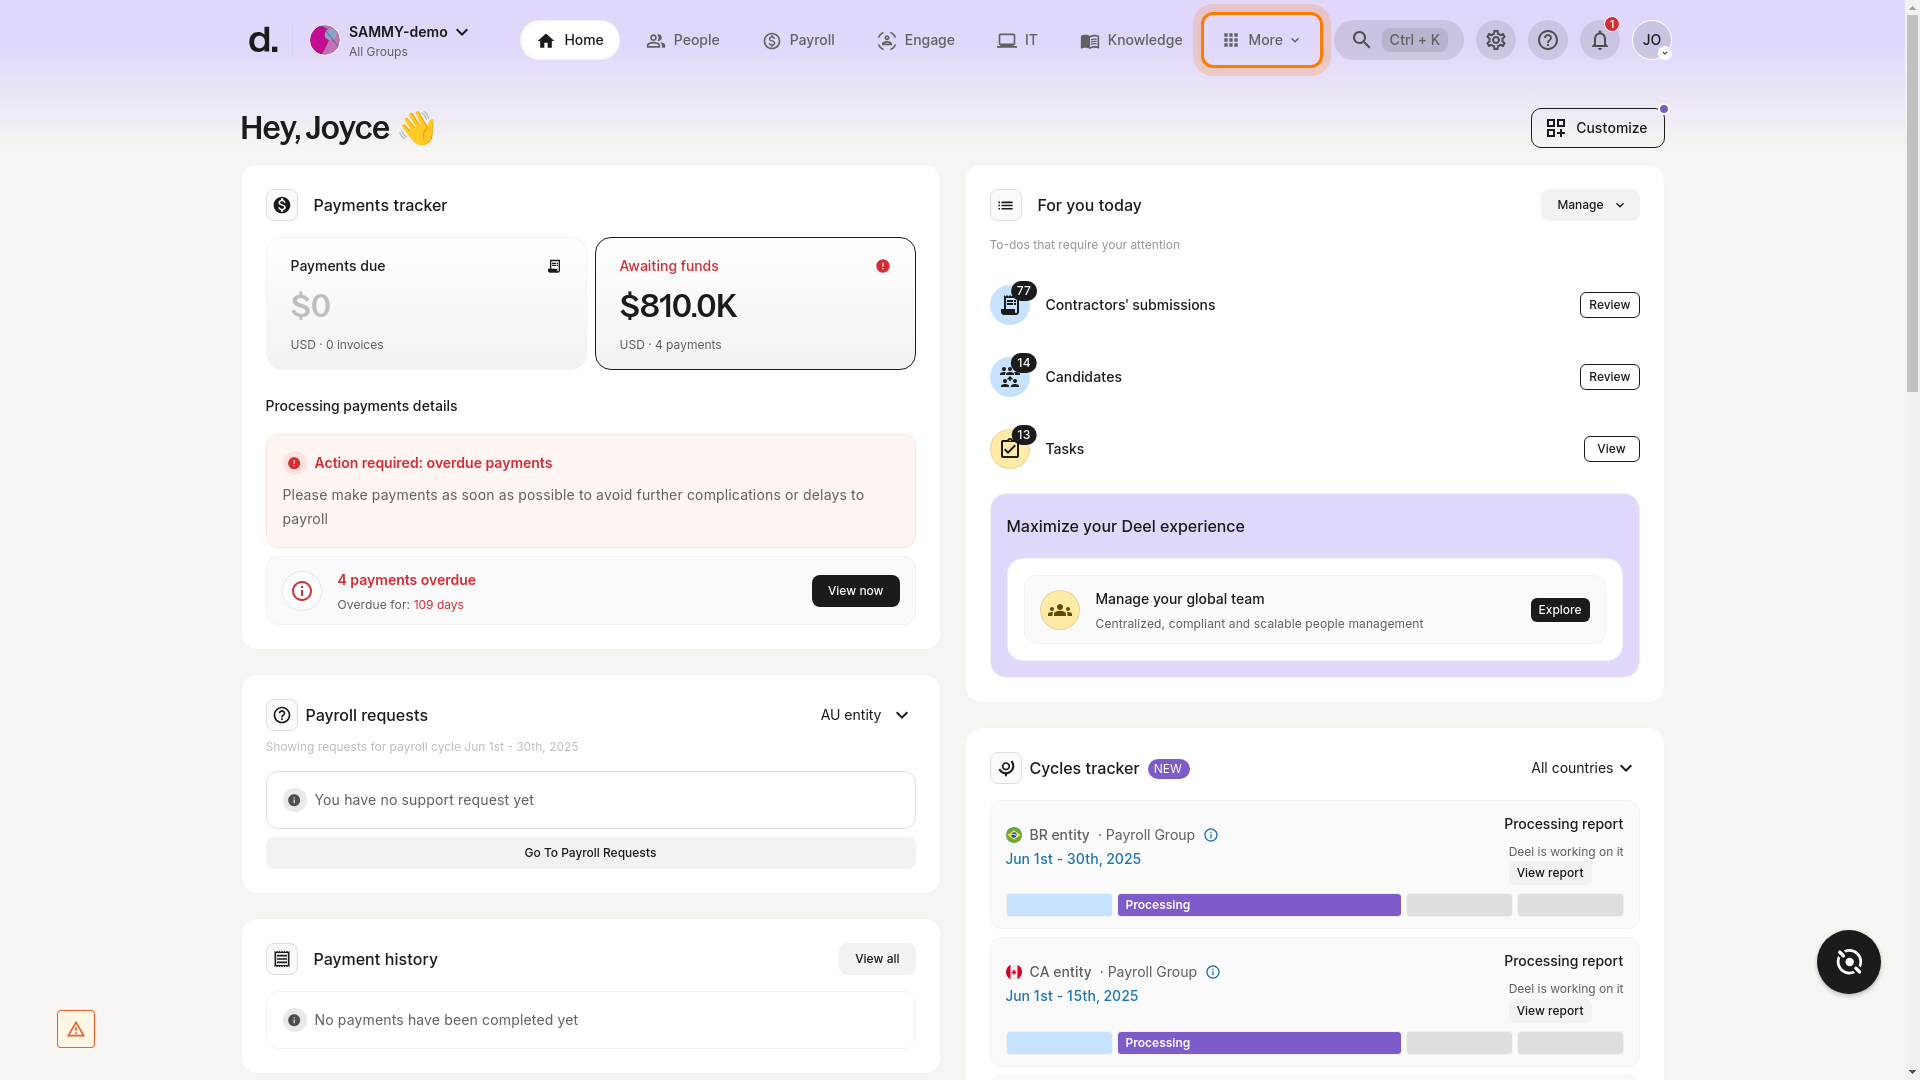
Open the More menu
Click More in the top header.
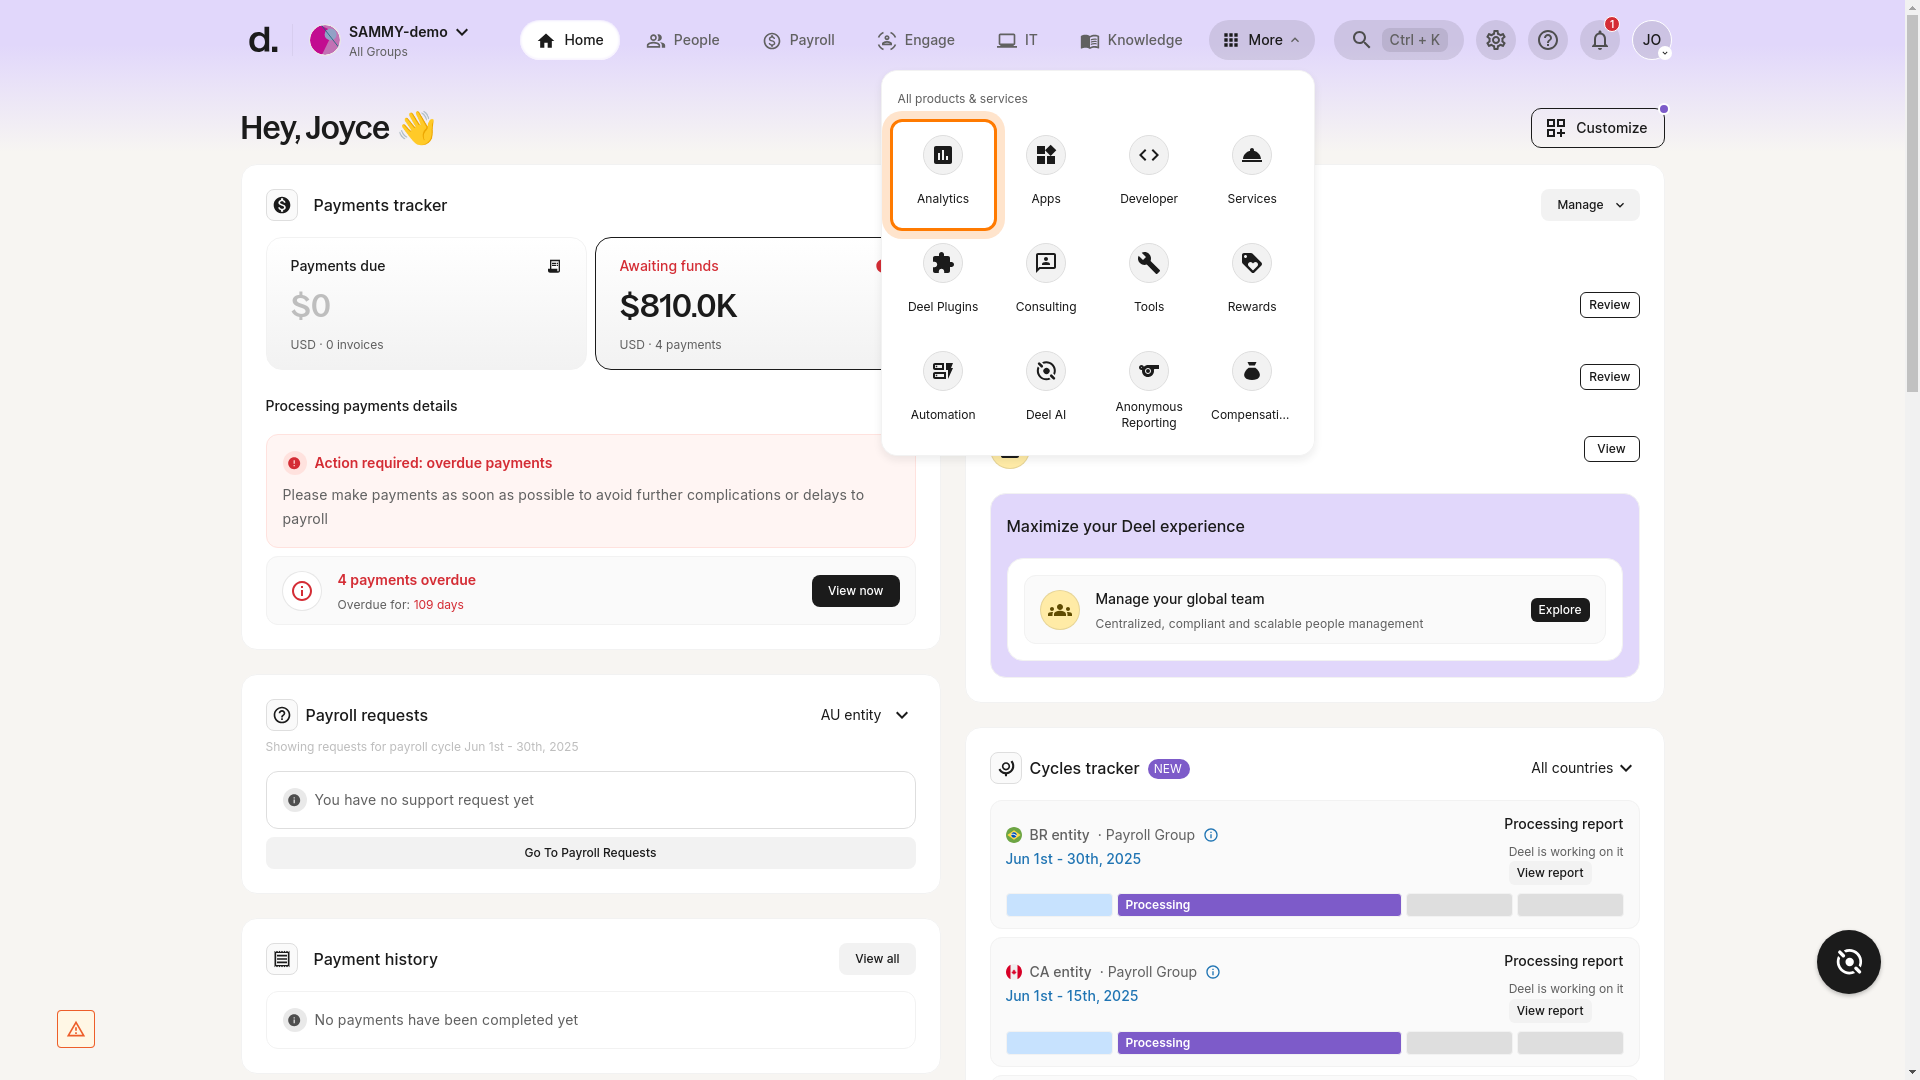
-
Navigate to Analytics
Select Analytics from the dropdown.
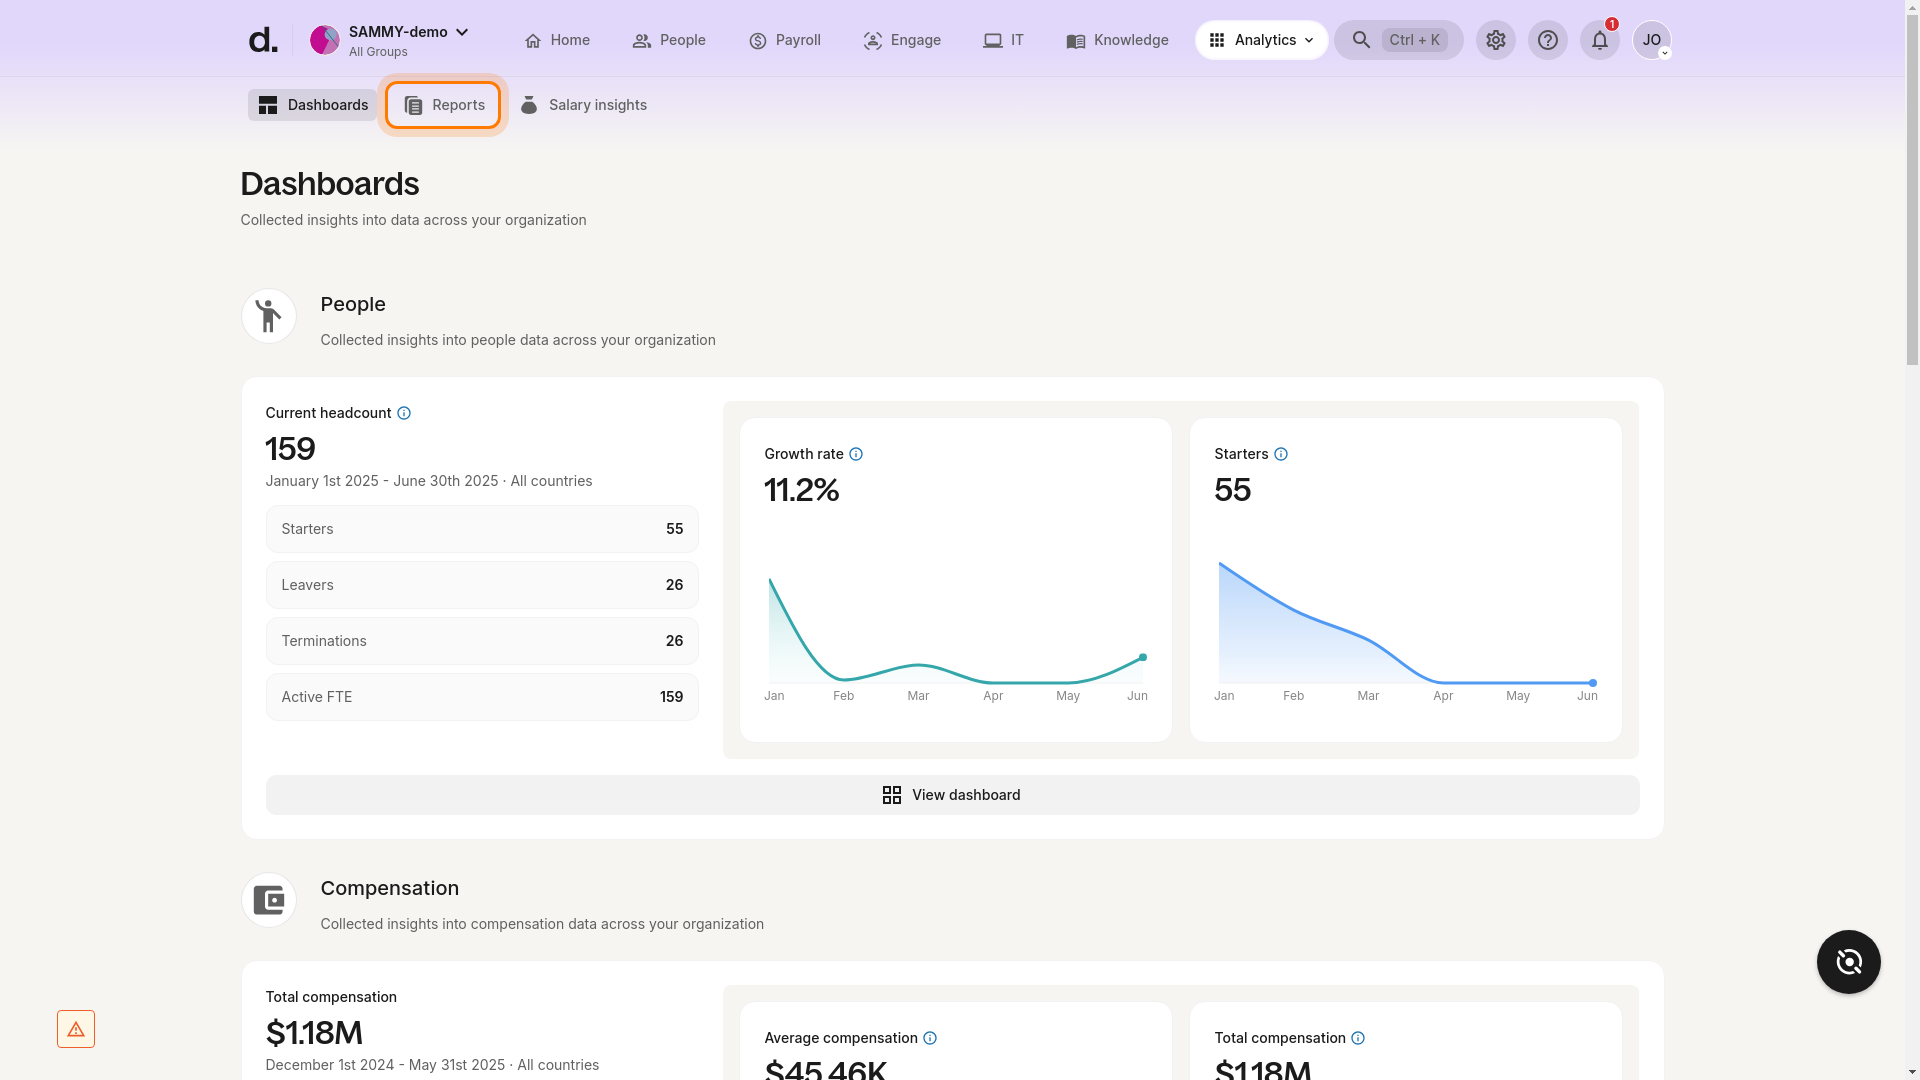
-
Open the Reports tab
Click Reports in the sub-navigation bar.
-
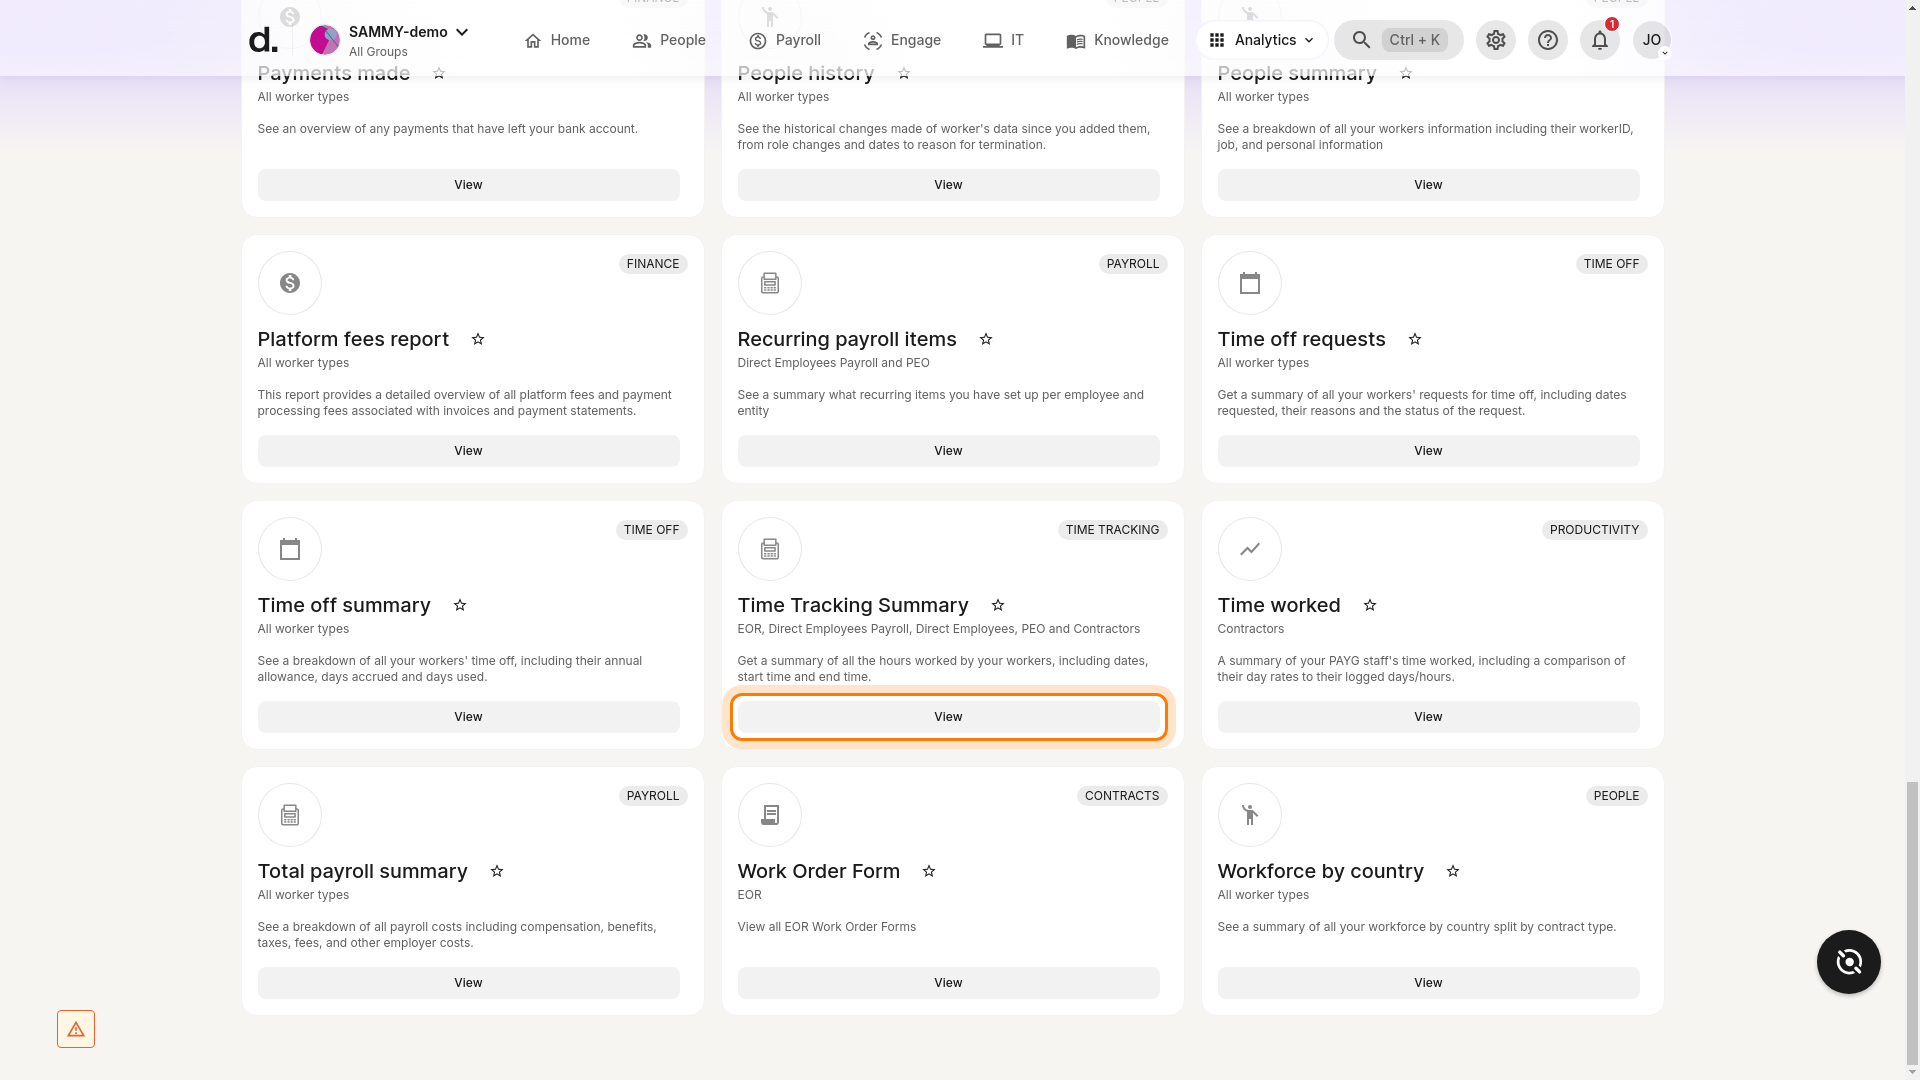
Locate the Time Tracking Summary report
Scroll to the Time Tracking category and click View next to Time Tracking Summary.
-
Adjust filters
• Time range – default is Last 30 days.
• Optional filters – Entity, Country, Contract/Agreement Types, Project name, Status, Approval period. -
Review results
The report displays hours worked per project for every worker. If no data is shown, adjust your filters.
Troubleshooting
• No results found – Verify that the selected date range and project filters contain time-tracking data. • Can’t see Time Tracking Summary – Check that you have Analytics permissions or ask an admin to grant access.
Tips
• Use Export in the top-right corner of the report to download the data for further analysis.
• Save a custom view with your preferred filters for quick access later.