This guide provides an overview of the steps clients using the Deel EOR Employee model must take to create and fund their Deel accounts, receive employment quotes, and begin onboarding EOR employees.
With the EOR model, the client's organization can legally and compliantly work with employees in a foreign country without setting up an official entity in that country.
[DROPDOWN] Please use the dropdown menu below to learn more about the client onboarding process:
[DROPDOWN-OPTION] Step 1: Sign Up For Deel
From the Deel website, click Log In and then Sign Up.
Please note that if the client is the first user from their organization to sign up for Deel, they will be required to use their company email for sign up.
Please also see: How to Create a Deel Account as a Client and Complete the Onboarding for the full sign-up flow and onboarding steps, including our interactive onboarding guide.
[DROPDOWN-OPTION] Step 2: Obtaining an Employment Quote
The client should then request an employment quote for workers in a particular country, sometimes specifying the province or state within that country. Preparing a quote for an EOR employee can take a few minutes, up to one business day.
The quote will include all employer costs associated with hiring an employee in the selected country. It is broken down into three separate cost categories for convenience:
- Gross salary per month: This is the input when requesting the quote.
- Employer cost: These are the mandatory statutory benefits, taxes, or fees the government requires the employer to pay when hiring in a particular country. These costs are additional to the employee's gross salary.
- Management fee: This is the fee for using Deel's services.
If further details on the quote are needed, it can be downloaded to view the full breakdown of the employer cost.
The total employer cost will vary according to the employment contract, specific state or province, and the employee's salary.
How to Access the Worker Cost Calculator (Employment Quote Request)
Use the Worker cost calculator to generate quick cost estimates directly in the platform.
Prerequisites
- You must have permissions to view the People section and add workers in Deel.
Step-by-Step
-
Navigate to the People tab
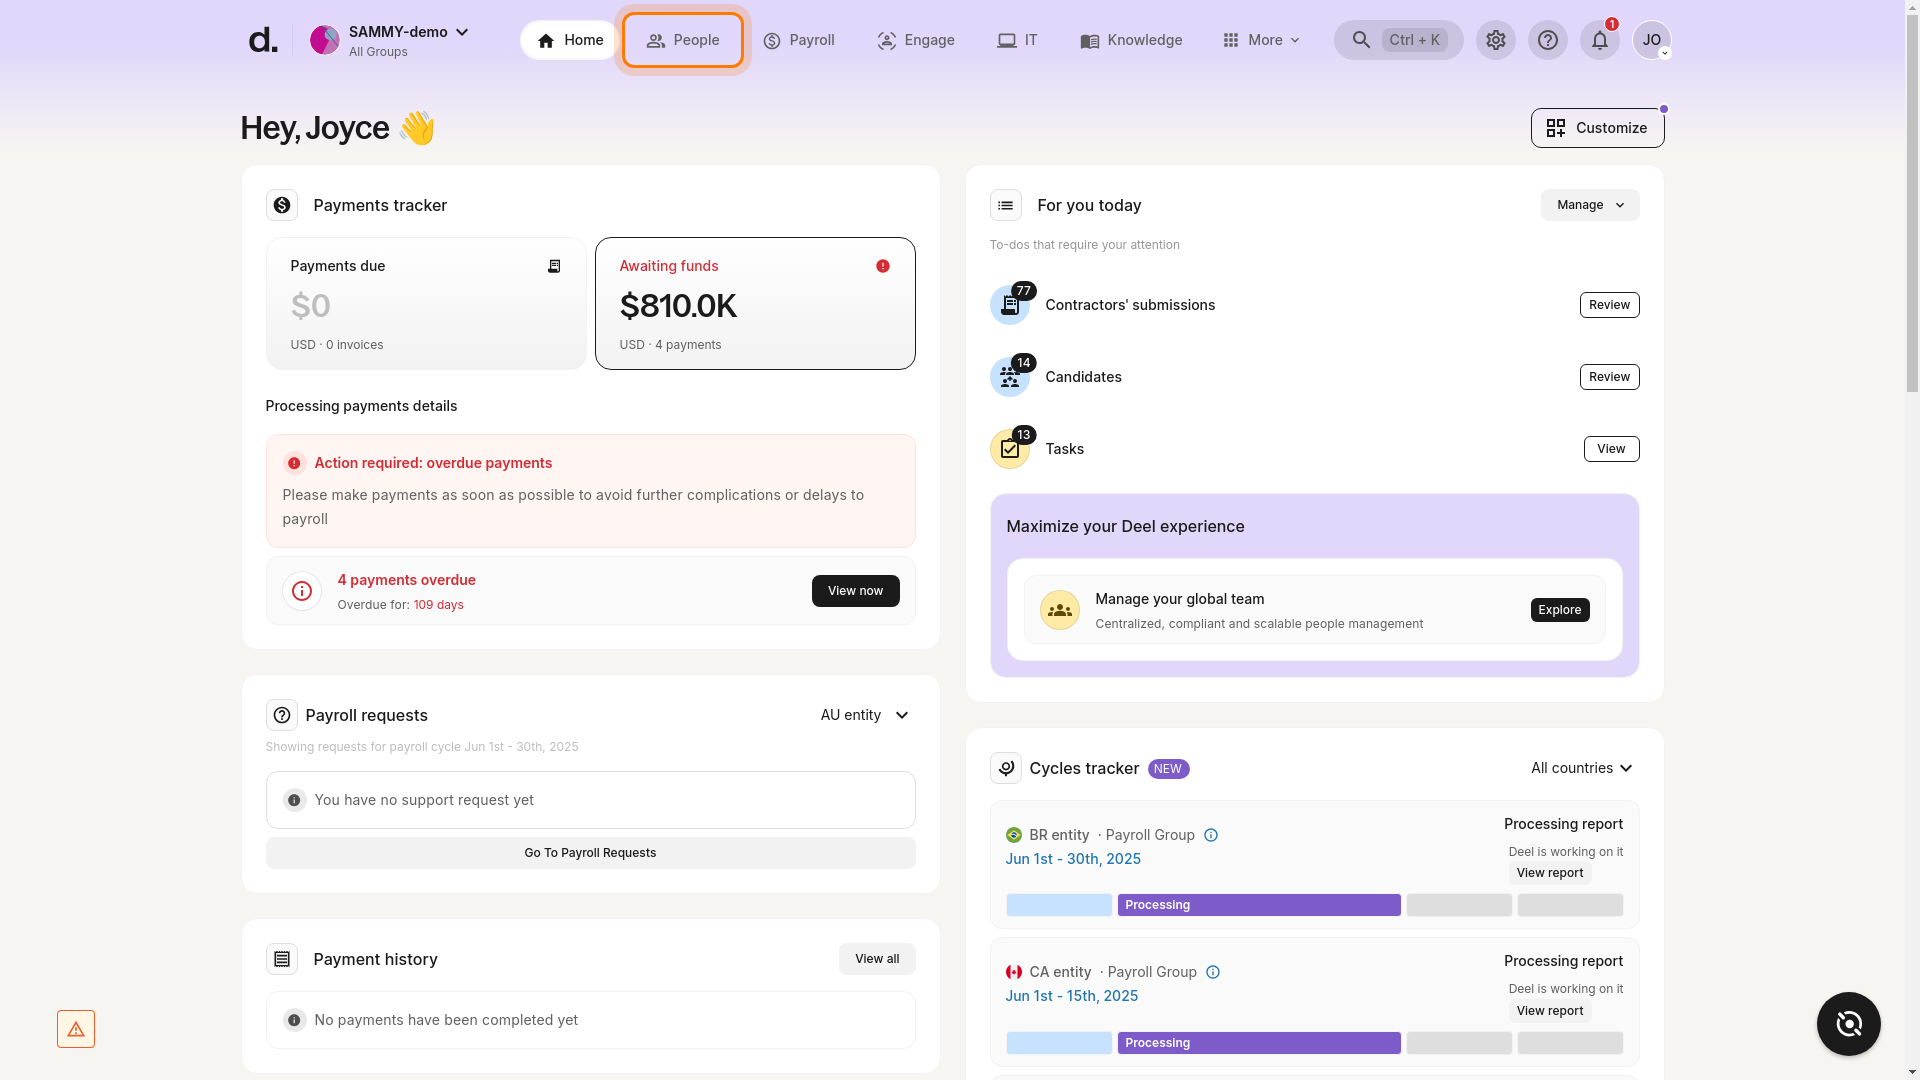
-
Click Add people

-
Open the Worker cost calculator
Scroll to Try our other tools and select Worker cost calculator.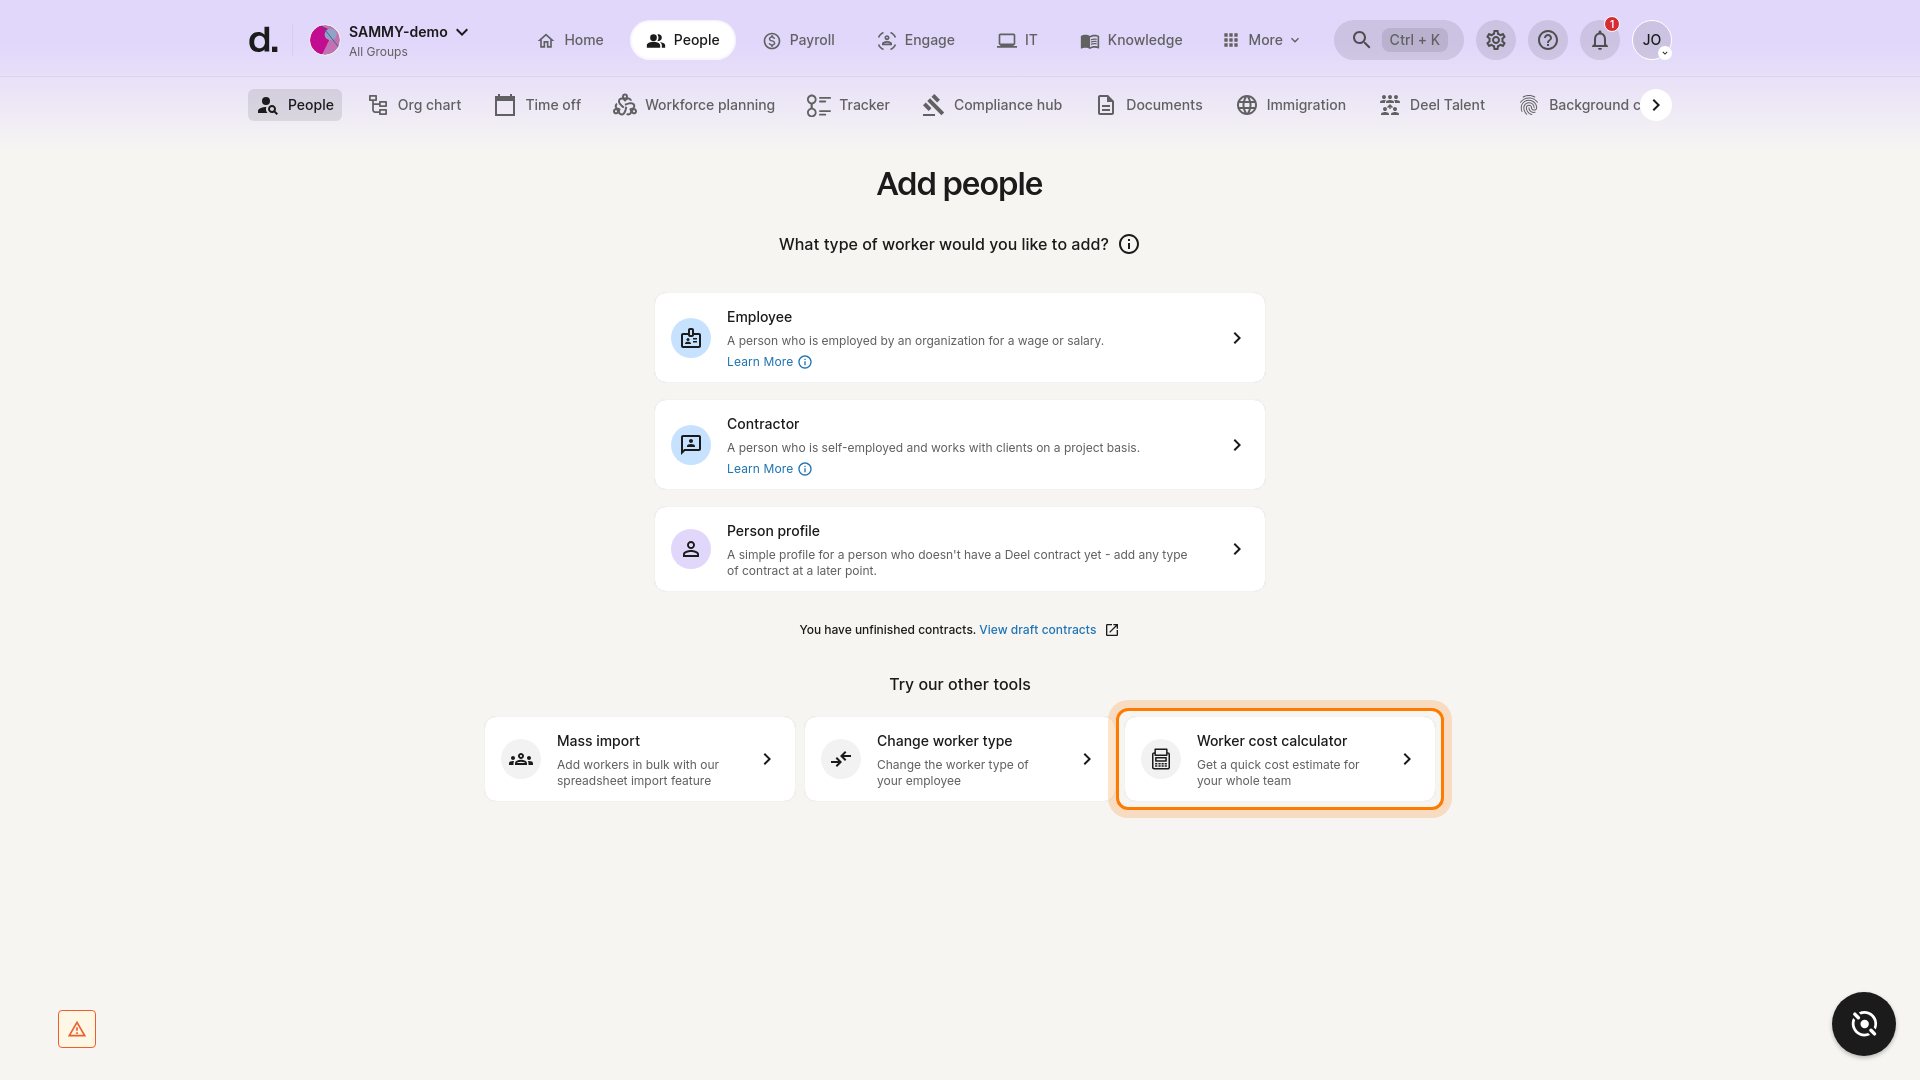
-
Verify the form loads
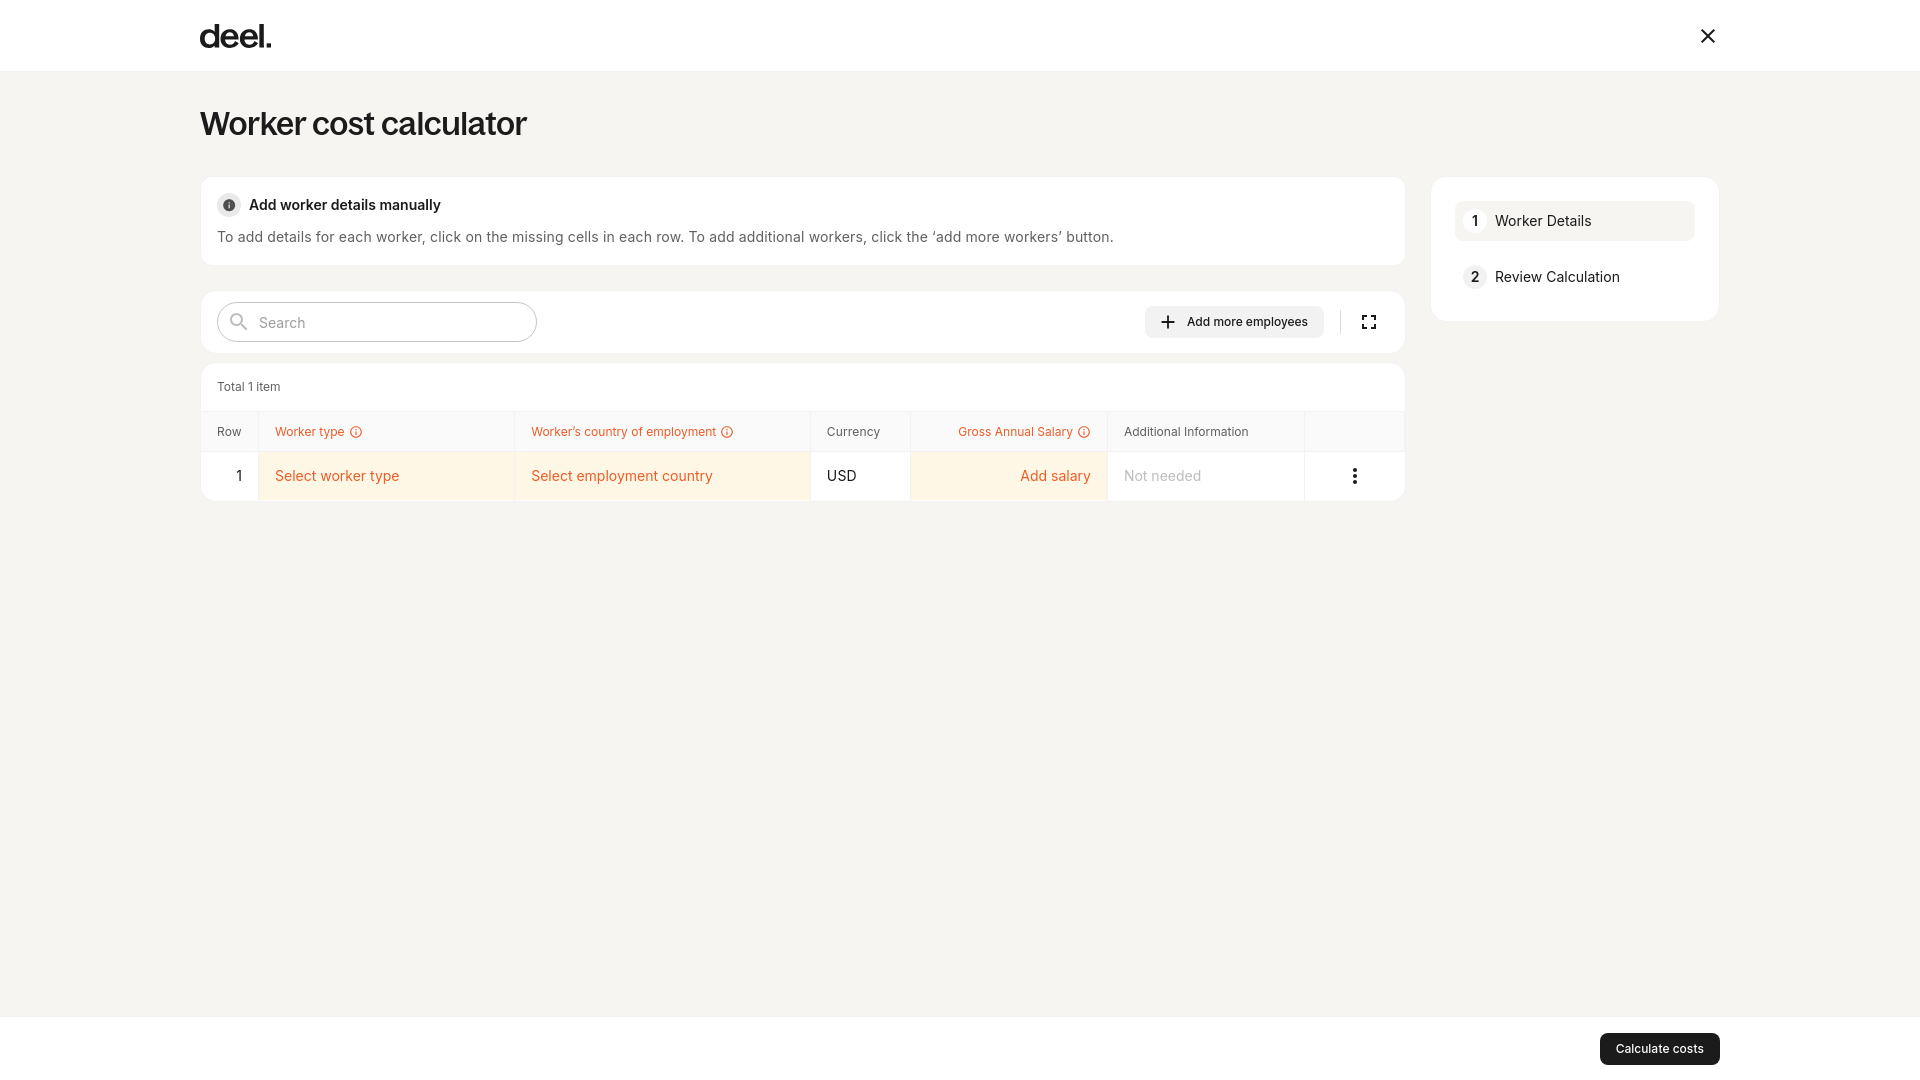
Success criteria: The calculator appears, allowing you to enter worker details and generate cost estimates.
Troubleshooting
- Cannot find the calculator: Refresh the page, scroll, or look for similar labels such as "Estimate costs."
- Insufficient permissions: Contact your Deel administrator.
- Form does not load: Check internet connectivity or try a different browser.
[DROPDOWN-OPTION] Step 3: Fund Your Account
Clients can choose to fund their account to make payments in the method(s) of their choice:
[ACCORDION] Credit Card or Debit Card
Supported currencies: USD, EUR, GBP
[ACCORDION] Direct Debit
Direct debit authorizes Deel to initiate a payment from the clients bank account
Deel supports direct debit payments with ACH, SEPA, BACS, PAD, BECS.
Supported currencies:
- EUR from bank accounts in SEPA countries via SEPA direct debit
- GBP from bank accounts in the United Kingdom via BACS direct debit
- USD from bank accounts in the United States via ACH direct debit
- AUD from bank accounts in Australia via BECS direct debit
- CAD from bank accounts in Canada via PAD direct debit
[ACCORDION] Bank Account Transfers
Supported currencies: AUD, BRL, CAD, COP, EUR, GBP, HUF, JPY, MXN, NZD, SGD, TRY, USD, ZAR
[ACCORDION] Wise Account Transfers
Supported currencies: AUD, BGN, CAD, CHF, CZK, DKK, EUR, GBP, HUF, JPY, MYR, NOK, NZD, PLN, RON, SEK, SGD, TRY, USD
[ACCORDION] Mercury Account Transfers
Supported currencies: USD
[ACCORDION] Brex Account Transfers
Supported currencies: USD
[ACCORDION] Coinbase Account Transfers
Supported currencies: USDC cryptocurrency
[/ACCORDION]
You can see our full list of supported payment methods and currencies here
Please also see: Adding And Managing Payment Methods
[DROPDOWN-OPTION] Step 4: Paying the Deposit and First Payment
Once the documents are signed on the Deel platform, the first invoice will be available for payment. The Deel home page will have an overview of the deposit and the required first payment.
Payment can be made using one of the saved payment methods, or a new one can be added.
[DROPDOWN-OPTION] Step 5: Review Employee Agreement
Certain onboarding and compliance documents will be requested from the employee in order to generate the Employment Agreement (EA).
The standard Employee Agreement can be reviewed, and any changes to the EA can be requested before it is sent to the employee.
Deel's internal group will review amendment requests to the employee agreement and respond within five business days.
Do not sign the Employee Agreement until any requested changes have been processed. This may delay the onboarding timeline for the employee.
When the EA is ready, it will be sent to the employee for signature via the employee app. An update on the status will be provided simultaneously by email.
Please also see: How To Create An Employer Of Record (EOR) Contract
[DROPDOWN-OPTION] Step 6: Begin Onboarding Employees
Once the deposit is paid, the Employee Agreement will be countersigned.
In the EOR model, Deel is the legal 'employer of record' that hires and compensates employees on behalf of the organization.
In countries where medical insurance is available, the employee will receive an email invitation to begin the health insurance enrollment process.
How to Add a New Worker in Deel
Overview
Follow these steps to access the onboarding form where you can choose to add an Employee, Contractor, or Person profile.
Expected outcome: You arrive at the Add people form, ready to select a worker type.
Estimated time to complete: 2–3 minutes
Prerequisites
- You must have the necessary permissions (Admin or Manager) in Deel to add new people.
- You are logged in to your Deel account.
Step-by-Step
-
Navigate to the People tab
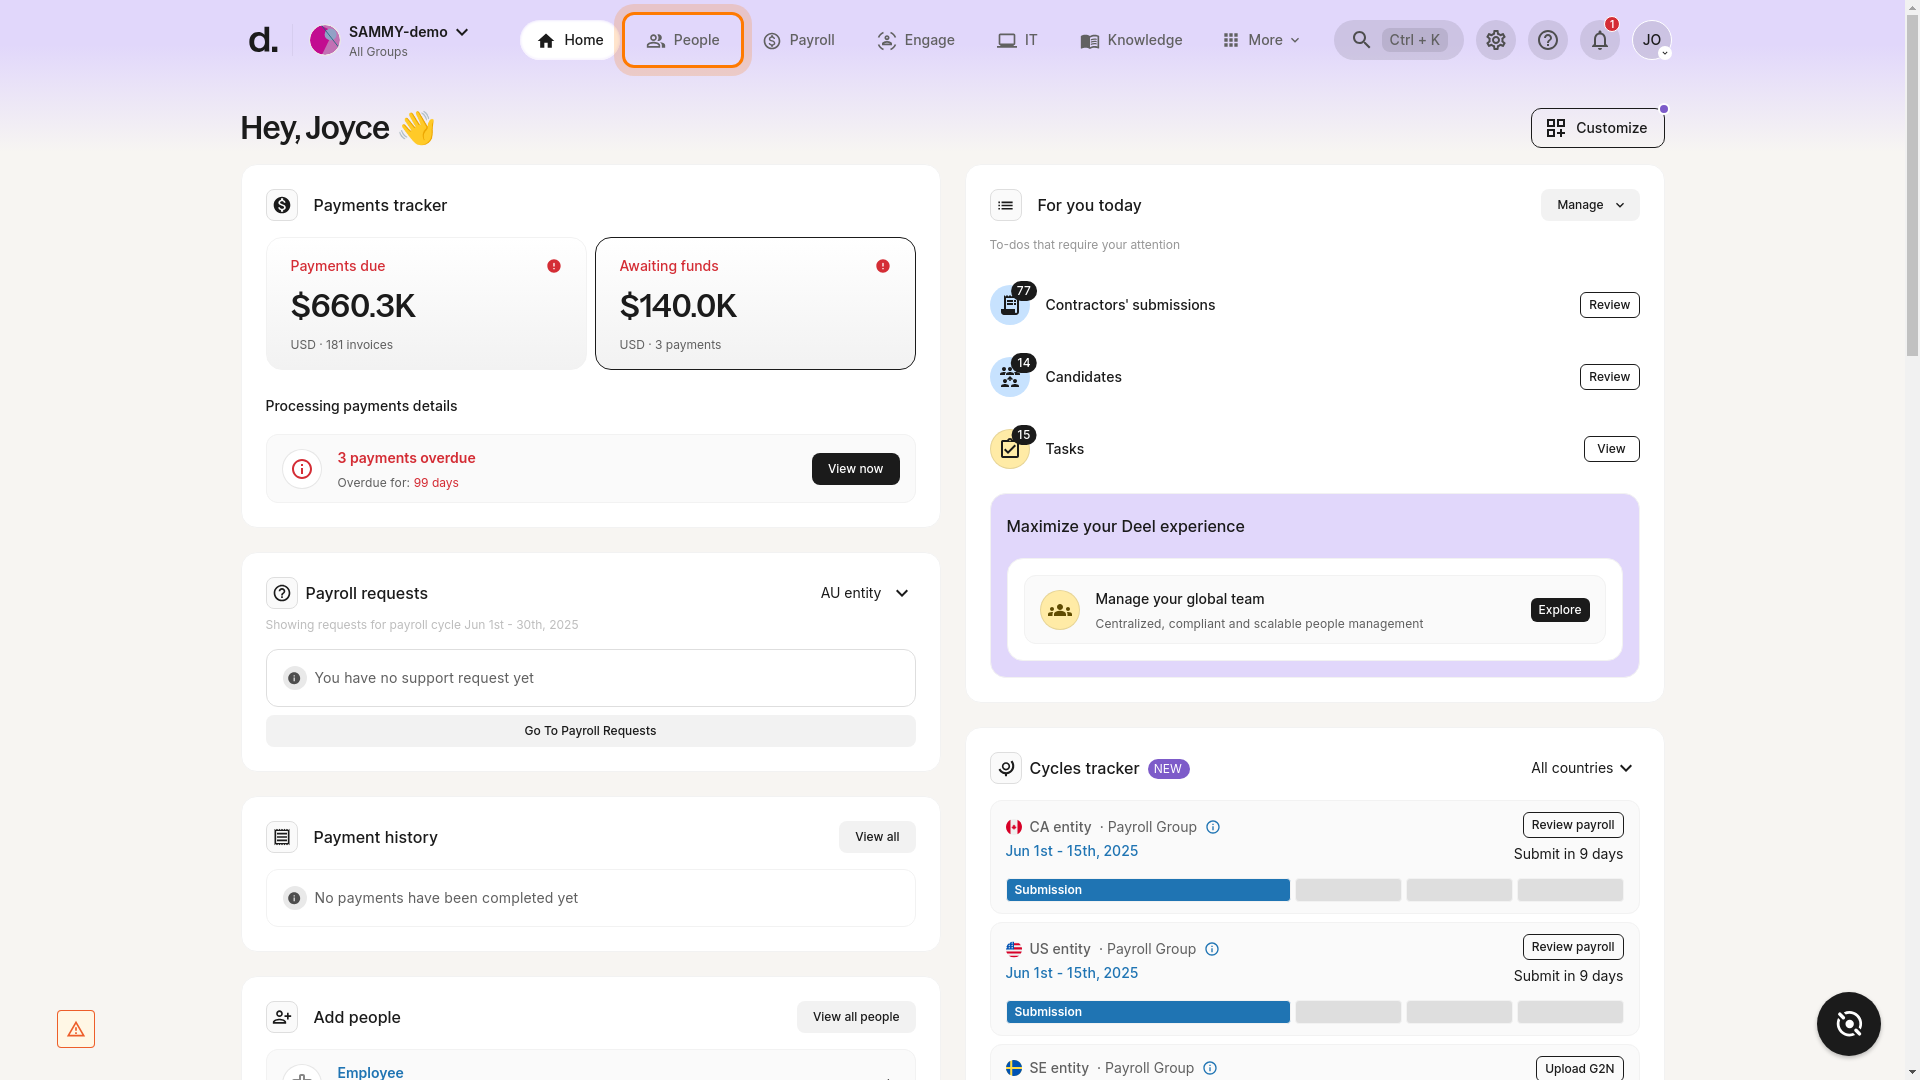
-
Click Add people
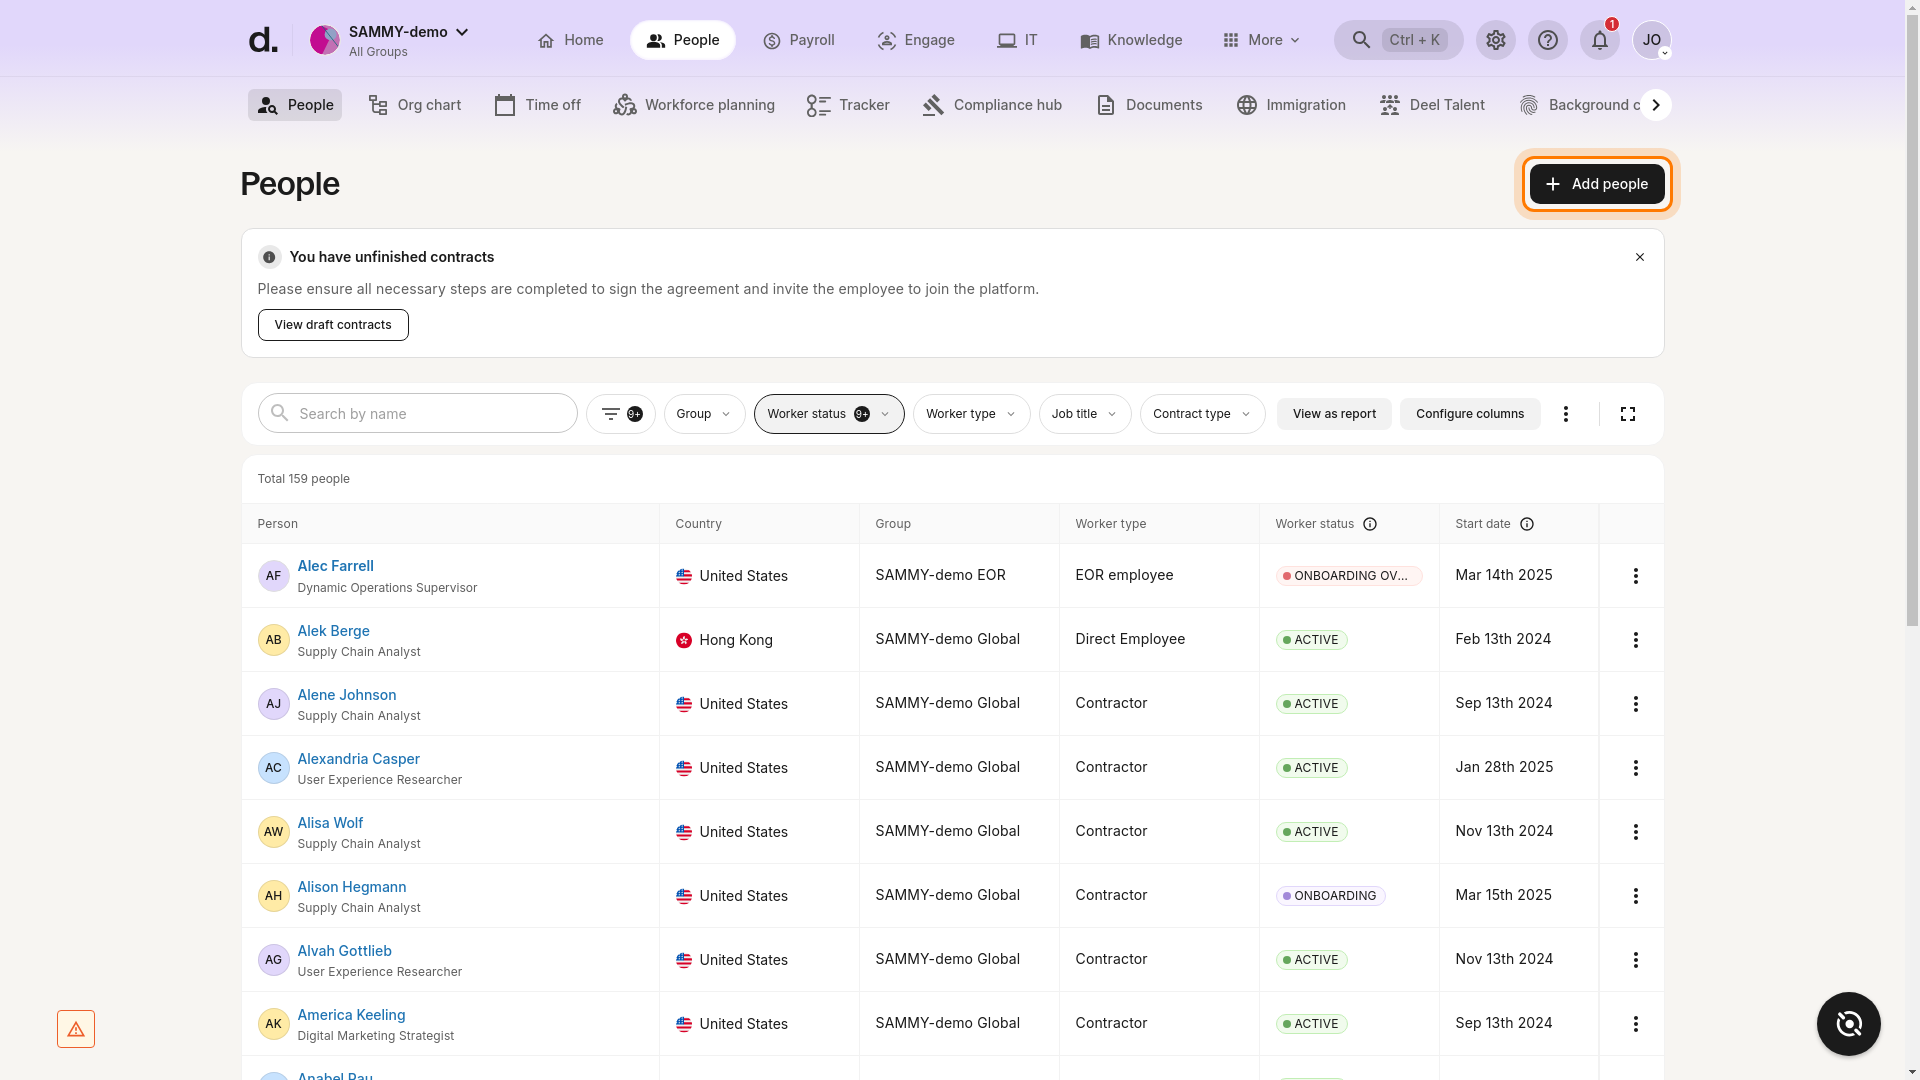
-
Verify the onboarding form appears
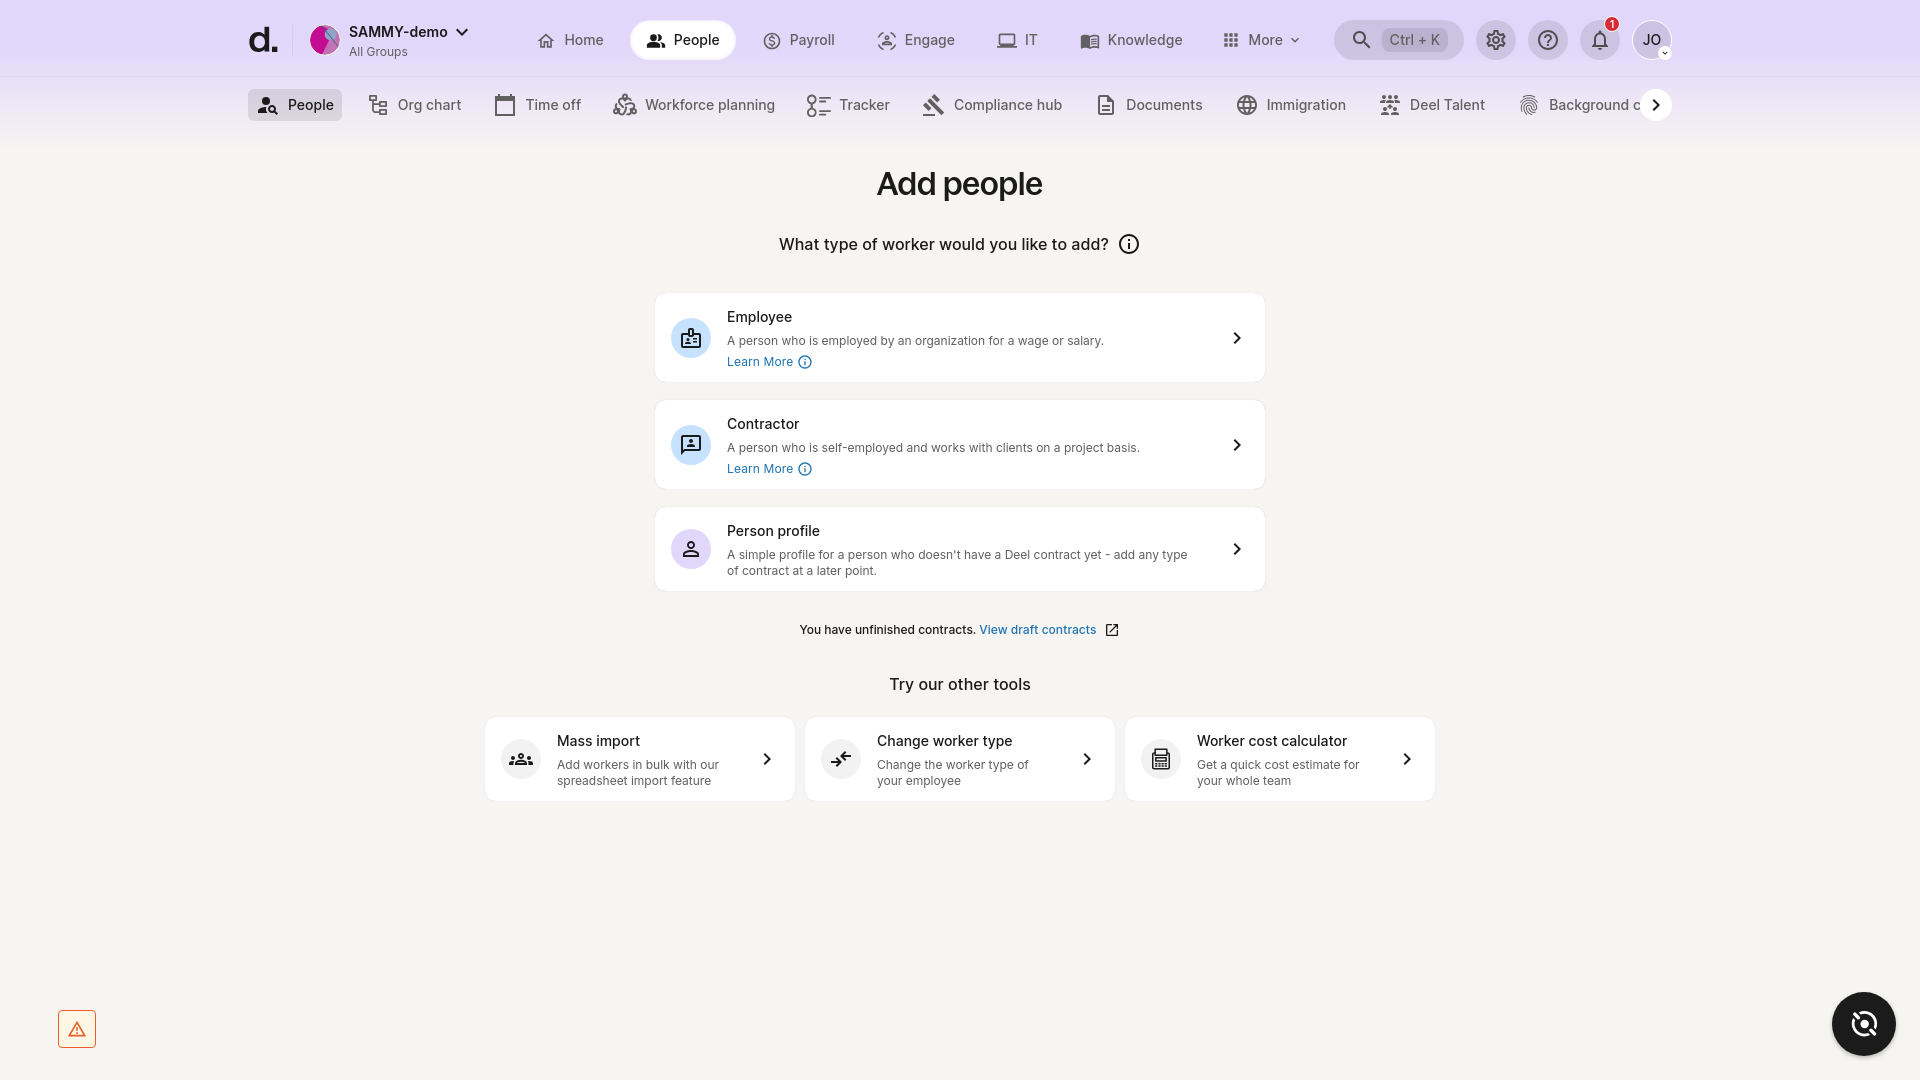
The form lets you choose: - Employee – A person employed by your organization for a wage or salary. - Contractor – A self-employed individual working on a project basis. - Person profile – A basic profile for someone without a contract (can be updated later).
Additional tools such as Mass import, Change worker type, and Worker cost calculator are also available.
Troubleshooting
- 'Add people' button not visible: Ensure you have the correct permissions or contact your Deel administrator.
- Page does not load correctly: Refresh your browser or clear cache/cookies.
- Onboarding form does not appear: Wait a moment, check your internet connection, or try a different browser.
Verification
You have successfully started onboarding when the Add people form is displayed and you can select a worker type.