
Overview
This guide explains how to successfully enable Deel's treasury services for clients to our Payroll connect services, and then to guide clients on configuring and approving payment packages.
In order to approve payments, the client entity must first enable Deel treasury services for payroll cycle funding.
In this article:
How to enable Deel's treasury services for an entity
How to review and approve payroll packges
Enabling Treasury services
Step 1 - Select the entity for which you want to enable Deel's treasury services
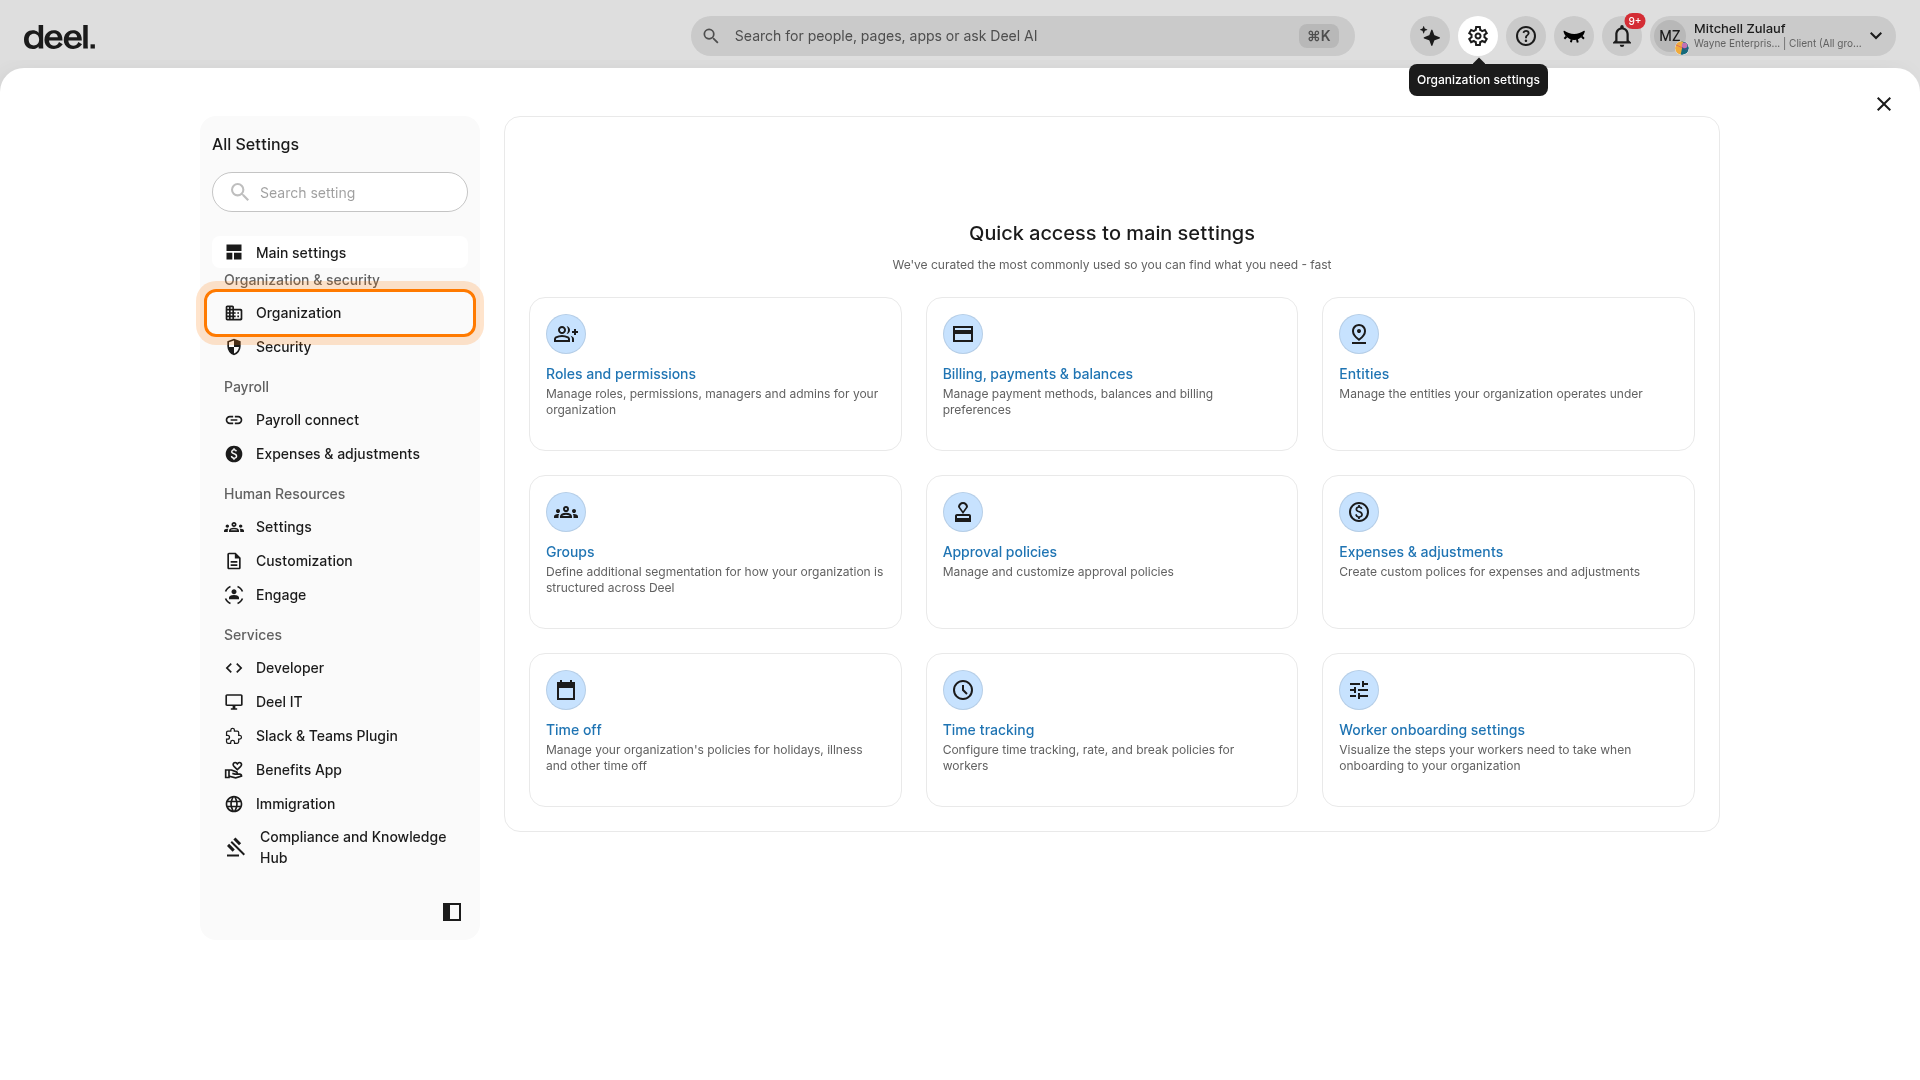
Select the Organization settings gear icon to open All Settings. Under Organization & security, select Organization to expand the menu.
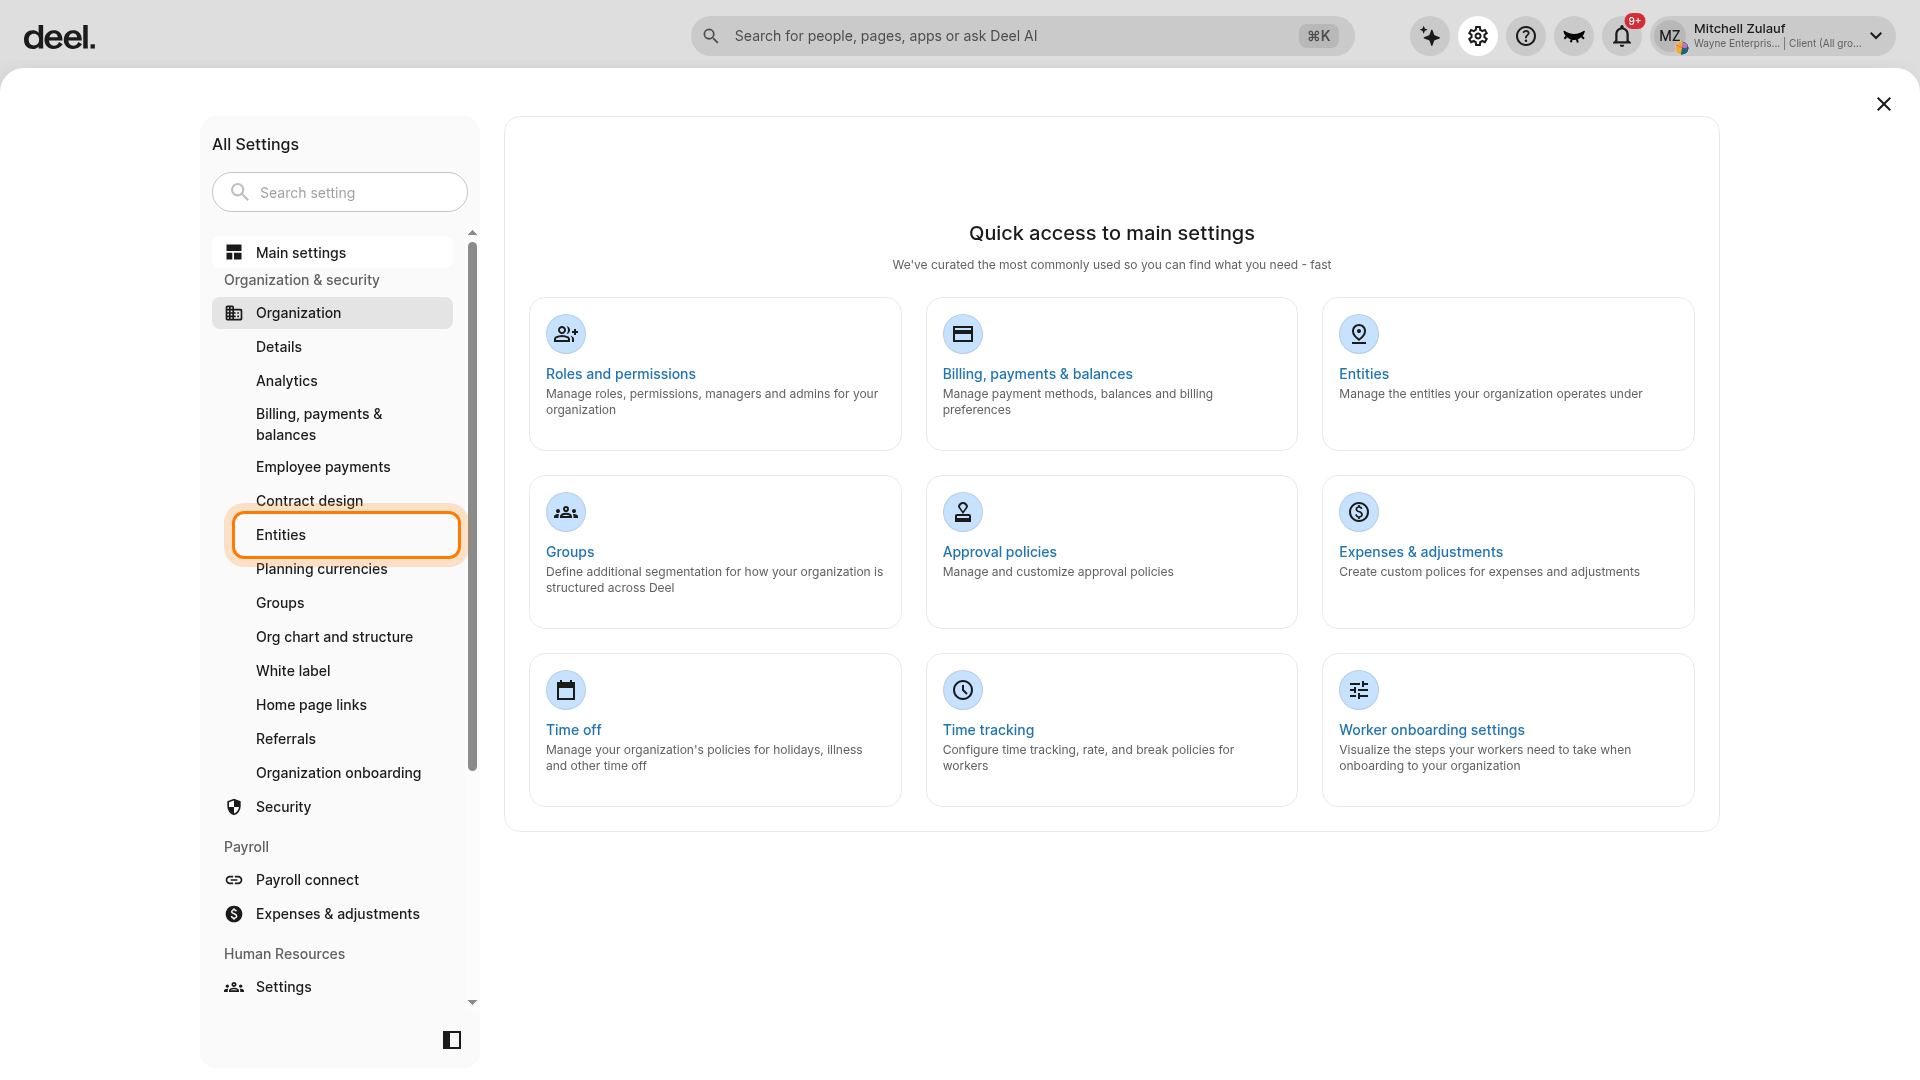
Select Entities from the expanded Organization menu. If it is not visible, scroll within the settings menu while keeping Organization expanded.
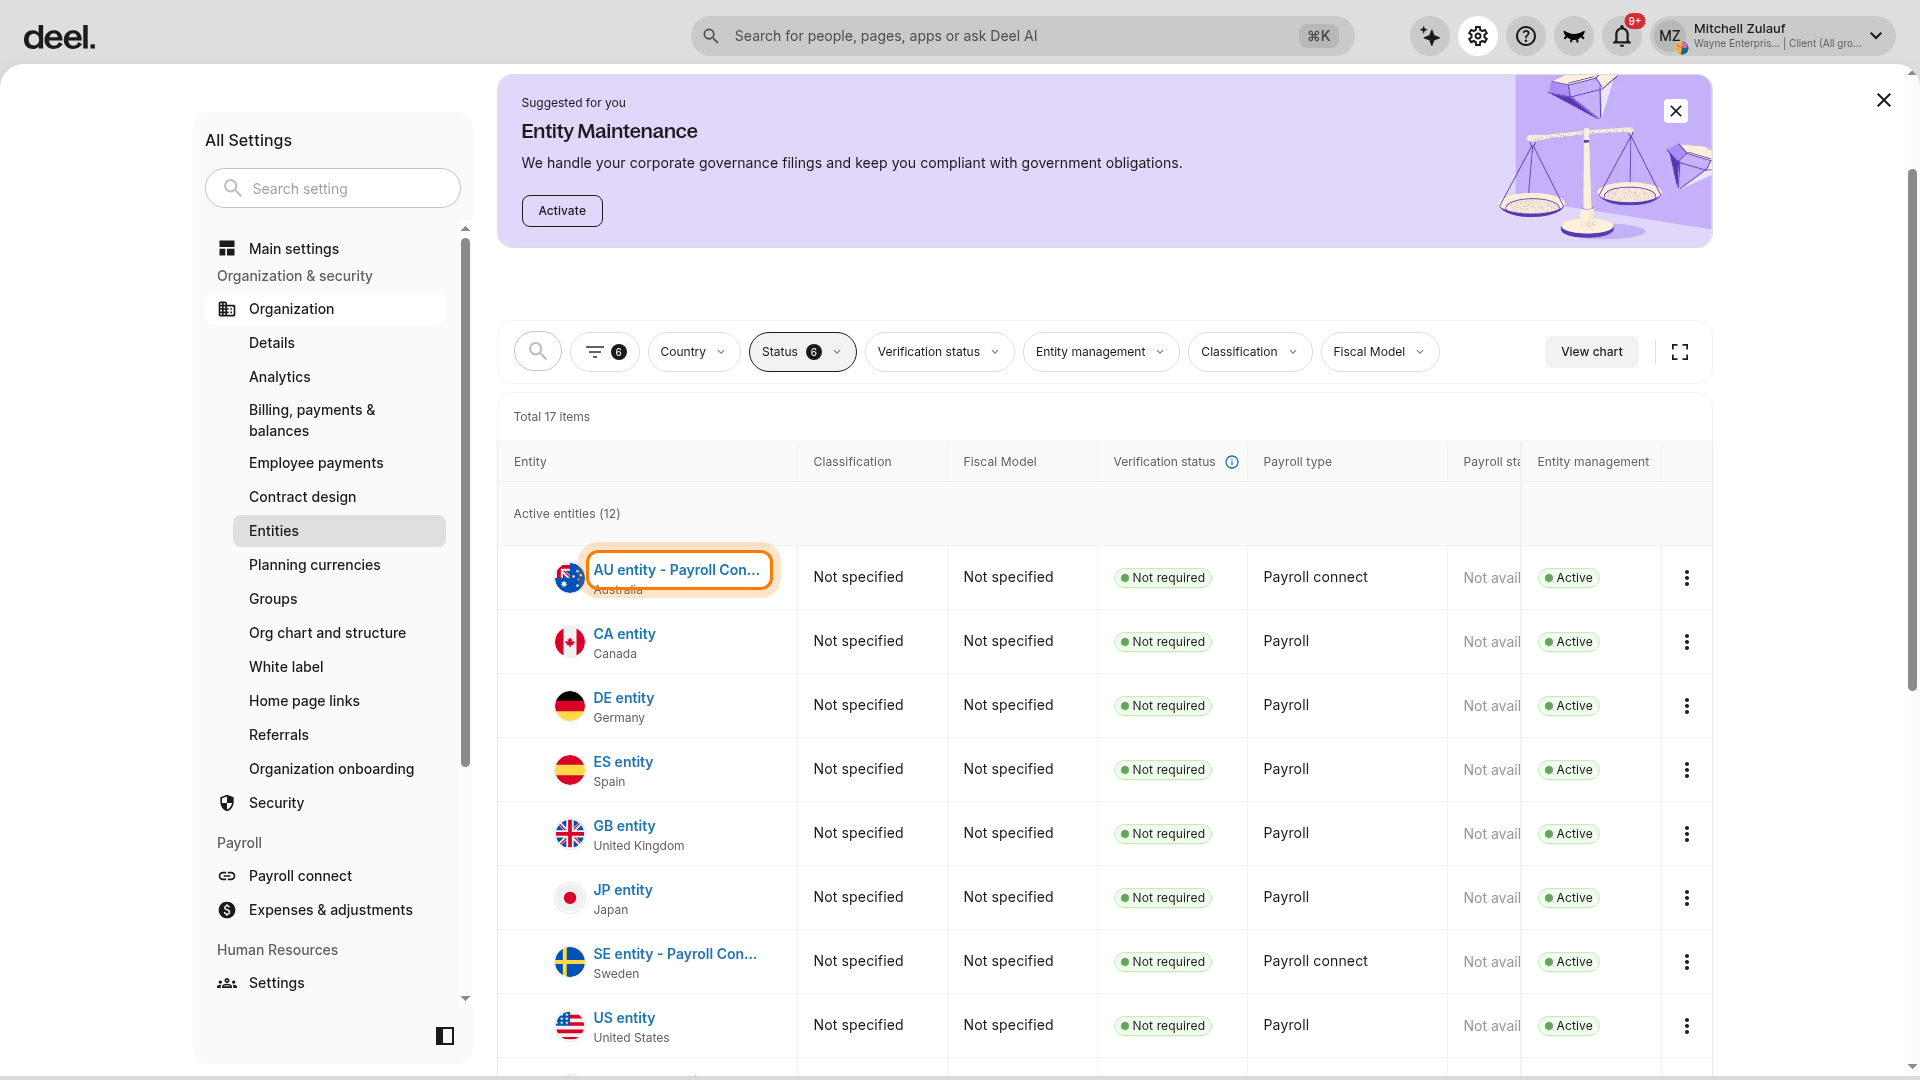
In the Entities table, select the name of the Payroll Connect entity for which you want to enable treasury services. Select the entity name, not the three-dot menu at the end of its row.
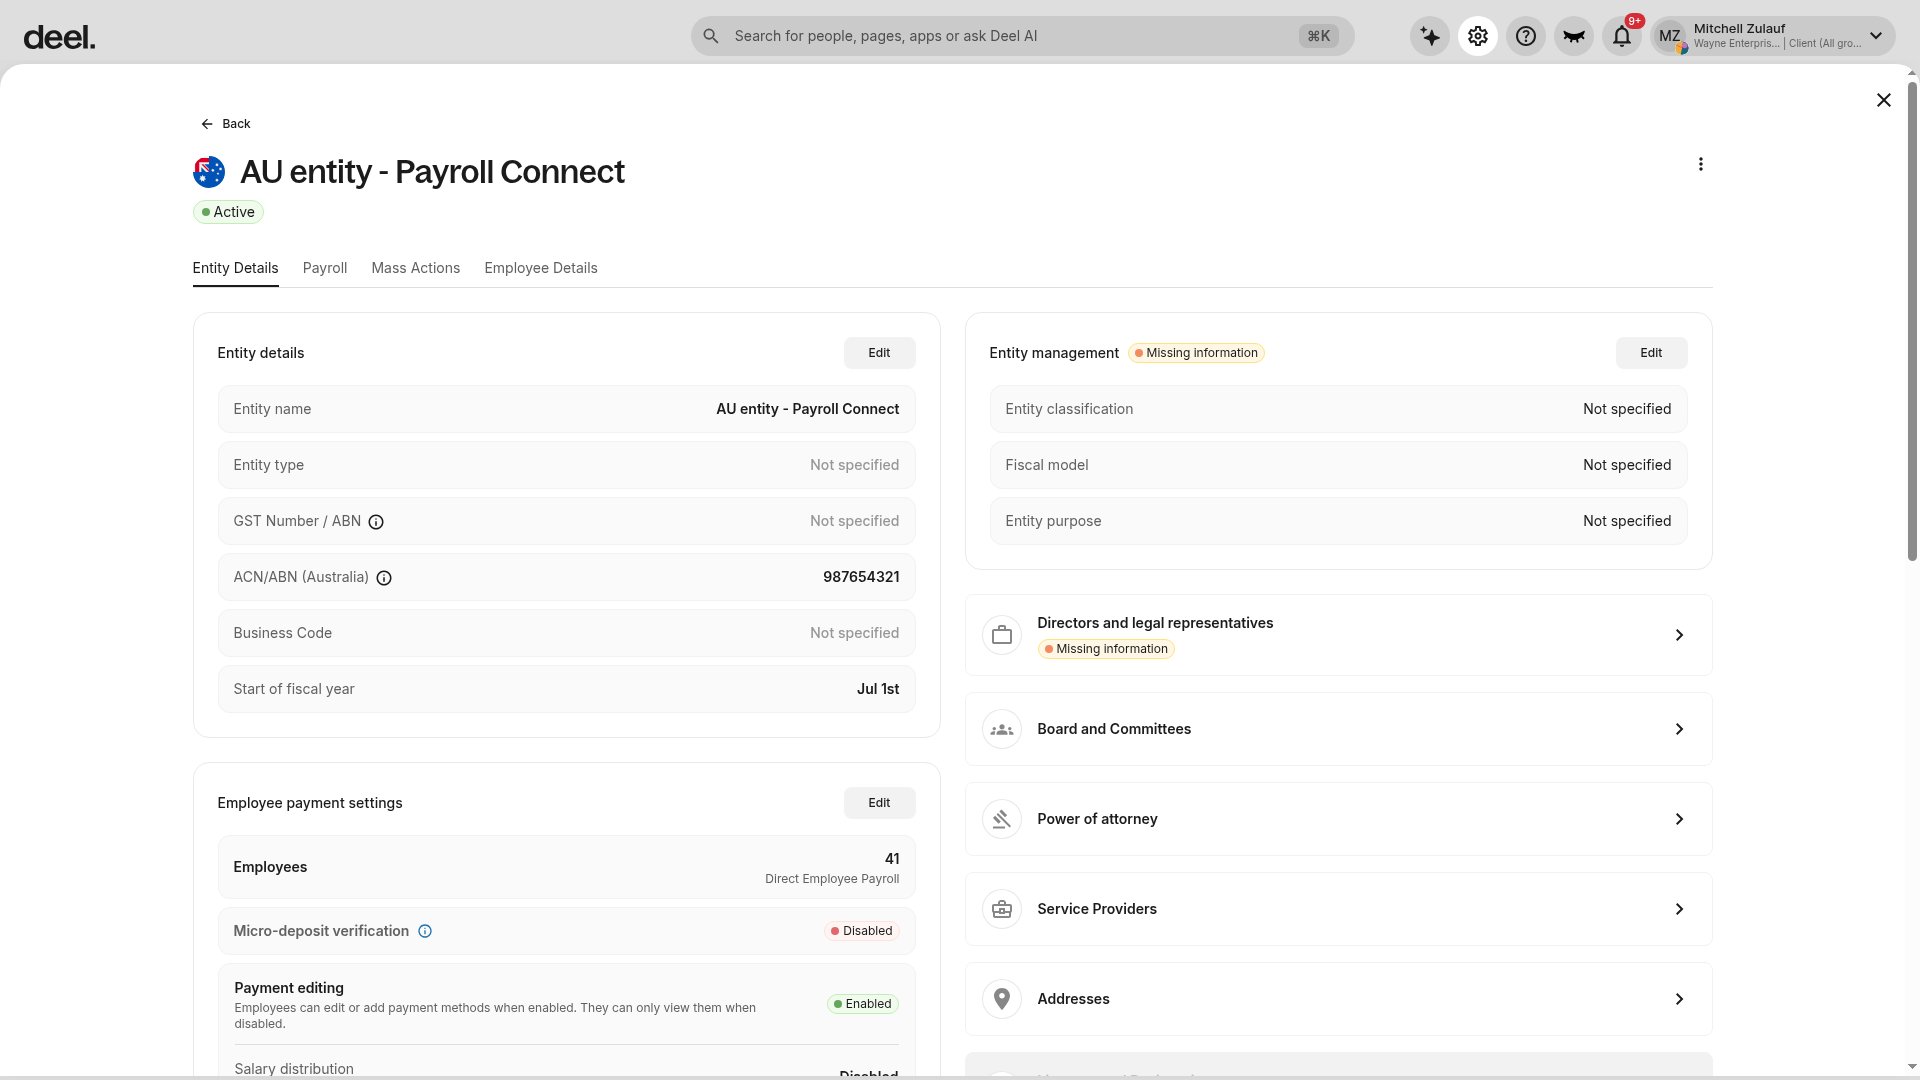
The entity overview opens on Entity Details. Confirm that the selected entity name appears at the top of the page.
Step 2 - Edit payroll funding
On the entity overview page, select the Payroll tab, then select Edit in the Payroll funding section.
Step 3 - Select “Pay through Deel”
Set Payroll cycle funding to Pay through Deel, then save the change.
Note: Your onboarding manager will set each payment item to be paid by Deel, client, ICP etc. Once done, the Onboarding manager will share an update with you.
If you want your liability payments also to be handled by Deel then share your liability authorities details with your onboarding manager for setting up liability payments mapping via Deel platform
How to approve payments in Deel
Your payment line items are created and approved during the onboarding process.
Step 1 - Review net salaries
- Open the applicable Payroll Connect cycle.
- Click on Review corresponding to Net salaries. Review the Net salary amount mentioned on the screen, including what is paid by Deel and what is paid by client directly.
- You will be able to see all the employees included in the PayCycle along with their Net salaries. Verify each employee and net salary for the pay cycle.
Step 2 - Click on "Mark as reviewed"
Select Mark as reviewed to confirm the net-salary review.
Step 3 - Review Liabilities (if needed)
If there are liabilities, click on Download liabilities template, then fill in and upload the template.
Step 4 - Approve for payment
In the left sidebar, expand Payroll and select Payroll cycles.
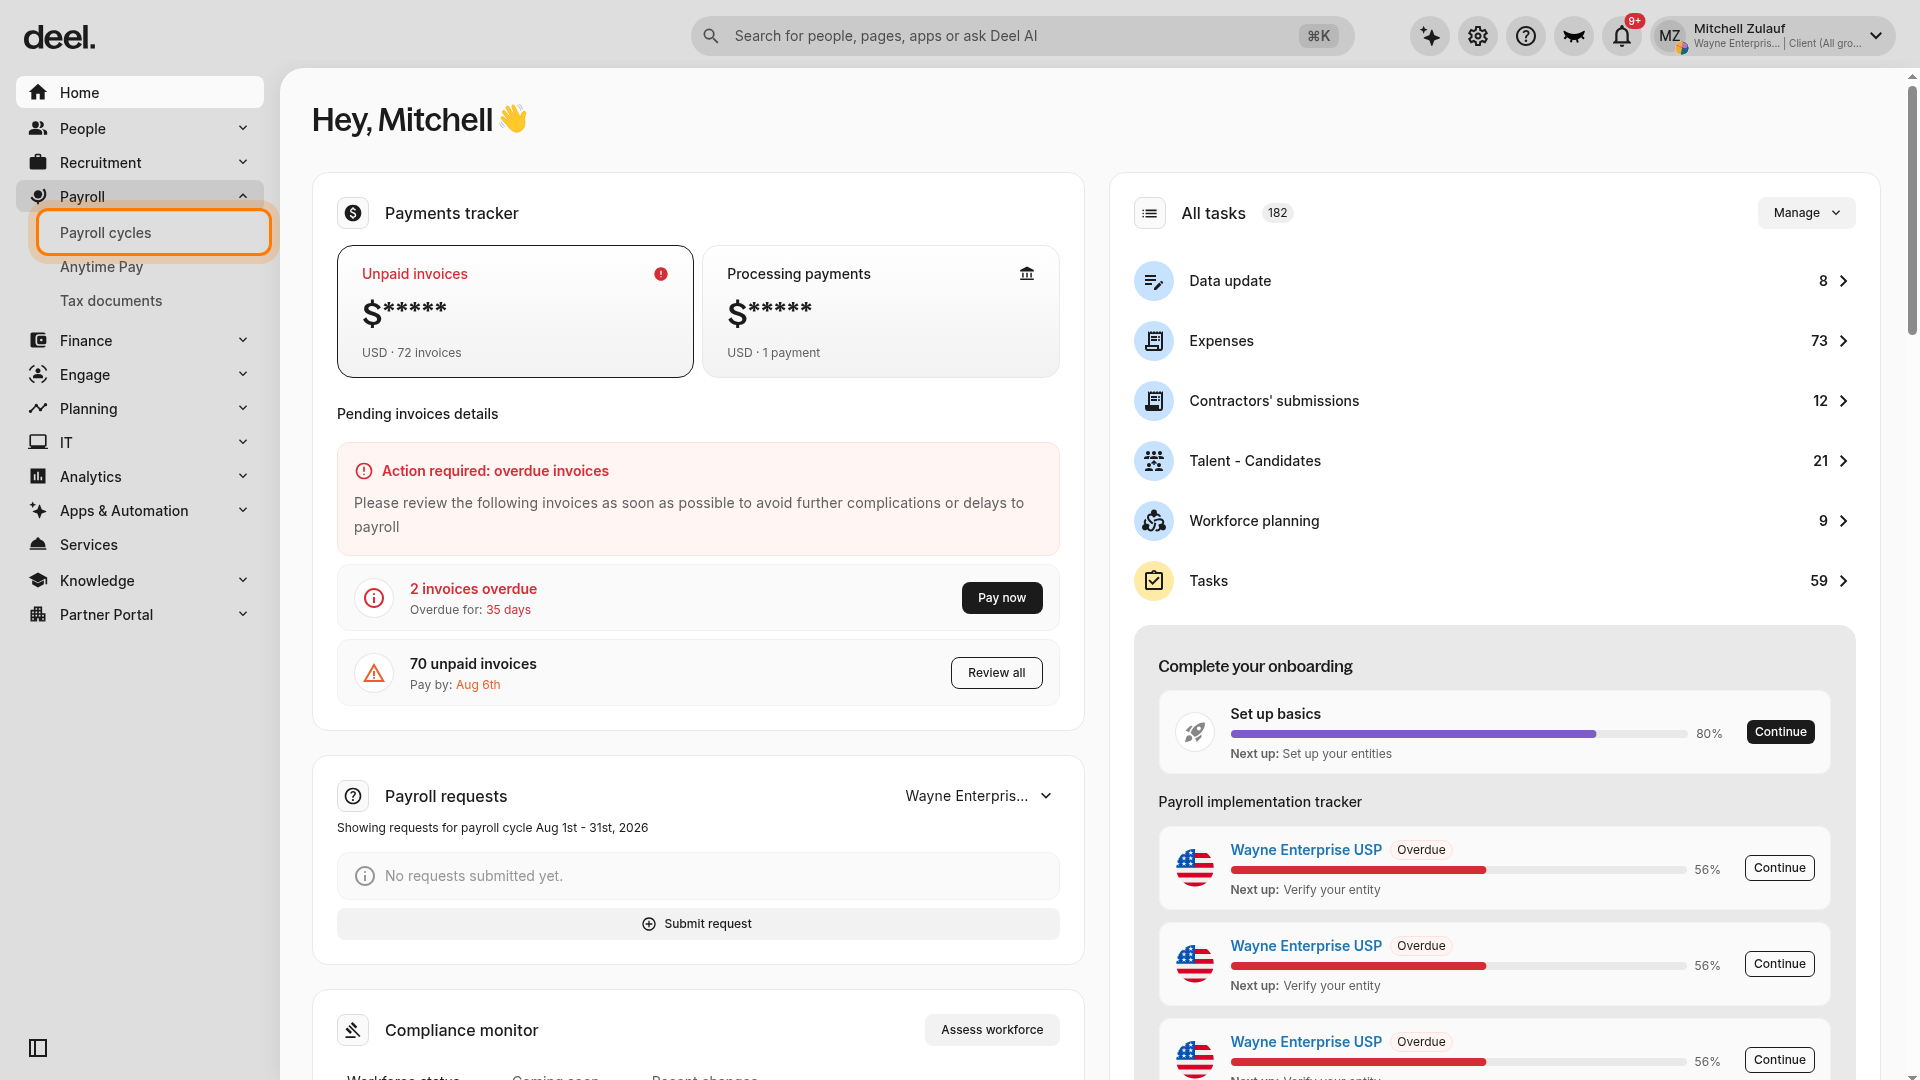
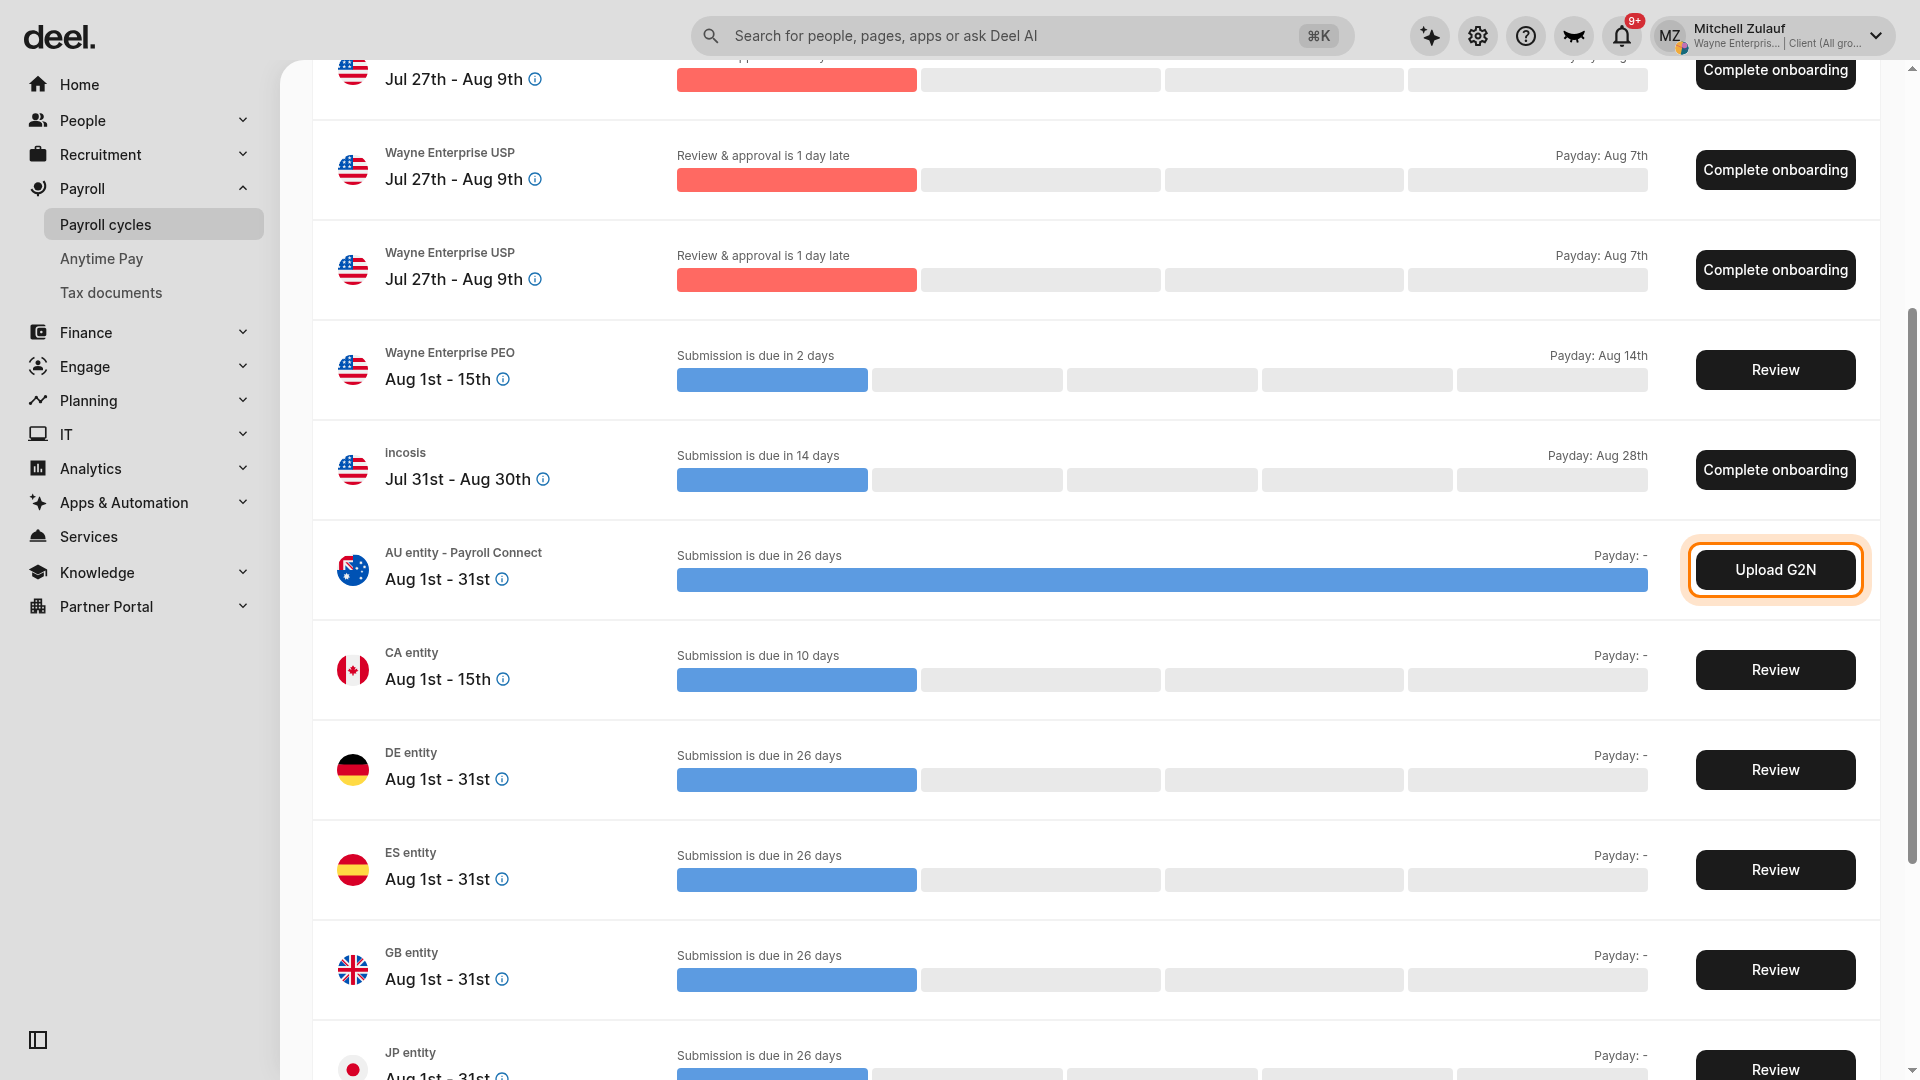
Find the row for the relevant entity and pay period labeled Payroll Connect. Confirm that the available action is Approve for Payment, then select it.
Do not use Upload G2N as a substitute for approval. Upload G2N means the cycle is still waiting for its required G2N report and cannot yet be approved.
Step 5 - Pay to Deel the amount listed in funding statement
After approving the cycle, wait for the entity overview to load and select the Payments tab. Under the Payments tab, the status of the payment will be visible.
The funding statement will be generated with the total amount (Net salaries + Total liabilities) that needs to be paid to Deel in order to pay their employees for that particular cycle.
Then, click on Pay funding and make the payment. It will then follow the payment process flow tracker.
Employees will be paid as per the date mentioned in the Payroll calendar. Liabilities (if paid by Deel) will be paid as per Due dates mentioned in the liabilities report uploaded by the client