This article explains how clients can use the Workflow Builder tool to automate repetitive tasks and communication across their organization.
There are no limits to how many automated workflows can be created, and no coding knowledge is required.
Clients can also easily create specific automation for workers based on location, worker type, department, and more.
In this Article
How to create an automated HR Workflow
How to create an automated HR workflow
Prerequisites
Before you begin, make sure:
* You have the required permission to view the Automation section for your organization.
If the Automation option is missing from the More* menu, contact your Deel administrator for access.
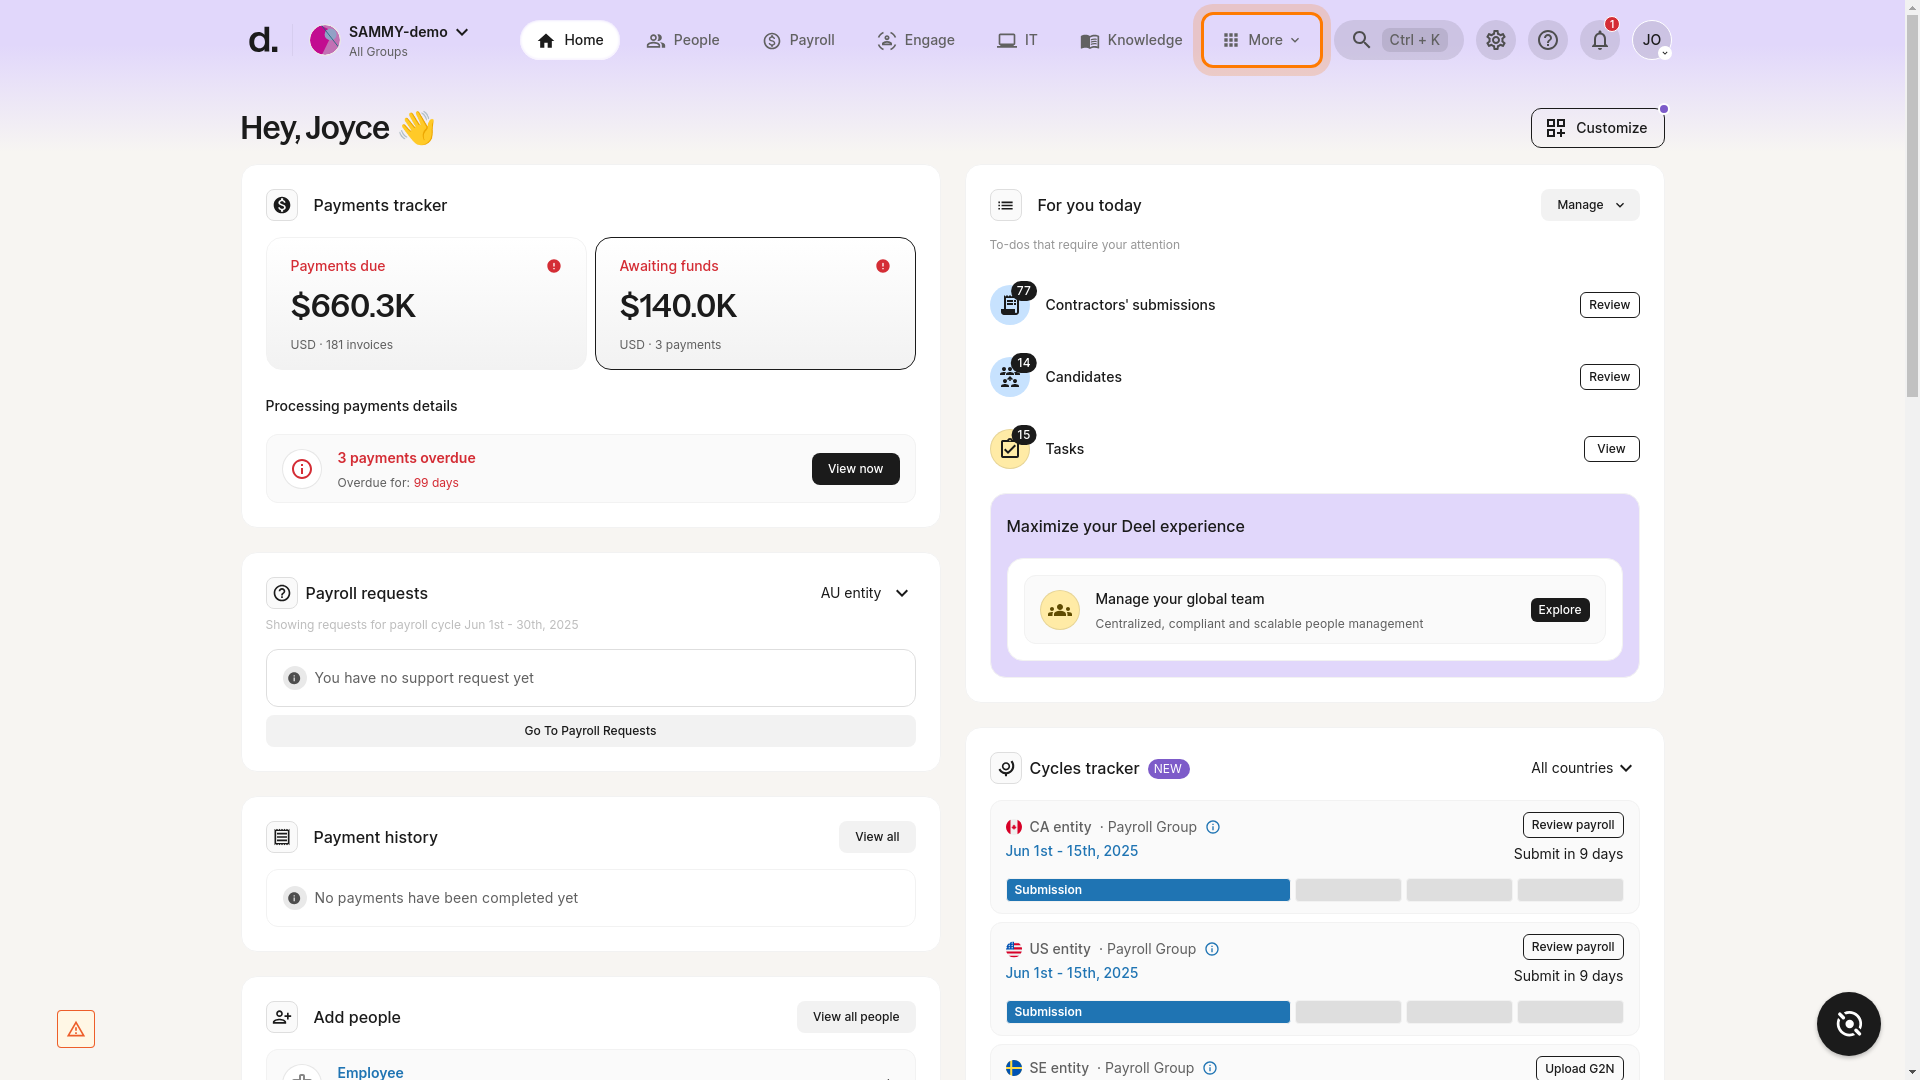
✅ Step 1 – Open the More menu and go to Automation
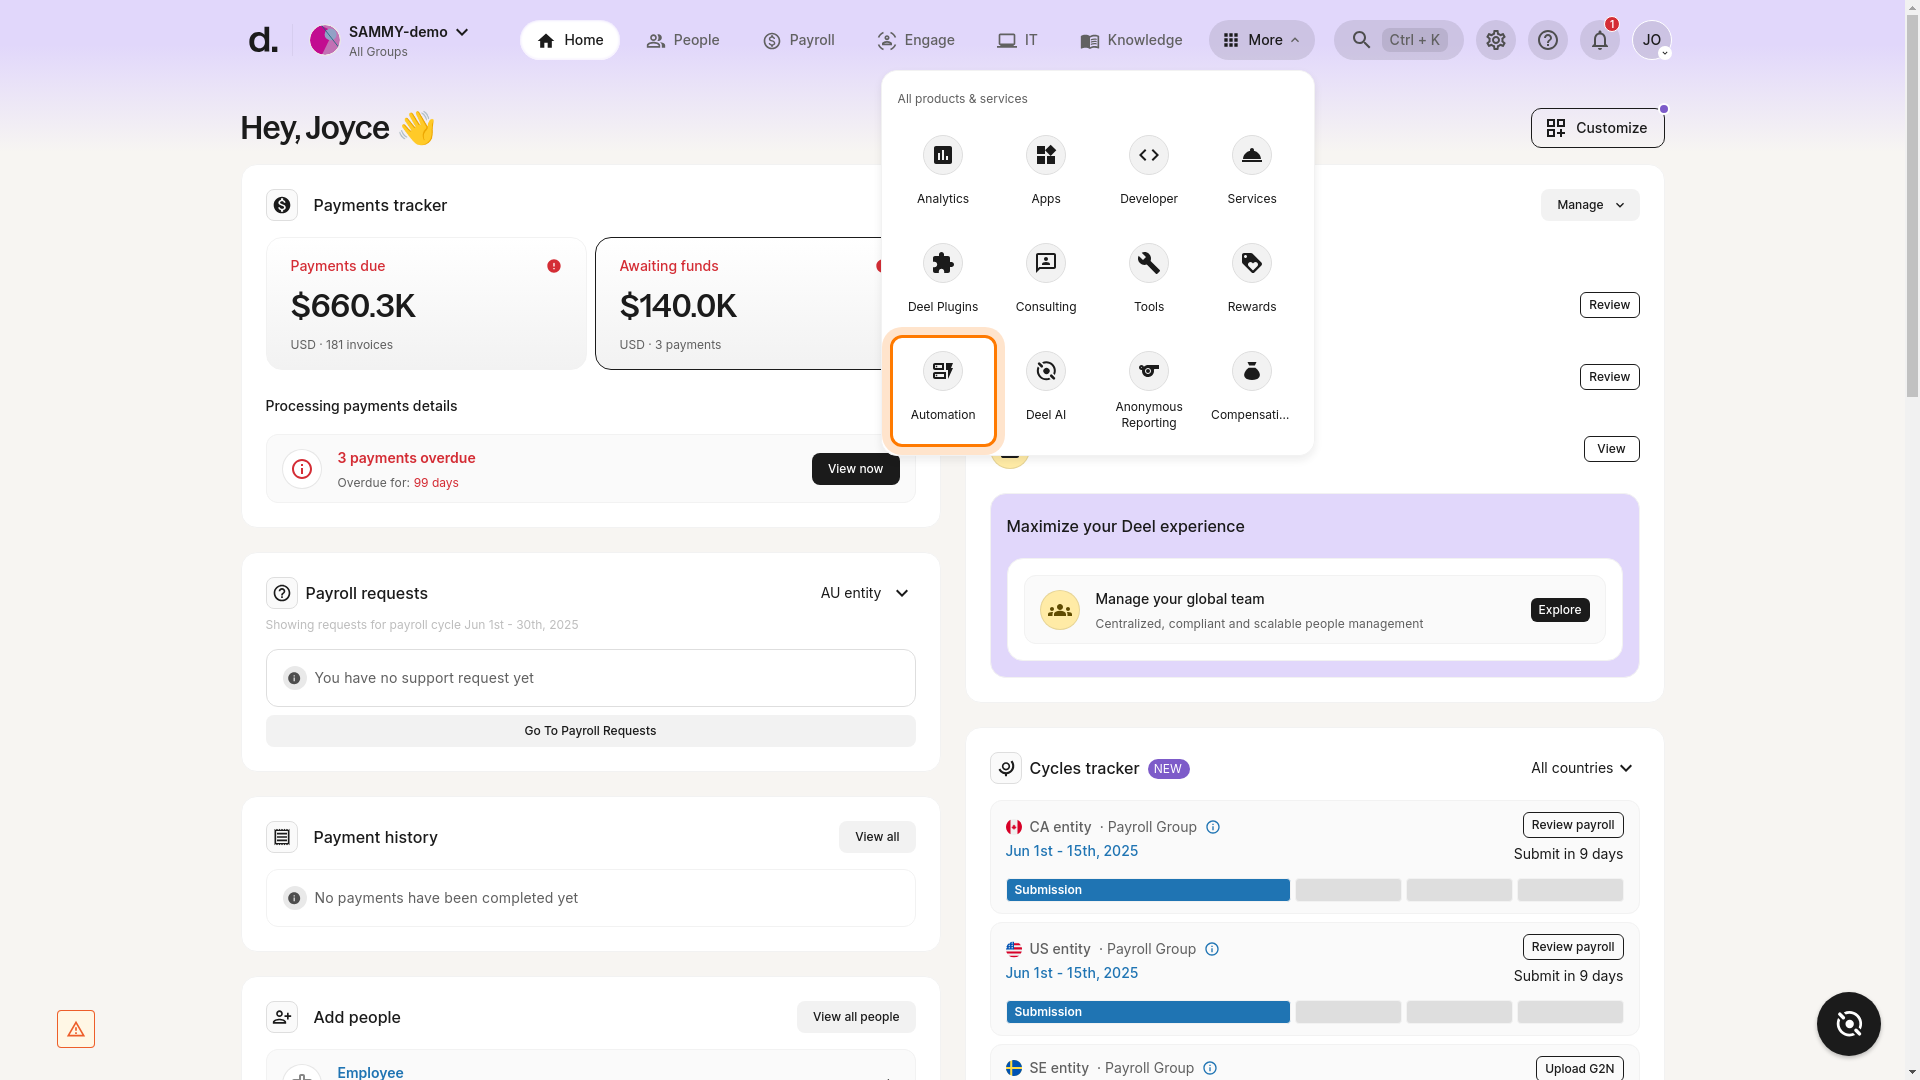
- From the Deel home page, click the More button (grid icon) in the upper-right corner of the header.

- In the drop-down that appears, select Automation.

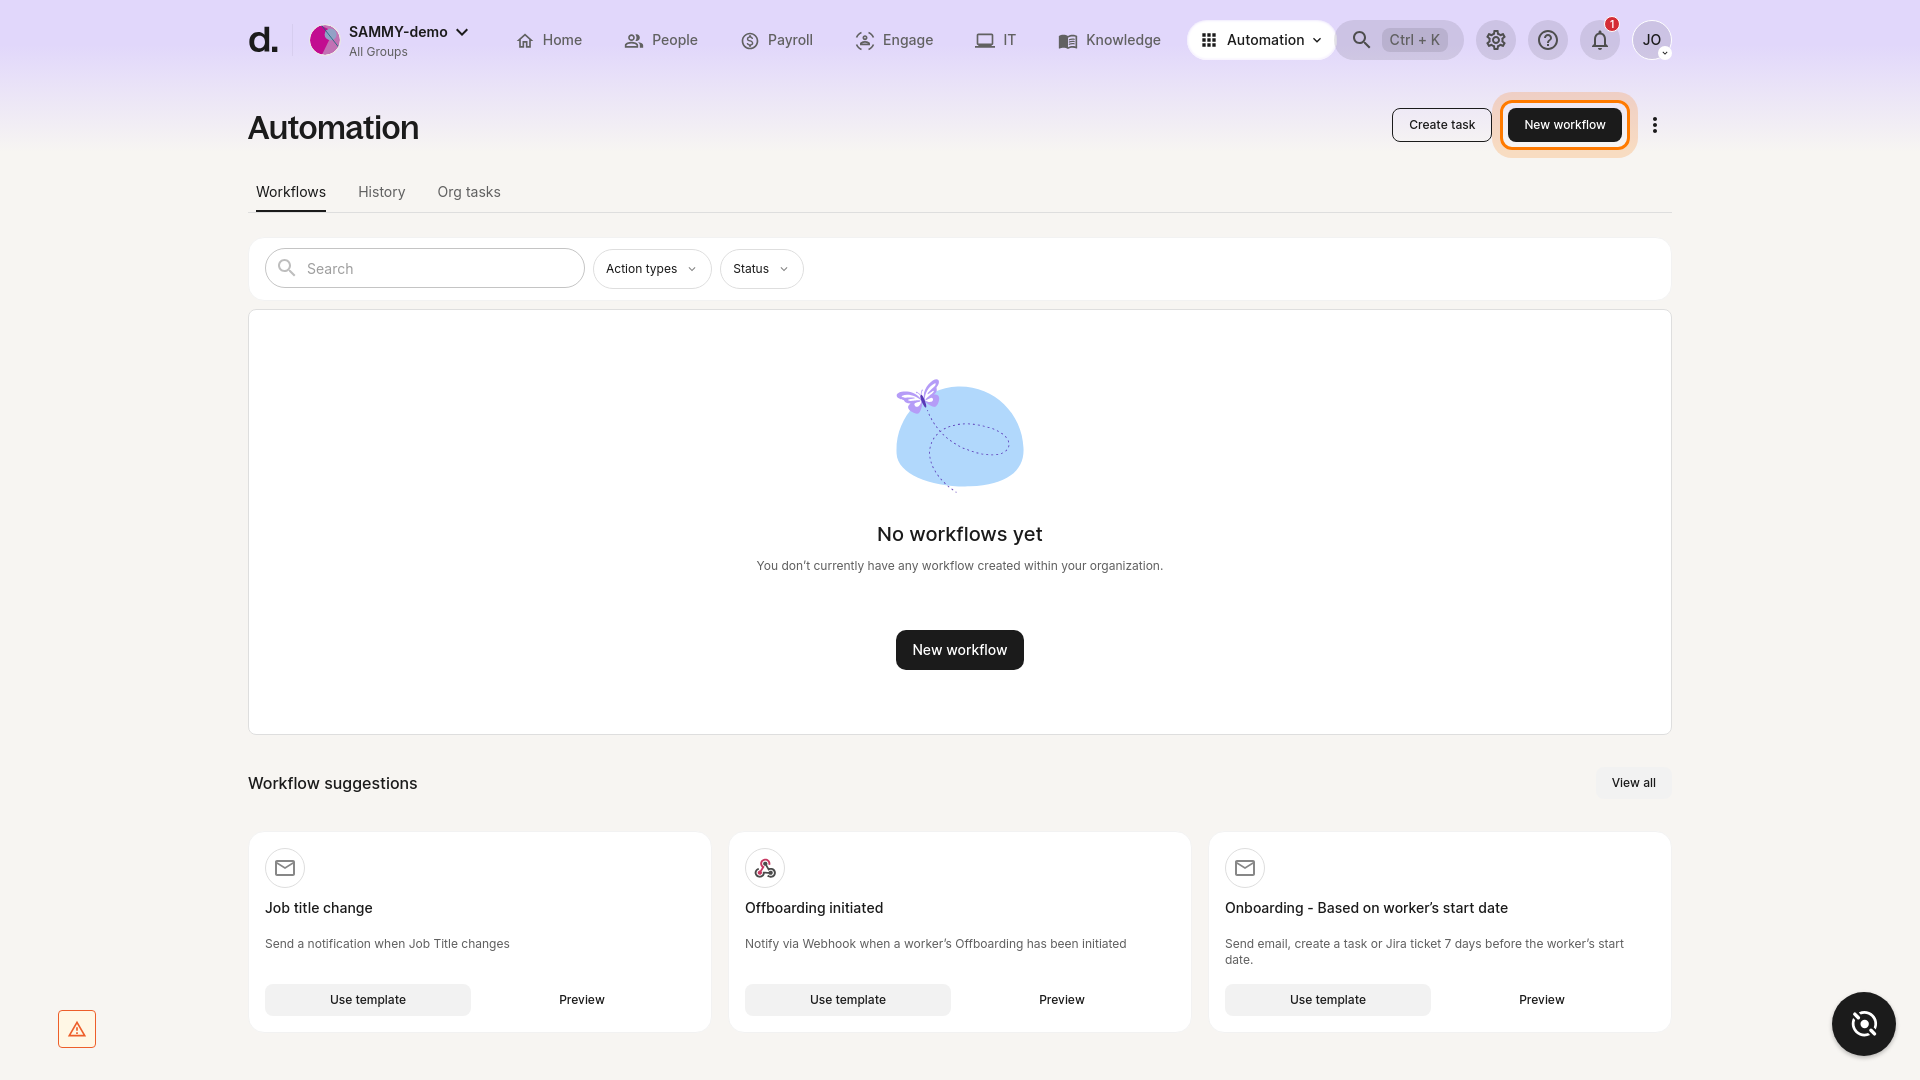
Expected outcome: You land on the Automation page. If no workflows exist yet, you’ll see a message such as “No workflows yet.”
✅ Step 2 – Click New workflow
On the Automation page, click New workflow in the upper-right corner.

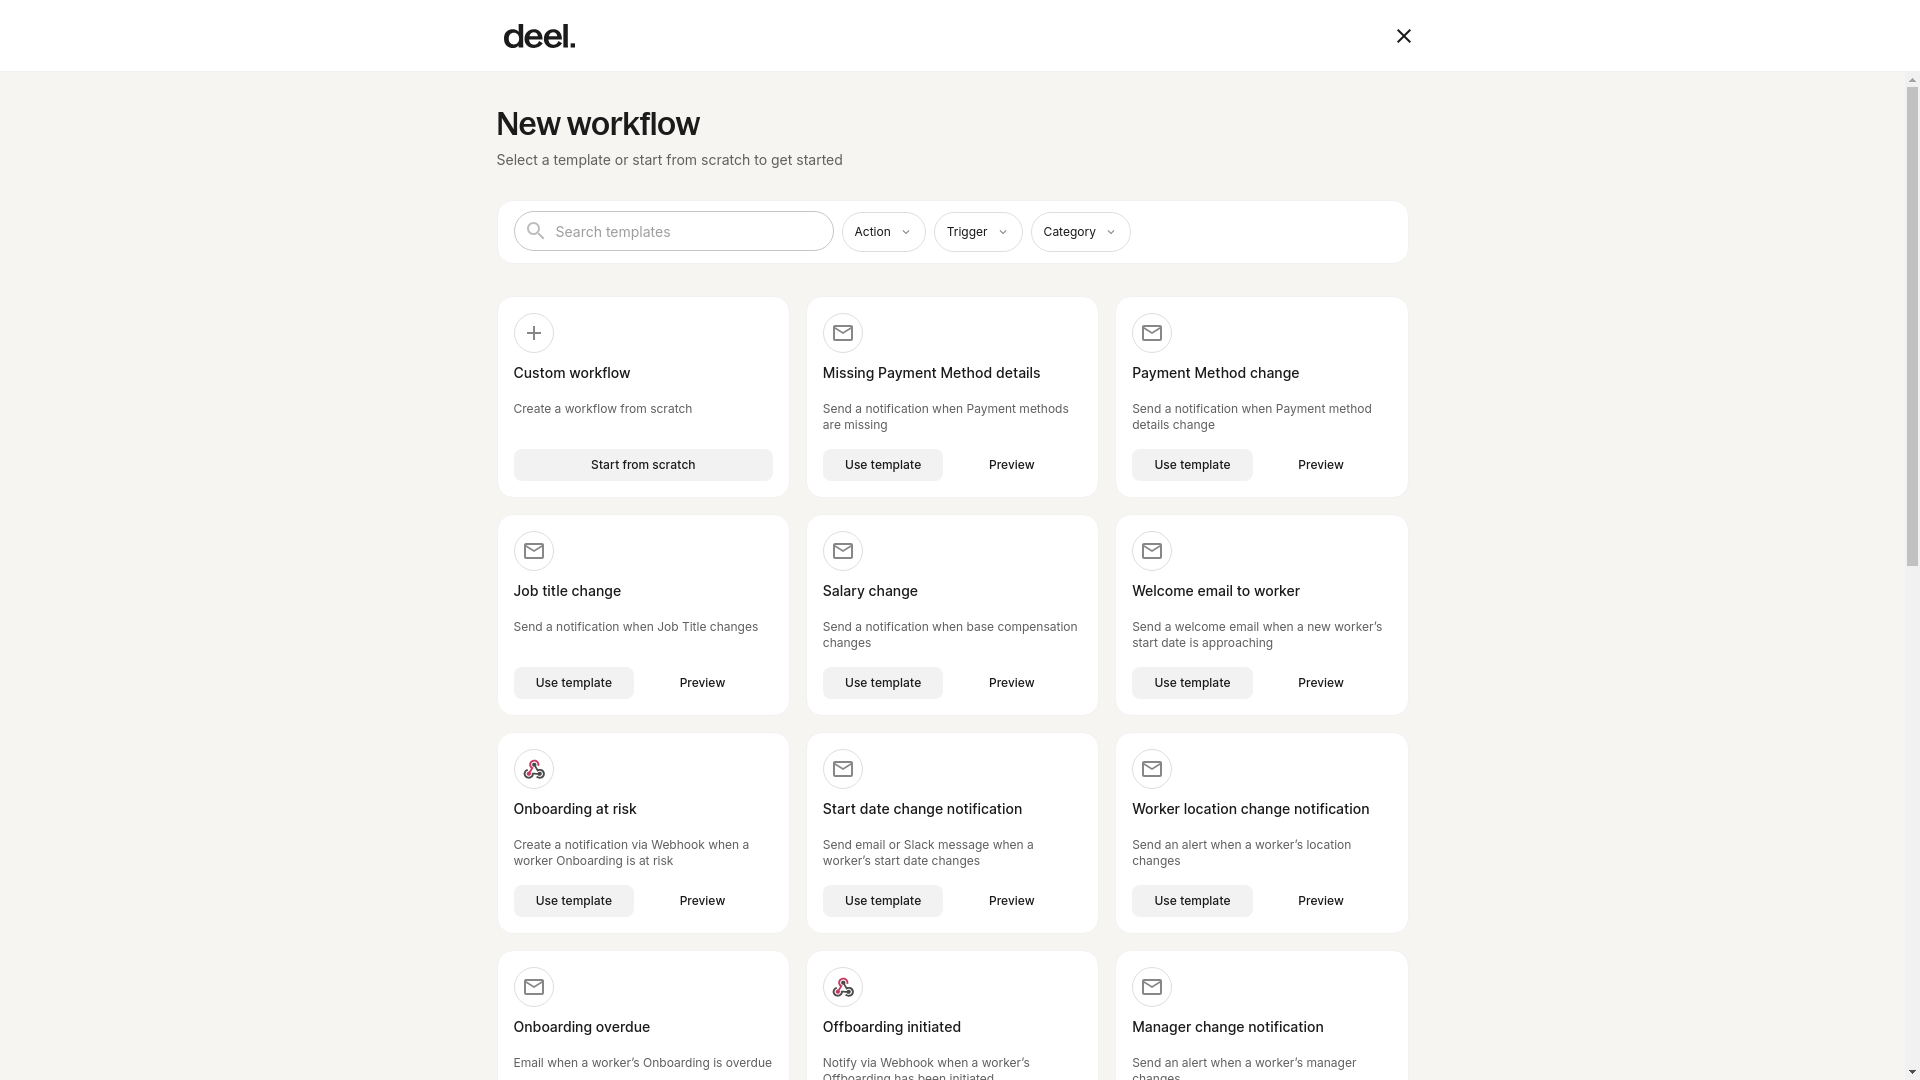
✅ Step 3 – Select a template or start from scratch
The workflow-creation page opens, showing a gallery of pre-built templates and a Start from scratch tile. Choose the option that best fits your needs.

Tips
Preview a template before selecting it to confirm that it matches your use-case.
Use the search bar or Action / Trigger / Category filters to quickly locate a template.
Troubleshooting
“Automation” option not visible – Verify your permissions or contact your administrator.
Button not responding / page not loading – Refresh the browser, clear cache, or check your internet connection. If the issue persists, reach out to Deel Support.
✅ Step 4 – Add Trigger
If you start from scratch, choose the event that will start the automation and click Add Trigger.
✅ Step 5 – Add Action event
After the trigger, select what should happen next. Available actions include: * Send an email * Send a Slack message to a public or private channel * Create a task and assign it to someone (the task appears on the assignee’s Home page)
Use filters to target specific groups (location, worker type, department, etc.). You can also add delays to build multi-step sequences.
✅ Step 6 – Add Branch (optional)
Insert a branch to create conditional paths within the same workflow.
✅ Step 7 – Confirm workflow actions
- Email – Enter recipients, subject, and body.
- Slack – Compose the message and choose the channel.
- Task – Enter title, details, and assignee.
Click Add Action to save each action.
Frequently Asked Questions
[ACCORDION] Can Jira tickets be created automatically based on a trigger and a set of conditions?
Yes. Workflow Builder can create or update Jira tickets based on your defined triggers and conditions. If a ticket already exists for the same context, it will be updated instead of creating a duplicate.
[/ACCORDION]
[ACCORDION] How can workflows be duplicated?
Click the three dots (•••) next to any existing workflow and select Duplicate. Edit the copied workflow as needed.
