
For improved onboarding visibility, clients can view onboarding steps based on worker type (individual/entity), hiring country, and job title. They can easily tailor onboarding steps according to specific worker types, job titles, and hiring countries. Additionally, they can create and assign custom tasks for workers to complete as part of their onboarding process. These tasks can be personalized with titles and descriptions, contributing to a more structured and trackable onboarding experience.
⚠️ UI UPDATE The standalone Onboarding Settings card that previously lived under Organization Settings has been deprecated. All onboarding configuration is now surfaced from the Tracker widget on the Home page. The steps below reflect this new navigation path.
Customized Onboarding Settings
1. Navigate to the Onboarding Dashboard
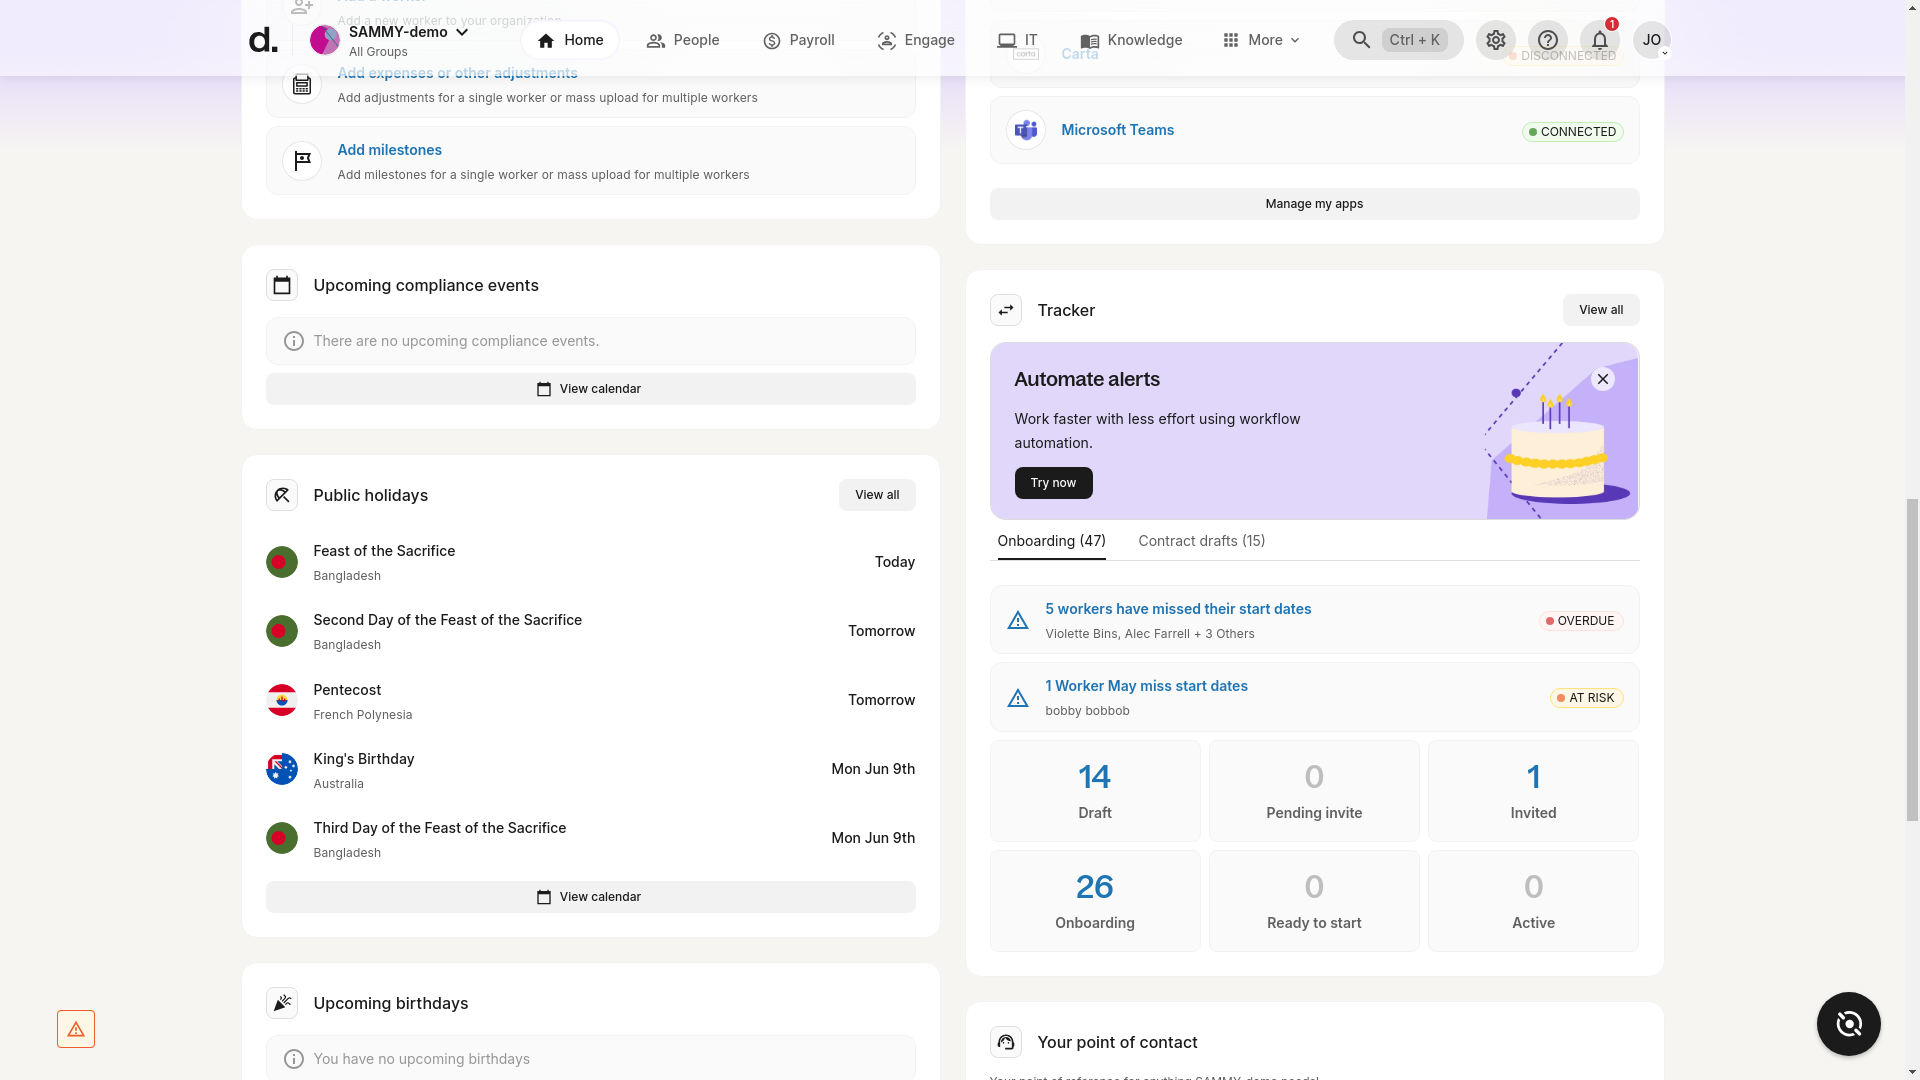
- From the Home page, scroll to the Tracker widget.
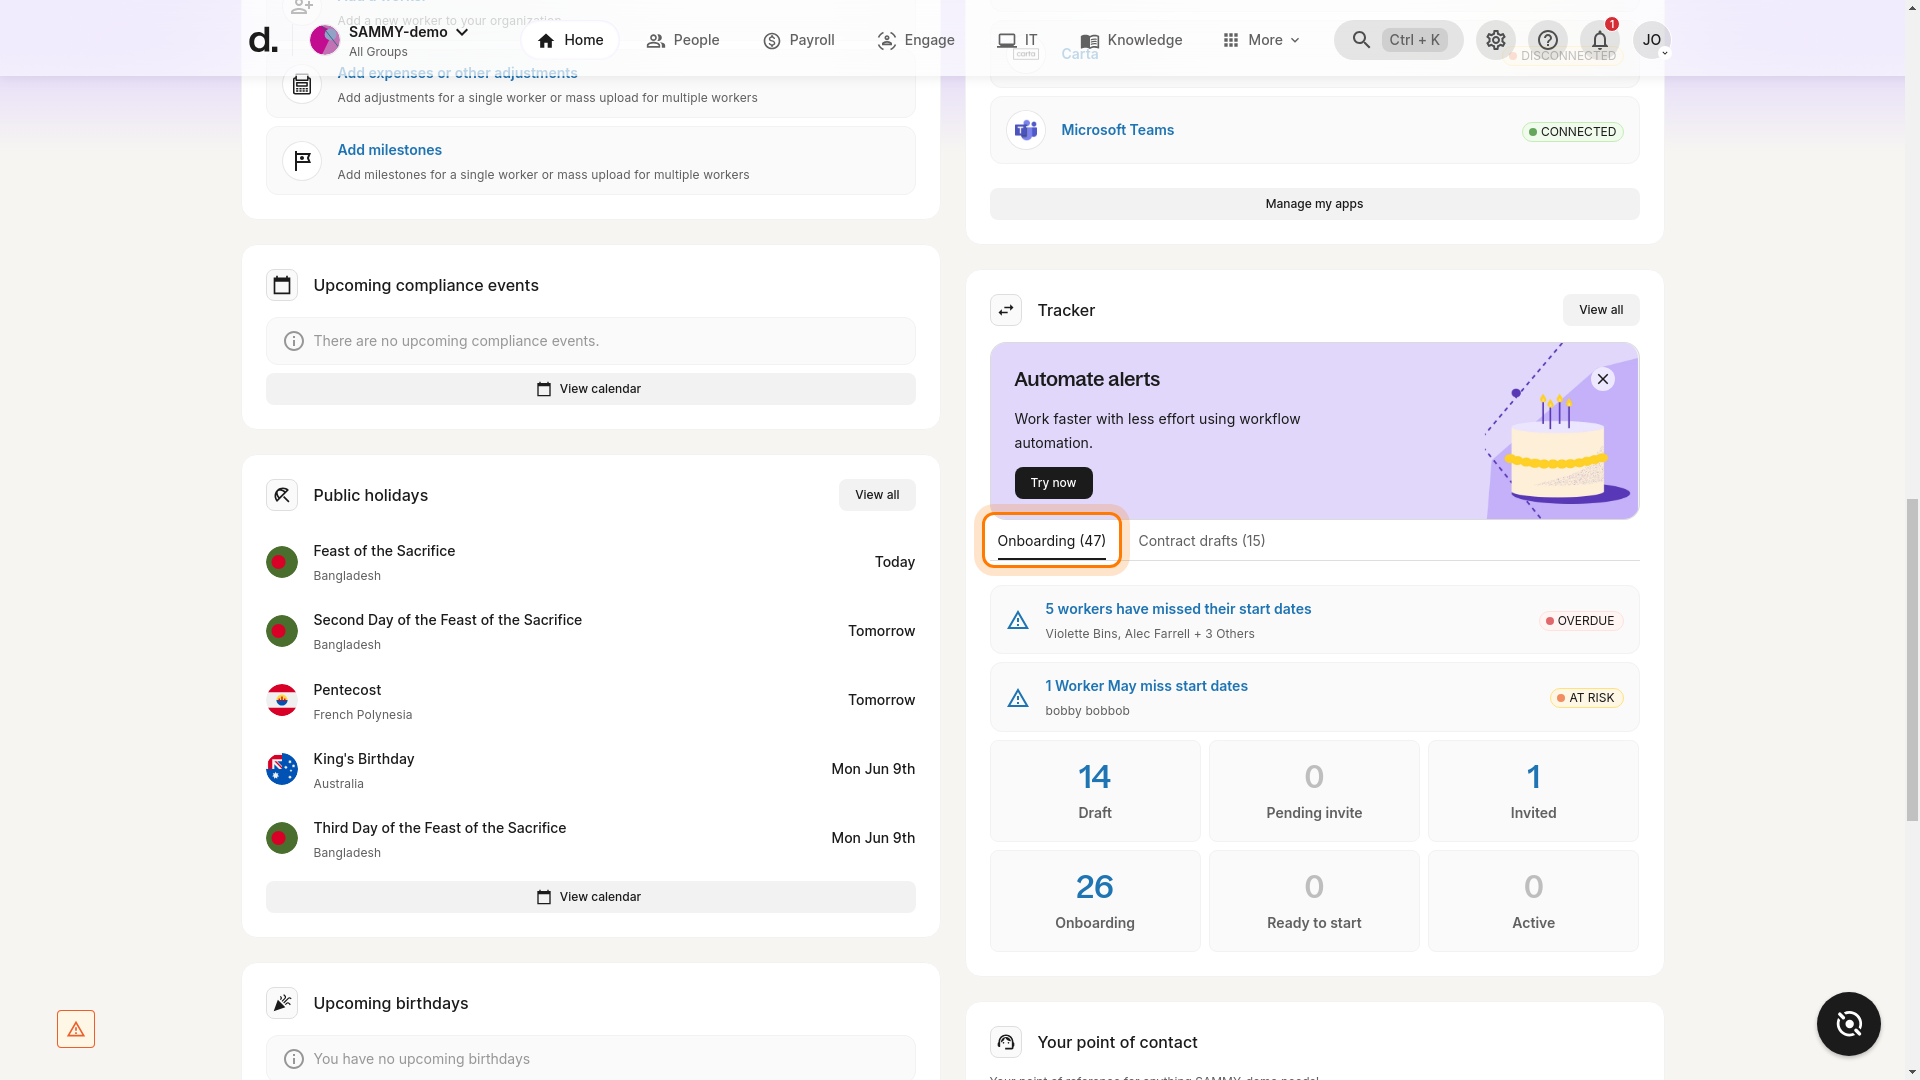
- Select the Onboarding tab (the number in brackets shows open onboarding items).
- Click View all (or any status tile) to open the full Onboarding dashboard.
2. Filter the Onboarding Checklist
At the top of the dashboard you can filter the checklist by: - Worker type (e.g., Contractor – Individual / Entity) - Hiring country - Job title
Applying filters immediately refreshes the checklist so you can preview exactly which steps a worker will see.
3. How to Create an Additional Onboarding Task
- With the desired filters applied, locate the Additional Requests panel on the right-hand side.
- Click Create to add a new task.
- Enter a Task Name and Description.
- (Optional) Select Add another to queue multiple tasks at once.
- Click Save. The task is now listed under Additional Requests where you can Edit or Delete it via the ··· menu.
Need help finding the dashboard? If you don’t see the Tracker widget, make sure you’re on the Home page and that the widget hasn’t been hidden with the Customize toggle. If your organization has disabled onboarding, contact your Deel admin or Customer Success Manager to have it re-enabled.