
Within Deel, clients can add their entire workforce and reflect their organizational structure within the platform. This structure can be represented by assigning manager roles within the platform, thereby allowing the organization to clearly define responsibilities, restrict unauthorized access to sensitive data, and streamline team management.
By assigning managers through Deel, clients can not only enable their managers to handle their day-to-day tasks effectively but also enhance overall organizational control, ensuring that the right people have access to the right tools and information.
This article explains the manager role in Deel HR and how to assign it within the organization.
What Managers Can Access in Deel
Workers who are assigned as managers have configurable permissions that can be set by admins in Org Settings → Access & Permissions → Manager Role → Edit.
For each category, admins can assign one of three access levels:
- No access – the section is hidden
- View only – manager can view but not change
- View & edit – manager can view and make changes
The permission categories include:
- Worker compensation
- Personal Info: General (with the option to restrict sensitive fields such as personal email, personal phone, legal/preferred names, or emergency contacts)
- Personal Info: Addresses
- Personal Info: Emergency contacts
- Work relations
- Org structure
- Contract details
- Contract end date
- General info (Worker ID, External Worker ID)
Each setting is independently configurable, giving clients full control over what their managers can see or change.
How to Assign Manager Role in the Organization
The manager role is enabled by default through worker relations. To configure worker relations, please refer to this article.
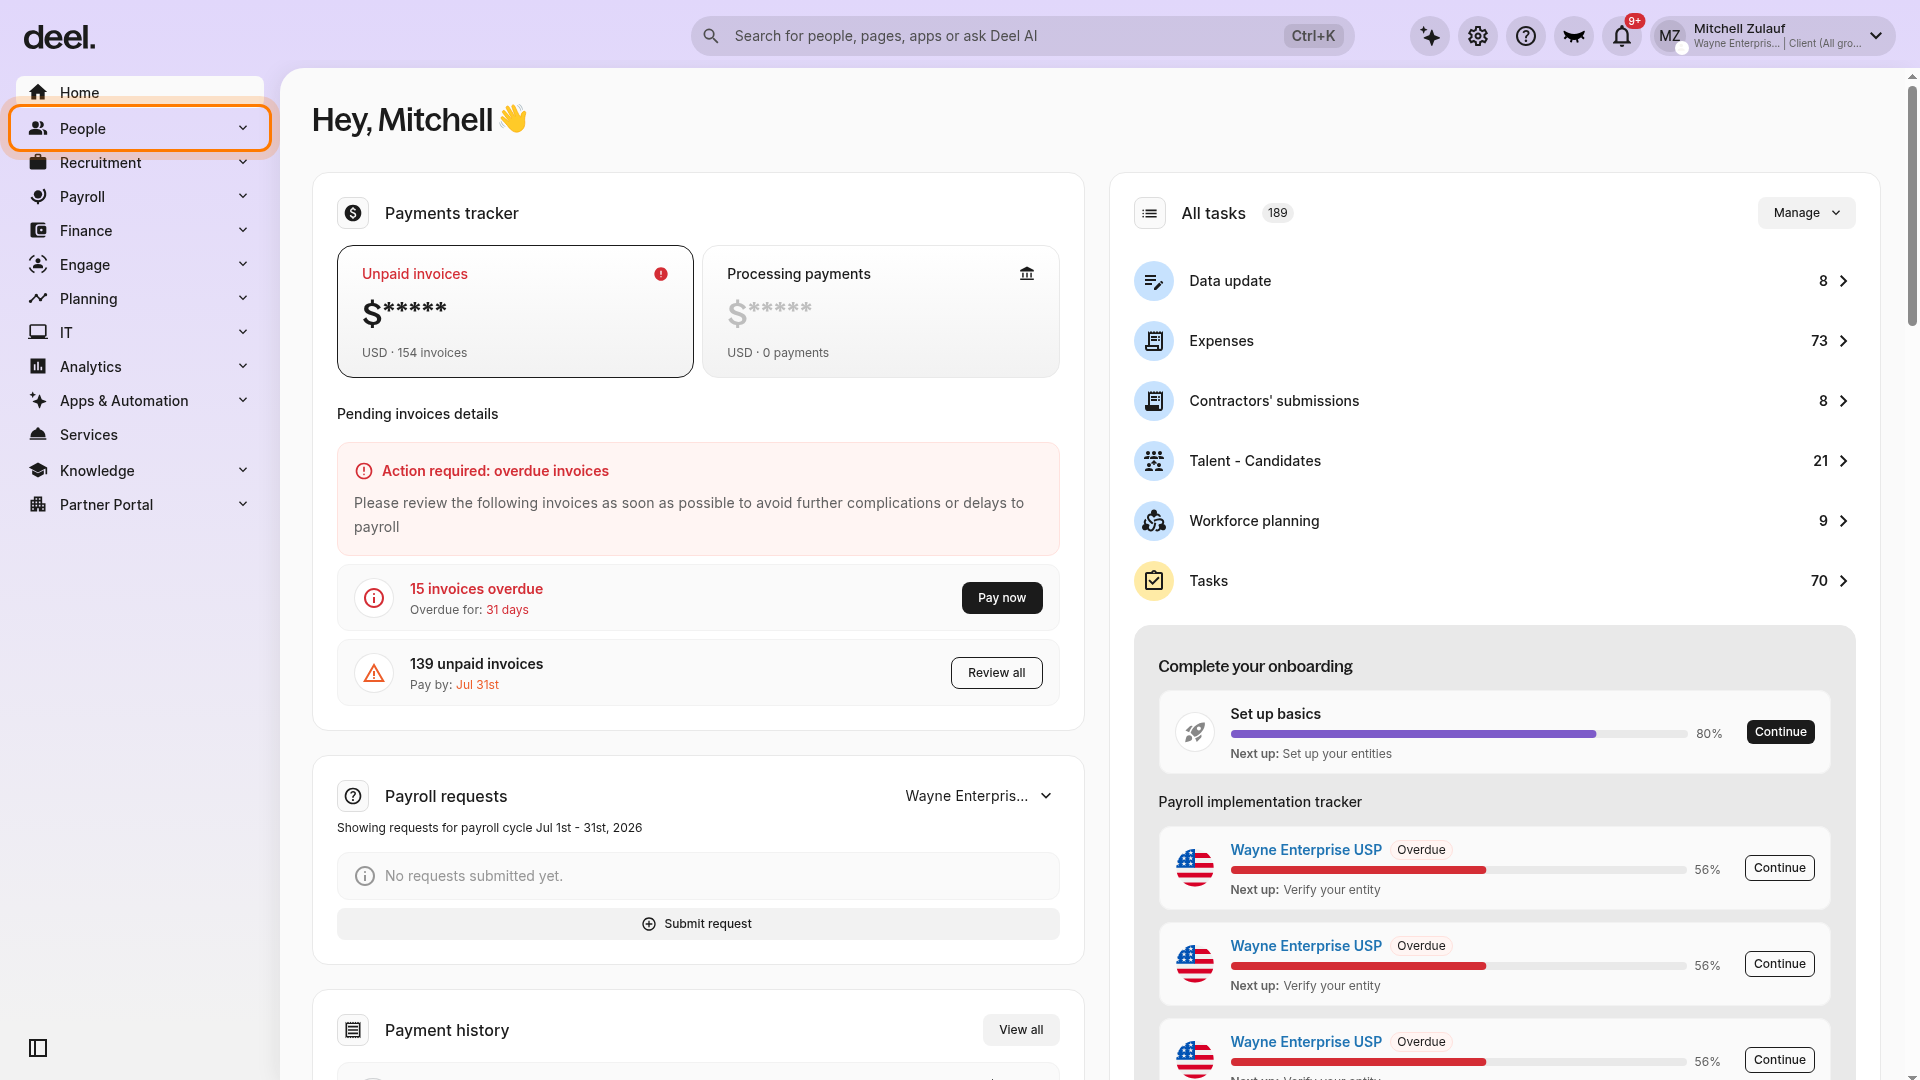
✅ Step 1 – Go to the People icon and click on the All People tab
In the left sidebar, click People to expand its submenu.
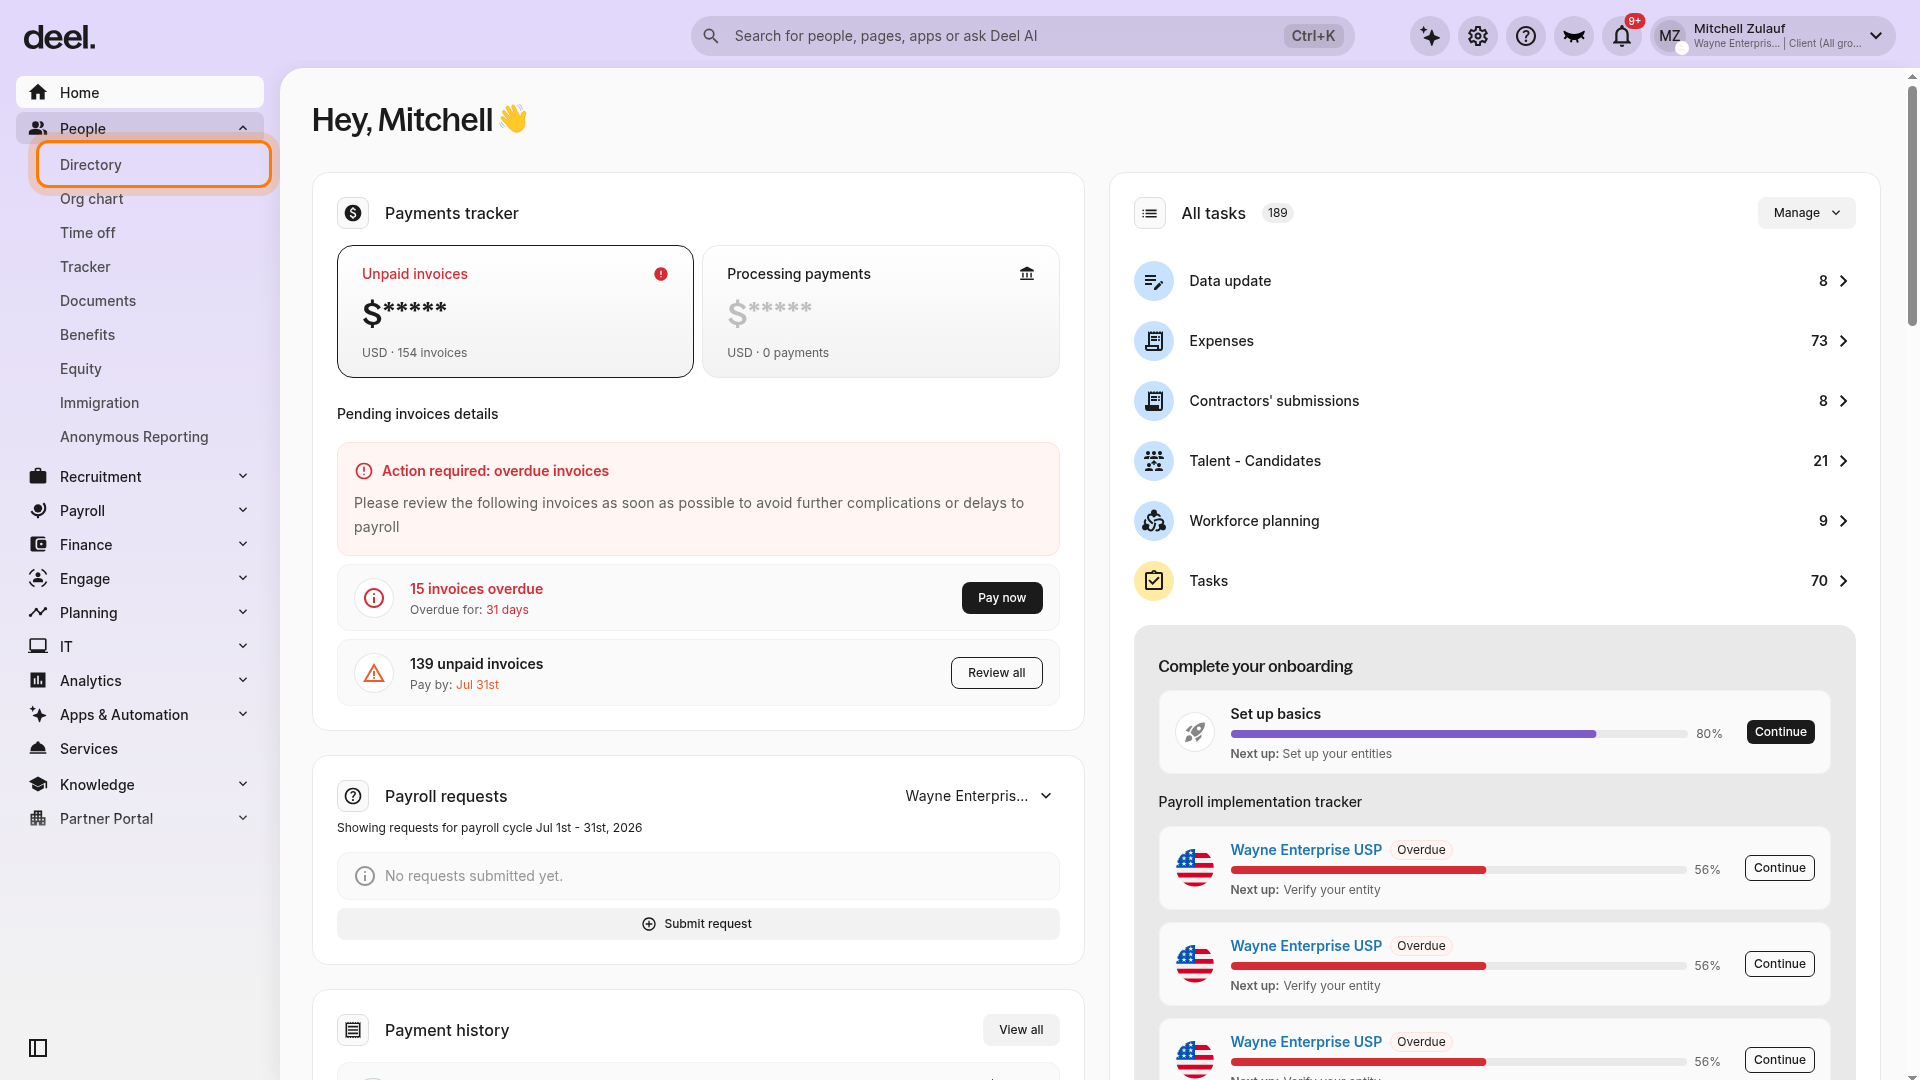
Click Directory in the expanded submenu.
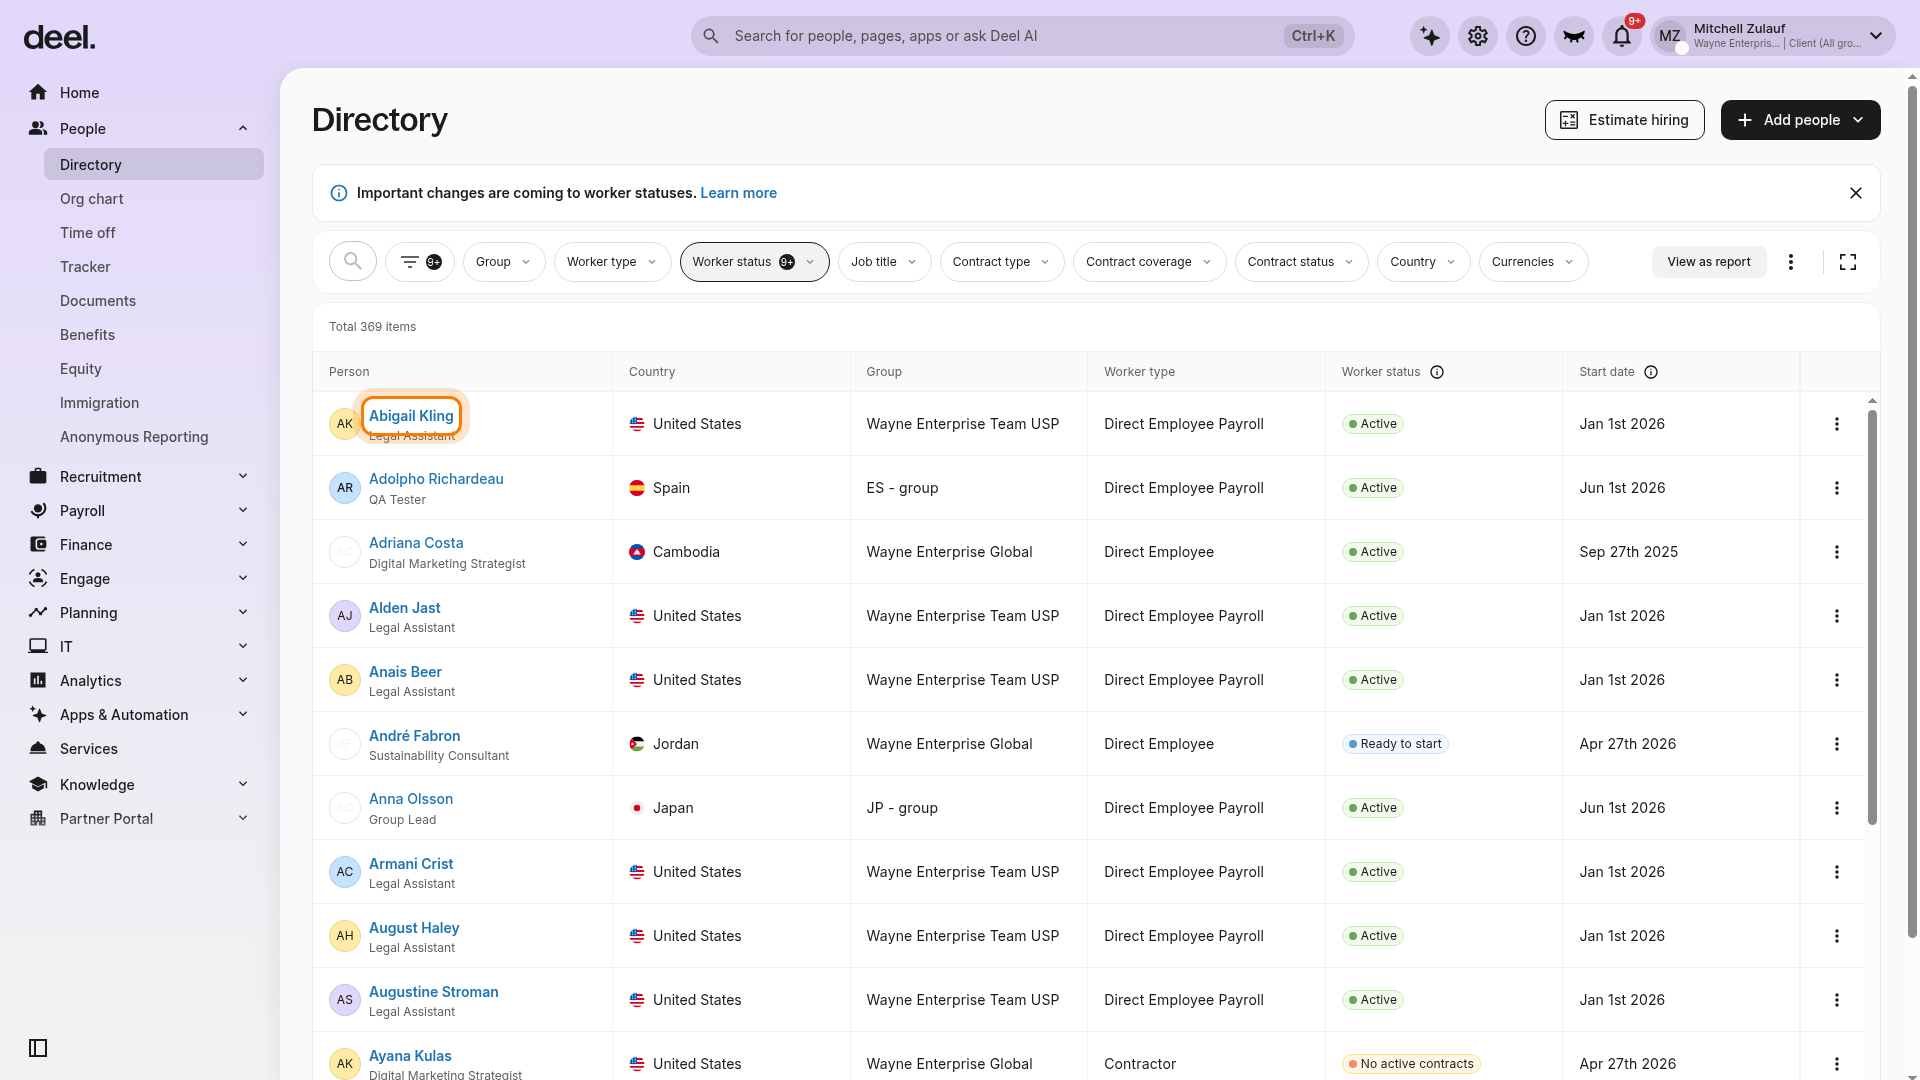
In the Directory, select the worker’s name in the Person column. If the worker is not visible, use search or filters to find them.
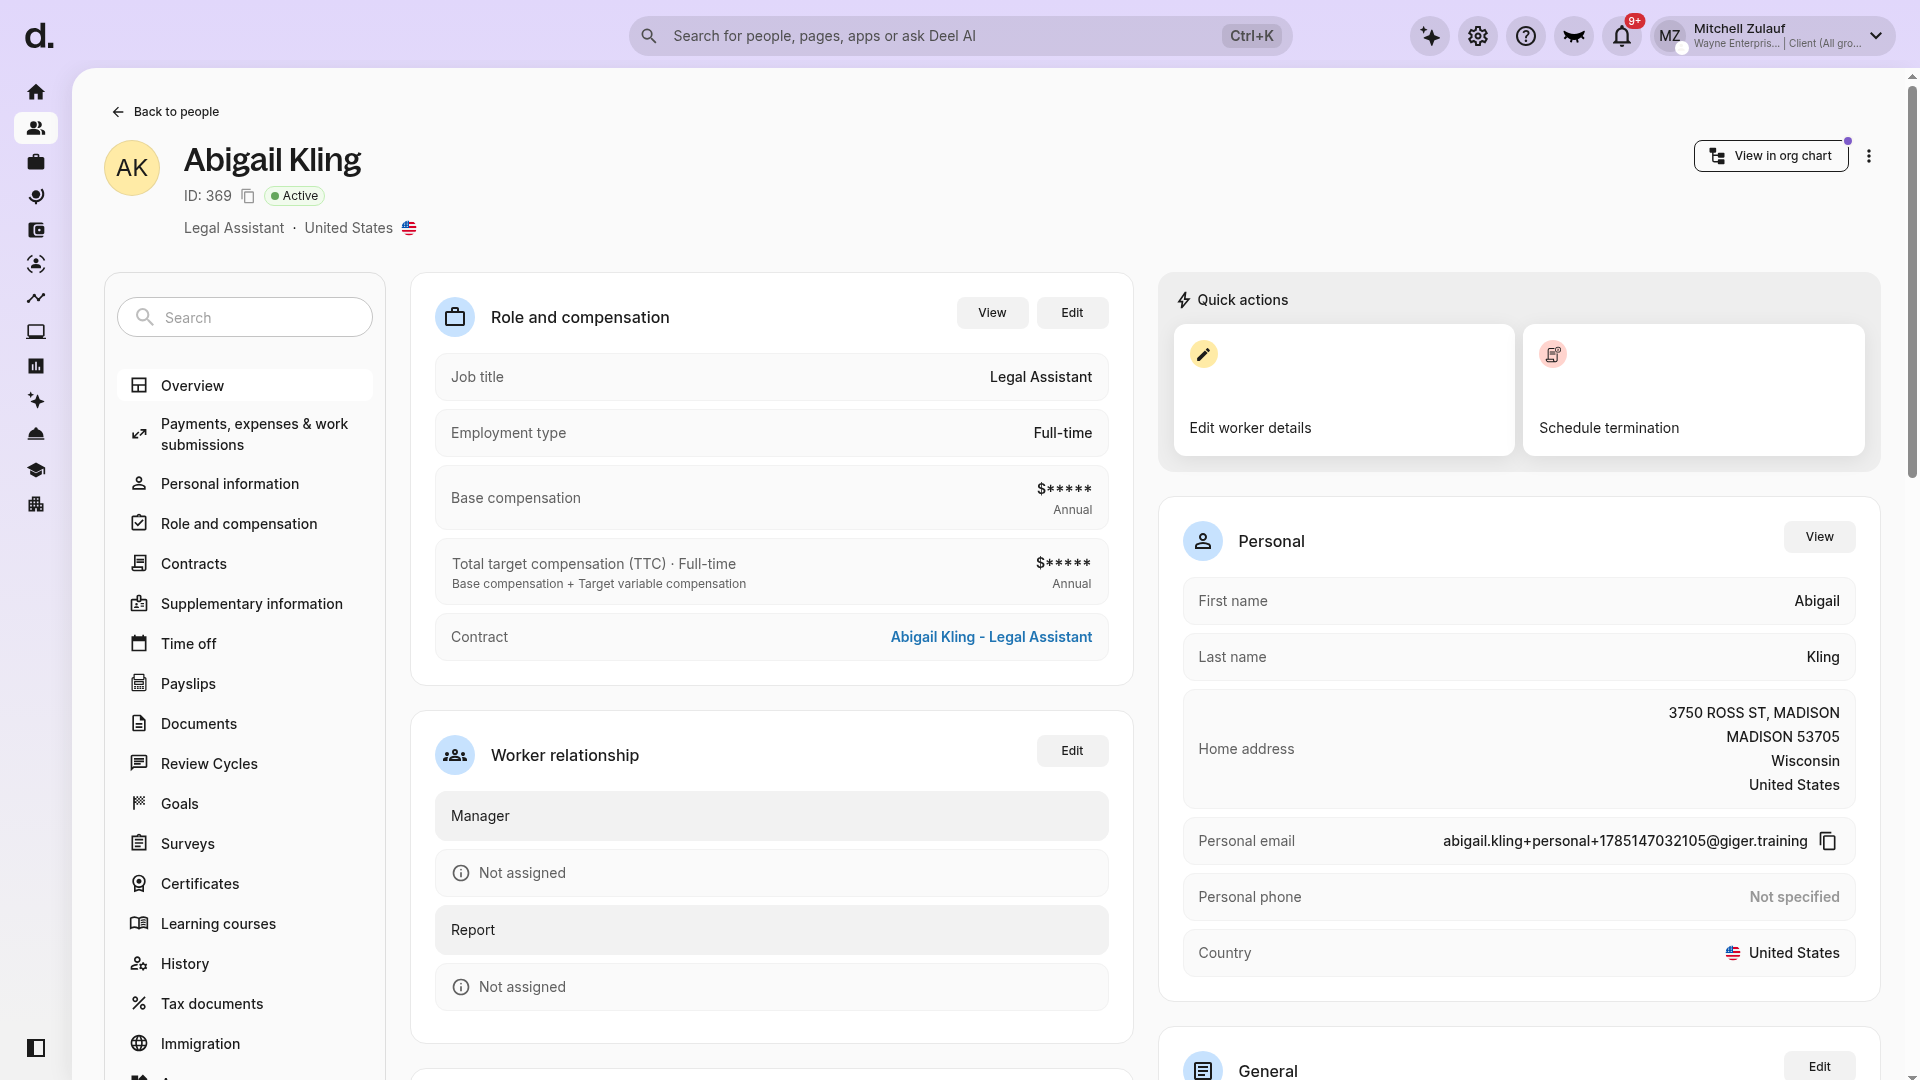
Confirm that the selected worker’s profile opens and that the page header displays the worker’s name.
✅ Step 2 – View the Worker's Organization Position
In the worker profile, locate the organizational or worker relationship details and select Edit to review the worker’s position, department, and team.
In the direct reports or reporting relationship area, select Edit to add or manage the worker’s direct reports. Save your changes when finished.
Step 3 – Configure manager permissions
Select the Organization settings gear icon in the top-right corner. In All Settings, select Roles and permissions.
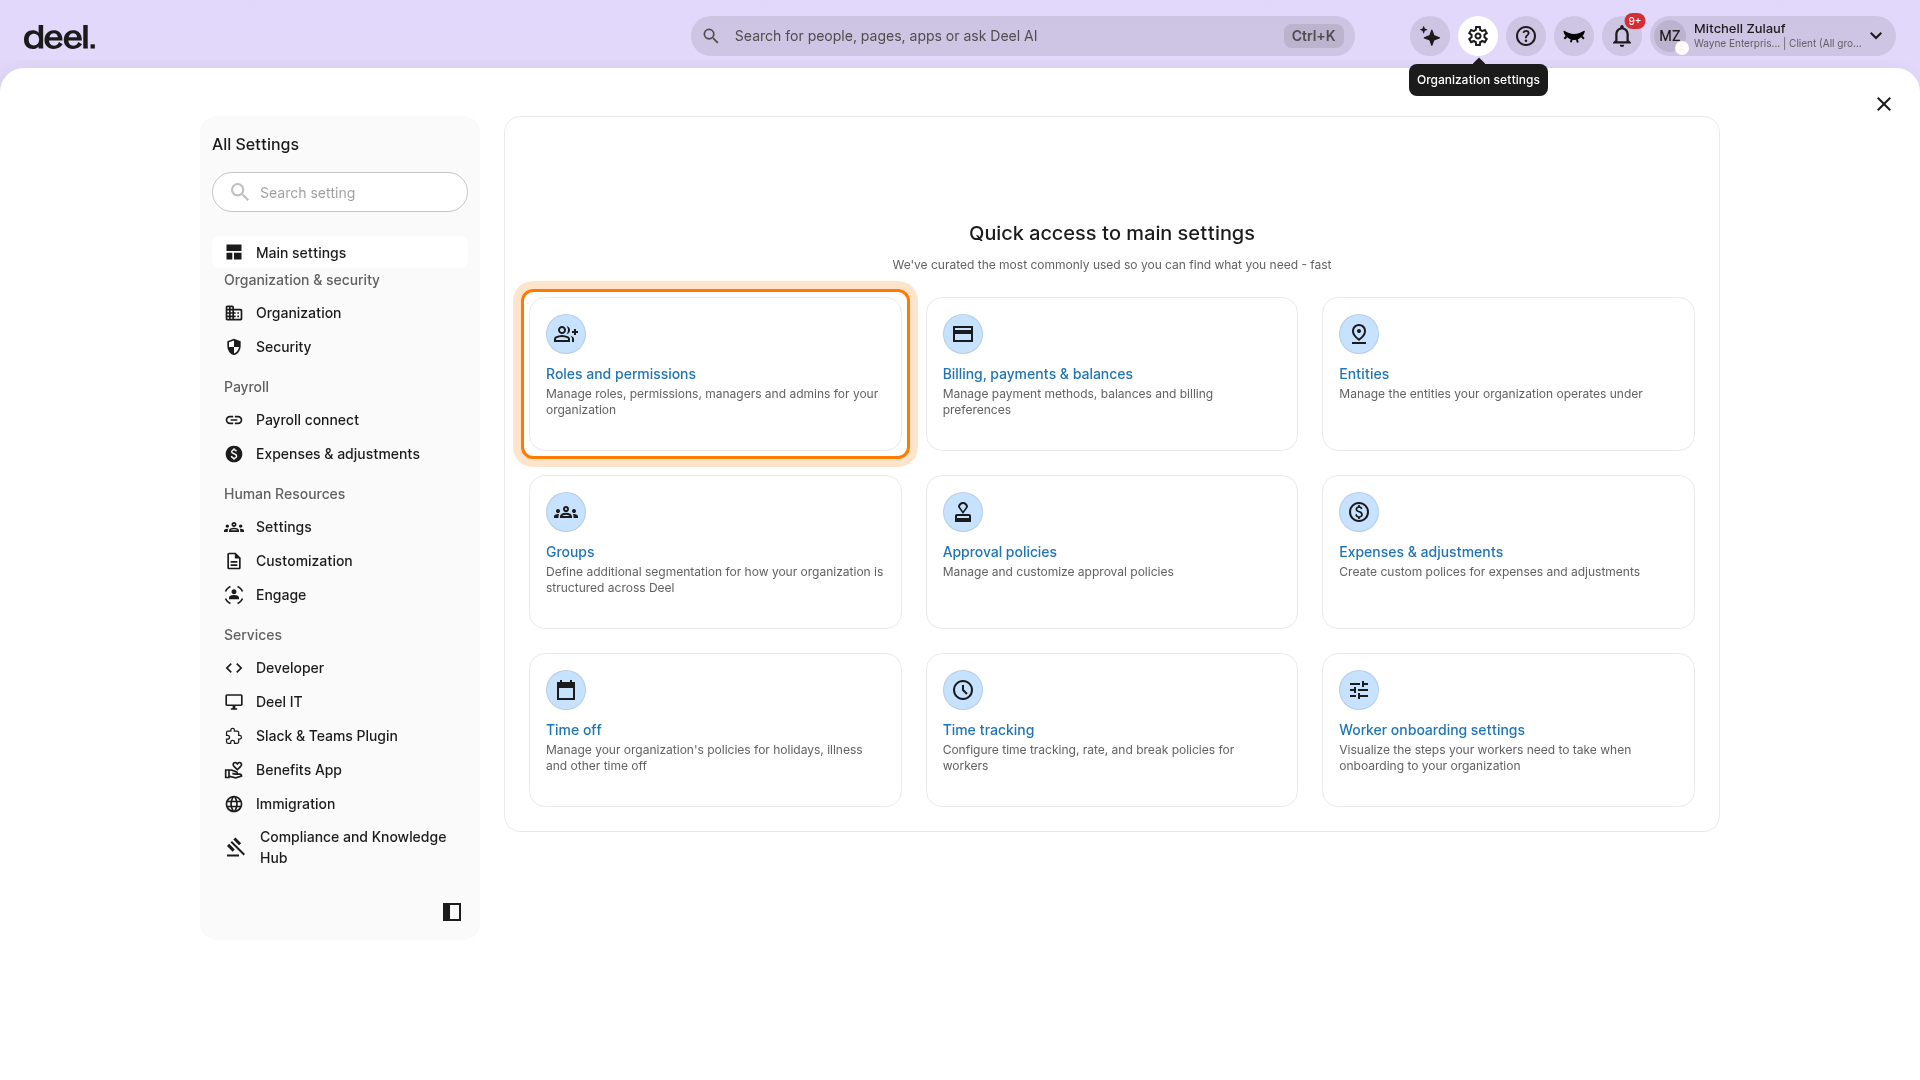
In All Settings, select Roles and permissions.
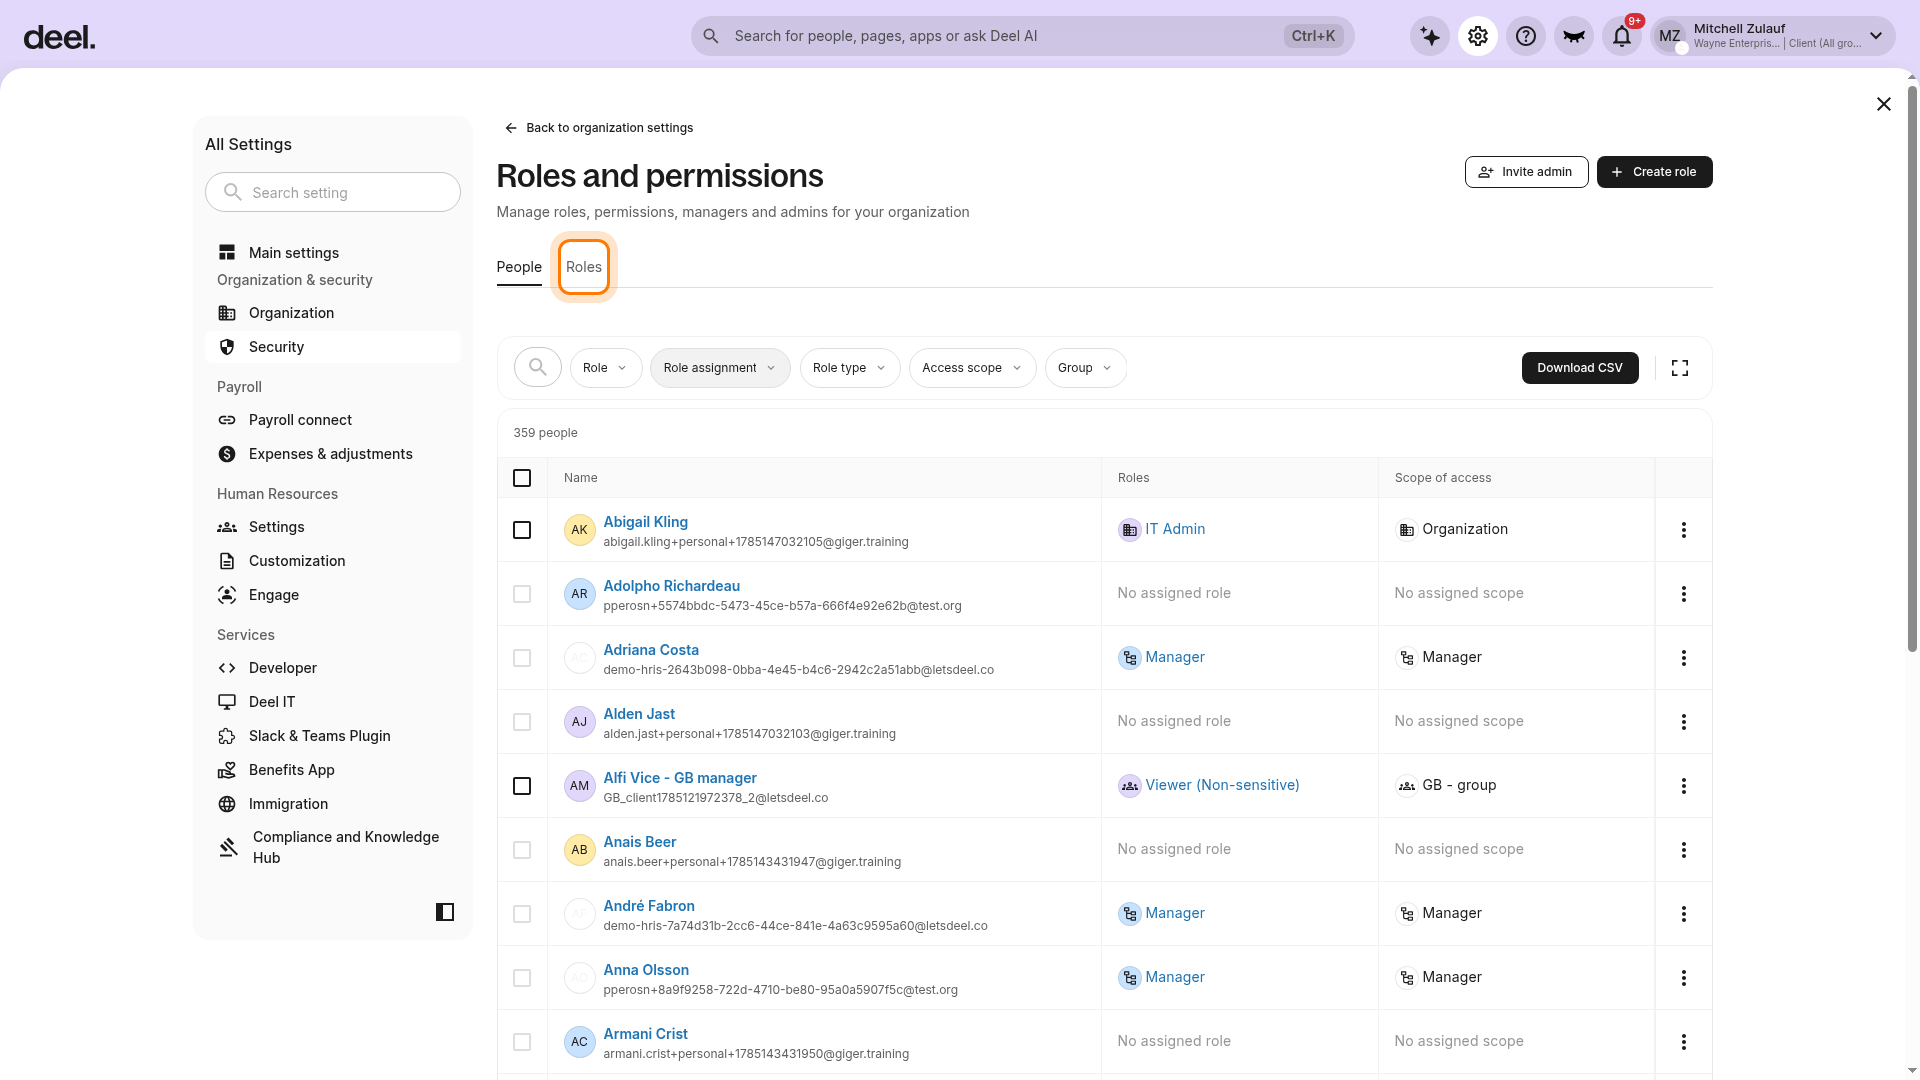
Select the Roles tab.
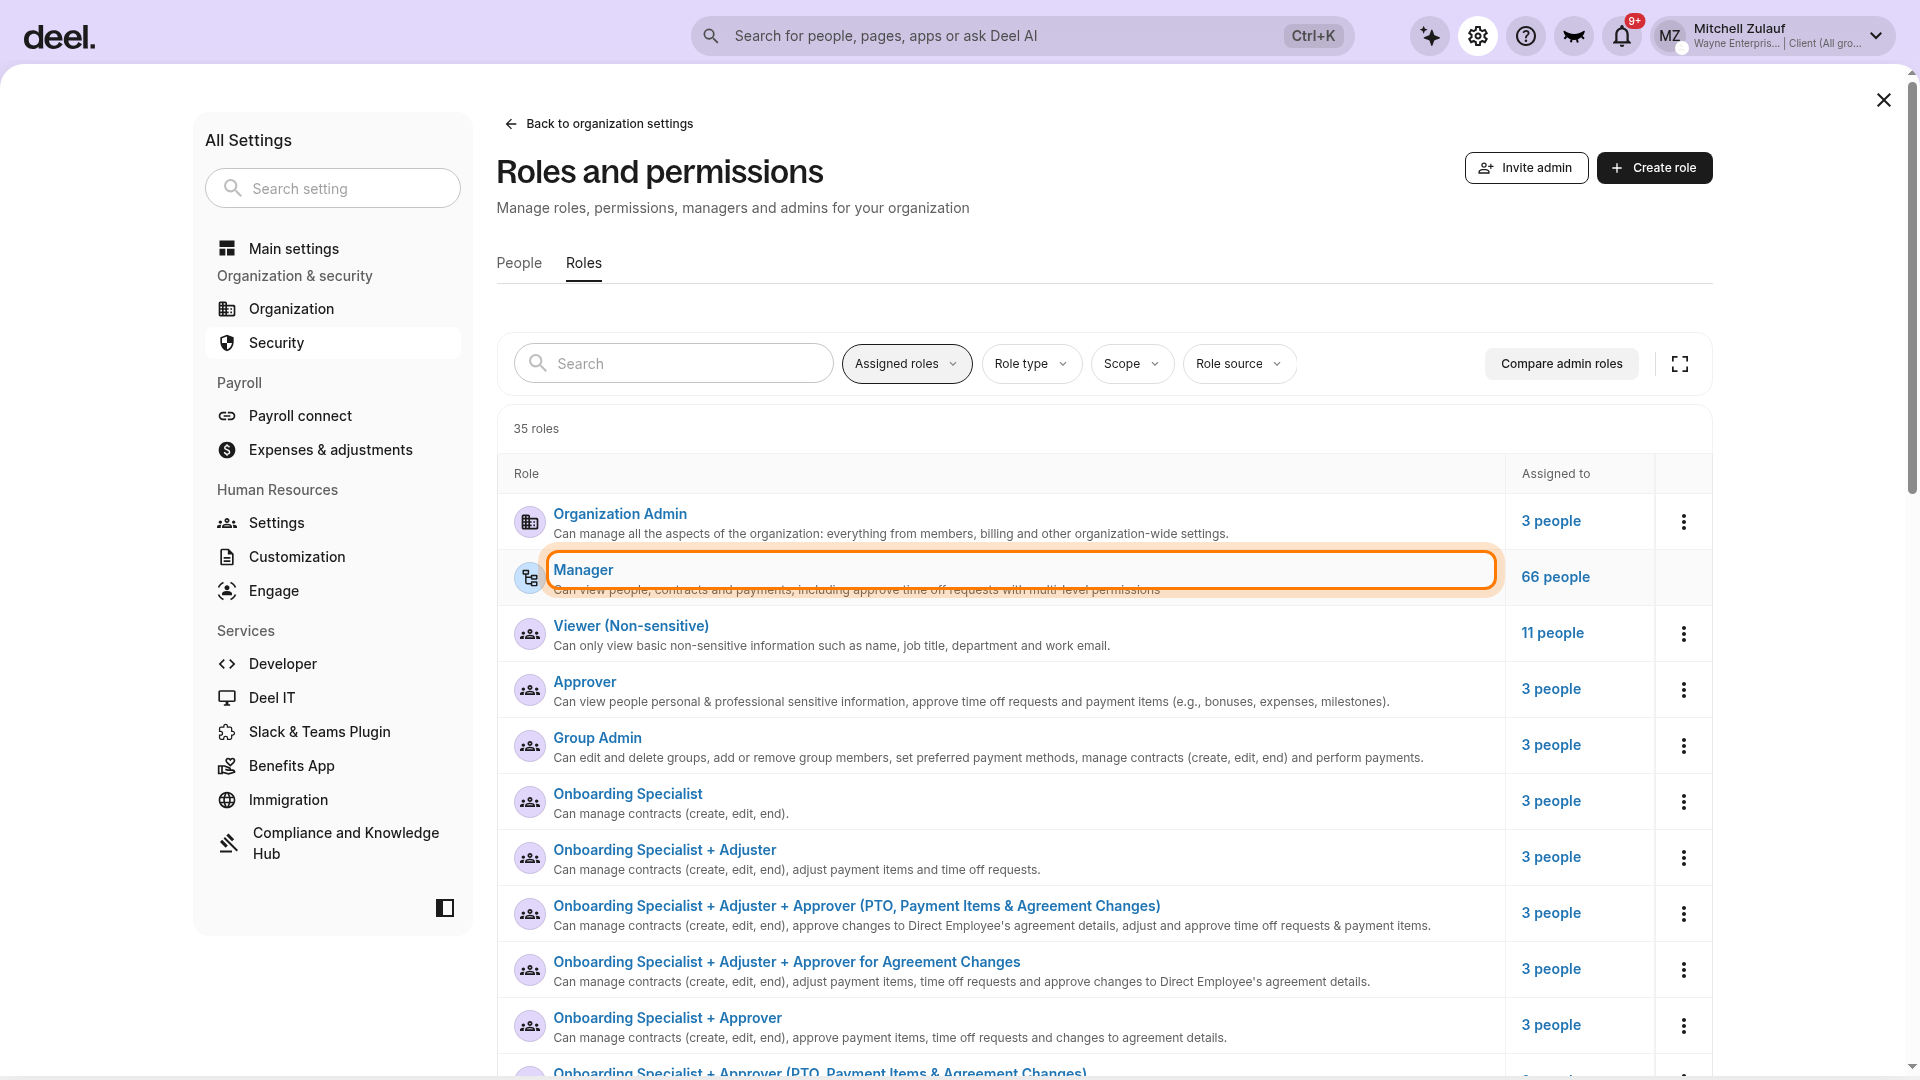
In the roles list, select Manager. Select the role name itself, rather than the three-dot menu, to open the role details panel.
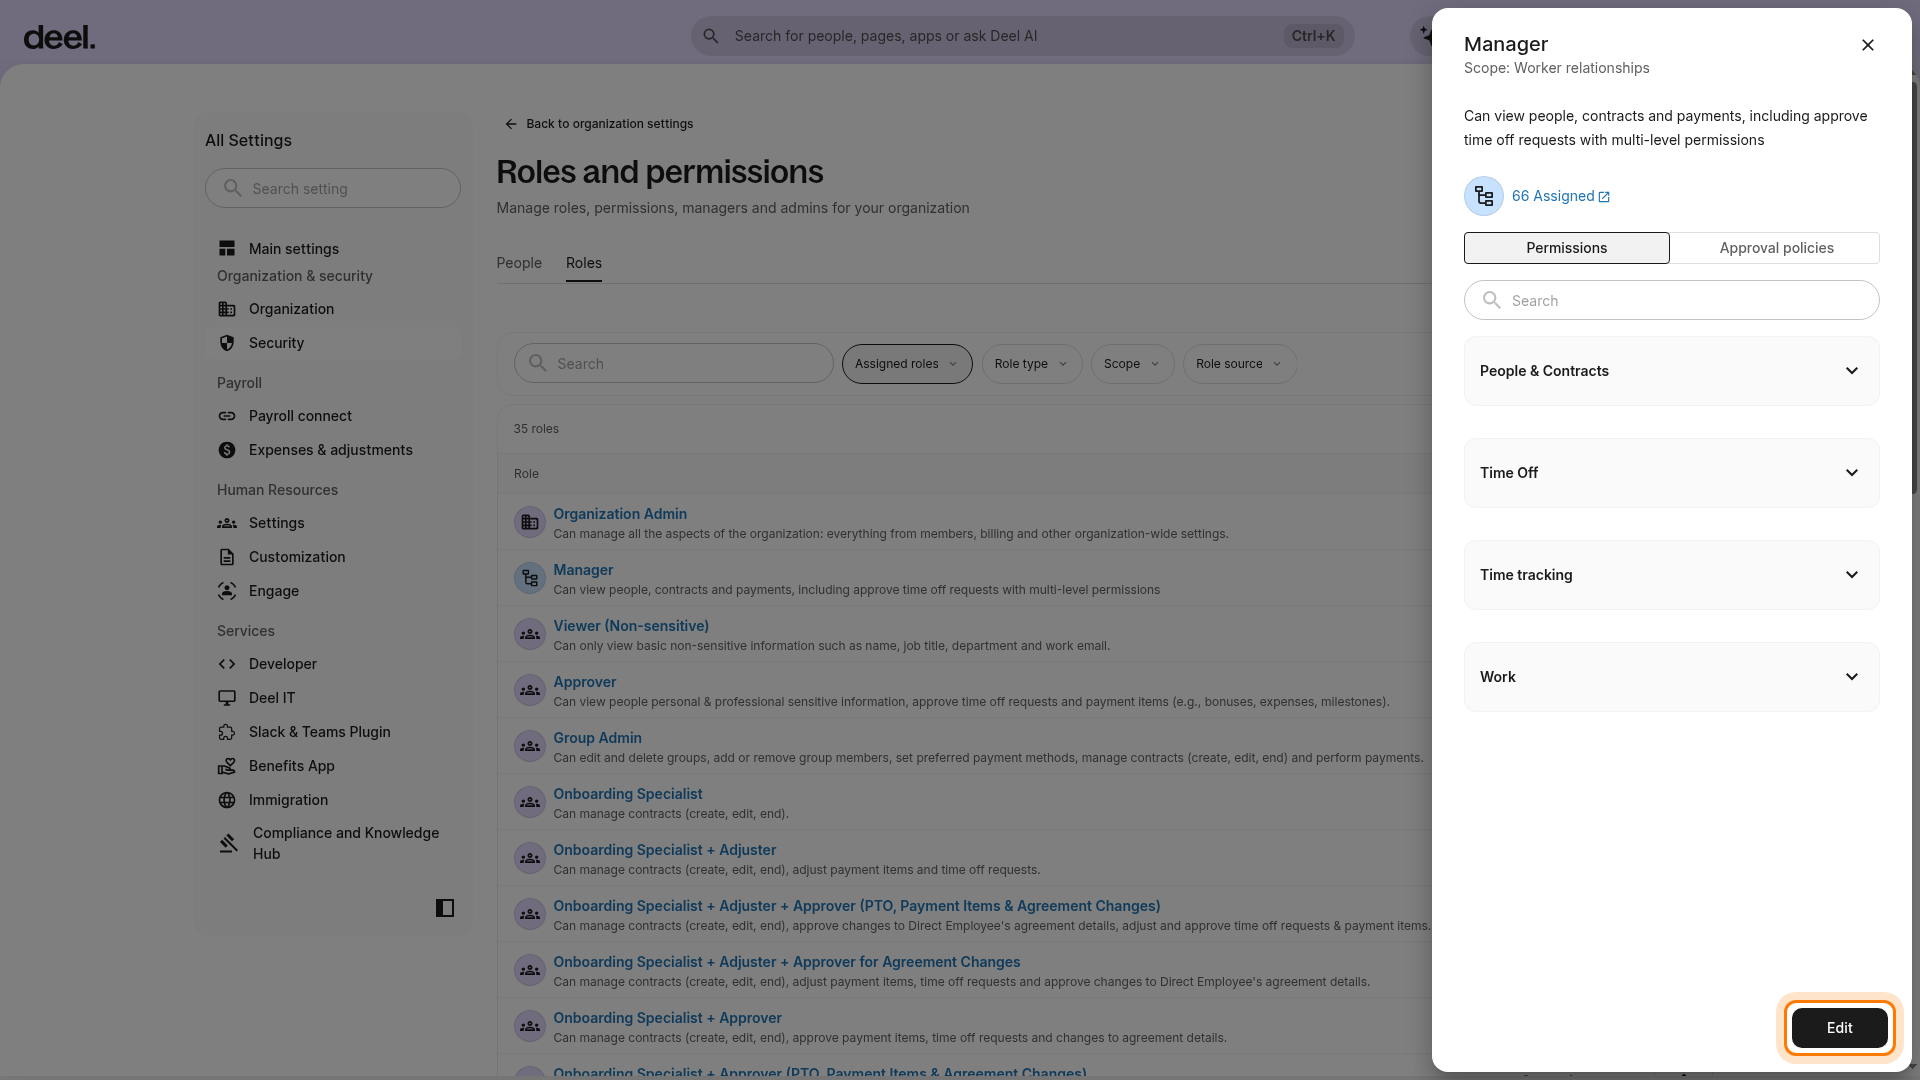
In the Manager details panel, confirm that Permissions is selected, then select Edit.
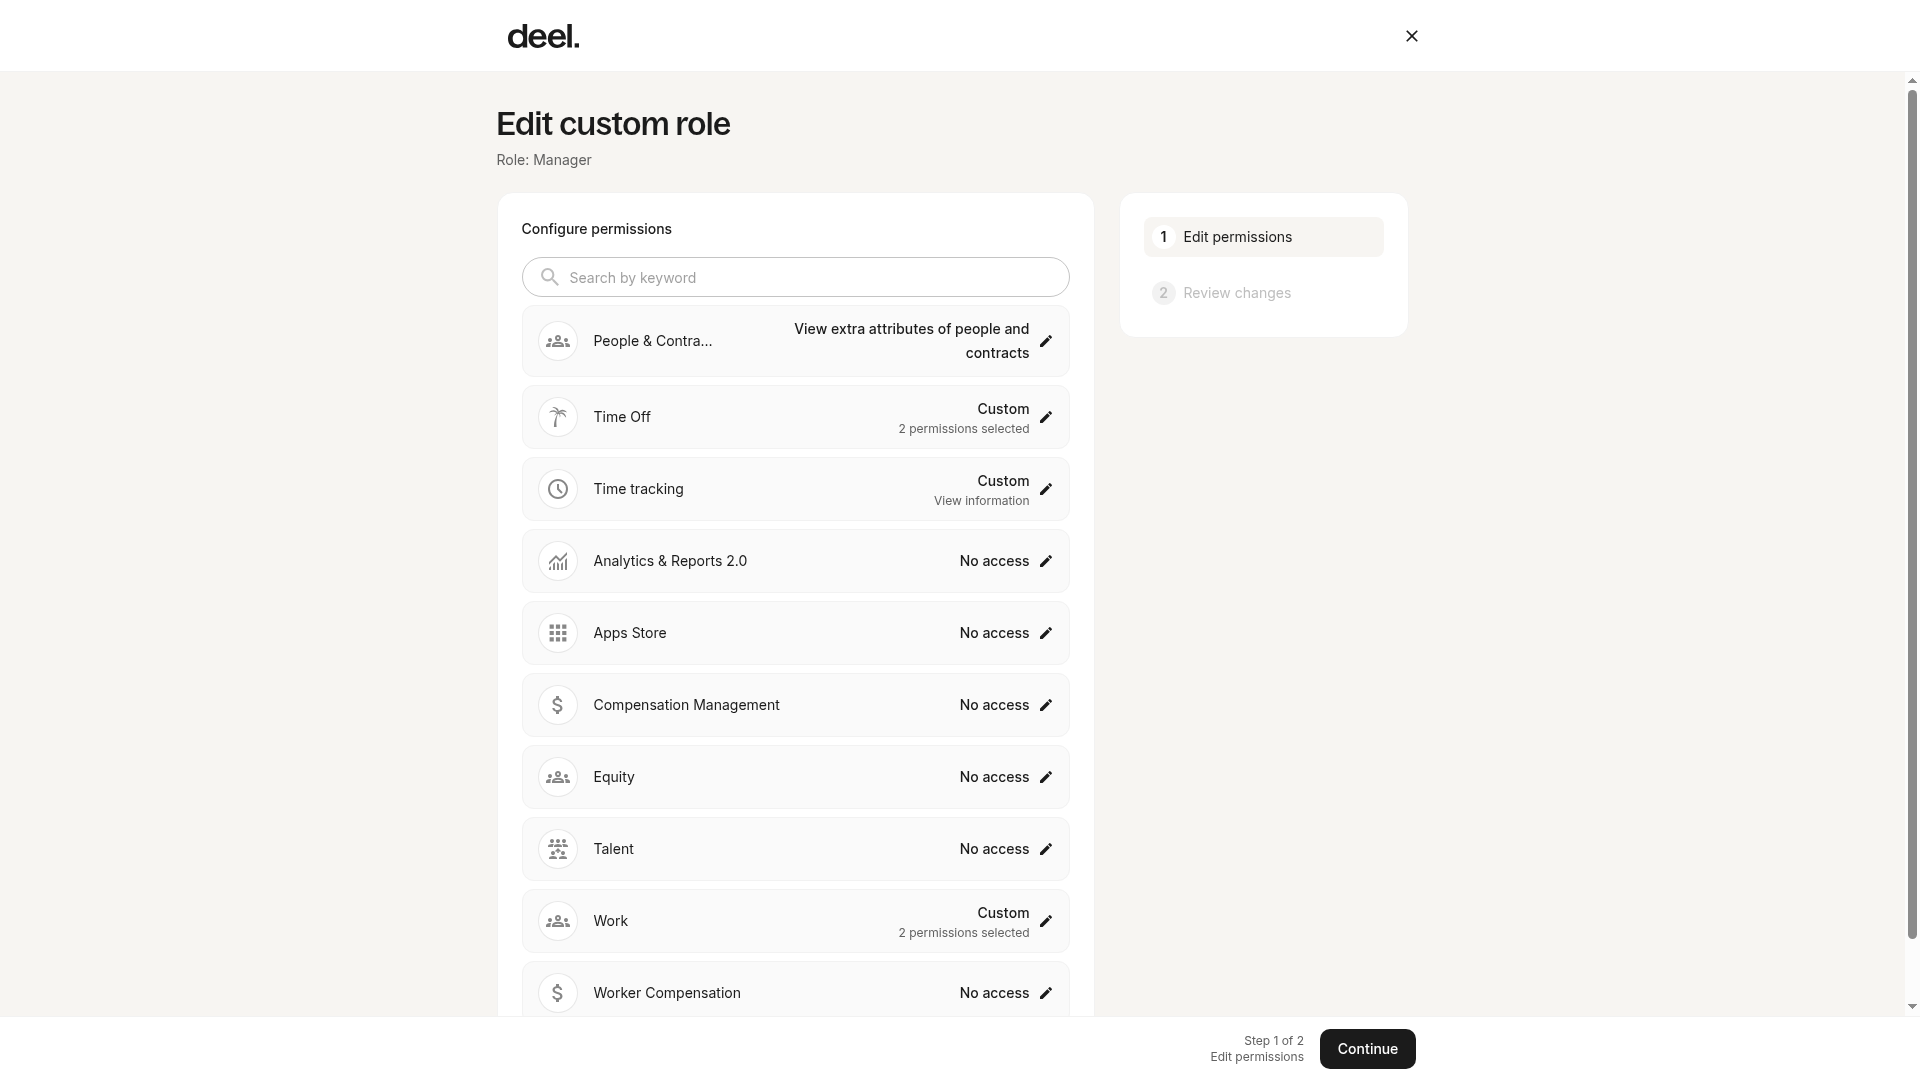
On the Edit custom role page for Role: Manager, configure the permission categories needed for your organization. Set each available category to the appropriate access level, such as No access, View only, or View & edit. Review and save your changes when finished.